Monday, November 25, 2019

{Evelin T Designs} Featured Stamp Set: Warm Winter Wishes


I'm on the Evelin T Designs blog with a holiday card featuring the Warm Winter Wishes stamp set (also sold at EH | SSS). It was hard to pick which images I wanted to work with since they're all so cute! Since I'm a big coffee/tea lover, I decided to colour the three cuties holding mugs.


I decided on a colour theme to highlight their scarves and mittens. Then I watercoloured each image strategically so they would look great sitting in a row with their winter accessories, enjoying their beverages.


To create an interesting background and to highlight these adorable images, I used two different dies to create a border with wonky scallops and stitching. Then I used the colours I used on the accessories to sponge the edges before stamping the sentiment.


I adhered fun foam to the back of the panels and used foam tape to attach the animals. To finish, I added a little white silk bow to the bunny's ear.


Thanks so much for stopping by!

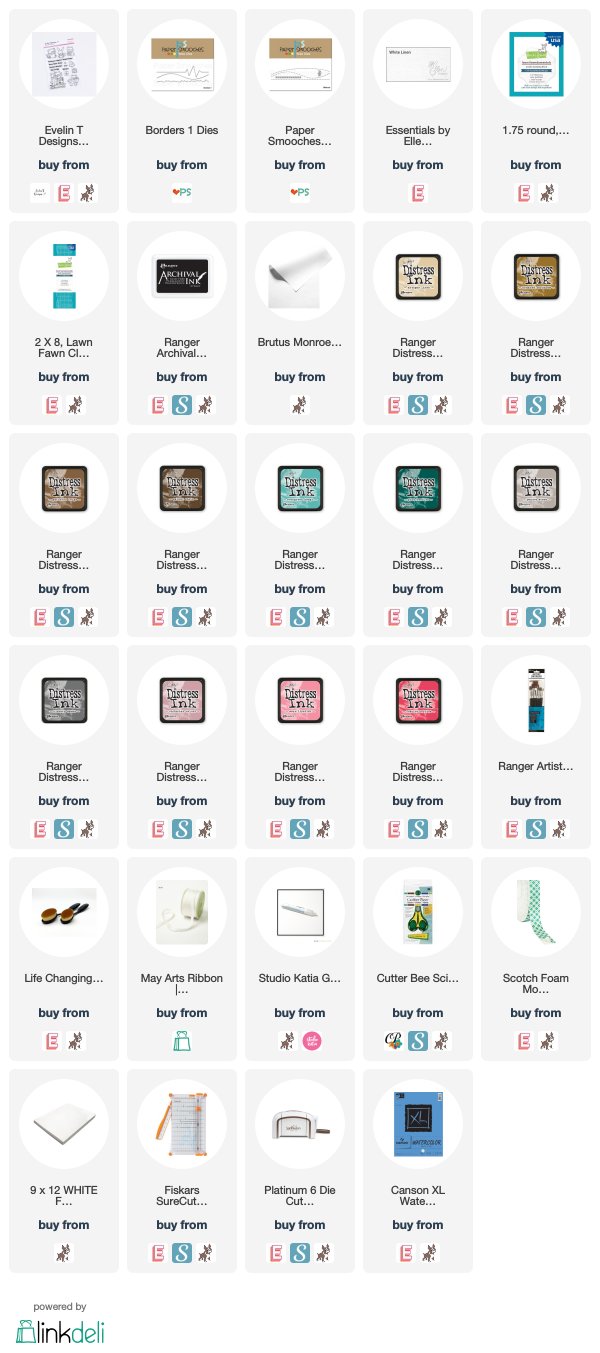
Supplies:

Tuesday, November 19, 2019

{Altenew} Sympathy Card featuring Summer Afternoon Gradient Cardstock + Giveaway Reminder


I recently had to make a sympathy card for dear friends of mine. It's never a card anyone wants to make but the right products make it easier. Altenew's Build-A-Flower: Morning Glory is still my favourite Build-A-Flower set. I just love the way the layered inks highlight the blooms and the combination of stems, spiral vines and leaves is perfection.


I picked my colours based on recently released sets of Gradient Cardstock, using the coordinating inks to stamp the flowers and leaves from  Build-A-Flower: Morning Glory, and the bird from Birds of a Feather. Then I used the Summer Afternoon Gradient Cardstock to cut two strips for the sentiment from Starry Flowers and die cut the branch from Birds of a Feather.


I picked Shades of Purple because of the family's fondness for the colour and because it symbolizes the richness of a long and full life. The Sea Shore colours represent the sky and Summer Afternoon the sunshine. Visually, all the colours compliment each other and create a full scene.


You can find additional inspiration featuring the Build-A-Flower: Morning Glory HERE and Birds of a Feather HERE.


If you missed Altenew's November 2019 Gradient Cardstock Release Blog Hop, you have two more days to comment for a chance to win prizes! You can find all the details HERE on my original hop post.

Thanks so much for stopping by!

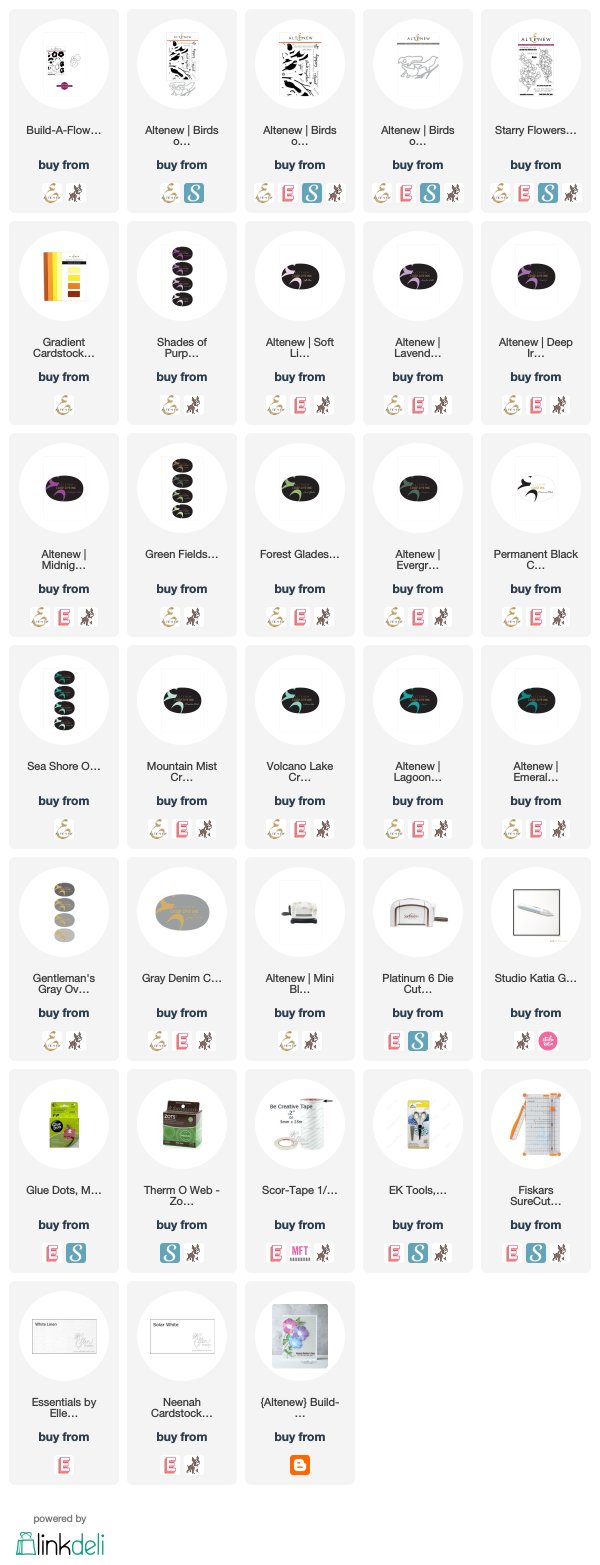
Supplies:

Sunday, November 17, 2019

{Catherine Pooler Designs} October 2019 Club Sursee | Part 3


I'm back one last card using the Deluxe Club Sursee subscription for October 2019. Again, this one uses the same colour scheme as the first two cards I shared (here and here) using these same products. It's so easy to create several cards with one set of colours! I find that I don't have to think too much this way. ;) Do you do this, too?


This card features more of the amazing images from the Sleigh Ride stamp set and coordinating Sleight Ride Dies. I also used the Scroll Border Die to dry emboss the top and bottom of the panel to symbolize blowing snow, which ties into the sentiment from Sleigh Bells Ring.


I attached the trees, truck and snowflakes at different heights using both glue dots and foam tape. To frame the scene, I added 1/8" stripes of glitter black cardstock to the top and bottom of the panel.


If you're interested in joining Club Sursee, please visit the links below for information on both the Basic and Deluxe subscriptions.

Thanks so much for stopping by!

Supplies:

Thursday, November 14, 2019

{Altenew} November 2019 Gradient Cardstock Release Blog Hop + Giveaway


I'm thrilled to be joining Altenew for the November 2019 Gradient Cardstock Release Blog Hop! I was super excited to create with their first cardstock release. These sets coordinate with their first ink release and the cardstock is sized at 3" x 6" to fit perfectly in Altenew's Mini Blossom Die Cutting Machine. The small size makes Altenew's cardstock affordable to try and easy to work with.


My first card features Red Cosmos, Summer Afternoon and Green Meadows Gradient Cardstock with the Garden Picks 3D Die Set and sentiments from Build-A-Flower: Hibiscus.


First, I cut 1/4" strips of Red Cosmos Gradient Cardstock and used one of the MISTI Creative Corners to line up the strips on an angle. I adhered them with liquid glue and trimmed off the overhanging pieces. Then I assembled all the die cut layers for the Garden Picks 3D Die Set.


Before adhering the die cut flowers, I placed the panel in my MISTI stamping tool and stamped the two part sentiment in Permanent Black and Grapevine.


As I was adhering the assembled florals to the panel with glue dots, I die cut white "shadows" to place behind the flowers so they wouldn't blend into the coordinating diagonal strips.


To create my second card, I first used the Sketched Lines Stencil to dry emboss a pattern on the panel. Then I stamped florals from Frosted Garden using Mountain Mist and Volcano Lake inks.


I partially die cut the inside portions of the florals and applied foam tape to those portions so they would pop up after the panel was adhered to the card base.


Next, I heat embossed the sentiment from Halftone Circles, three times on two shades of Sea Shore Gradient Cardstock and die cut them using the coordinating Halftone Circles Dies.


My third card was so much fun to make. I used the Cherry Blossom Gradient Cardstock to cut letters from the Simple Alpha Dies and adhered them to fun foam.


Then I used Cherry Blossom Oval Inks and life changing blending brushes to create the background.


Again, using the Cherry Blossom Oval Inks, I stamped the foxes and balloons from Hug Me. Before adhering any of the pieces to the panel, I moved all the elements around to gauge their final positions.


There was a lot of maneuvering to get all these pieces just right! With the help of a design ruler, I was able to position the letters perfectly - or at least near-perfectly. ;) I just love how these Cherry Blossom Gradient Cardstock colours look with the coordinating Cherry Blossom Oval Inks.


My last card for this release hop features the Layered Floral Elements Dies and a sentiment from Floral Arrangement Dies, cut from Shades of Purple, Summer Afternoon and Green Meadows Gradient Cardstock.


It was so much fun die cutting all of these beautiful pieces using the Layered Floral Elements Dies from so many shades of gradient cardstock.


I used a combination of liquid glue and glue dots to create the clusters and adhere all the pieces to each other and to the panel.


I stacked some of the glue dots two and three high to create texture and visual interest. To finish, I adhered the die cut sentiment from Floral Arrangement Dies, trimmed off the overhanging pieces and attached the panel to the card base.


PRIZES:
To celebrate this release, Altenew is giving away a $30 gift certificate to 6 lucky winners! Please leave a comment on the Altenew Card Blog and/or Altenew Scrapbook Blog by 11/20/2019 for a chance to win.

We’ll also draw a winner to receive a $15 gift certificate from the comments left on each designer’s blog on the blog hop list below. All winners will be announced on the Altenew blogs on 11/23/2019.


Thanks so much for hopping along with us! Supplies:

Wednesday, November 13, 2019

{Catherine Pooler Designs} October 2019 Club Sursee | Part 2


I'm back with more inspiration using the Deluxe Club Sursee subscription for October 2019. It's hard to believe it's already mid-November! Have you started your holiday cards yet? I've barely made a dent in my Christmas stash but I feel that way every year. LOL


As I mentioned in my first post using the stamp set Sleigh Bells Ring, the sentiments are a stand-out. For this card, I decided to feature the sleigh from Sleigh Ride stamp set, double-stamping the sentiment on the card base and again on top of the die cut sleighs. I love this technique since it looks harder than it is but creates a wow factor every time.


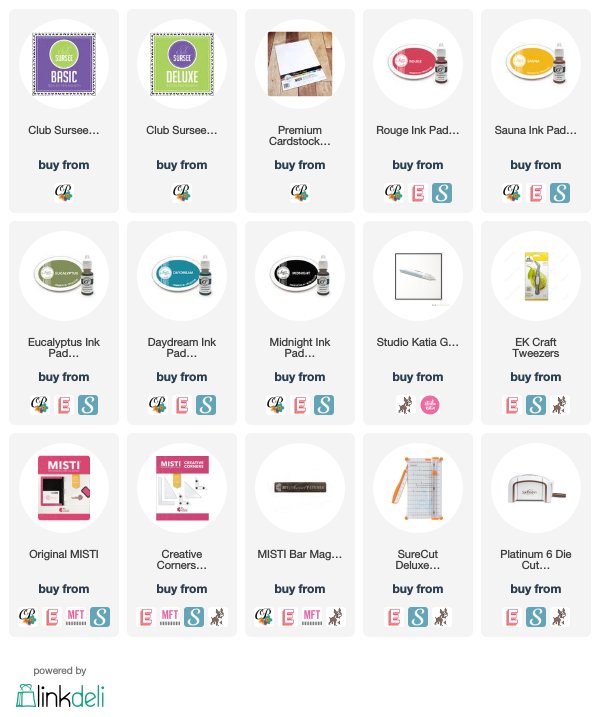
I used four Catherine Pooler inks - RougeSaunaEucalyptus and Daydream - to stamp the sleigh. I love the way the coordinating Sleigh Ride Dies show off the gorgeous scroll details! I centred the sentiment from Sleigh Bells Ring and stamped it with Midnight Ink, leaving it in the MISTI stamping tool for the second stamping over top off the sleighs. After determining the position of the sleighs, I used liquid glue to adhere them flat to the card base, trimming off the overhanging portions. Then I re-stamped the sentiment again.


If you're interested in joining Club Sursee, please visit the links below for information on both the Basic and Deluxe subscriptions.

Thanks so much for stopping by!


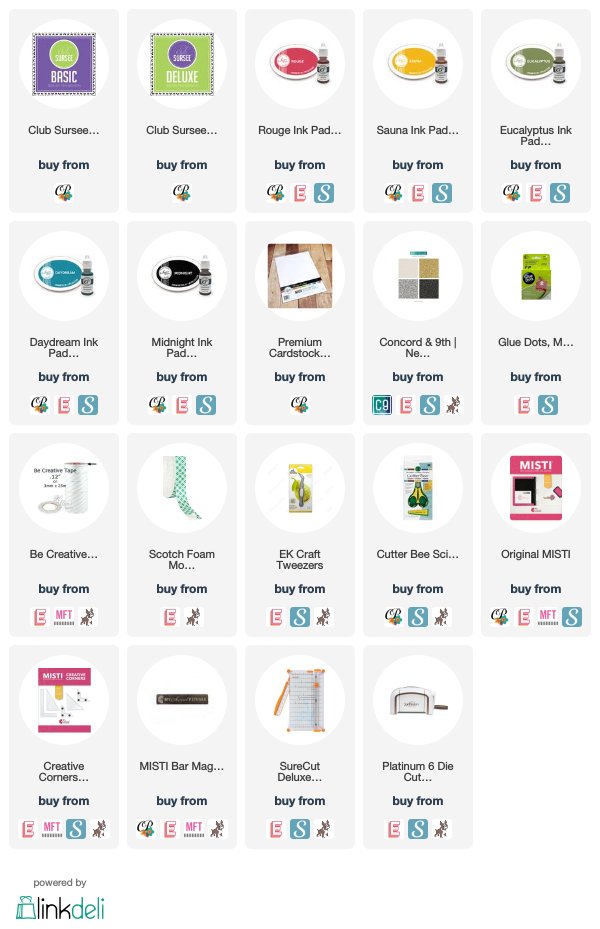
Supplies: