After a long break away from making videos, I'm back with a set of four cards I made to ring in Chinese New Year! The Year of the Fire Horse began on February 17, 2026 and I was thrilled that Spellbinders released the Good Fortune Horse [available from SB | SBC | SSS] die and clear stamp set just for the occasion.
The colour palette I selected was inspired by Marina Zlochin's work and I'm sure you will find her illustrations equally inspiring! The cardstock colours are mostly from Concord & 9th with Taylored Expressions and Spellbinders, too: Cranberry, Poppy, Sweet Potato Pie, Carnation, Grape Soda, Eggplant, Almond and Mirror Gold.

This first card features an Almond card base with Color Block Scenic Scape hills cut from Mirror Gold, Grape Soda and Eggplant. The horse was cut from Poppy and Cranberry, the mane and tail from Carnation and Sweet Potato Pie, the saddle from Sweet Potato Pie and Almond, and the hooves from Mirror Gold.

I used my favourite sentiment from this set which is the perfect Chinese New Year sentiment. I stamped it in my mini MISTI using Versamark Watermark ink and heat set it with WOW Polished Gold embossing powder.

My second card features a Poppy card base cut from the largest of the Perfect Touch Rectangles [available from SB | SBC]. The horse was cut from Grape Soda and Eggplant, the mane, tail and saddle from Mirror Gold and Almond, and the hooves from Mirror Gold.

Again, the sentiment was stamped it in my mini MISTI using Versamark Watermark ink and heat set it with WOW Polished Gold embossing powder. To finish, I added five Gold Pearls.

This third card features a Carnation which I partially dry embossed using the Stargazer embossing folder [available from SB | SBC | SSS]. I misted the cardstock before running it through the die cutting machine to get the best impression and prevent cracking. This horse was also cut from Grape Soda and Eggplant, the mane and tail from Poppy and Cranberry, the saddle from Sweet Potato Pie and Poppy, and the hooves from Mirror Gold.

Since this sentiment was off-centre, I shifted it to the left and the horse to the right so that the front two hooves lined up above the height of the letters r and s on the cursive word cheers.

My card features an Eggplant card base cut with one of the Modern Essential Ovals [available from SB | SBC | SSS] and the outer frame dry embossed with the Mosaic Memories embossing folder. The horse was cut from Poppy and Cranberry, the mane and tail from Almond and Mirror Gold, the saddle from Mirror Gold and Carnation, and the hooves from Mirror Gold.

Due to the design of the oval and textured frame, I wasn't able to stamp this sentiment right on the Eggplant card base so I stamped it on a piece of Almond cardstock and trimmed it to fit. The oval insert and all of the horses were attached using 1mm foam squares.

I appreciate you stopping by and, if you're inspired, please shop my affiliate links below. Thanks so much for your continued support!
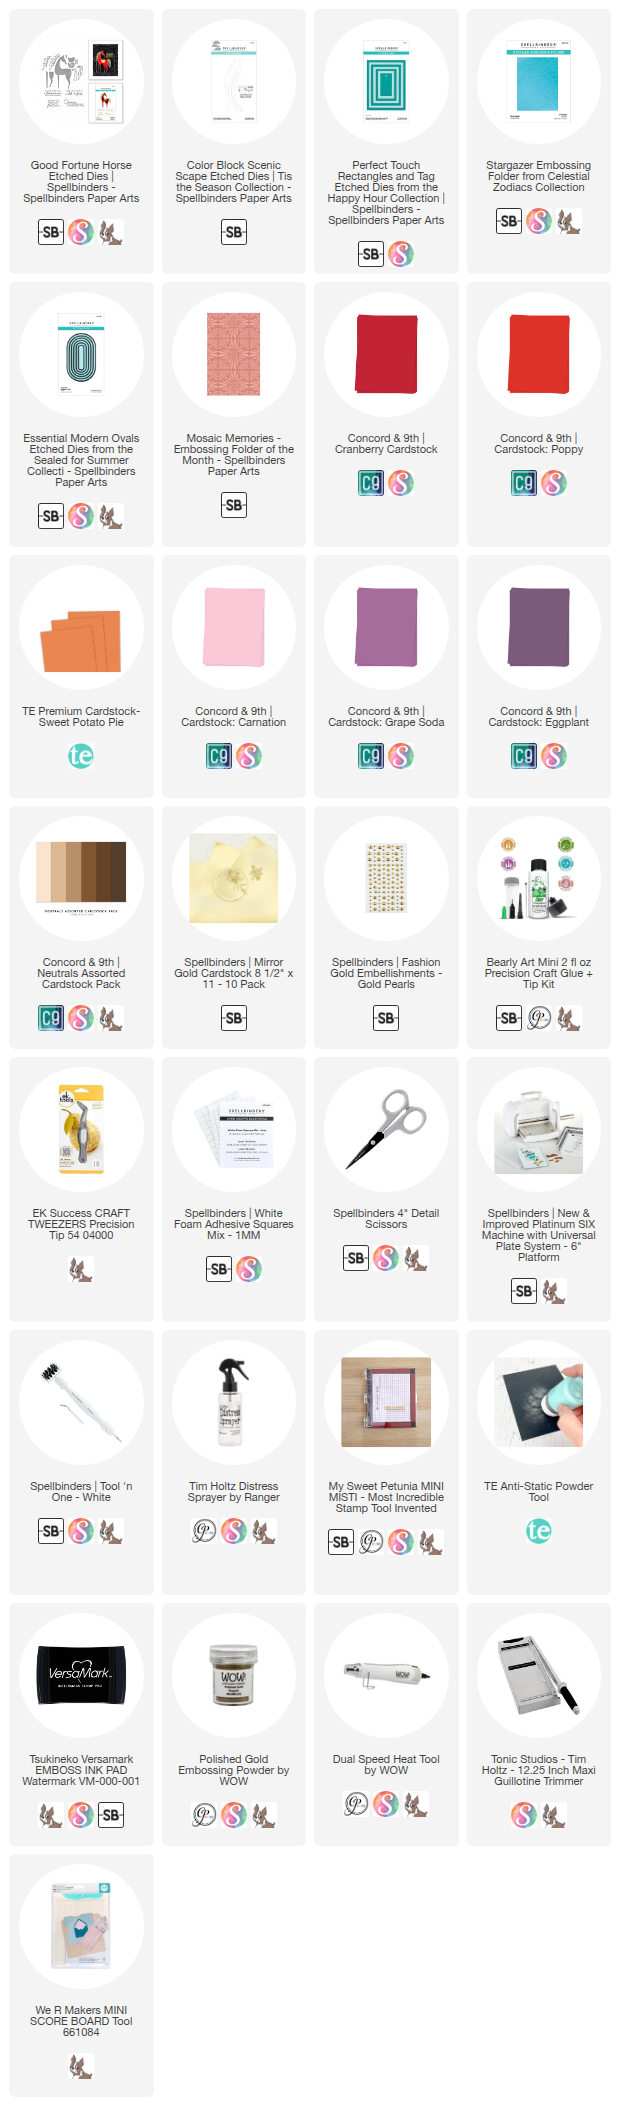
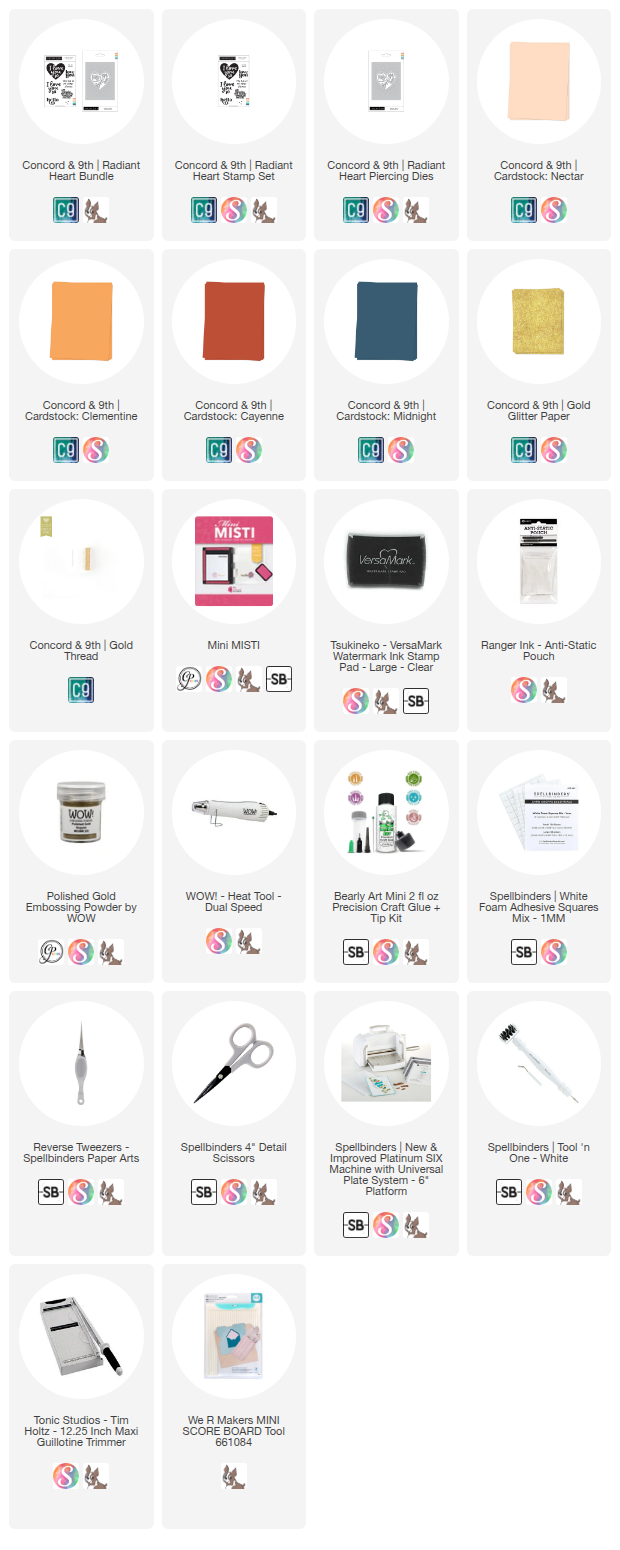
Supplies: