Showing posts with label hello. Show all posts

Tuesday, October 15, 2024

Concord & 9th | October 2024 Guest Designer | On Display Bundle


I'm back with another project for Concord & 9th's December Release and today's post features the On Display Bundle. Being a bibliophile, I obviously fell in love with this immediately! The On Display Pop-Up Dies not only include a collapsible 3D pop-up shelf, it also features books, a multitude of vases and plants, plus a globe and a cat. Who wouldn't love it?!


I love that this shelf is styled like IKEA's 2x2 Kallax shelf unit. You can imagine all the design possibilities with this one! I created my card base and 3D shelf using Cranberry cardstock and the front of the shelf, which is a separate die, was cut from Cayenne cardstock. You can also use this piece on its own for a completely flat card and it'll still look like a bookshelf.


I definitely wanted to feature at least one cat so I die cut my cat from Spiced Cider cardstock and stamped it with the face included in the On Display Stamp Set. These first three colours I mentioned are only used once so there's no competing with the other elements. Next, I cut all of the books, plants, globe and heart from Carnation, Briar Rose, Creamsicle, Oceanside and Blueberry. I also cut the circular vase, two vase stands and the base of the globe from Matte Gold Foil Paper.


After arranging the books, and mixing and matching the plants with their respective pots, I decided where each piece was going before stamping the sentiment from the On Display Stamp Set in black ink, and die cutting the sentiment from the On Display Pop-Up Dies. I wanted it to have a bit of dimension so I cut it from Carnation and Briar Rose, not knowing which colour would look best. In the end, I placed the Carnation die cut on top. Behind the card, you'll see one of the new envelope colours in Creamsicle.


I hope you enjoyed today's project. If you missed my previous posts, you can find those here:


I'll see you again tomorrow with more inspiration featuring the True Story Bundle! If you're inspired, please shop my affiliate links below. Thanks so much for your continued support!

Supplies: 

Monday, July 22, 2024

Spellbinders | July 2024 Monthly Club Kits


Hello, crafty friends! Today, I'm showcasing the July 2024 Monthly Club Kits from Spellbinders. The first card features the "Stitched All Wrapped Up" Stitching Die of the Month and the second card features the "Joyful Holly" Glimmer Hot Foil Kit of the Month. Club Kits close on the 27th of each month so get them while you can!


I was inspired by a colour palette on page 142 of Lauren Wager's Palette Perfect, Vol. 2 and used the same colours on both cards. Essentially, the Stitched All Wrapped Up is for holiday cards but I love that bows are so versatile, this product can be used year-round!


Both the products and the colours inspired this retro design. The cardstock I used include Concord & 9th Dragonfruit, Lemongrass, Nutmeg and Silver Glitter Paper as an accent, plus Simon Says Stamp Fog Gray for the card base.


I cut the bow from Dragonfruit cardstock, stitched it with Dark Cranberry 301 from the DMC Color Essentials Warm Bundle and set the pieces aside to work on the background.


After cutting the Fog Gray card base and glueing the Lemongrass hoops, I randomly glued circles die cut from Nutmeg and Silver Glitter Paper. The patterns on the bottom are mirrored on the top half of the card.


After assembling the bow on the card base with a combination of double-sided tape and foam squares, I heat foiled a sentiment from Mini Everyday Sentiments, using Espresso Bean Hot Foil on Fog Gray cardstock and popped it on to the card with foam strips.


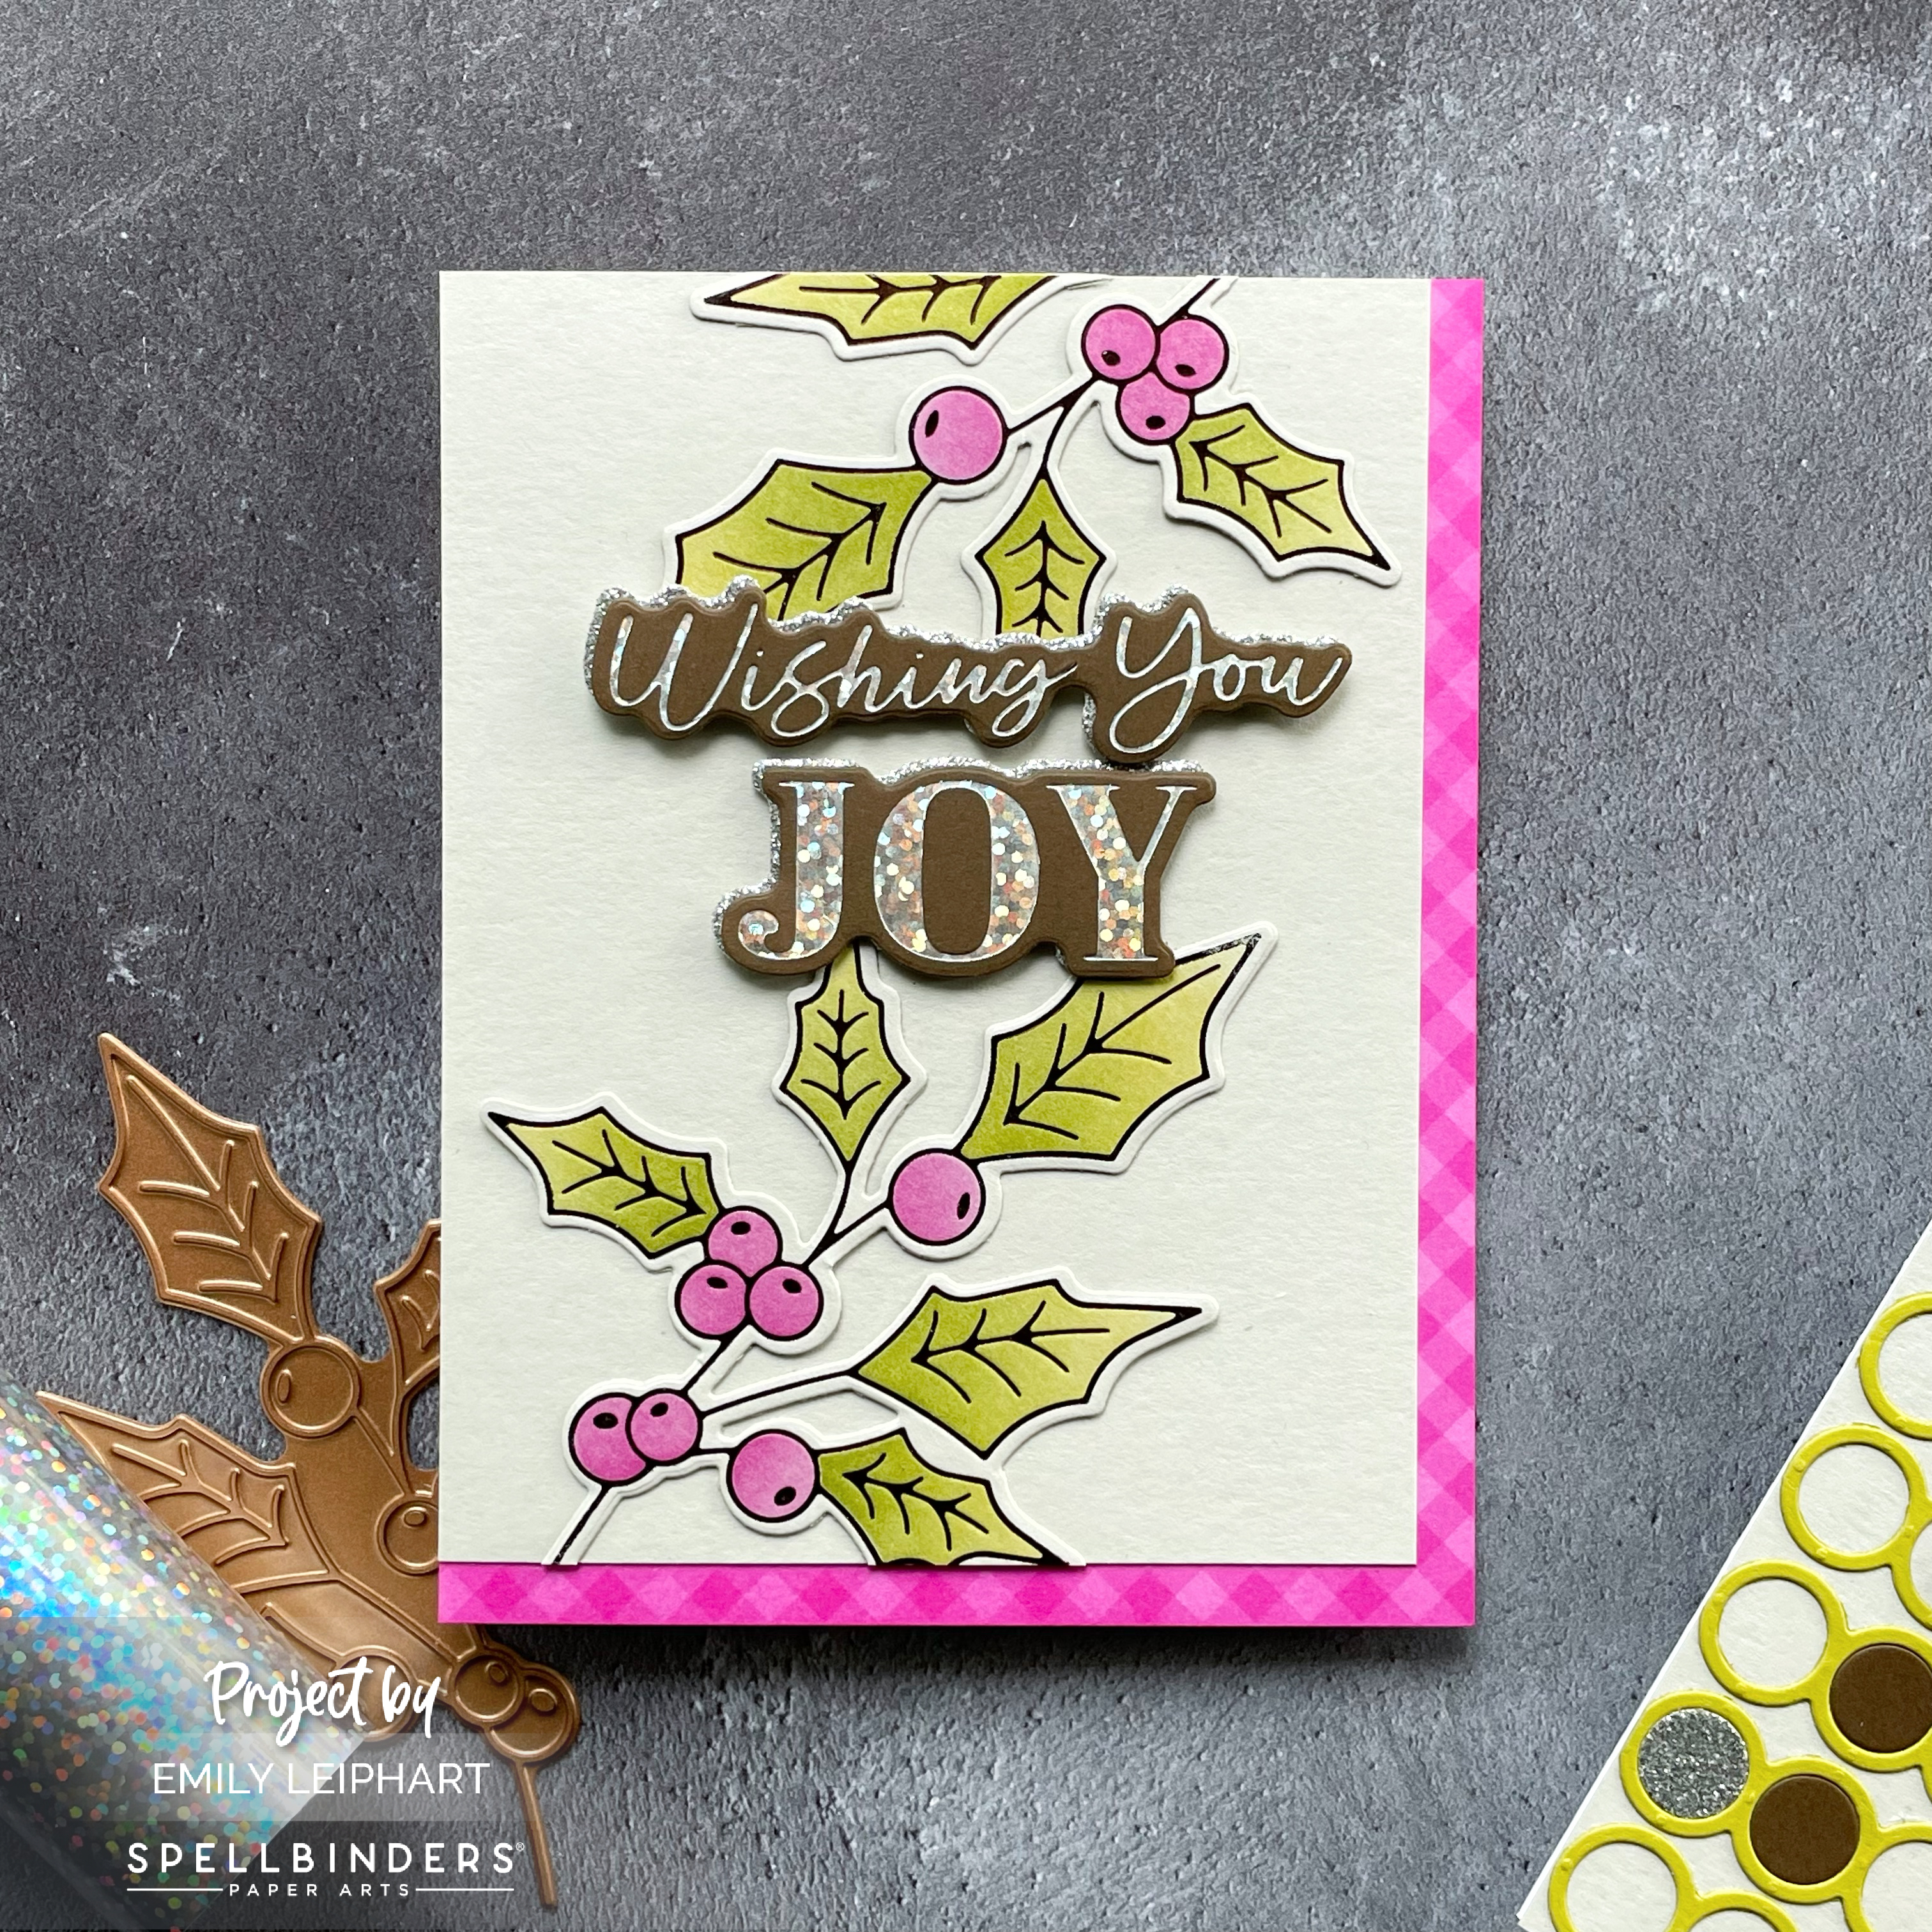
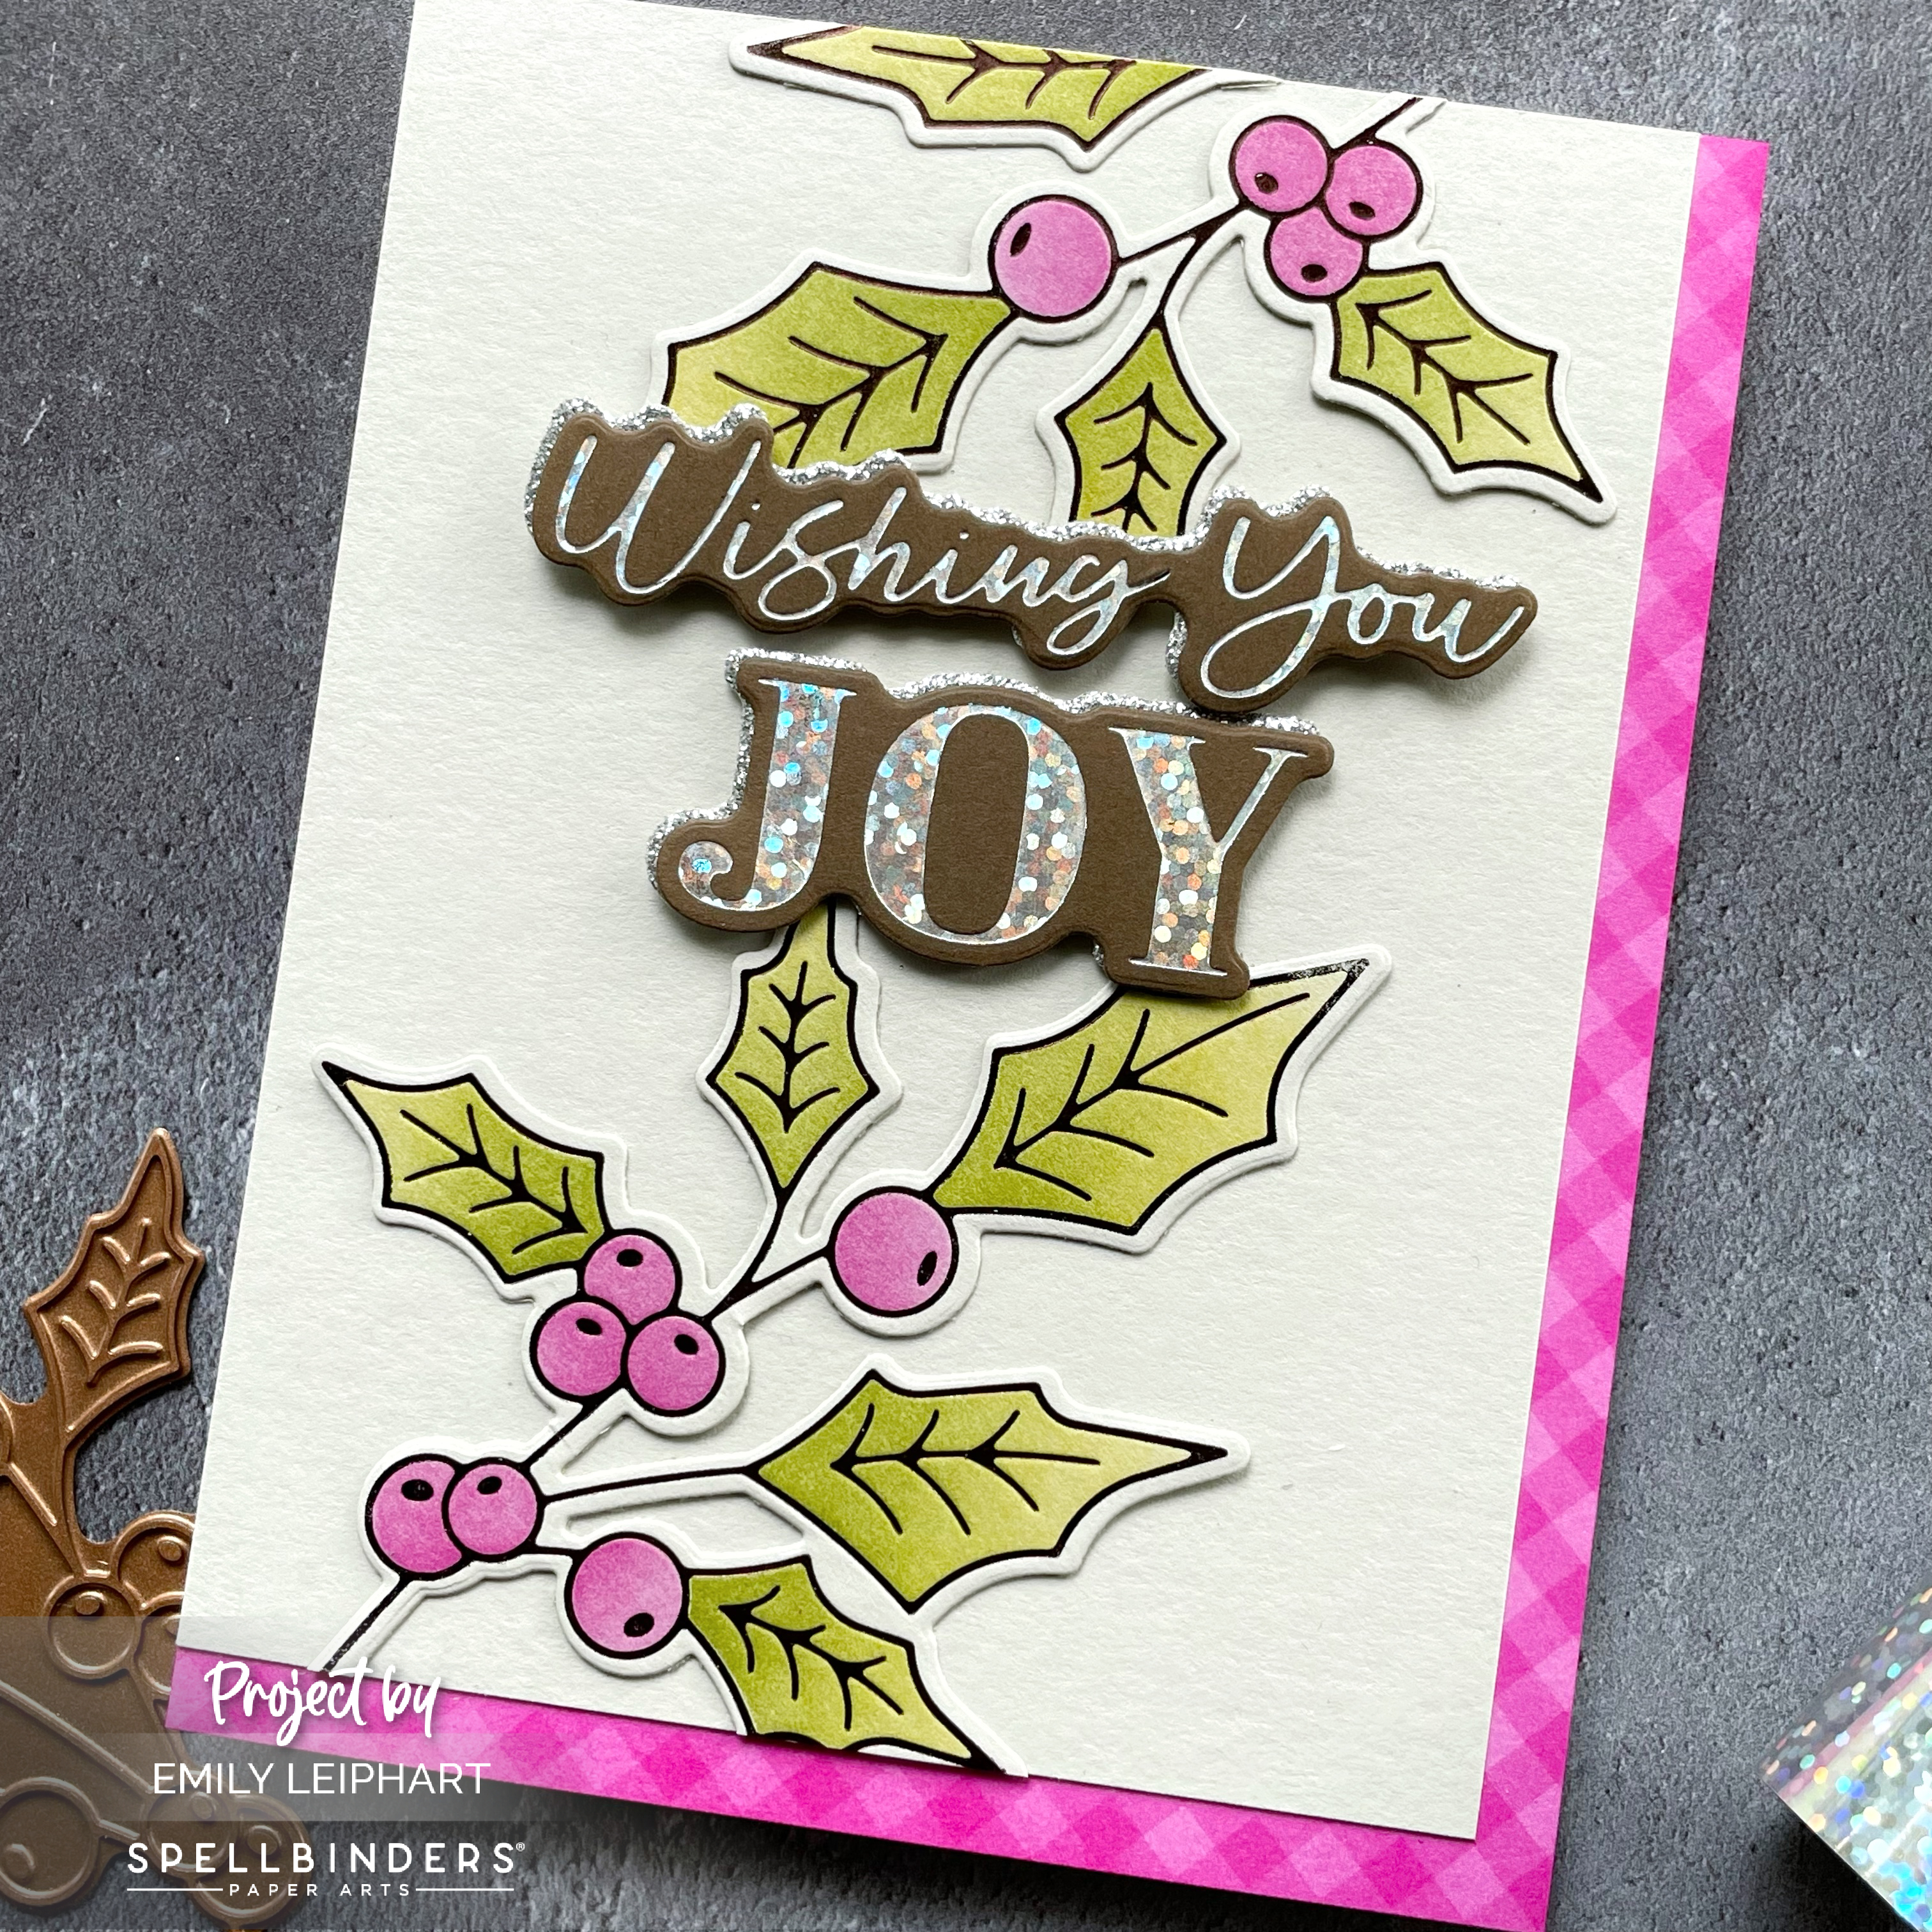
My second card features the the "Joyful Holly" Glimmer Hot Foil Kit of the Month. I don't usually get too much of a head start on my holiday cards but I love that I've added this one to my stash! Plus, I almost never use brown so this is probably the most prominent brown will ever be featured on one of my cards.


I started by heat foiling the Joyful Holly with Espresso Bean Hot Foil on Fog Gray cardstock. Then I used Concord & 9th Dragonfruit, Lemongrass and Avocado inks to colour the image using the coordinating Joyful Holly Stencil, which is one of the BONUS items in The Deluxe Caboodle Value Club this month!


I repeated this process and die cut them using the die included in this month's kit. Then I set them aside while I cut a 4 x 5.25" Fog Gray panel. Next, I cut a panel of Gingham Bubblegum from the Doodlebug Gingham-Linen Rainbow Petite Prints 12x12"Cardstock Paper Pack. 


I wanted the pink darker to match the bow on the other card so I ink blended some Dragonfruit ink on the edges before glueing the panel down. To finish the card, I heat embossed the sentiment using Speckled Prism Hot Foil on Nutmeg cardstock. I layered a shadow cut from Silver Glitter Paper and popped on the sentiment with foam squares.


I've never worked with this colour palette before and I was pleasantly surprised at how well the brown fit into it. I actually tried to use as little of it as possible but, as noticeable as it is, I really love how these cards turned out.


Here's a list of monthly club kits I share, as well as some of the value kits offered by Spellbinders:


I appreciate you stopping by and, if you're inspired, please shop my affiliate links below. Spellbinders would love to know that you were inspired by me. Thanks so much for your continued support!

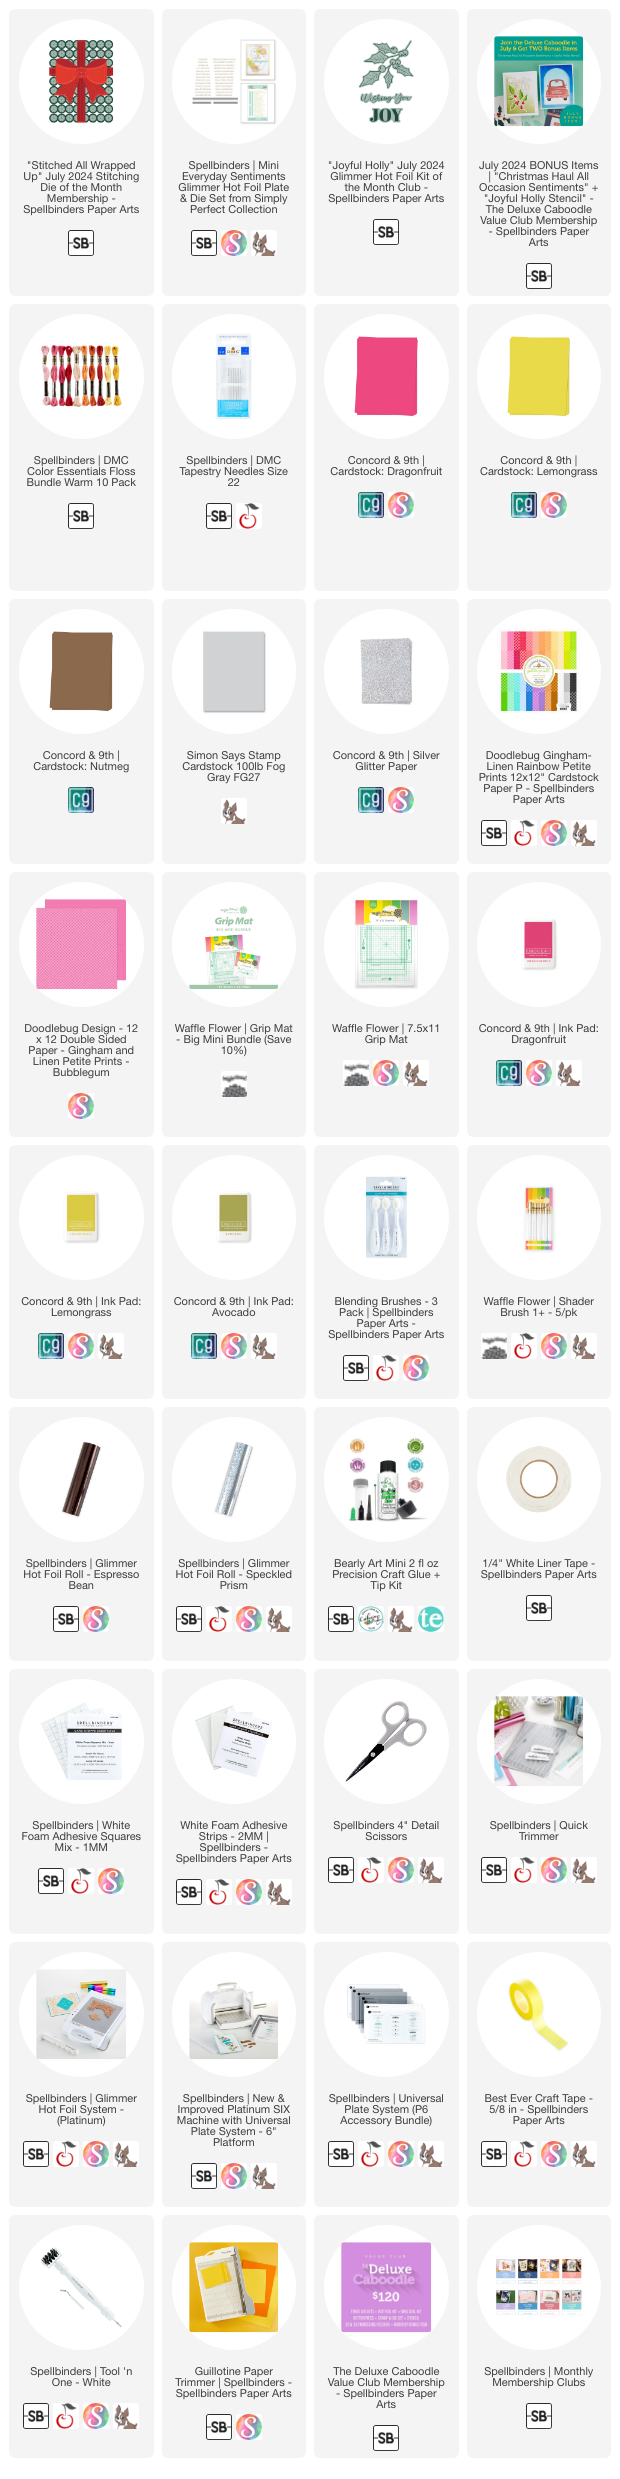
Supplies: 

Tuesday, April 11, 2023

VIDEO | Taylored Expressions | Create-in-Quads Ever in Bloom Collection

I am over-the-moon excited about this release because it's just so beautiful! The Ever in Bloom Collection is curated around the newest Create-in-Quads - Ever in Bloom Stencil Set from Taylored Expressions. There are seven unique products in this entire collection, all for the newest quad stencils. Yes, that's right! 


I especially love how each quad panel is so different from the next. All of my designs and the uses of the colour palette make each of these cards look like they were made from completely different products. I just love the variety of designs made possible by the Create-in-Quads - Ever in Bloom Stencil Set.


The colour palette for all of these cards includes Lavender Glaze, Plum Punch, Salt Water Taffy and Gumball. Gumball is one of those colours I shied away from for a long time but I've been reaching for it more and more.


After using bitty blender brushes and pastel blender brushes to stencil the four panels, I cut them up and used A2 Layer Stacklets and Additional A2 Layer Stacklets to trim down the first panel, as well as create a gold foil frame. The inside was die cut using the Create-in-Quads Ever in Bloom Frame Die.


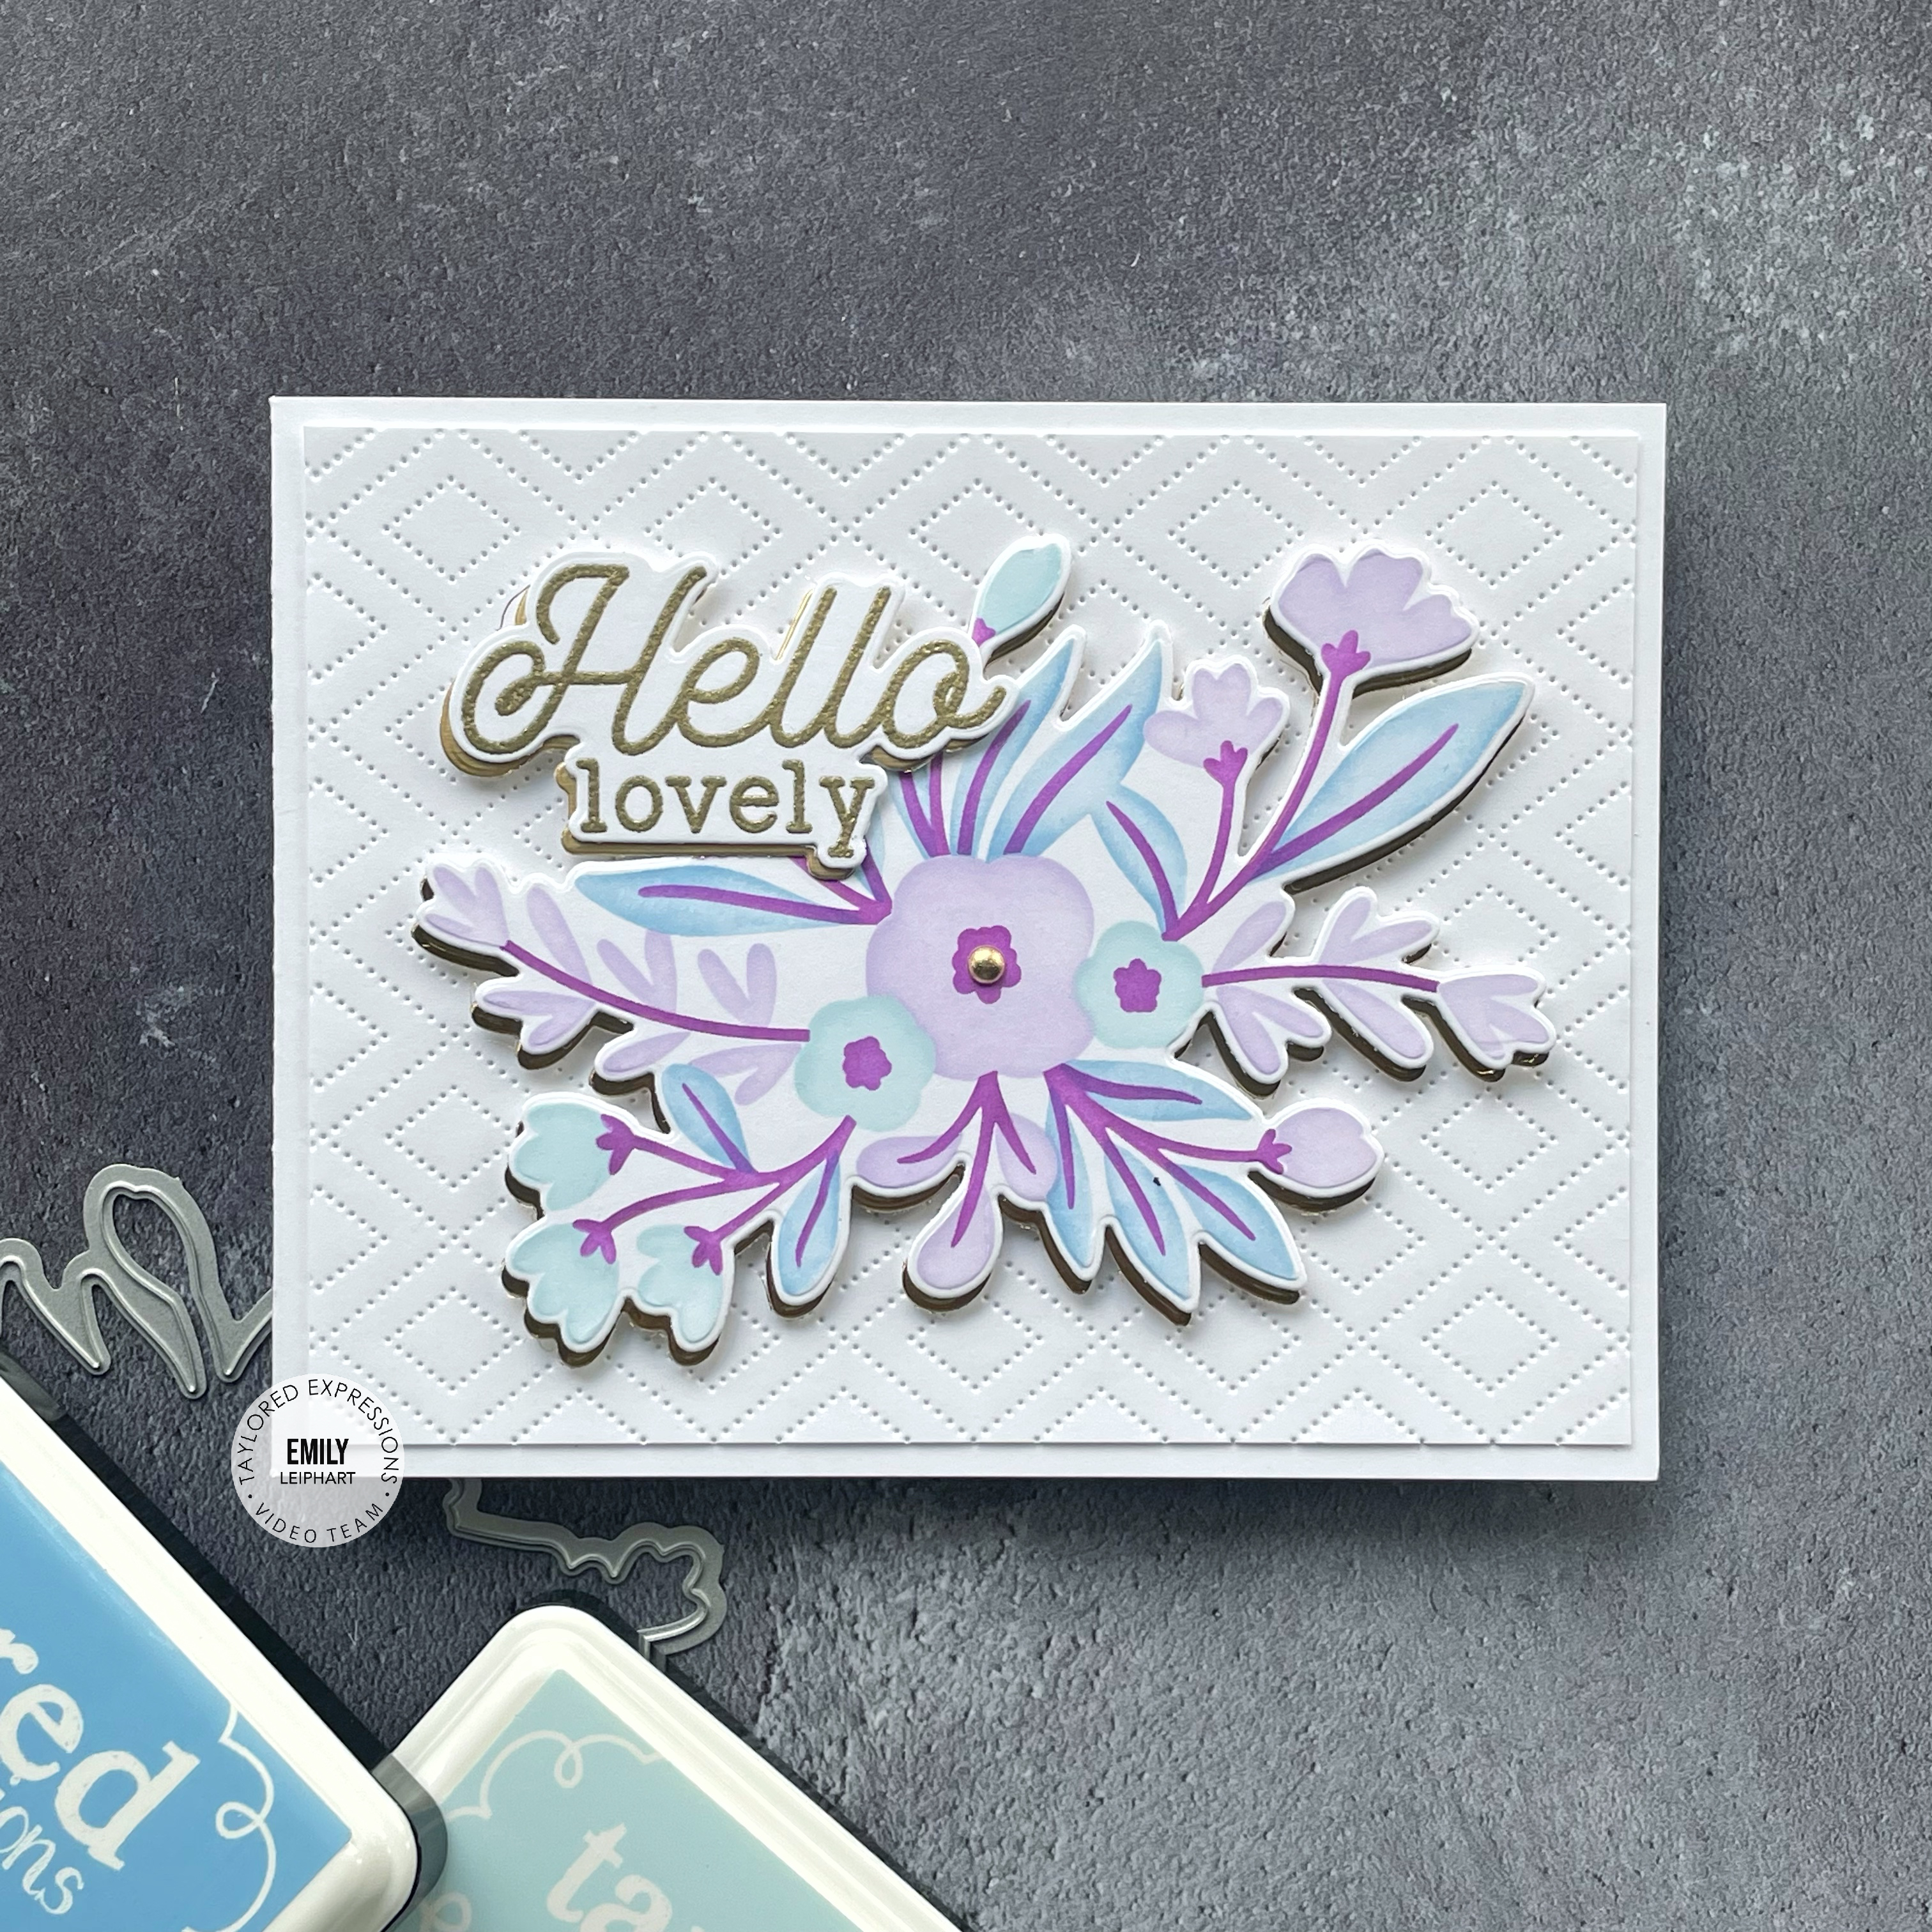
All of the sentiments from the Hello Lovely Stamp Set were stamped with Versamark Watermark ink on Sugar Cube cardstock, then heat embossed with gold embossing powder. I die cut a shadow from Lavender Glaze cardstock, glued it to the sentiment and popped up both the frame and sentiment with foam tape.


When photographing multiples, it's always ideal to create two portrait cards and two landscape cards. I was really happy that these panels and dies made it ideal for that. This second design features the single array which comes with its own coordinating Create-in-Quads Ever in Bloom Sprays Die.


Much like both the Autumn Array Stamp & Stencil Combo and Spring Array Stamp, Stencil & Clear Combo, which come with coordinating dies, this singular spray shines all on its own. The background panel was created with one of my often-used favourites, the Diamonds Piercing Plate.


I added gold foil shadows to both the spray and the sentiment, popping them on with foam tape. I added one gold matte metallic enamel dot to the centre.


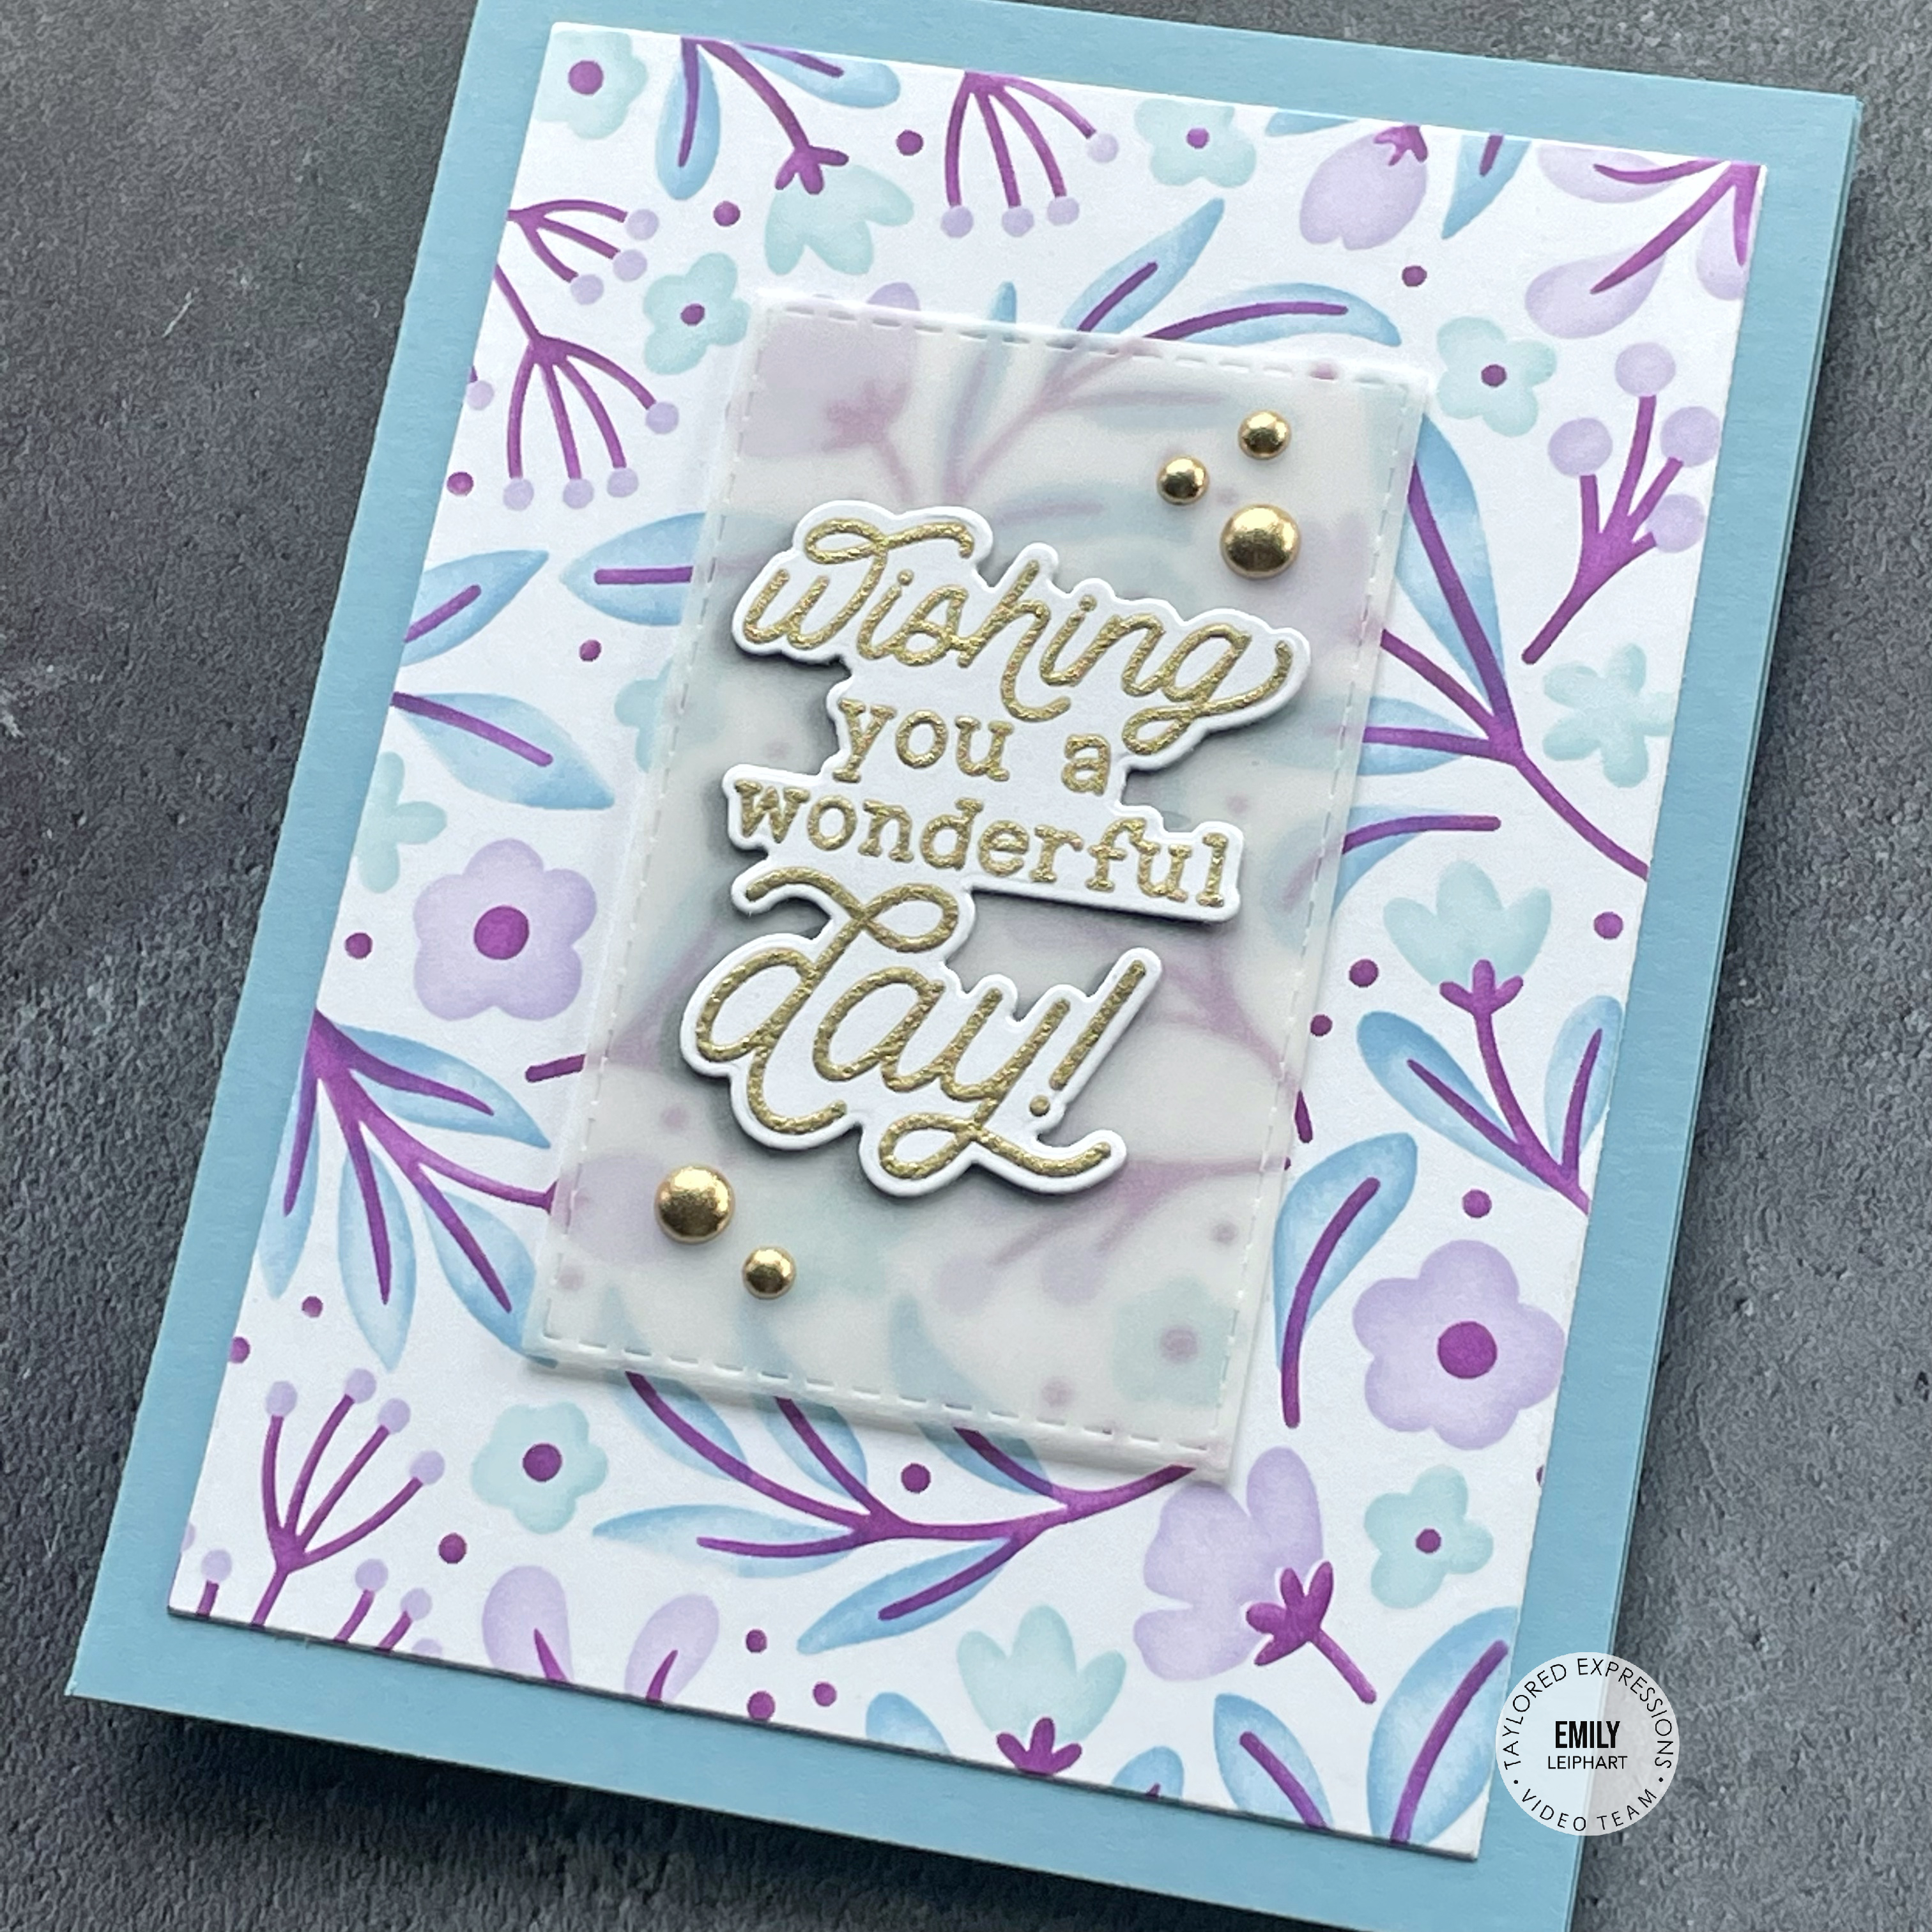
Going back to a portrait orientation, this card base was cut from Gumball cardstock and the fully-stencilled panel was trimmed down with the Additional A2 Layer Stacklets. The sentiment needed something behind it to distinguish it from the busy background.


I used glue dots to attach the sentiment to the Stitched Rectangle Stacklet cut from vellum. Then I used more glue dots to attach the vellum to a shadow cut from Black Licorice cardstock. The whole piece was popped up on foam tape to give the illusion that it's floating above the stencilled panel.


To finish, I decorated two corners with gold matte metallic enamel dots in two sizes.


My last card is also a landscape design and I love the way the second die in the Create-in-Quads Ever in Bloom Sprays Die cuts these corners. They also look amazing on a Lavender Glaze card base. It's such a simple design but with a serious wow factor!


In order to create some dimension, I used double-sided tape on the outermost edges of the die cut pieces and popped up the innermost die cut edges with foam tape. I love this trick to clean card edges with a bit of visual interest.


This time, I added two shadows to the sentiment, one in Plum Punch and a second in gold foil. To finish, I also added a few gold matte metallic enamel dots to this card and all of my Create-in-Quads - Ever in Bloom cards are done!


Thanks so much for stopping by and, if you're inspired, please shop my affiliate links below!

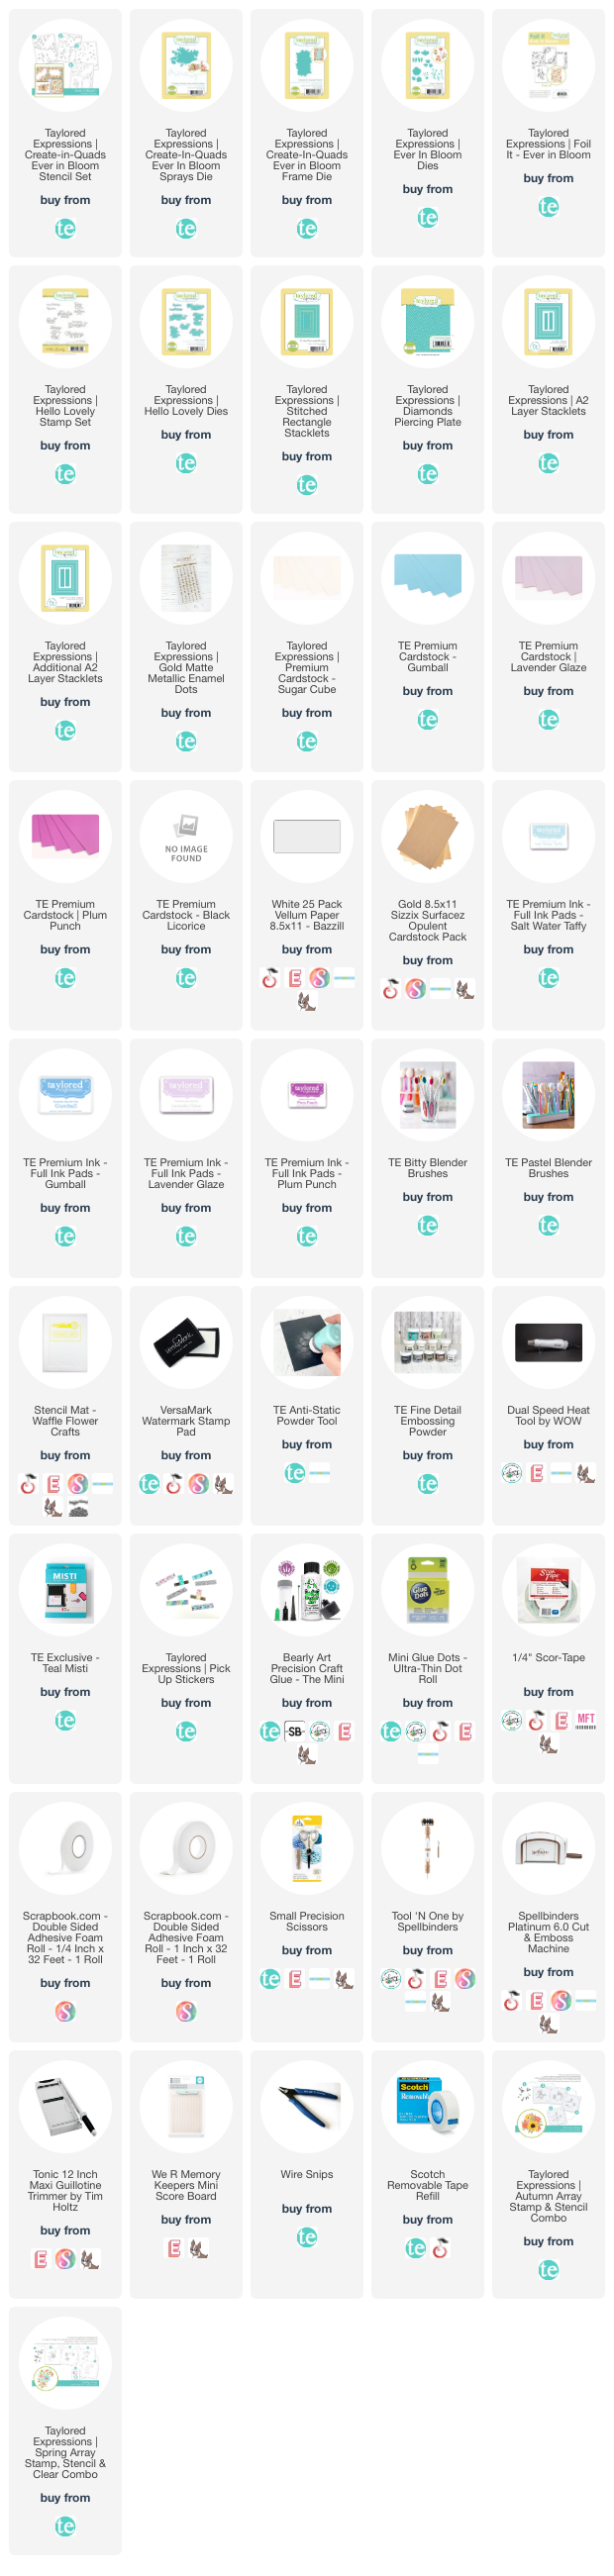
Sources: 

Thursday, June 16, 2022

VIDEO | Taylored Expressions | 5 Card Ideas feat. Triple Slim Boho Layering Stencil + Cutting Plate


Taylored Expressions has released the next in the Triple Slim Layering Stencil Series and you're going to love it! If you're already a fan of the Create-in-Quads Layering Stencils, then you're sure to fall in love with this new addition. I'm thrilled to be introducing Triple Slim Boho Layering Stencil, the second of the Triple Slim series. These work exactly like the Create-in-Quads but result in three mini slim cards, as opposed to four A2 cards.


I'm sharing five cards in my video. The first two feature the Triple Slim Boho Layering Stencil and new Boho Hellos stamp set. I selected Cupcake, Lollipop, Candy Corn and Sprinkles inks for my stencilling. The colours are cute, refreshing and perfect for summer cards!


I love looking at the finished panels and the different patterns are so cool, even before they're turned into mini slim cards. This first design covers two-thirds of the panel and consists of half circles and slashes.


I created a 3.5" x 6" card base from Lollipop cardstock and attached the stencilled panel with my tape runner. I stamped all five of the sentiments from the Boho Hellos stamp set in Oreo ink and die cut them using the coordinating Boho Hellos Dies.


I love the way the Boho Hellos Dies cut around the sentiments. The fonts are adorable and I can see myself using this set 'til the end of time! I stacked the sentiments two layers high just for a bit of extra dimension and to keep these cards flat for easy mailing because that's always a bonus.


For my second card in this set, I attached the stencilled panel to a Mini Slim Top-Fold in Oreo and added the sentiment to the open space in the centre. I really love the different sized half- and quarter-circles and addition to the half-rainbows in this pattern.


The last card to result from the Triple Slim Boho Layering Stencil is a full card pattern and it coordinates with the Mini Slim Half Dots Cutting Plate. It would cut out the half circles in this beautifully stencilled panel or you can create an overlay, placed in either direction.


I wanted to share different ideas for the Mini Slim Half Dots Cutting Plate so I made two cards using the plate and its parts. I used the cardstock version of the same colours, Cupcake, Lollipop, Candy Corn, Sprinkles, Oreo, Sugar Cube and gold glitter for these two cards.


The Mini Slim Half Dots Cutting Plate is extremely versatile and classic. You can use the main shape to create custom patterns of colour or you can use the individual pieces freely.


For the first card, I created a recessed pattern which was the opposite of what I had intended due to a glueing accident but I love the way it turned out. I also ended up white heat embossing the sentiment on Oreo cardstock and adding a gold glitter shadow for maximum impact.

For this last card, I created a Candy Corn card base and added 1/4" Easy Strips in Cupcake and Lollipop, as well as 1/2" Easy Strips in Sprinkles. Both sentiments are also from the Boho Hellos stamp set.

Thanks so much for watching!

Sources: 

Thursday, June 9, 2022

Catherine Pooler | Quint-Essentials Collection | Clean and Simple Cardmaking Inspiration


Today, I have more inspiration using Catherine Pooler's Quint-Essentials Collection which is now available for purchase. On this card, I'm featuring the Because Flowers Patterned Paper and Hey Word Dies.


To create the background, I used the Circle Landscape Die on three sheets of Because Flowers Patterned Paper and glued the pieces to a smaller circle but from the Round About Dies. I attached the finished piece to a vellum circle cut with the largest of the Round About Dies.


To create the sentiment, I cut the Hey Word Dies from premium white cardstock, vellum and gold glitter cardstock. I cut one vellum layer and one premium cardstock layer using the backer die. Then I cut one gold glitter layer and three premium cardstock layers using the thin scripted die. I used liquid glue to secure all six layers in the following order: gold glitter script, premium white script, vellum backer, premium white script, premium white script and premium white backer. This creates the perfect amount of dimension and support between the layers without having to use foam tape.


To add a bit more detail to the card base, I scored two lines on the folding edge of the card. It's rare that I make a card without any stamping but this sentiment and the pretty papers make a great hello/friendship card. I hope you enjoyed all of my inspiration for the Quint-Essentials Collection and NEW Apothecary Inks.


If you missed my other four posts for this new release, you can find them here:

Thanks so much for stopping by!

Sources: