Showing posts with label sequin. Show all posts

Saturday, March 1, 2025

Year of the Snake Shaker Card


Welcome to the March 2025 Lunar New Year Challenge! Once again, we’ve partnered up with your favourite craft companies all year long so that means there are giveaways every month! This month, we’re giving away ONE $25 gift certificate to Lawn Fawn, ONE $25 gift certificate to Altenew, ONE $25 gift certificate to Sunbird Spark, and ONE $25 gift certificate to Whimsy Stamps. That’s a total of $100 in giveaways in March!


My first card for March features the Tiny Gift Box Lizard and Snake Add-On from our returning annual sponsor Lawn Fawn, plus cardstock and a sentiment from our quarterly sponsor Concord & 9th! I partially cut the snake head so I could extend the body down. The coils you see are actually legs for the lizard and I love how I was able to make it look like a big snake coiled around itself a few times.


I cut the snake from Lemongrass cardstock and its details were cut from Nectar and Black. The background of the shaker was cut from Clover cardstock and the circle frame was cut from Poppy. To create the texture on the card front, I embossed a piece of Powder cardstock with the Wood Slat Embossing Folder, which is perfect since this is a Wood Snake Year! I created a custom sentiment using three separate sentiments from Merry Greetings Builder Stamps and curved them on the inside of the circle. Then I filled the shaker with sequins from my stash.


Visit the March Link-Up Party post HERE to see all of the design team projects and be inspired to create your own! You can find the Challenge Rules HERE. Please tag us @lunarnewyearchallenge on Instagram and use the hashtag #lunarnewyearchallenge so everyone can find and be inspired by all your amazing projects.

If you’re inspired, some affiliate links are included below at no extra cost to you. Thanks so much for stopping by and I’ll see you again soon!

Supplies

Wednesday, October 9, 2024

Spellbinders Guest Post feat. Oh Joyful Day Card Making Kit by Rosie's Studio


Hello, crafty friends! I'm on the Spellbinders Blog with three cards featuring the Oh Joyful Day Card Making Kit by Rosie's Studio, one of many awesome releases now available in the Spellbinders store!


If you missed my post featuring two other cards using products from this collection, you can find all the details HERE or by clicking on the image below.


Affiliated product links are listed below at no extra cost to you. Details on how I made each card and more photos are on the Spellbinders Blog. Thanks so much for stopping by!

Supplies

Thursday, September 12, 2024

Lunar New Year Challenge | May You Be Blessed With Health & Happiness


Would you believe this card was made eight years ago?! I was cleaning my son's room a few weeks ago and found it. Apparently, I never photographed or blogged it! I'm sure I meant to but I must've completely forgot about it. Since I run the Lunar New Year Challenge now, there's no better time to share it for some inspiration!


Back in 2016, I thought Maneki Neko Lucky Cats only came in gold, symbolizing wealth, but there are so many different colour variations with different meanings. I love that I have two stamp sets with Lucky Cats so I thought I'd create a little family. The two big cats are from Lawn Fawn's My Lucky Charm and the small cat is from Mama Elephant's Lunar Extras. You can find the Copic colours I used in the supply links below.


I cut the front panel from Simon Says Stamp's Schoolhouse Red cardstock. To create the little window with a faux shaker, I used My Favorite Things' retired Stitched Arch STAX but a great alternative is Sunny Studio's Stitched Semi Circle Dies, or you can easily create the same look with any circle die and a paper trimmer or blade.


Next, I white heat embossed the sentiment, also from Mama Elephant's Lunar Extras. After die cutting the coloured images, I popped them up with foam tape on the bottom edge of the window and glued 3mm and 6mm crystal clear sequins in various sizes to make it appear as if they were part of a shaker.


The rules are simple. You must create a new Lunar New Year, Chinese New Year or a 2024 Dragon Birthday card and add the link to your post in the link-up party. For the month of September, we are also welcoming Mid-Autumn Festival cards. Multiple entries are allowed. Backlinking to an older project is strictly prohibited.

Our September Lunar New Year Challenge will run from 12:00am EST on September 1, 2024 through 12:00pm EST on September 30, 2024. We would love to see you using products from our four generous sponsors! The four lucky winners will be randomly selected from all eligible entries and announced at the start of the October Challenge. 

(save and share with your project)

Visit the September Link-Up Party post HERE to see all of the design team projects and be inspired to create your own! When sharing your challenge entries on social media, feel free to save this badge and post it along with your project. Please tag us @lunarnewyearchallenge on Instagram and use the hashtag #lunarnewyearchallenge so everyone can find and be inspired by all your amazing projects.

If you're inspired, some affiliate links are included below at no extra cost to you. Thanks so much for stopping by and I'll see you again soon!

Supplies

Thursday, August 1, 2024

Lunar New Year Challenge + Giveaways | August 2024


The Lunar New Year Challenge is back and we've partnered up with your favourite craft companies all year long so that means there are giveaways every month! This month, we're giving away ONE $25 gift certificate to Simon Says Stamp, ONE $25 gift certificate to Lawn Fawn, ONE $25 gift certificate to My Favorite Things, and ONE $25 gift certificate from Catherine Pooler. That's a total of $100 in giveaways in August!


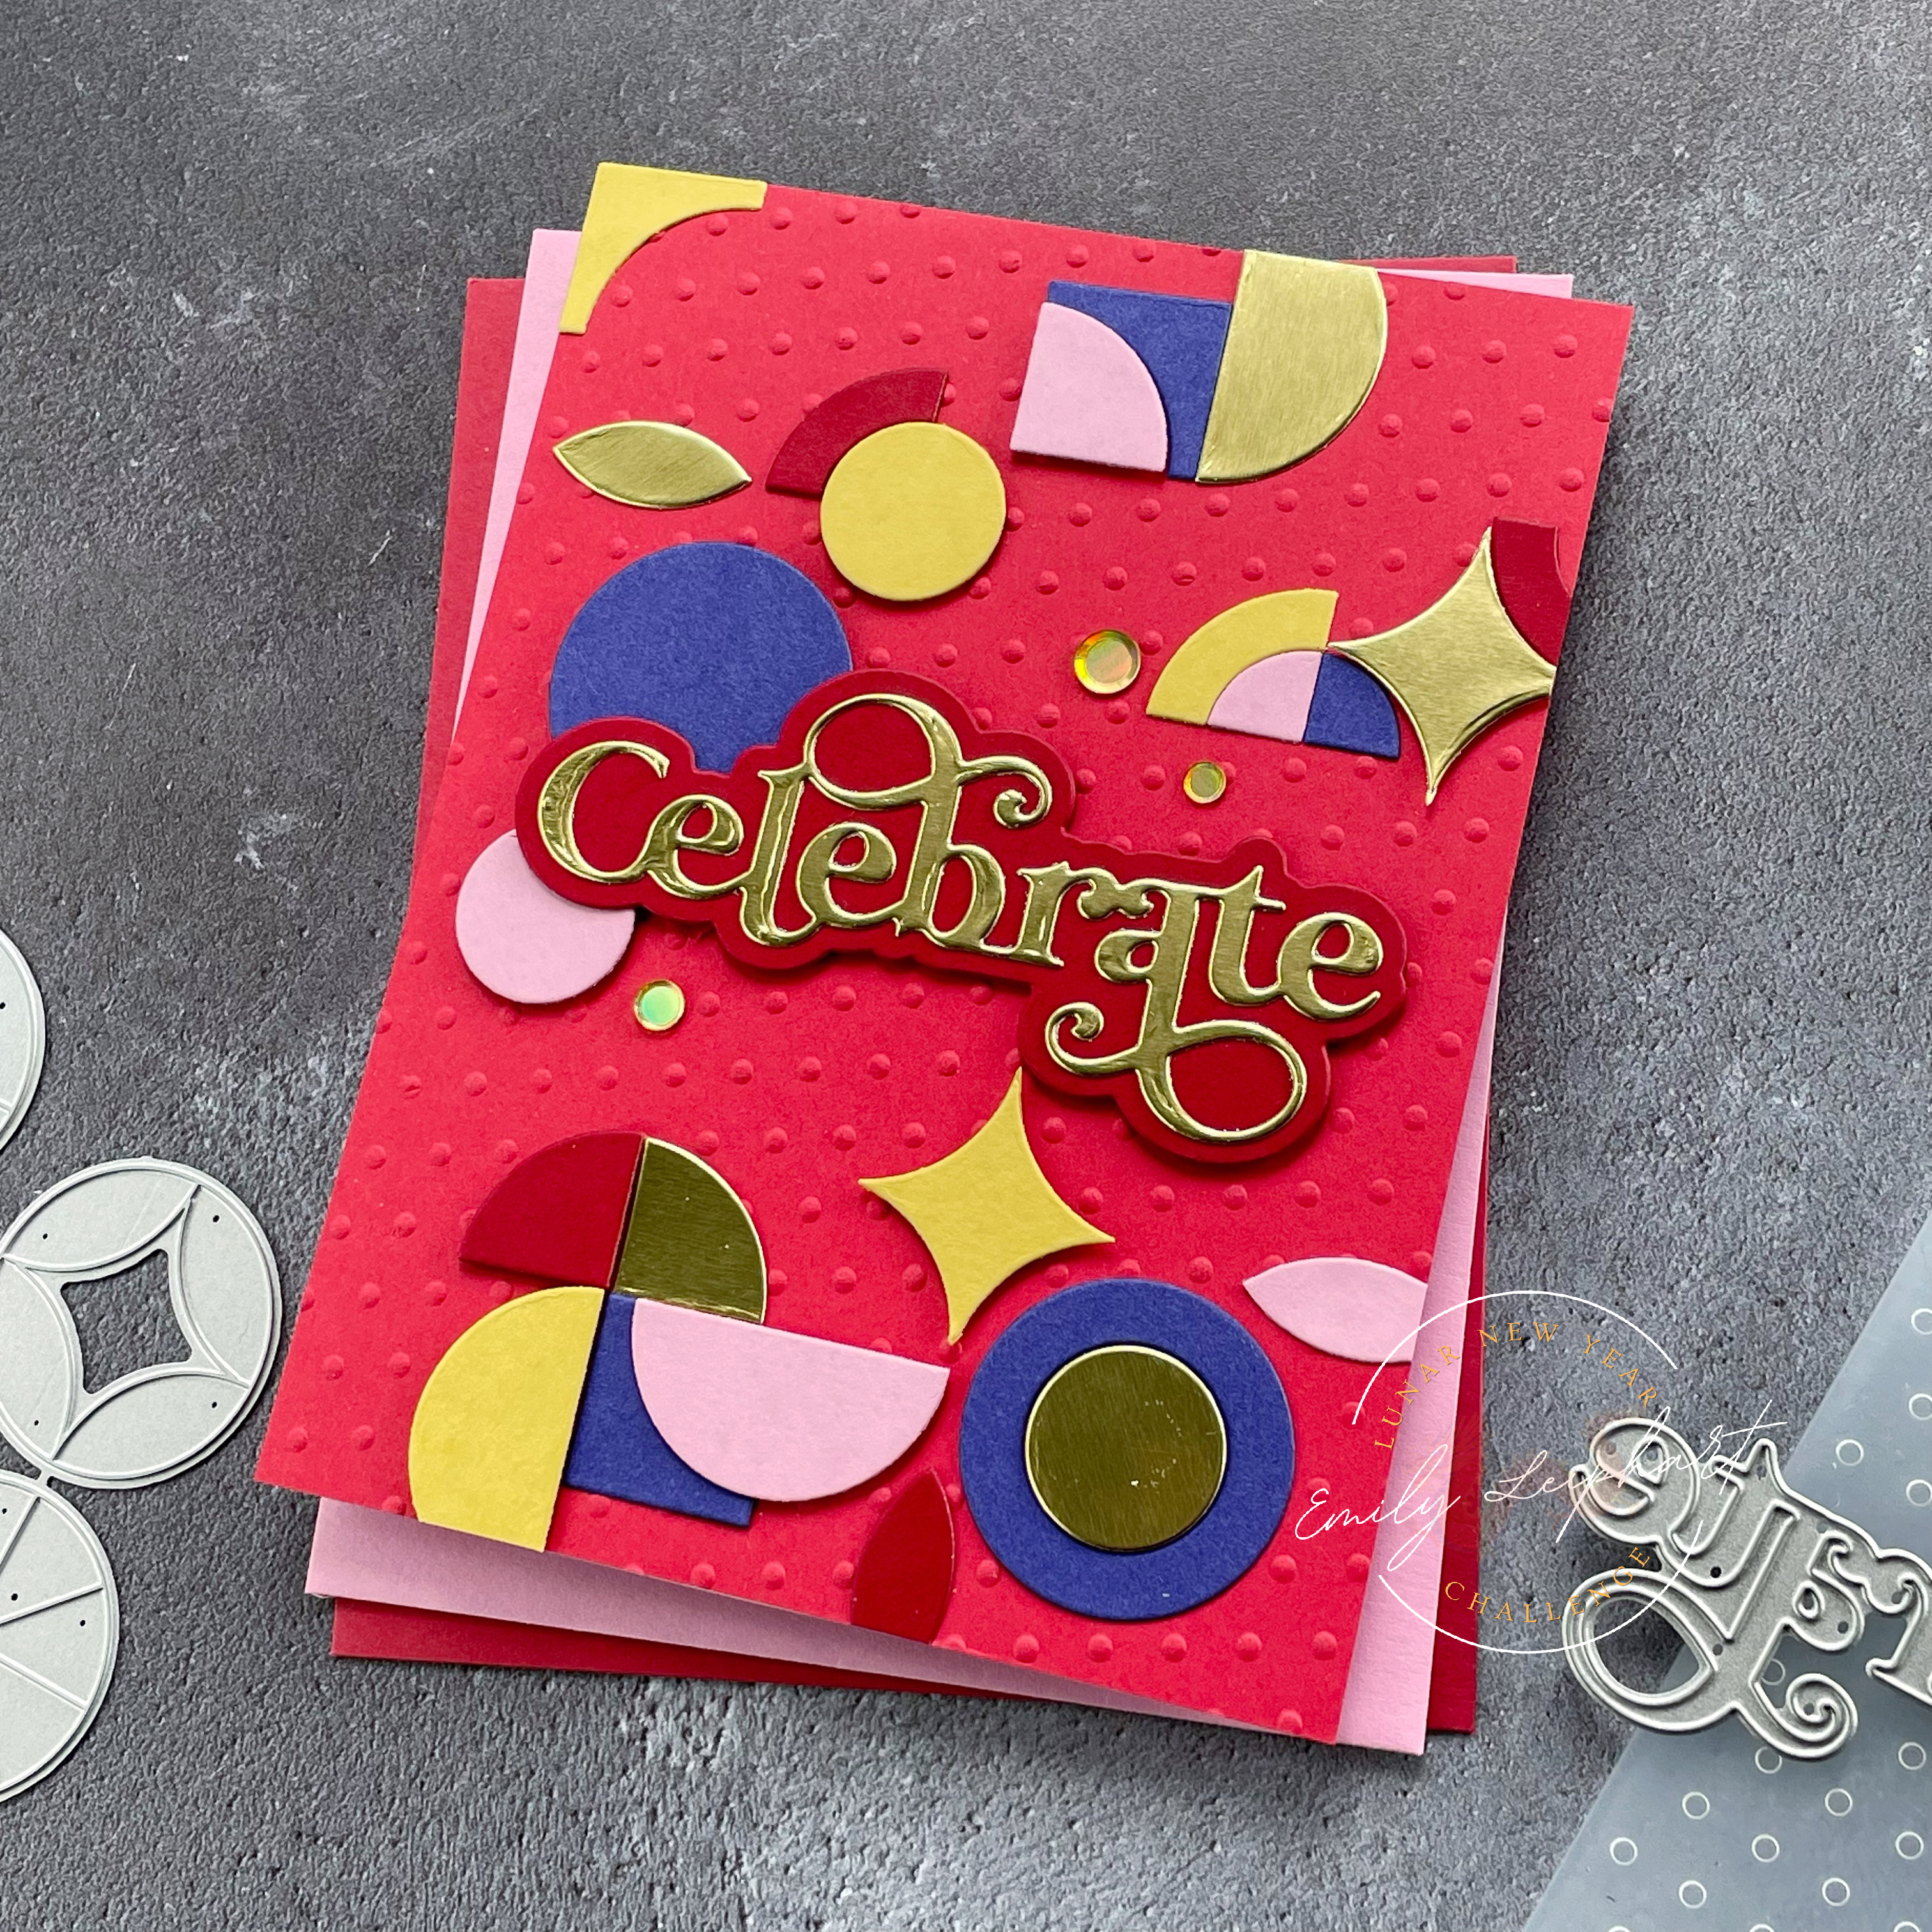
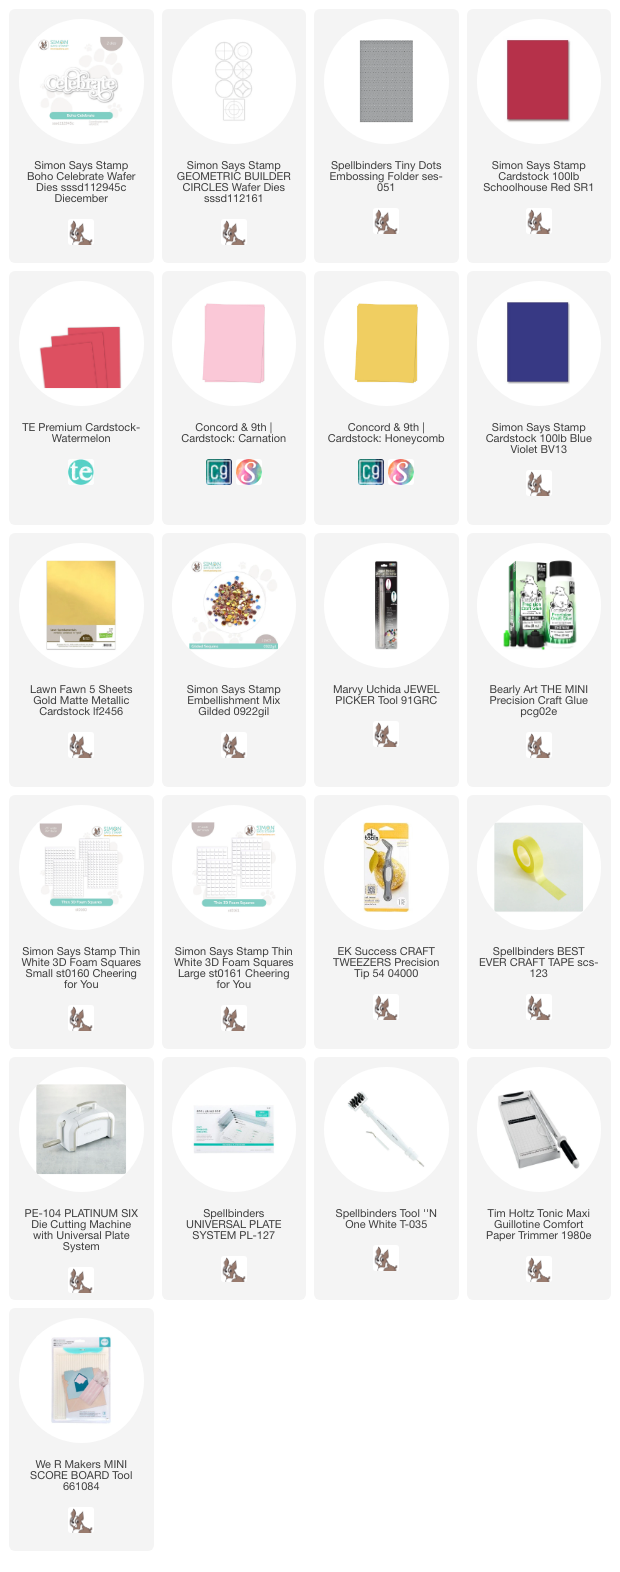
My first card for this month features the Boho Celebrate sentiment and Geometric Builder Circles from our annual sponsor Simon Says Stamp. For my colour palette, I was inspired by this particular illustration by littleWhale and the cardstock colours with the closest match were Schoolhouse Red, Watermelon, Carnation, Honeycomb and Blue Violet with matte metallic gold accents.


I cut an A2 panel of Watermelon cardstock as my base panel. Then I ran it through the Tiny Dots Embossing Folder on an angle for visual interest. I had done a mock-up of the card with a plain background and it really needed something extra.


I knew I wanted the Boho Celebrate sentiment cut from matte metallic gold with a Schoolhouse Red shadow so I die cut those pieces, glued them together and set it aside while I worked on the background.


After die cutting all of the Geometric Builder Circles from Schoolhouse RedCarnationHoneycombBlue Violet and matte metallic gold cardstock, I created my random background. The larger pieces were popped up with foam squares and the smaller ones were glued directly to the embossed panel. To finish, I popped on the sentiment and added a few gold sequins.


The rules are simple. You must create a new Lunar New Year, Chinese New Year or a 2024 Dragon Birthday card and add the link to your post in the link-up party. Multiple entries are allowed. Backlinking to an older project is strictly prohibited.

Our August Lunar New Year Challenge will run from 12:00am EST on August 1, 2024 through 12:00pm EST on August 31, 2024. We would love to see you using products from our four generous sponsors! The four lucky winners will be randomly selected from all eligible entries and announced at the start of the September Challenge. 

(save and share with your project)

Visit the August Link-Up Party post HERE to see all of the design team projects and be inspired to create your own! When sharing your challenge entries on social media, feel free to save this badge and post it along with your project. Please tag us @lunarnewyearchallenge on Instagram and use the hashtag #lunarnewyearchallenge so everyone can find and be inspired by all your amazing projects.

Thanks so much for stopping by and I'll see you again soon!

Supplies

Tuesday, July 23, 2024

Spellbinders | Glimmering Peonies Duo + Christmas in July Sale!


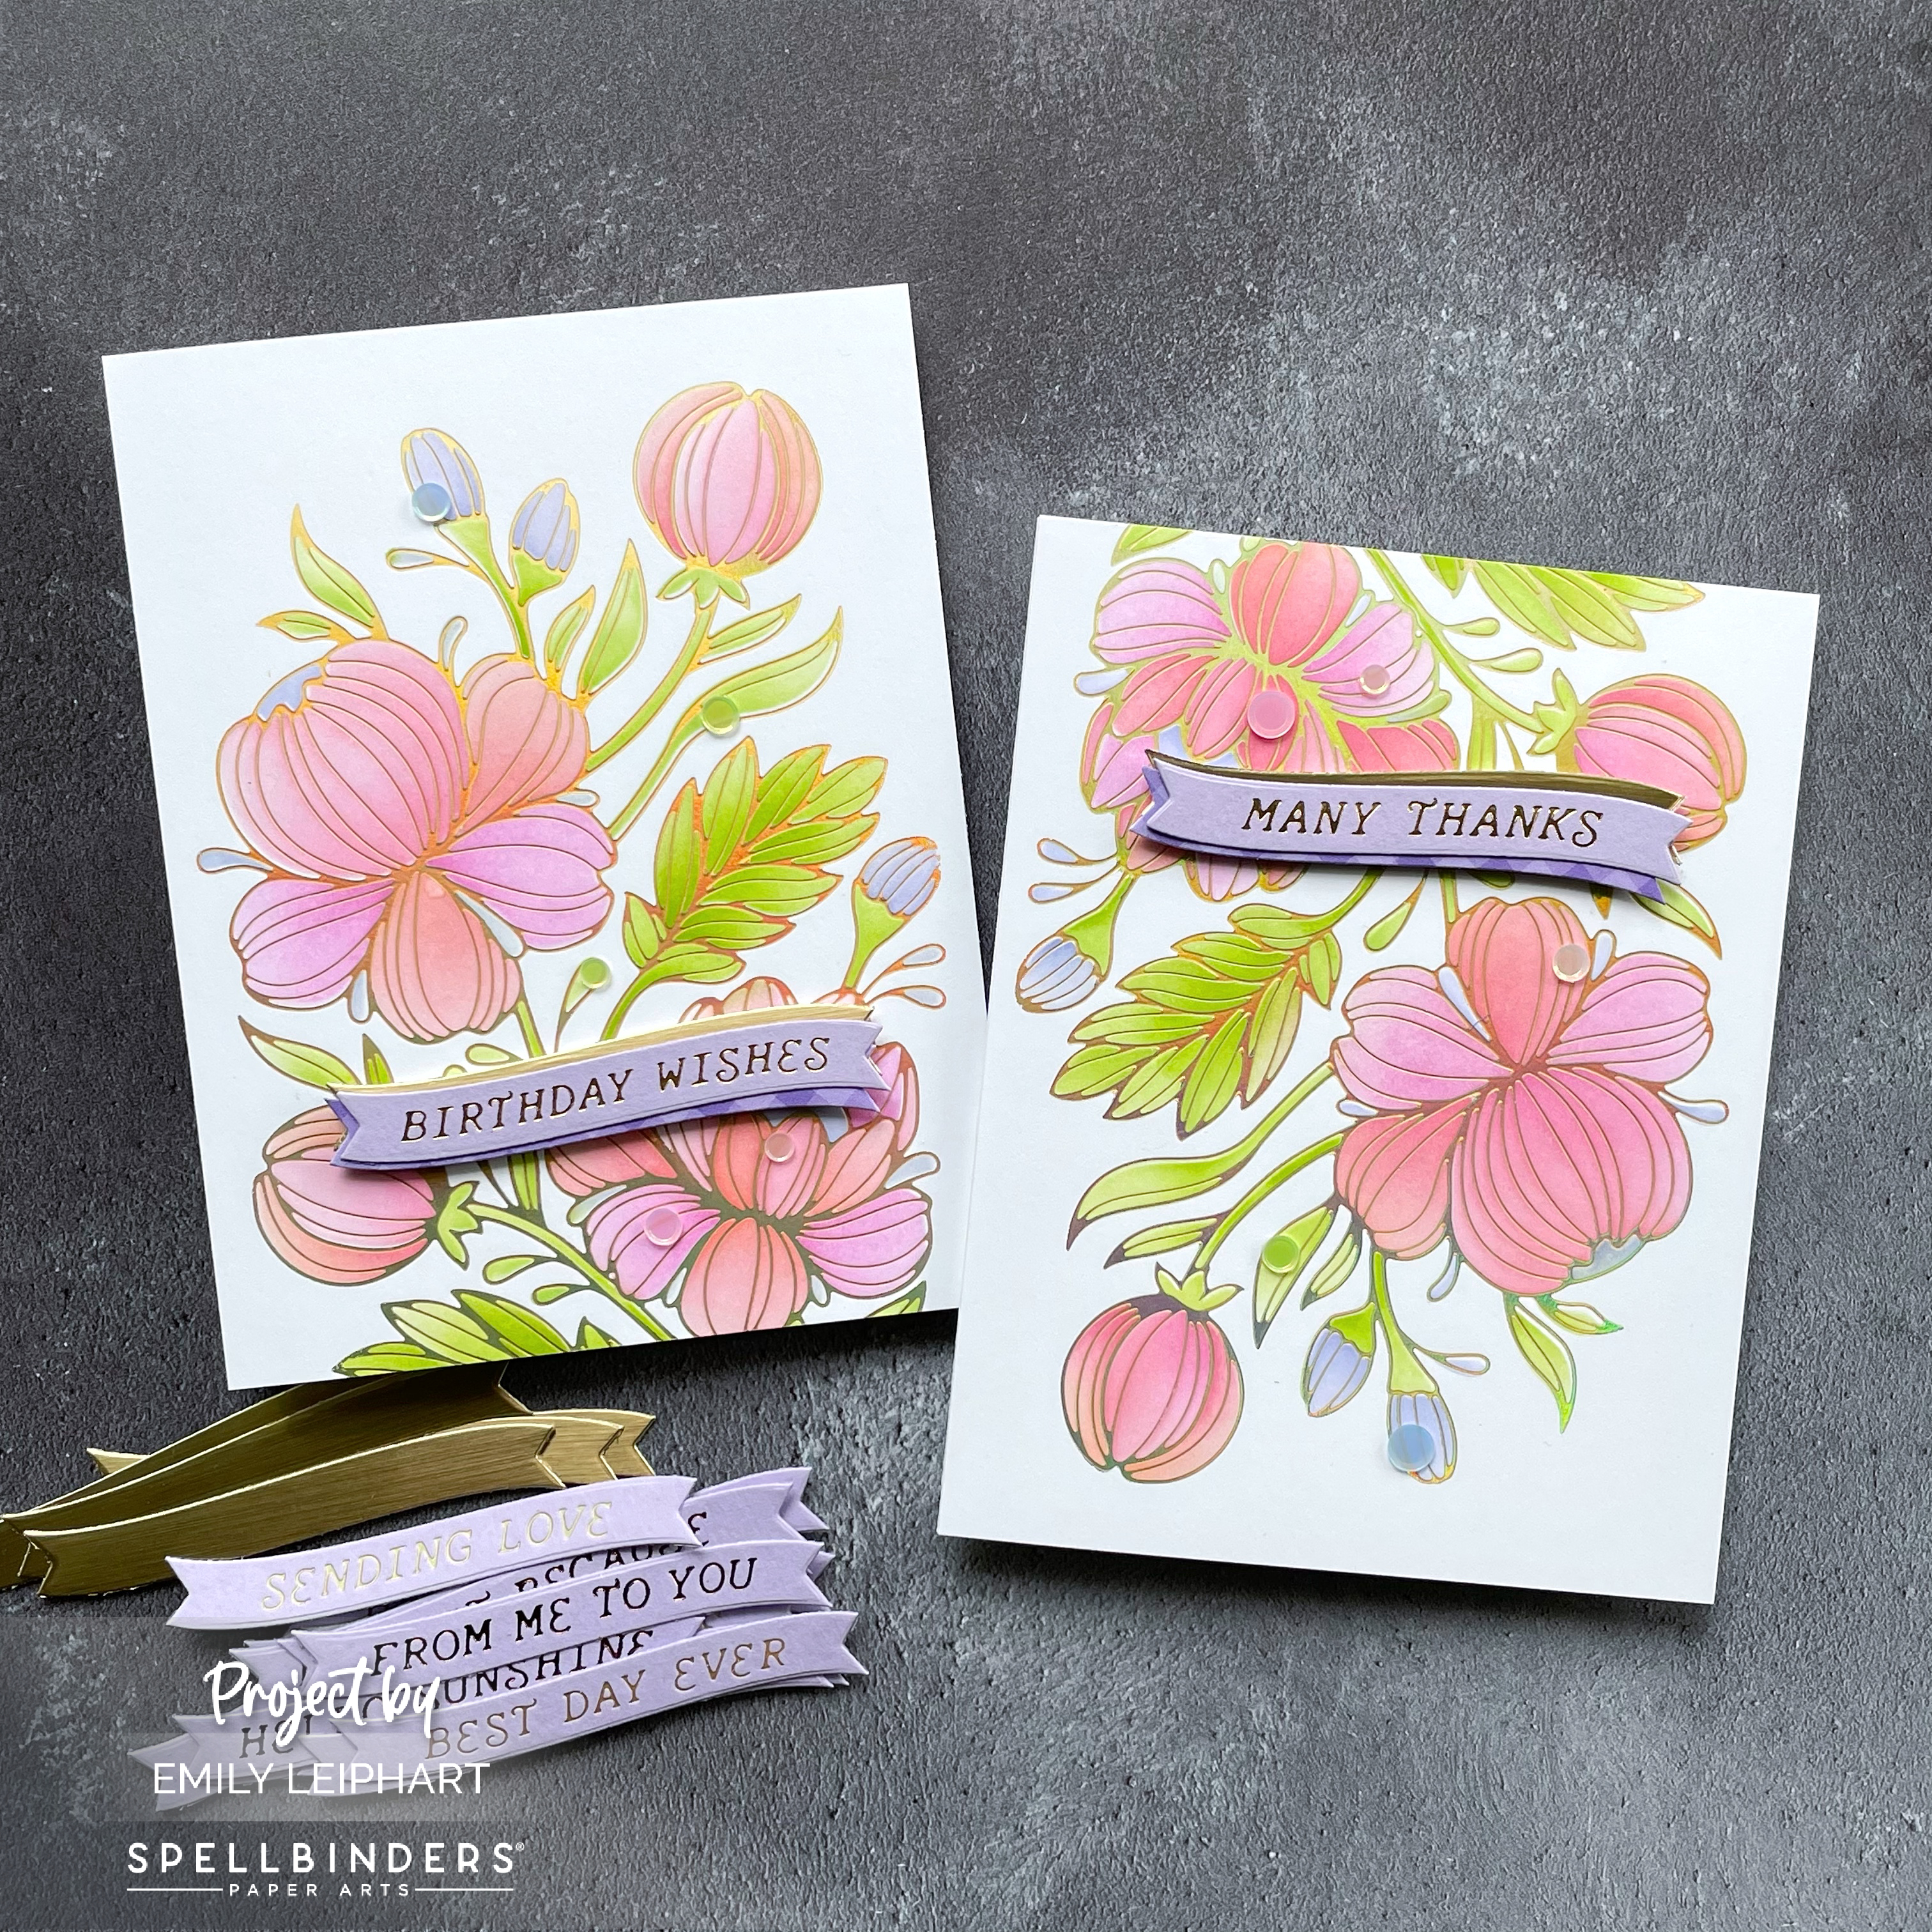
Hello again, crafty friends! You may recall my Glimmering Buttercups POST featuring the Glimmering Flowers Collection from Spellbinders. Today, I'm sharing two clean and simple, same-but-different cards I whipped up featuring the Glimmering Peonies Glimmer Plate and Stencil Bundle.


I needed a couple of quick cards and love having coordinating stencils to colour large, floral images such as this one. Even though I have quite a collection of birthday and thank you cards in my stash, none of them are ever quite right. Do you ever feel that way or is it just an excuse to make more cards? ;)


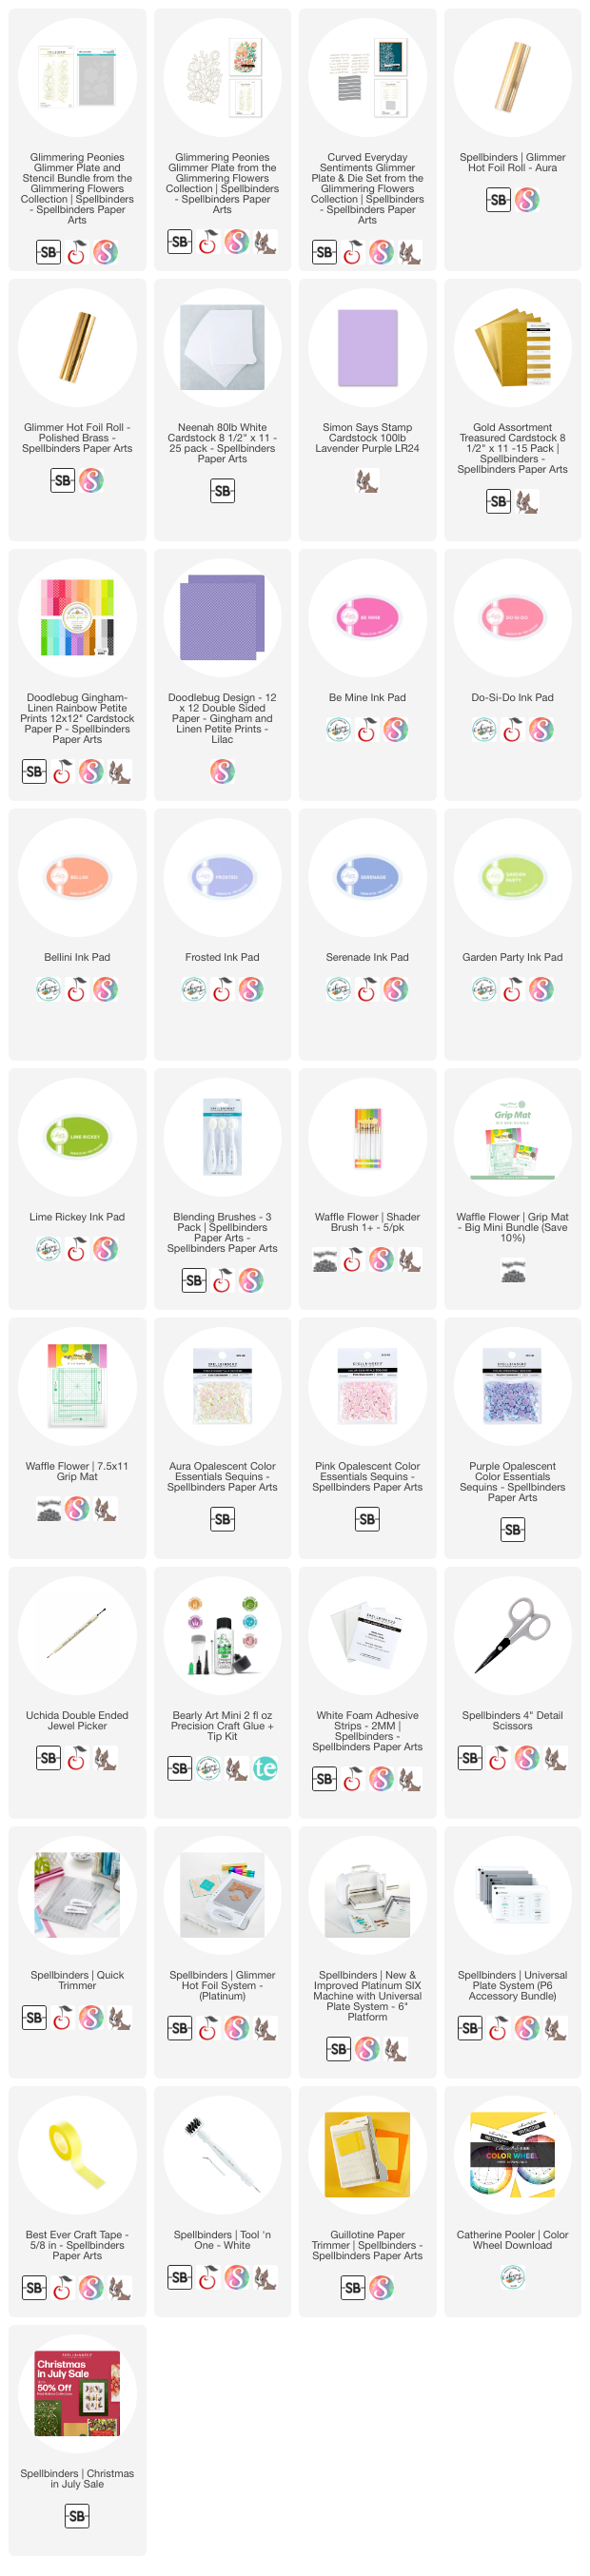
I started by heat foiling the Glimmering Peonies with Aura Hot Foil on Neenah 80lb White cardstock. Then I used Catherine Pooler's Color Wheel Download to select my colour palette and the ink colours I used are Be Mine, Do-Si-Do, Bellini, Frosted, Serenade, Garden Party and Lime Rickey.


If you don't have the coordinating stencils, you can colour these peonies with your favourite medium or simply heat foil them on dark cardstock and leave them uncoloured as I did in the past.


I loved mixing Be Mine with Do-Si-Do and Bellini on the larger flower petals. I love the way Frosted and Serenade work with the other colours. I went as light as possible with Garden Party and Lime Rickey, but I think I could've gone lighter or perhaps even left the foliage uncoloured for something different.


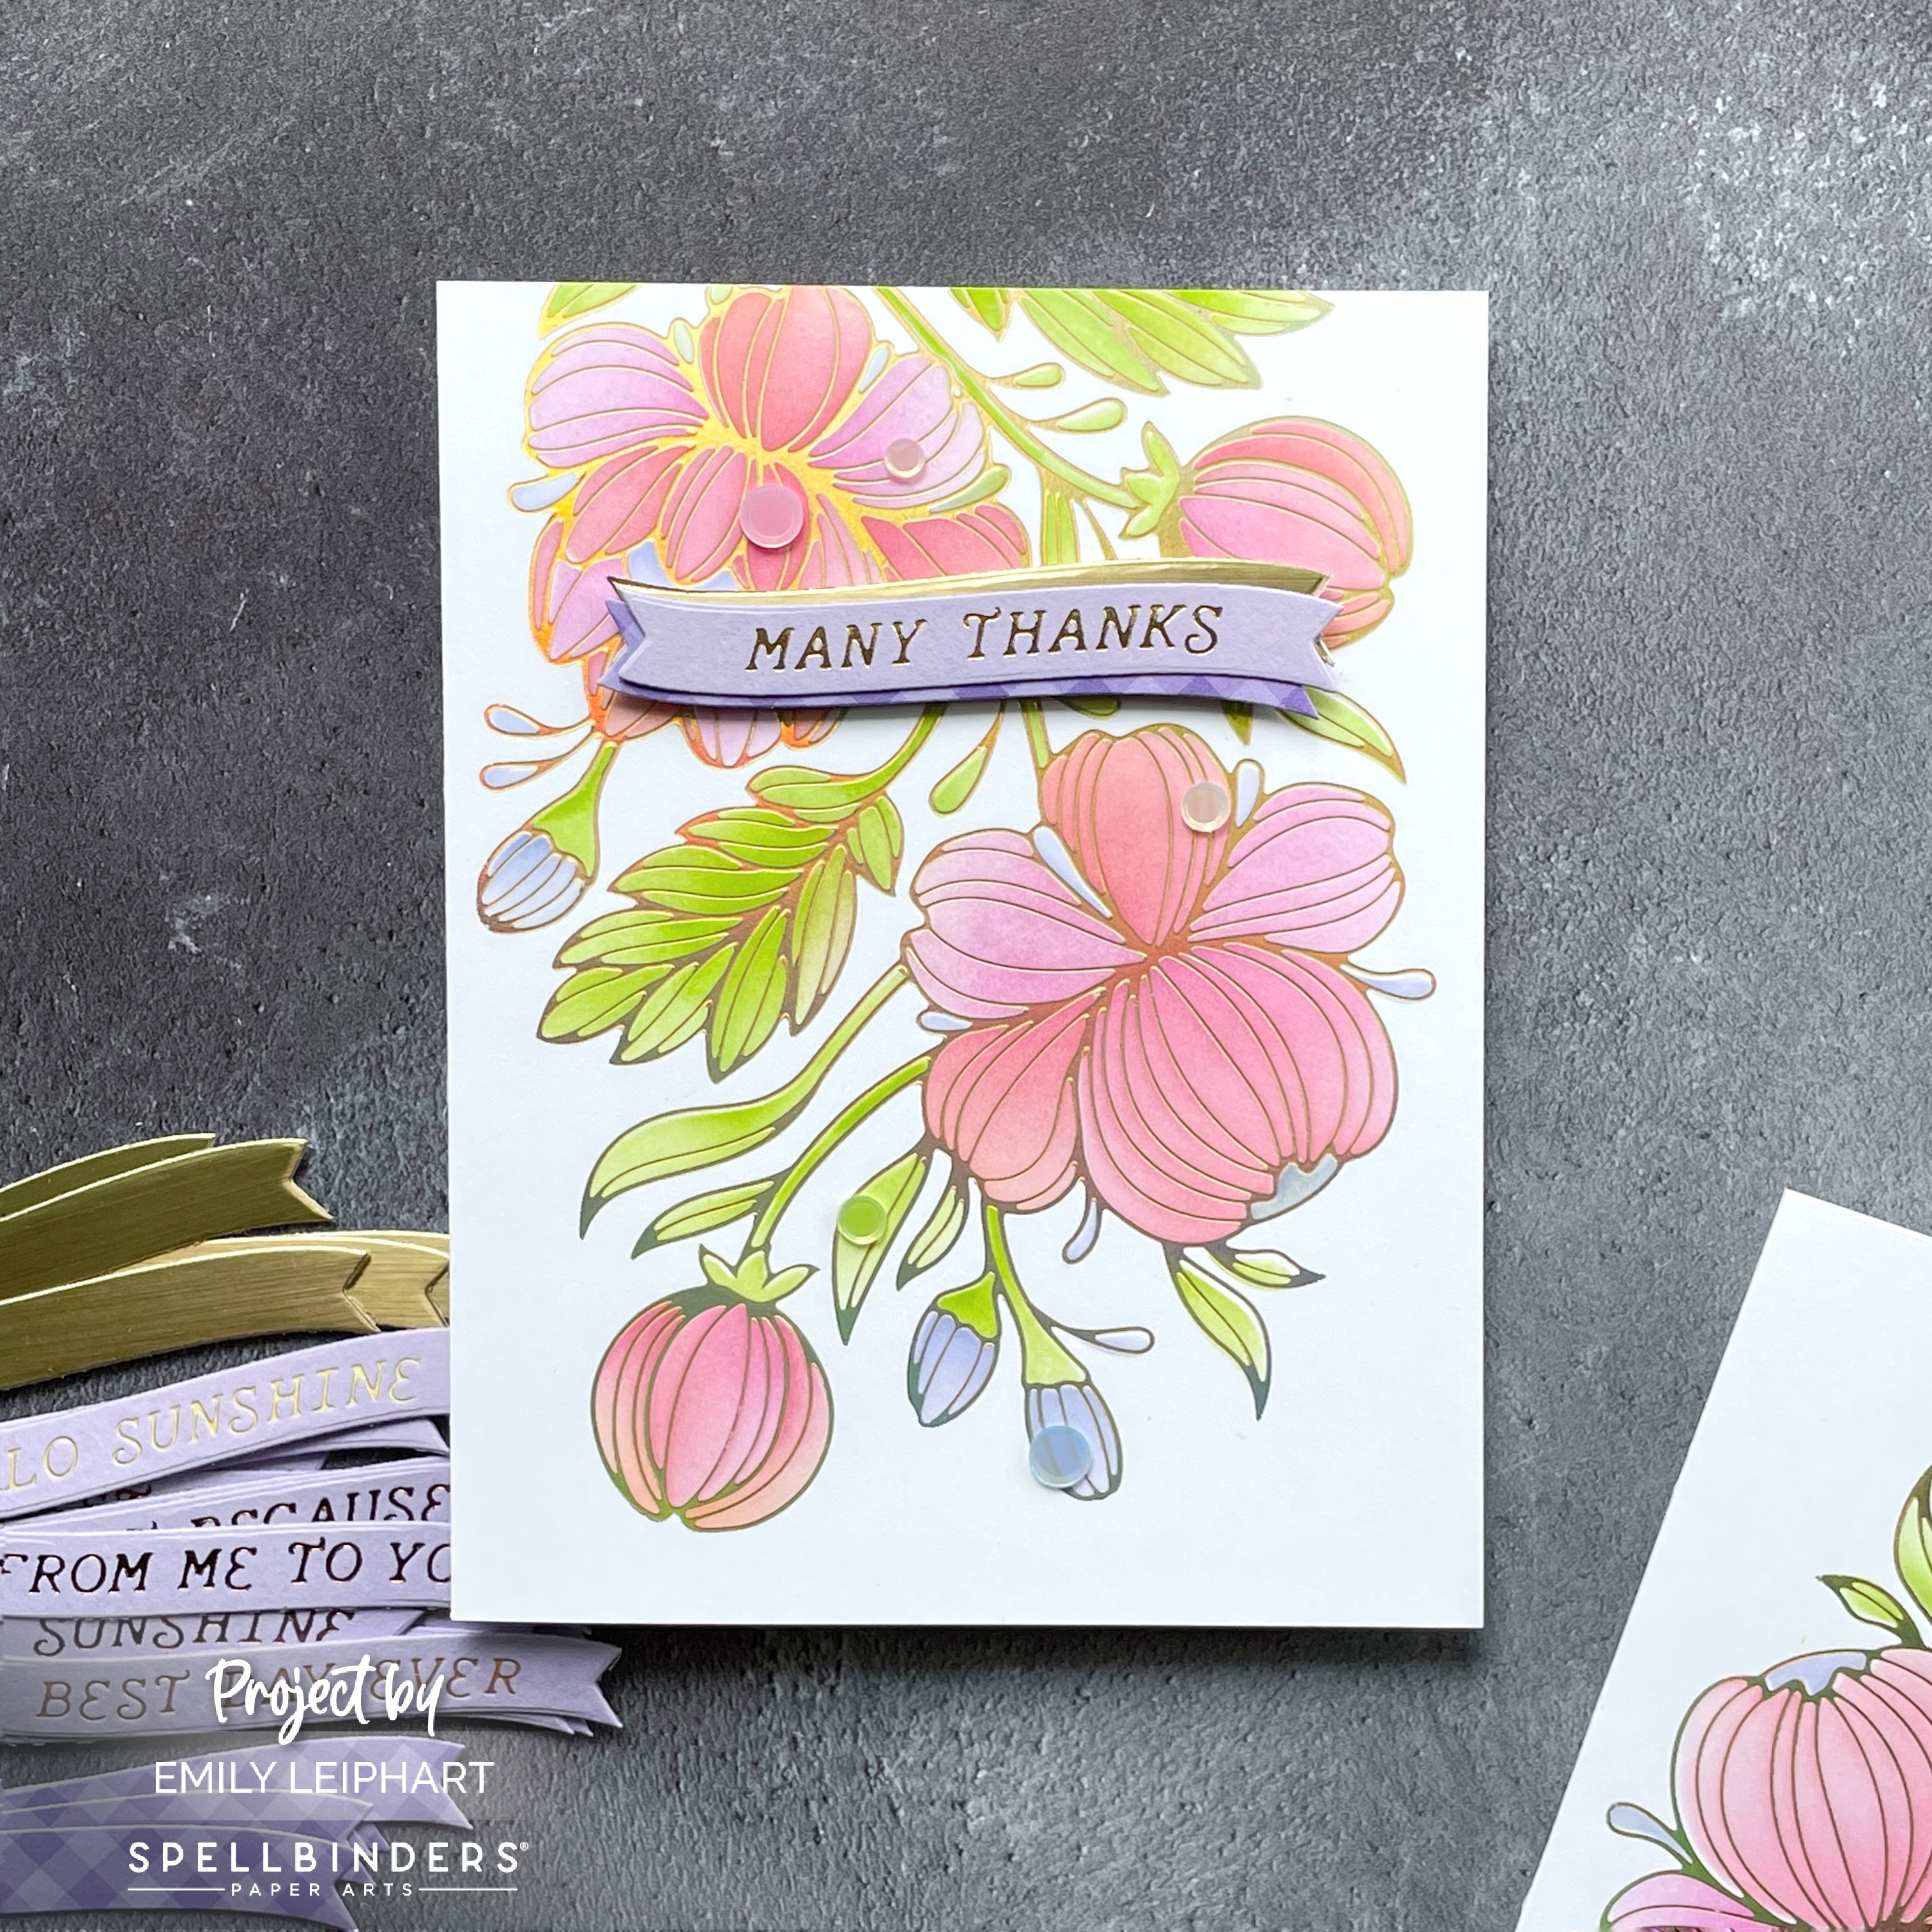
For the sentiments, I heat foiled the Curved Everyday Sentiments with Polished Brass Hot Foil on Simon Says Stamp Lavender cardstock. I actually tried two other foil colours before choosing this version.


I cut the sentiment banners again from both Brushed Metallic cardstock and Gingham Lilac patterned paper. These were layered behind both sentiments to complement the foiling and the bits of purple in the buds.


As you can see, the Glimmering Peonies Glimmer Plate is significantly bigger than an A2 panel so I decided to leave some of it off the bottom edge. You'll also notice that I flipped the thank you panel upside down for a bit of variation between the two cards.


I almost adhered the banners flat to the ink blended panel to make it super easy to mail but I decided to foam mount it for a tiny bit of dimension. I just couldn't resist! Again, I almost stopped there but I decided to use some flat sequins to add visual interest.


The sequins I used are from Studio Katia's Pastel Rainbow Confetti but you can find similar sequins in the Spellbinders store, available in Aura, Pink and PurpleAura is a great colour that fills in the gaps nicely when you don't have matching sequins for every colour.


Do you like to make batches of cards using the same design and colour palette? I only thought to flip one of the panels at the last minute. Otherwise, I would've had both designs exactly the same but with different sentiments. What other ideas do you have for same-but-different card designs?


Please check out the NEW Christmas in July Sale, on now through July 28, 2024. You can save up to 50% select products. Prices are as marked. The sale also features discounts on select Clearance items. 


I appreciate you stopping by and, if you're inspired, please shop my affiliate links below. Spellbinders would love to know that you were inspired by me.

Thanks so much for your continued support!

Supplies:

Monday, March 11, 2024

Catherine Pooler | *NEW* Party Ink SNEAK PEEK


Hello, crafty friends! I'm sure you've heard by now that Catherine Pooler has a new ink release this Wednesday, March 13th!! There are three new additions to the Party Collection and they are Creamsicle, Lemon Sorbet and Frosted. They're the lightest orange, yellow and blue-violet shades in that colour family and I'm excited because I love having the palest shades to go with my favourite colours!


In addition to the new ink colours, Catherine Pooler is also releasing Spring Gingham Patterned Paper which I'm also giving you a little sneak peek of today. Gingham is one of those basic patterns that I love having around because it adds that little bit of extra to any card design.


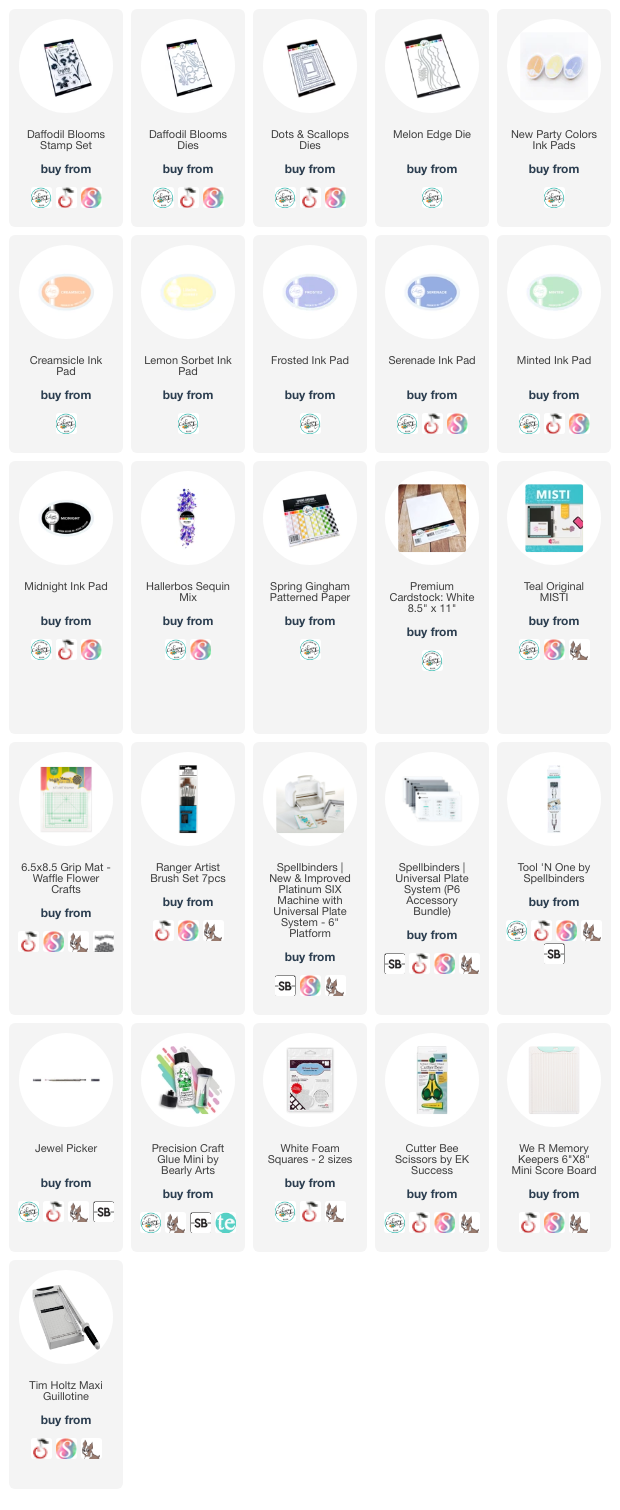
The stamp set I've featured on this card is the Daffodil Blooms stamp set and coordinating dies. I'm a huge fan of Catherine Pooler's layered stamps and I've stamped the daffodils with the new Frosted ink and Serenade


The stems were stamped in Minted and I think this fresh colour complements the daffodils so nicely. I lightly coloured the bee using the other new ink colour, Lemon Sorbet.


To create the backdrop, I used the new-to-me Dots & Scallops Dies, once with white cardstock and again with the Cotton Candy Gingham. After cutting the gingham piece again with one of the Melon Edge Dies, I glued it on to the white panel, followed by a 4.25x5.5" panel cut from Midnight Gingham.


I finished by adhering all the layers to an A2 card base, popping up the daffodils with foam squares and adding a few sequins from the Hallerbos Sequin Mix. I hope you enjoyed this little sneak peek at the new ink colours and patterned paper. Please join us for an Instagram Hop on release day, Wednesday, March 13th!

I appreciate you stopping by and, if you're inspired, please shop my affiliate links below. Catherine Pooler would love to know that you were inspired by me. :)

Supplies

Thursday, November 23, 2023

Stencilled Holiday Cards | Waffle Flower + Giveaway!


Please comment on my Instagram Post
to participate in this GIVEAWAY!


Hello, crafty friends! I've partnered with Waffle Flower Crafts to give one lucky winner a Waffle Flower Shade Brush PLUS Sampler Pack! These brushes are the cutest, so ergonomic and wonderful to use on stencils with small spaces. I really didn't know what was missing until I was gifted these to try and now I must buy a lot more for all my inks!


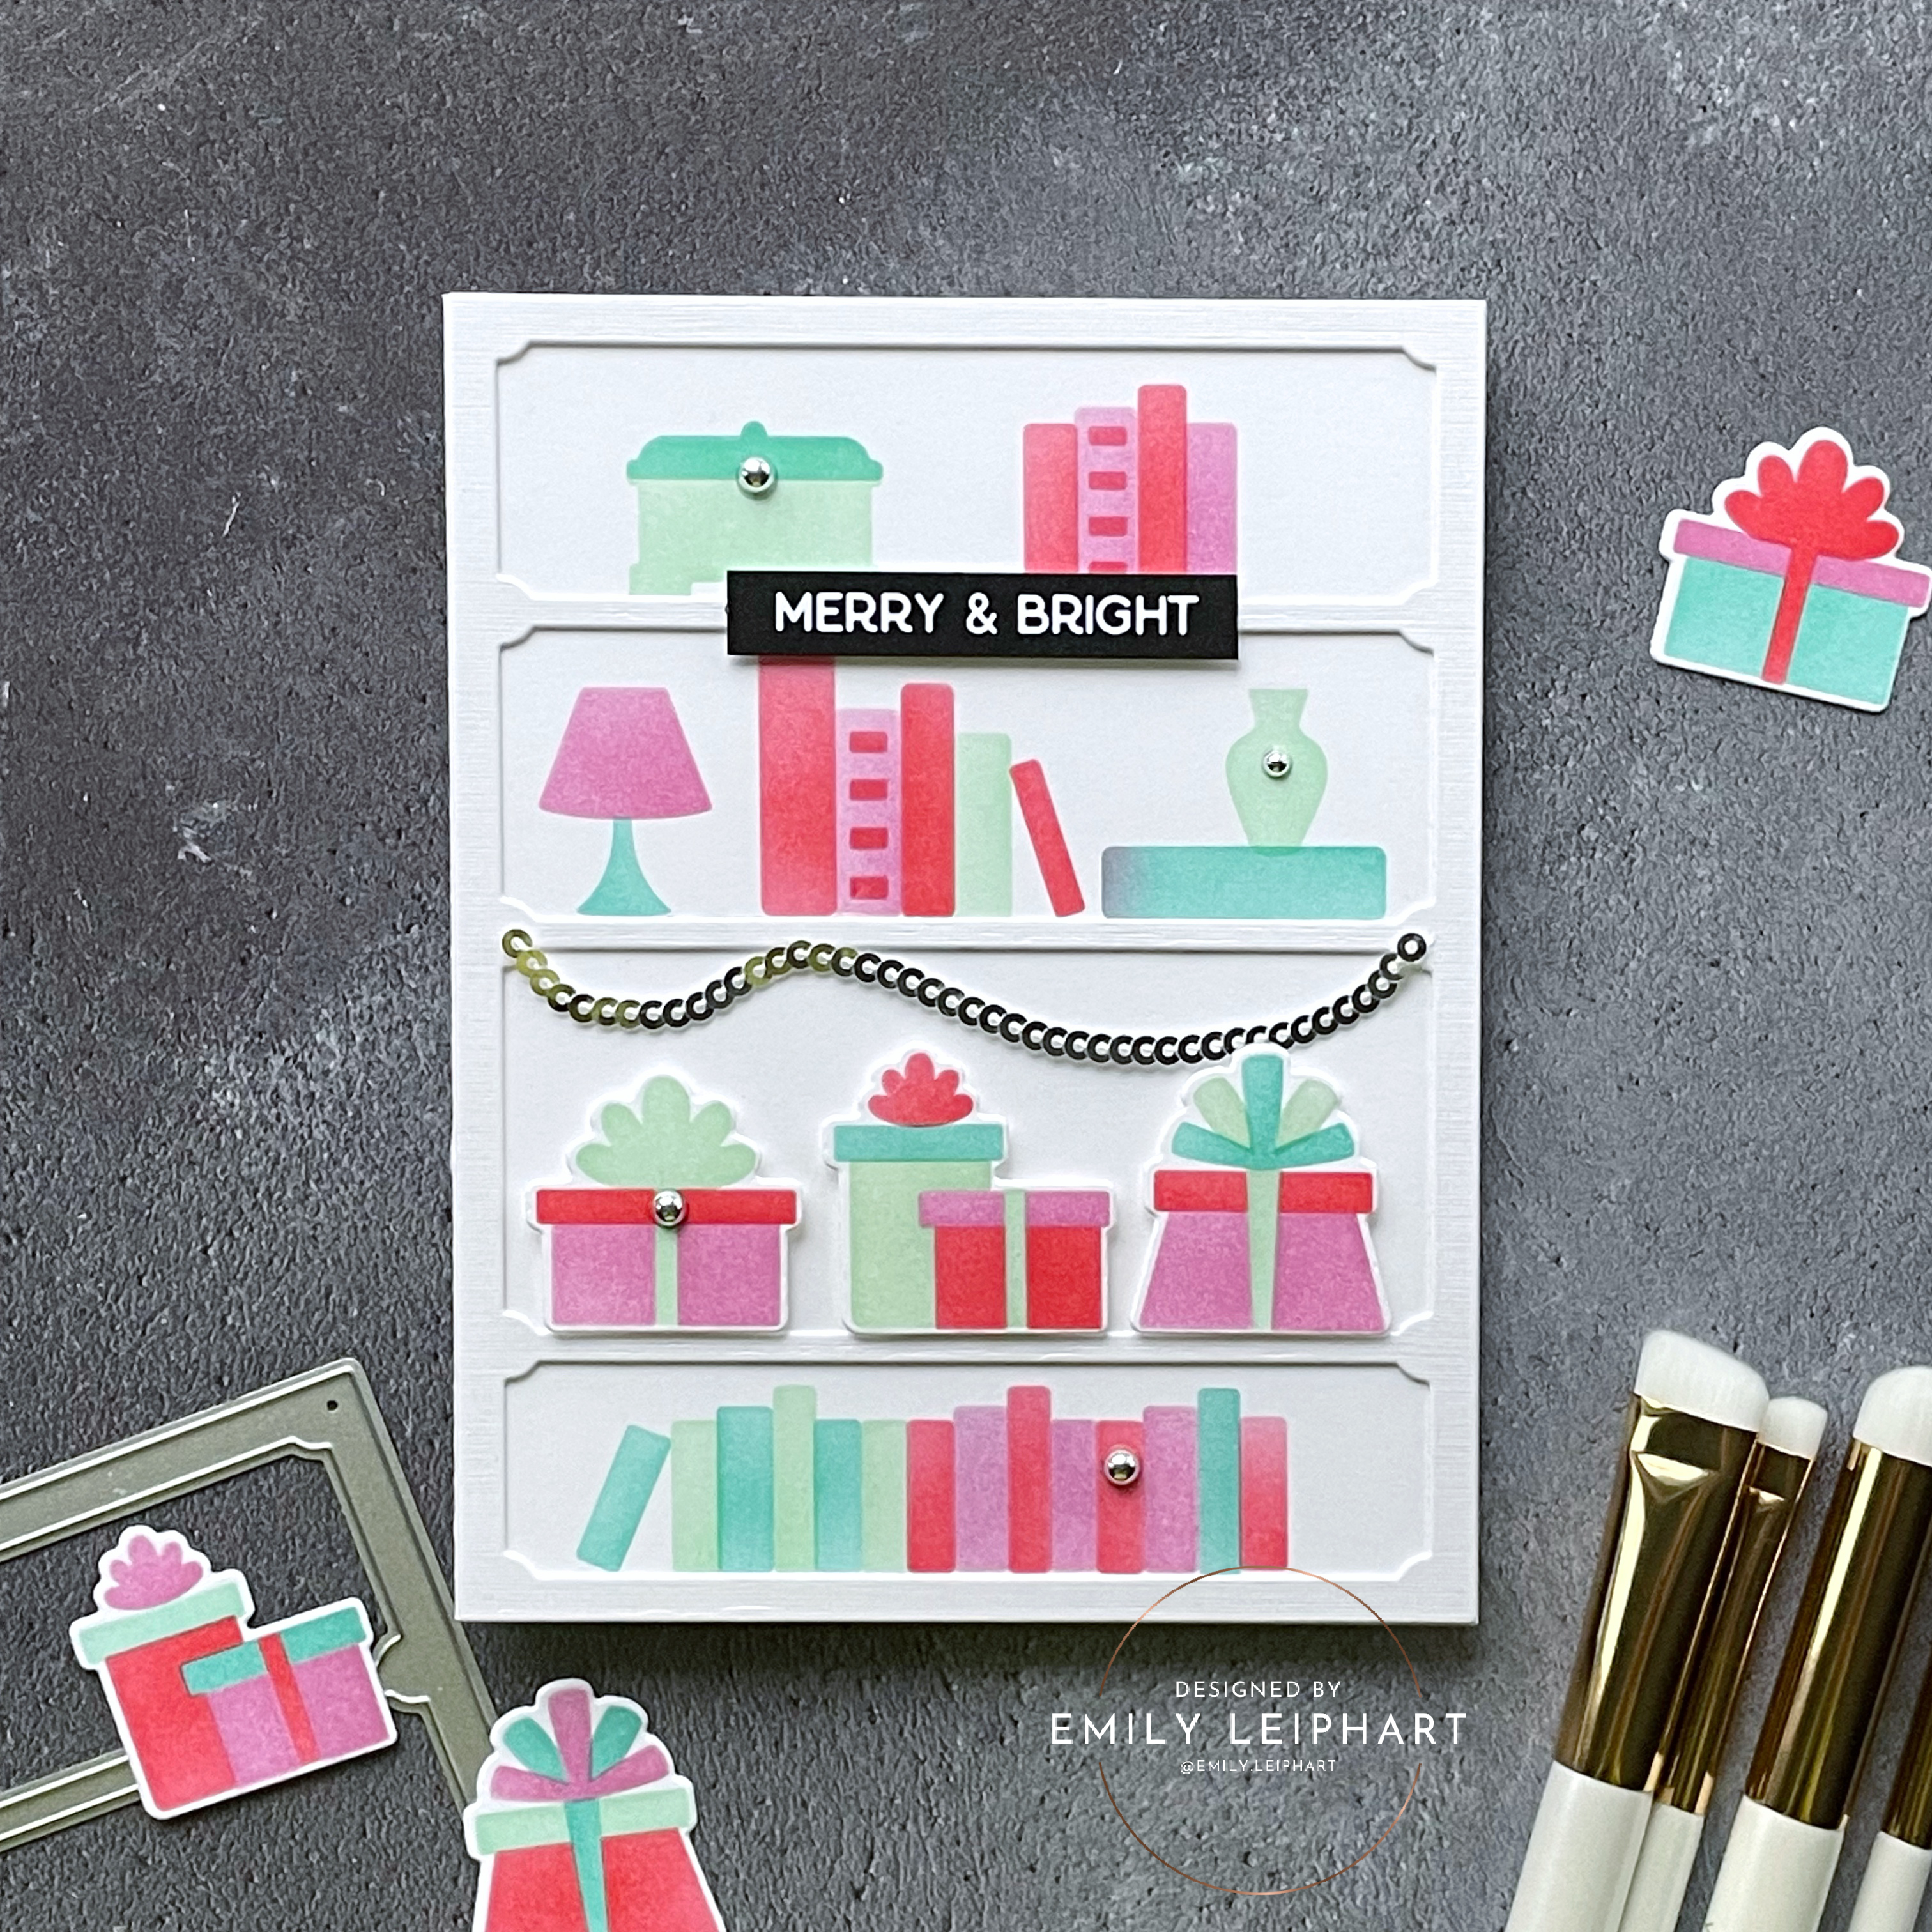
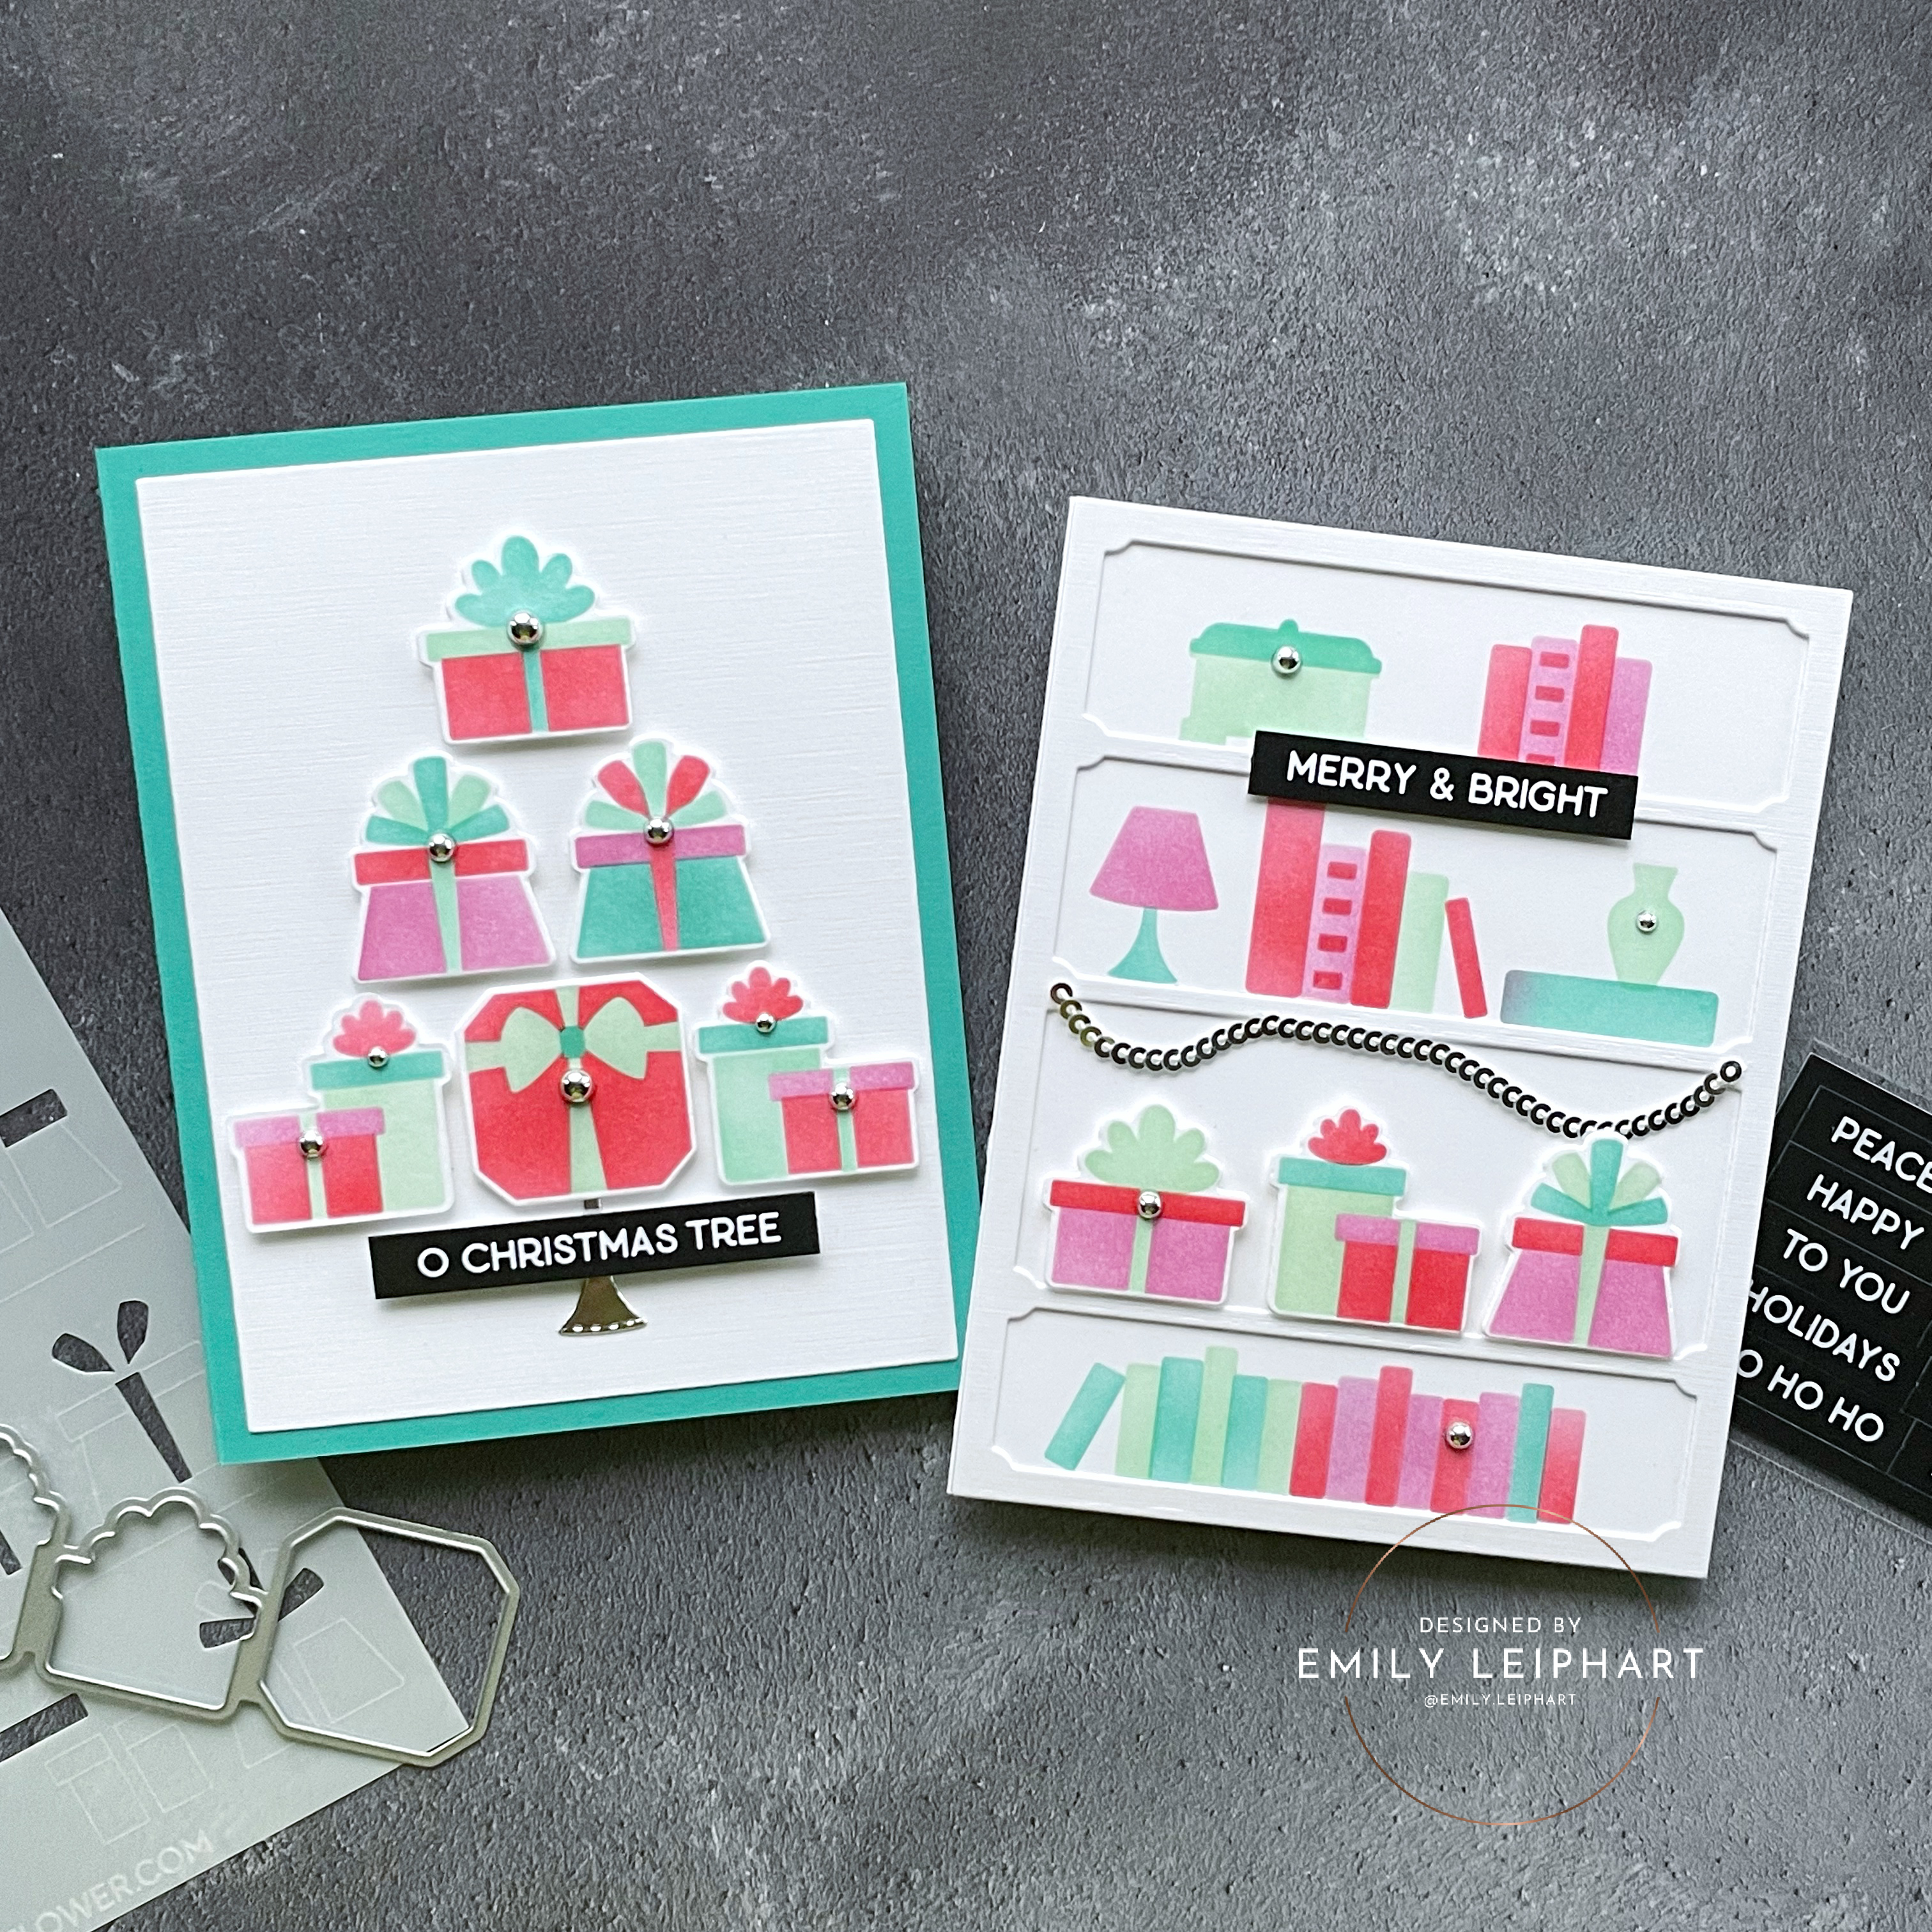
The five products featured in this post were gifted to me and I'm excited to share them on these two cards. It's no joke that Waffle Flower was feeding my book addiction when they sent me the Simple Shelves Die and Simple Shelves Stencil Duo


I love that the shelf fills an A2 card front and you can pretty much put anything on it. Imagine my delight when I discovered that the gifts from the Multiple Presents Die-n-stencil fit perfectly on the third and largest shelf!


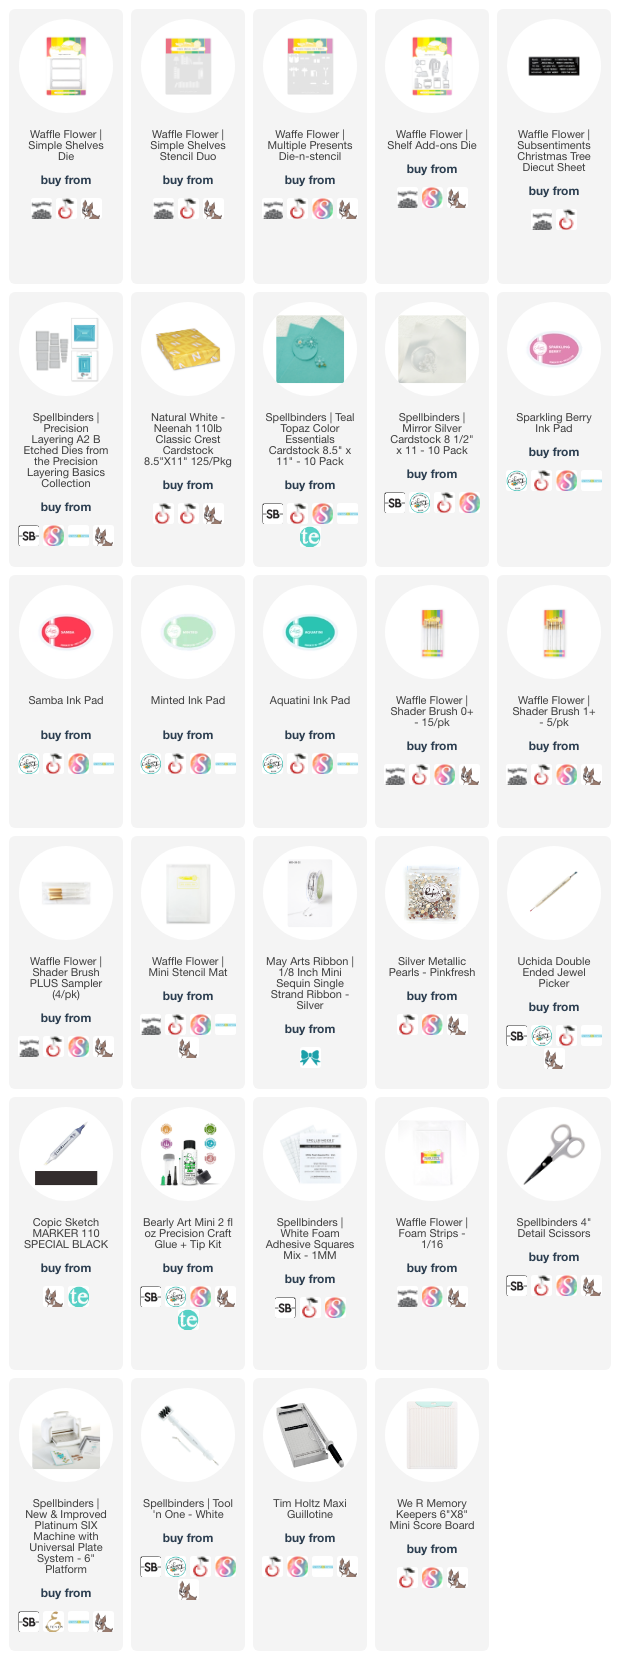
I used Catherine Pooler inks to do all my stencilling for these two cards and the colours featured are Sparkling Berry, Samba, Minted and Aquatini.


I cut two layers of the Simple Shelves Die from Neenah linen white cardstock for a bit of dimension and texture. Then I popped the gifts on with foam tape since they're the highlight of this bookshelf.


Since this card is indeed Merry & Bright, I used one the perfect sentiment from the Subsentiments Christmas Tree Diecut Sheet. Using a trick I learned from Michelle Short, I used a black Copic marker to blacken the edges of the die cut so it looks bolder and cleaner.


To finish, I embellished the shelf with some silver sequin ribbon and silver metallic pearls.


For my second card, I decided to use the gifts from Multiple Presents Die-n-stencil to create a Christmas tree and I'm thrilled with the results. It's so cute and since I stencilled four sets of these gifts by rotating the four colours, I have a lot of extras to mass-produce this design.


On the bottom row, left side, I had to make a reverse set of gifts to make the tree symmetrical. I created a mirror image of the gifts on the right side by flipping the stencil 180 degrees and recreating it. To use the same die on this mirror image, I simply held up the die on the back of the stencilled image in front of a lamp and place vellum over the image so the lines on my cutting plate wouldn't impress on the front of the image. Then I used a bone folder to round off the edges of the die cut since the sharp edge was showing and I wanted it to match the other die cuts.


For the base of the tree, I discovered that the lap from the Shelf Add-Ons Die worked perfectly (see more inspiration using this set HERE). However, it was too short so I cut two of them from Spellbinders silver foil cardstock and used another perfect sentiment from the Subsentiments Christmas Tree Diecut Sheet to cover the break in the middle.


I assembled the tree on a panel of Neenah linen white cardstock cut from Spellbinders Precision Layering A2 B Dies and glued that on a card base cut from Teal Topaz cardstock.


To tie in the silver from the base of the tree and the previous card, I embellished the gifts with and assortment of silver metallic pearls.


I hope you enjoyed these cards using some really delightful products from Waffle Flower Crafts. Which card is your favourite? My son likes the book shelf! Don't forget to comment on my Instagram Post for a chance to win a Waffle Flower Shade Brush PLUS Sampler Pack.

Don't forget to check out Waffle Flower's amazing Black Friday and Grab Bag Deals, on now through November 27th and November 30th, respectively.

I hope you enjoyed today's projects. I appreciate you stopping by and, if you're inspired, please shop my affiliate links below. Thanks so much for your continued support!

Supplies