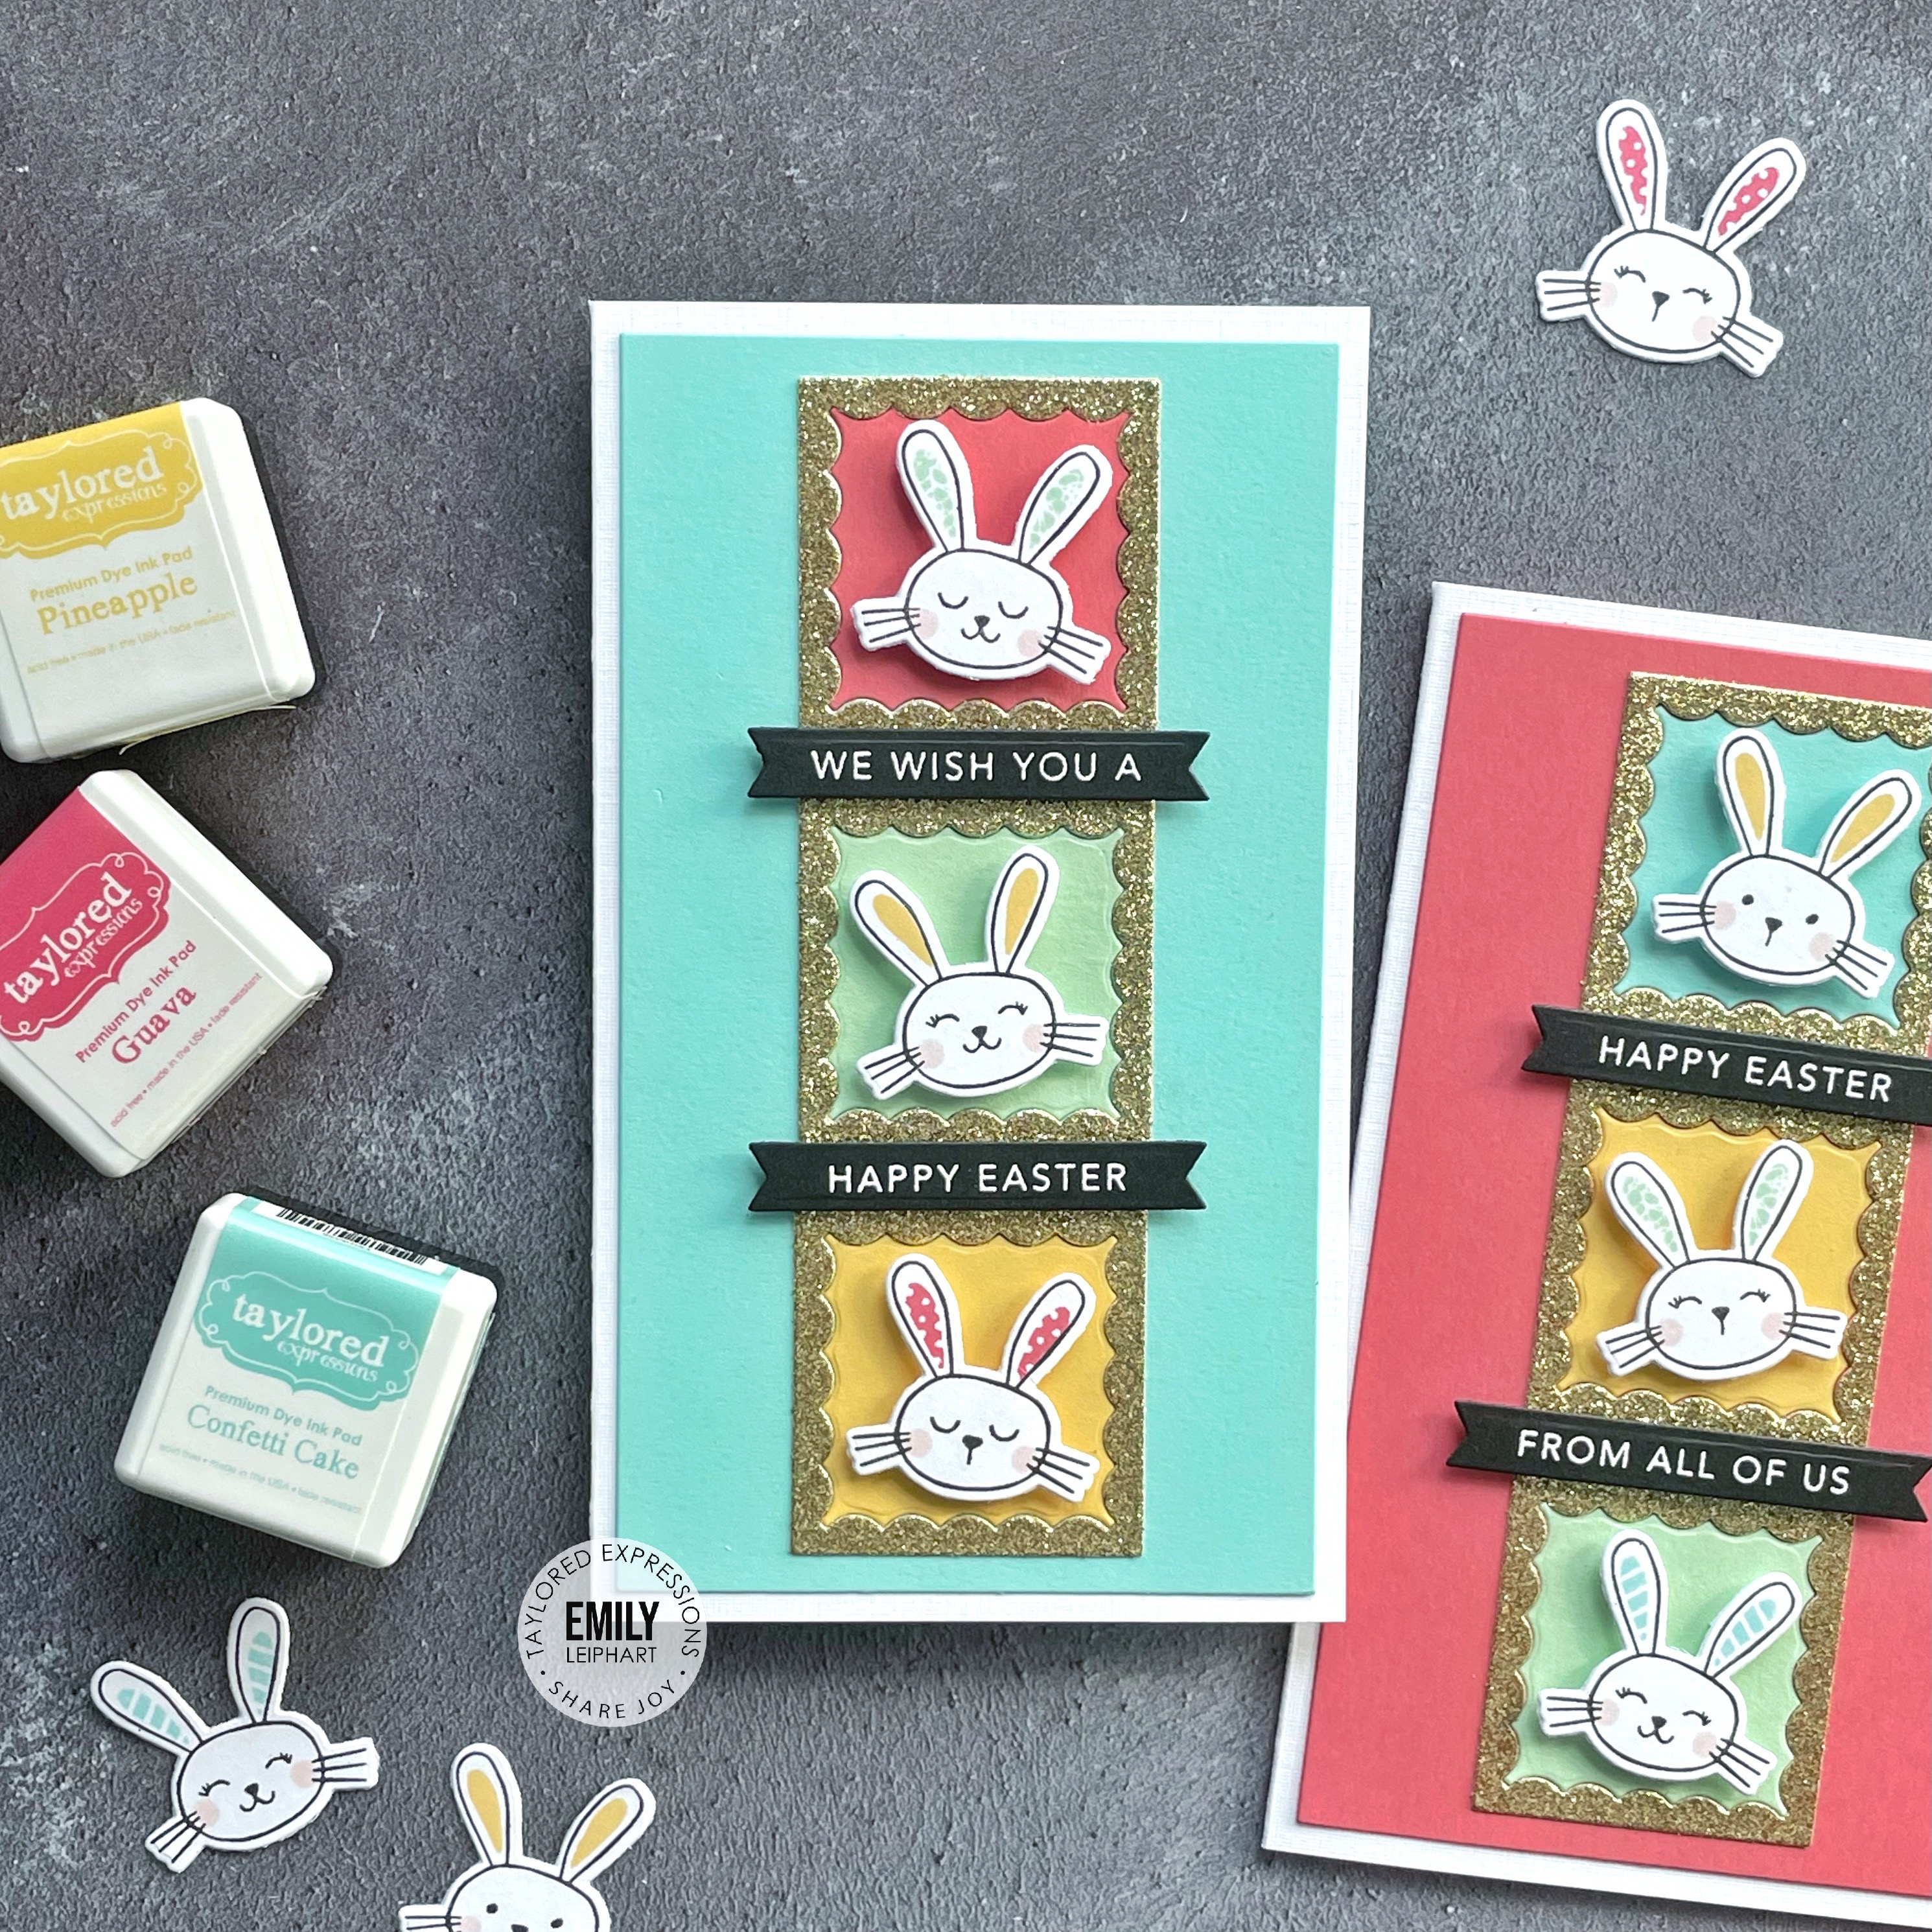
Hello, crafty friends! Even though we have a lot of snow on the ground, the sun is shining and I can feel that spring is coming. The new Easter Release from Taylored Expressions makes the prettiest cards and I have a video showing you just how easy it is!
This post features the Serene Scene Promo Bundle and I apologize for the photo-heavy post but I just can't help it! I love all the layers and dimension in these dies, and they're so easy to use which makes mass-producing a piece of cake.
This first card also features the Serene Scene - Easter Edition dies, which includes the flowers, bunnies and eggs. I used the coordinating ink colours and blender brushes to add depth to the die cuts. I added some grass details using the Set the Scene - Grass Stencil Strips.
The base panel was texturized with the Diamonds Piercing Plate which adds the perfect amount of texture needed and gives this card its wow factor.
This last card features a flat, mailable shaker with majestic glitter sandwiched between two layers of acetate taped together. If I were to change one thing, it would be to place a white panel behind the shaker because it's on a Sea Salt card base and that makes it quite stormy looking.
One thing that stands out the most on this card is the sentiment and I'm tempted to start writing my Ss like this because it's so pretty!
There's an amazing Serene Scene Promo Bundle and gift with purchase, only available from March 7-9th so I encourage you to take advantage of this fabulous offer while you can!
Thanks so much for watching and for using my affiliate links below!
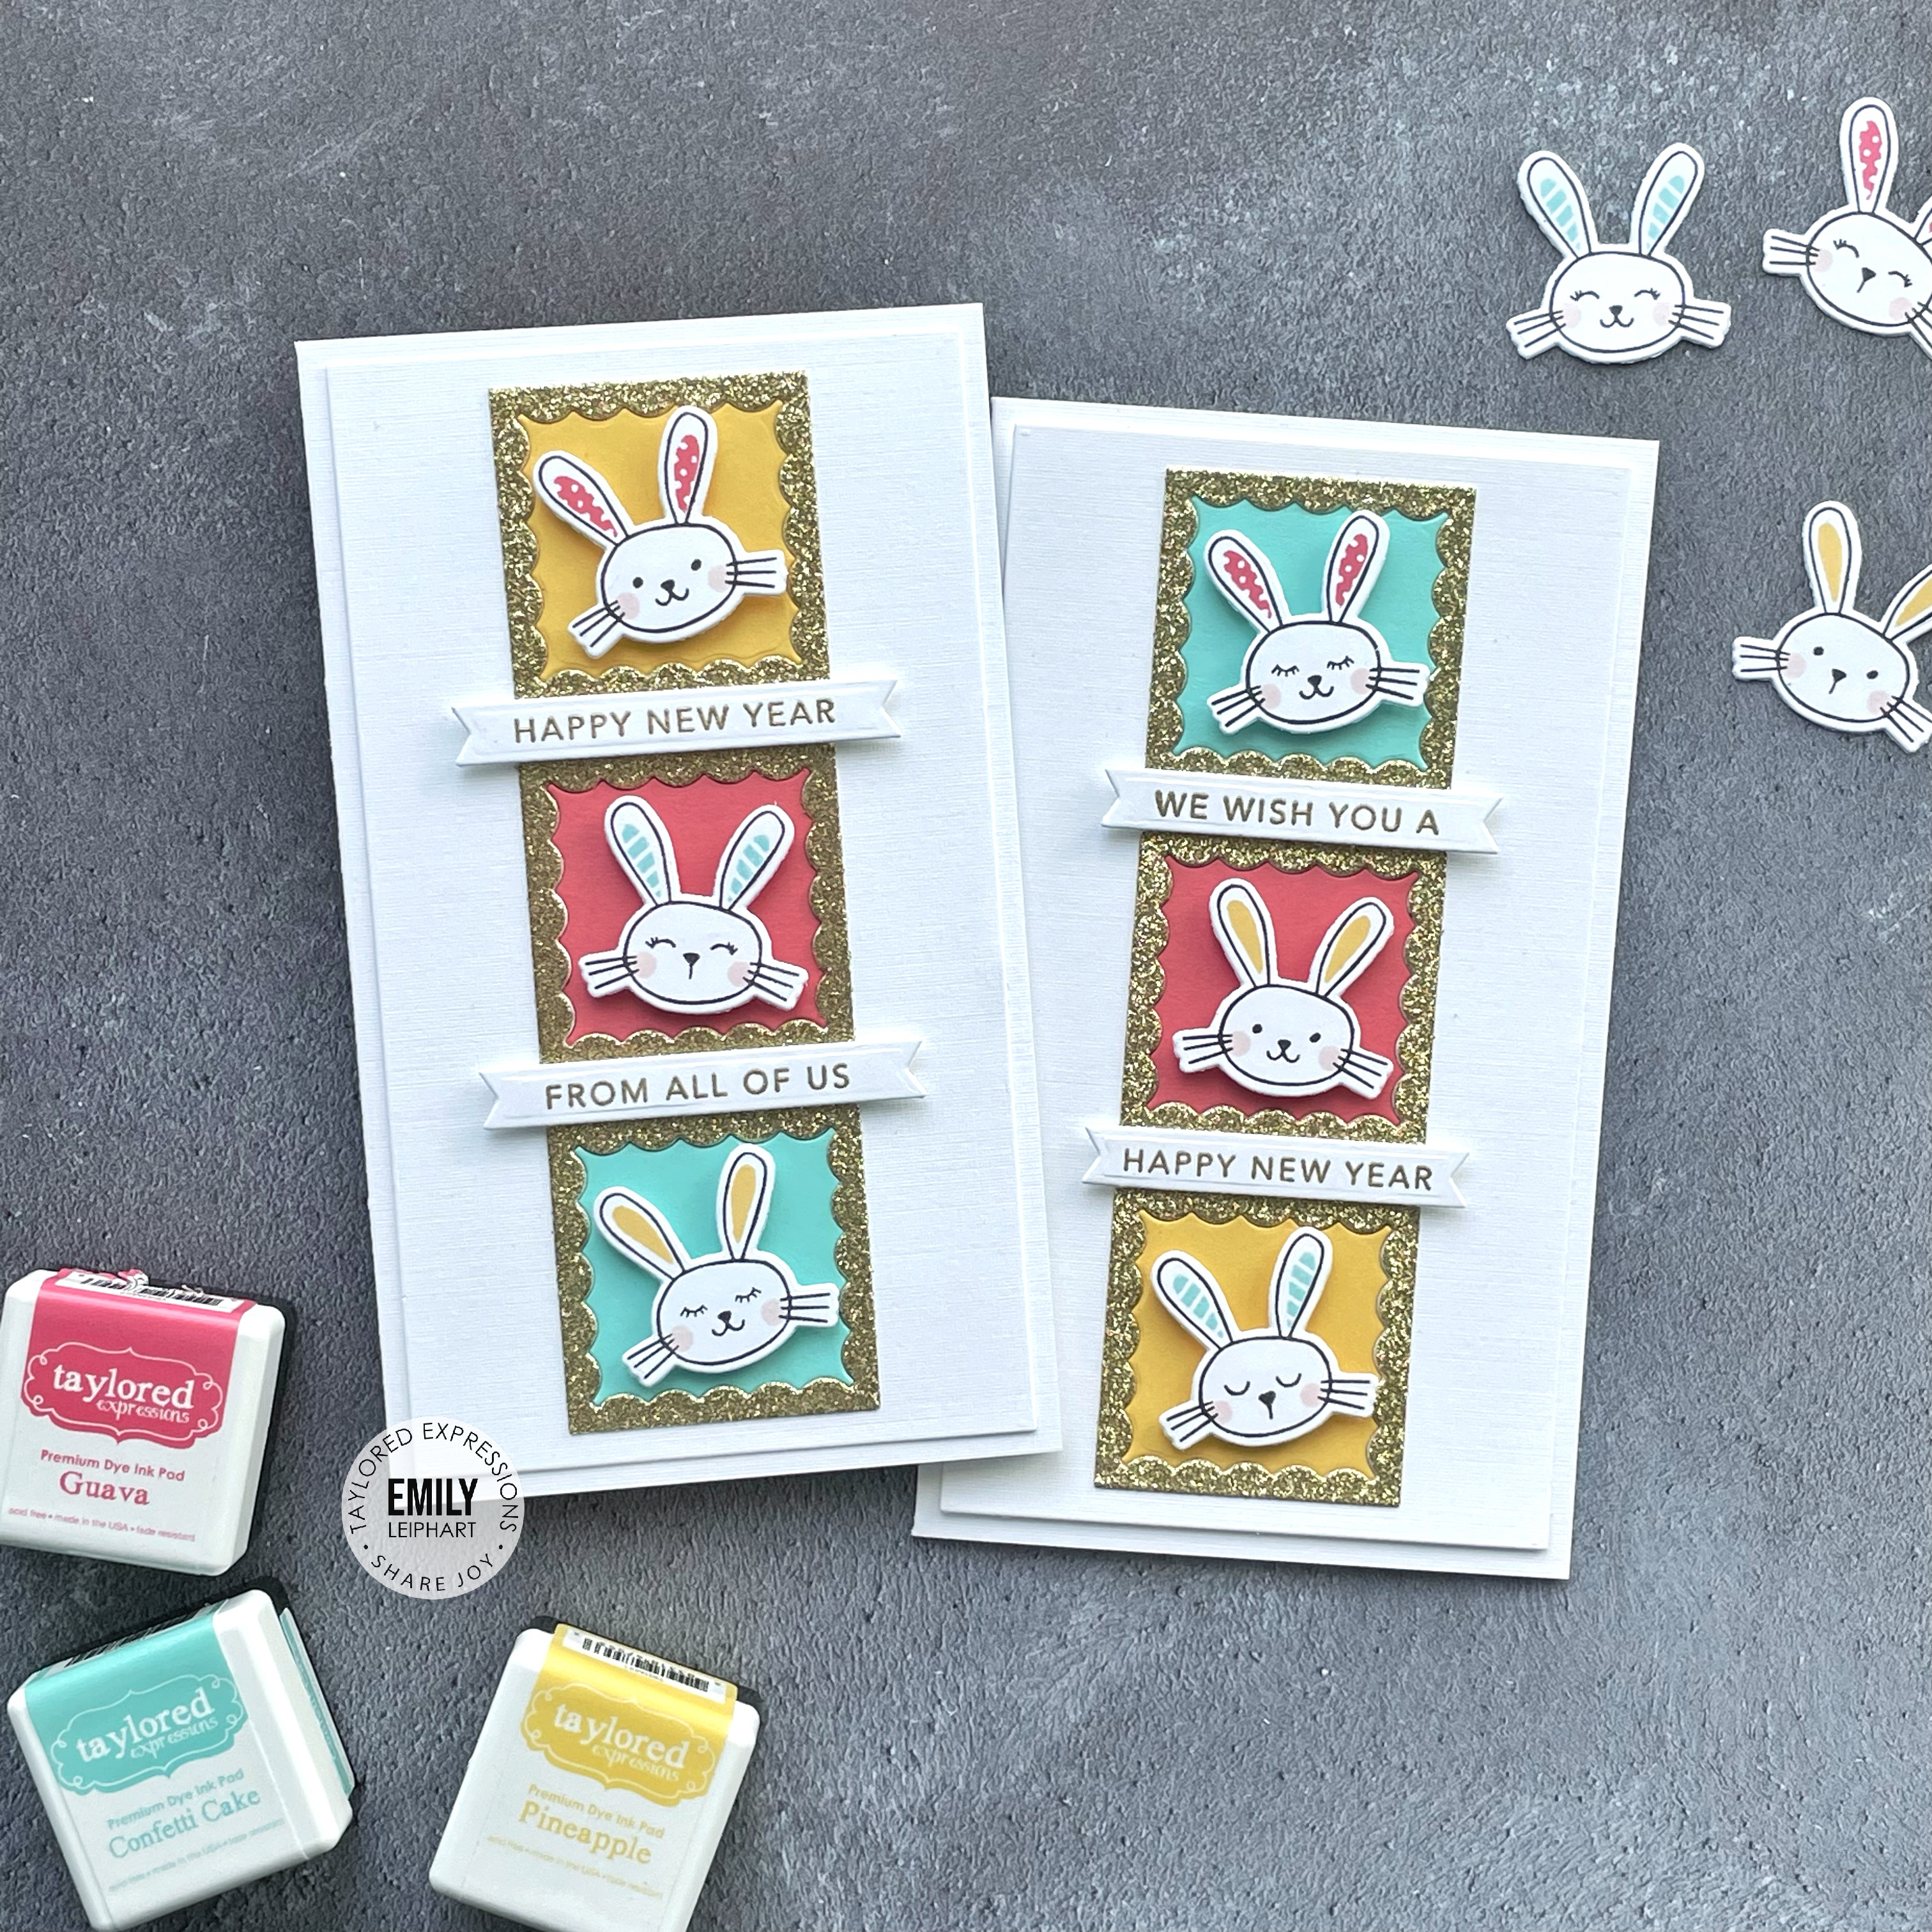
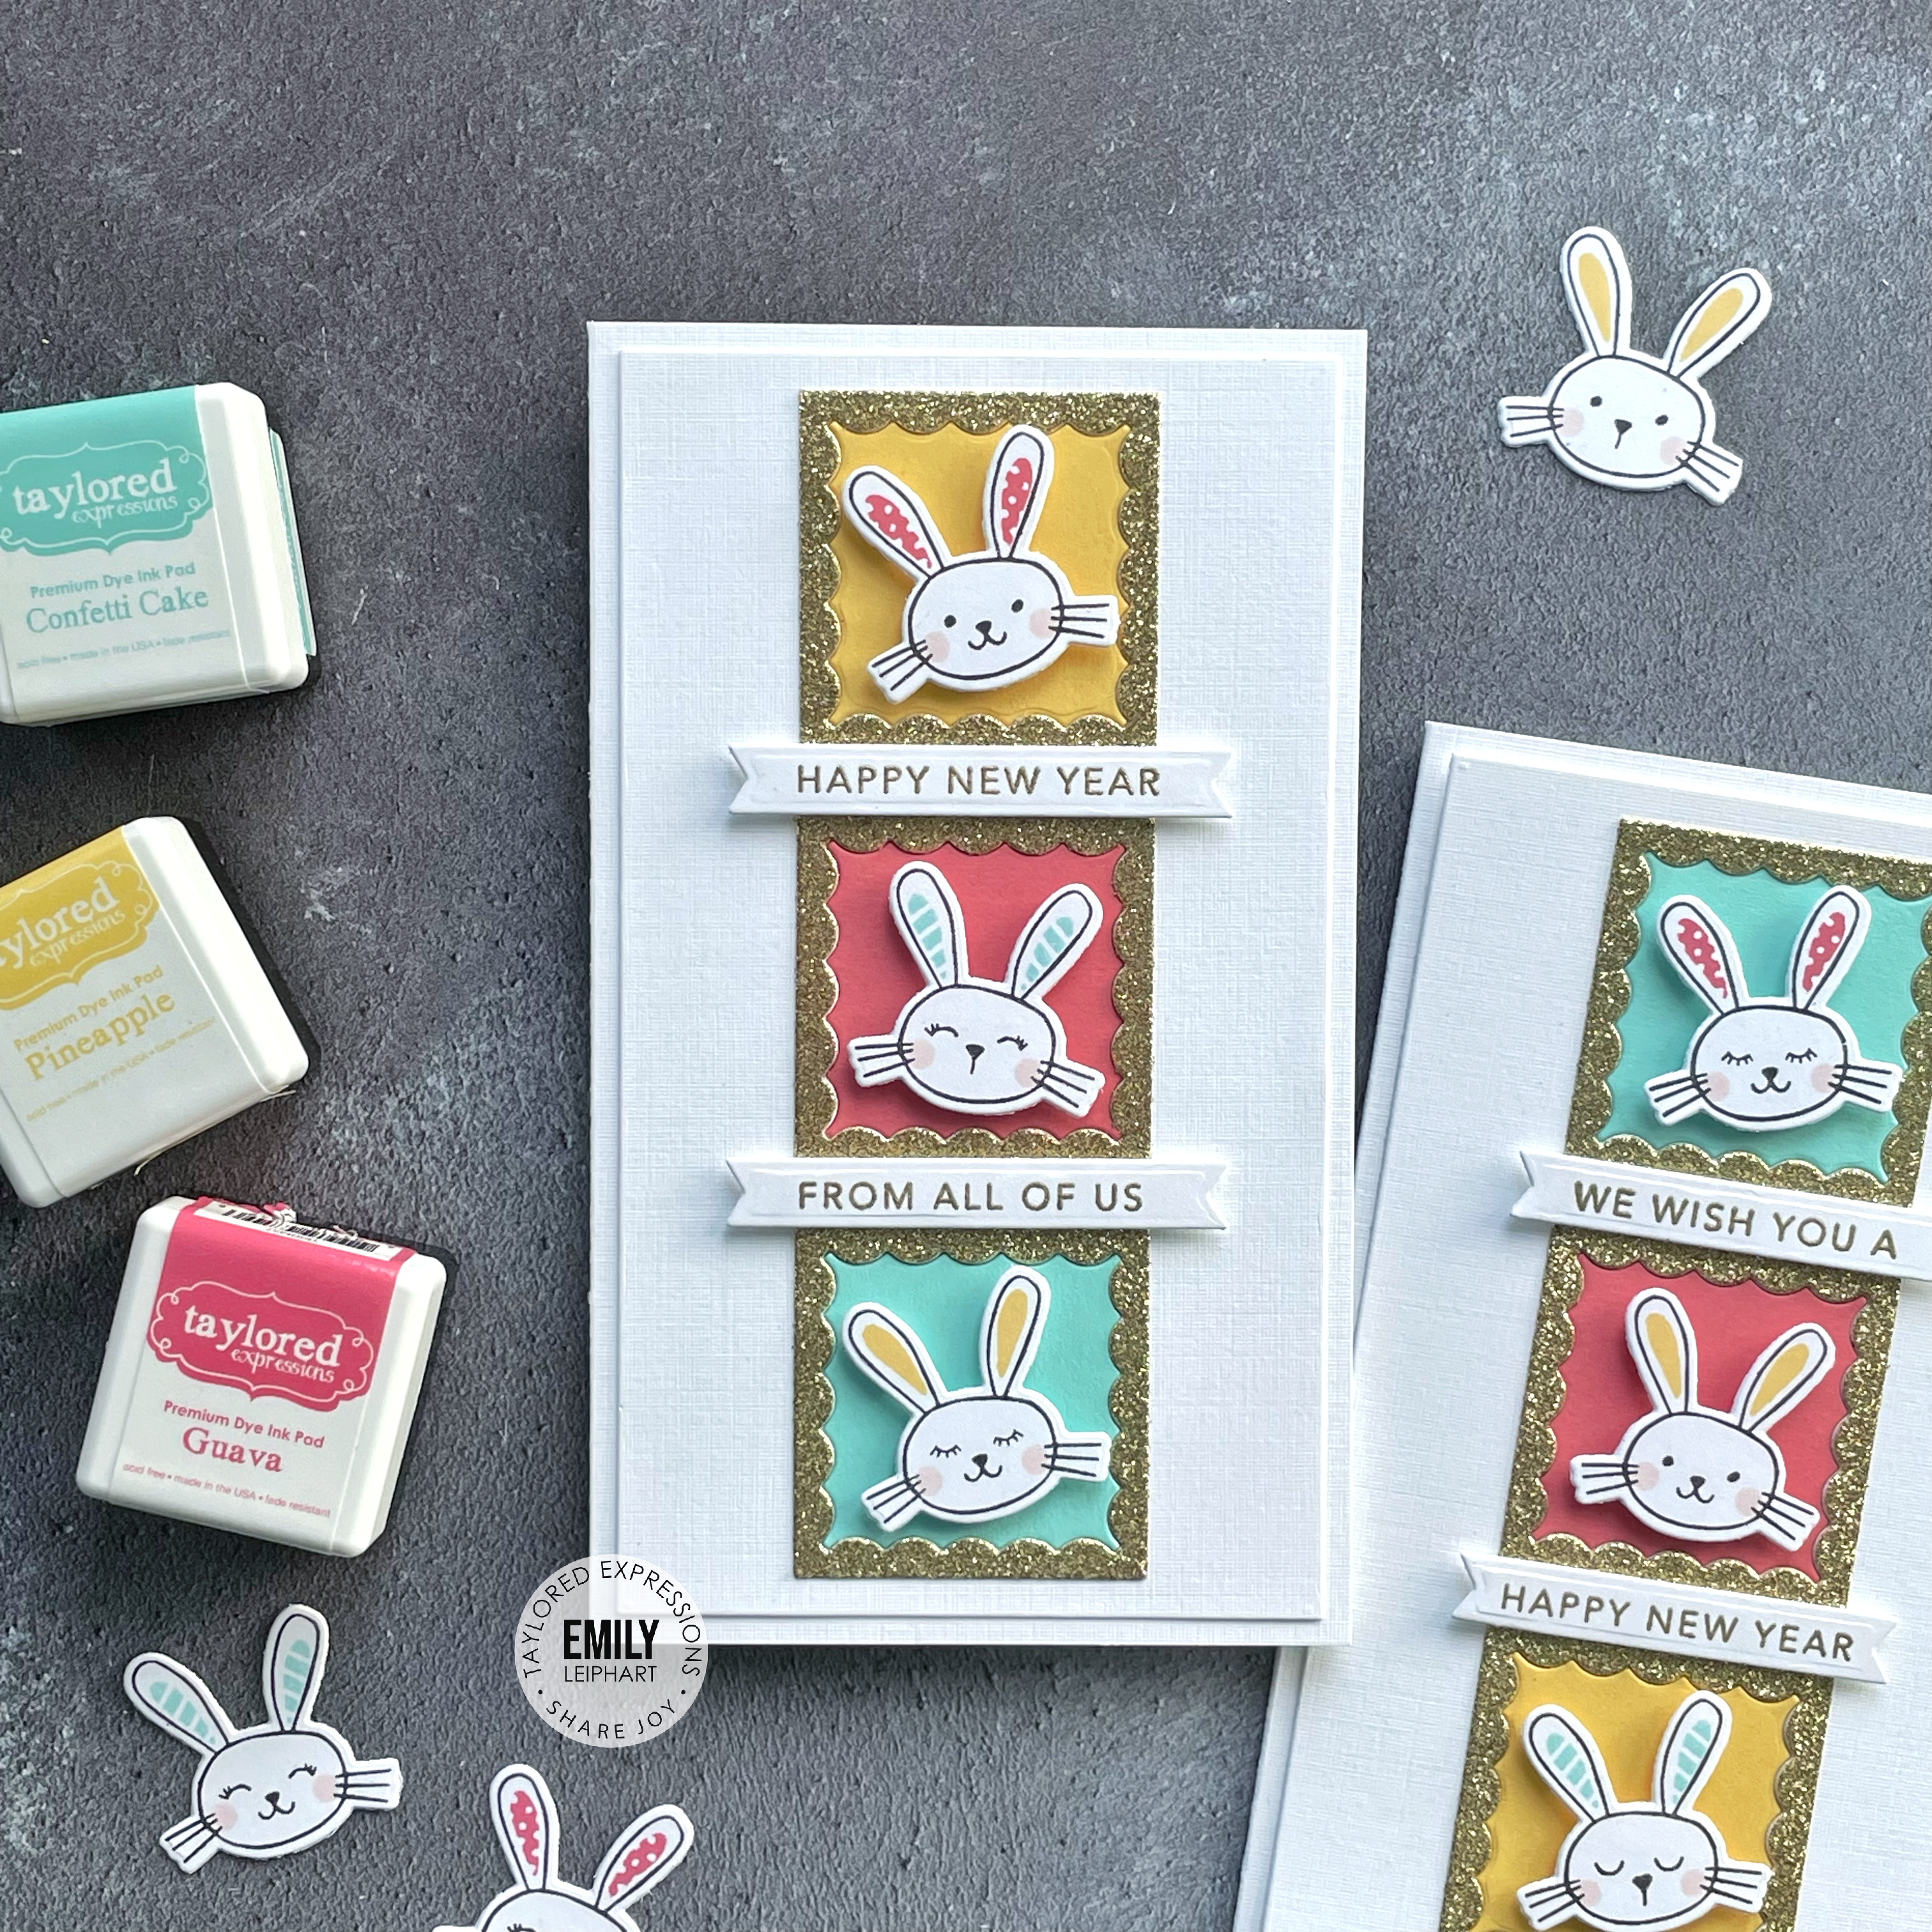
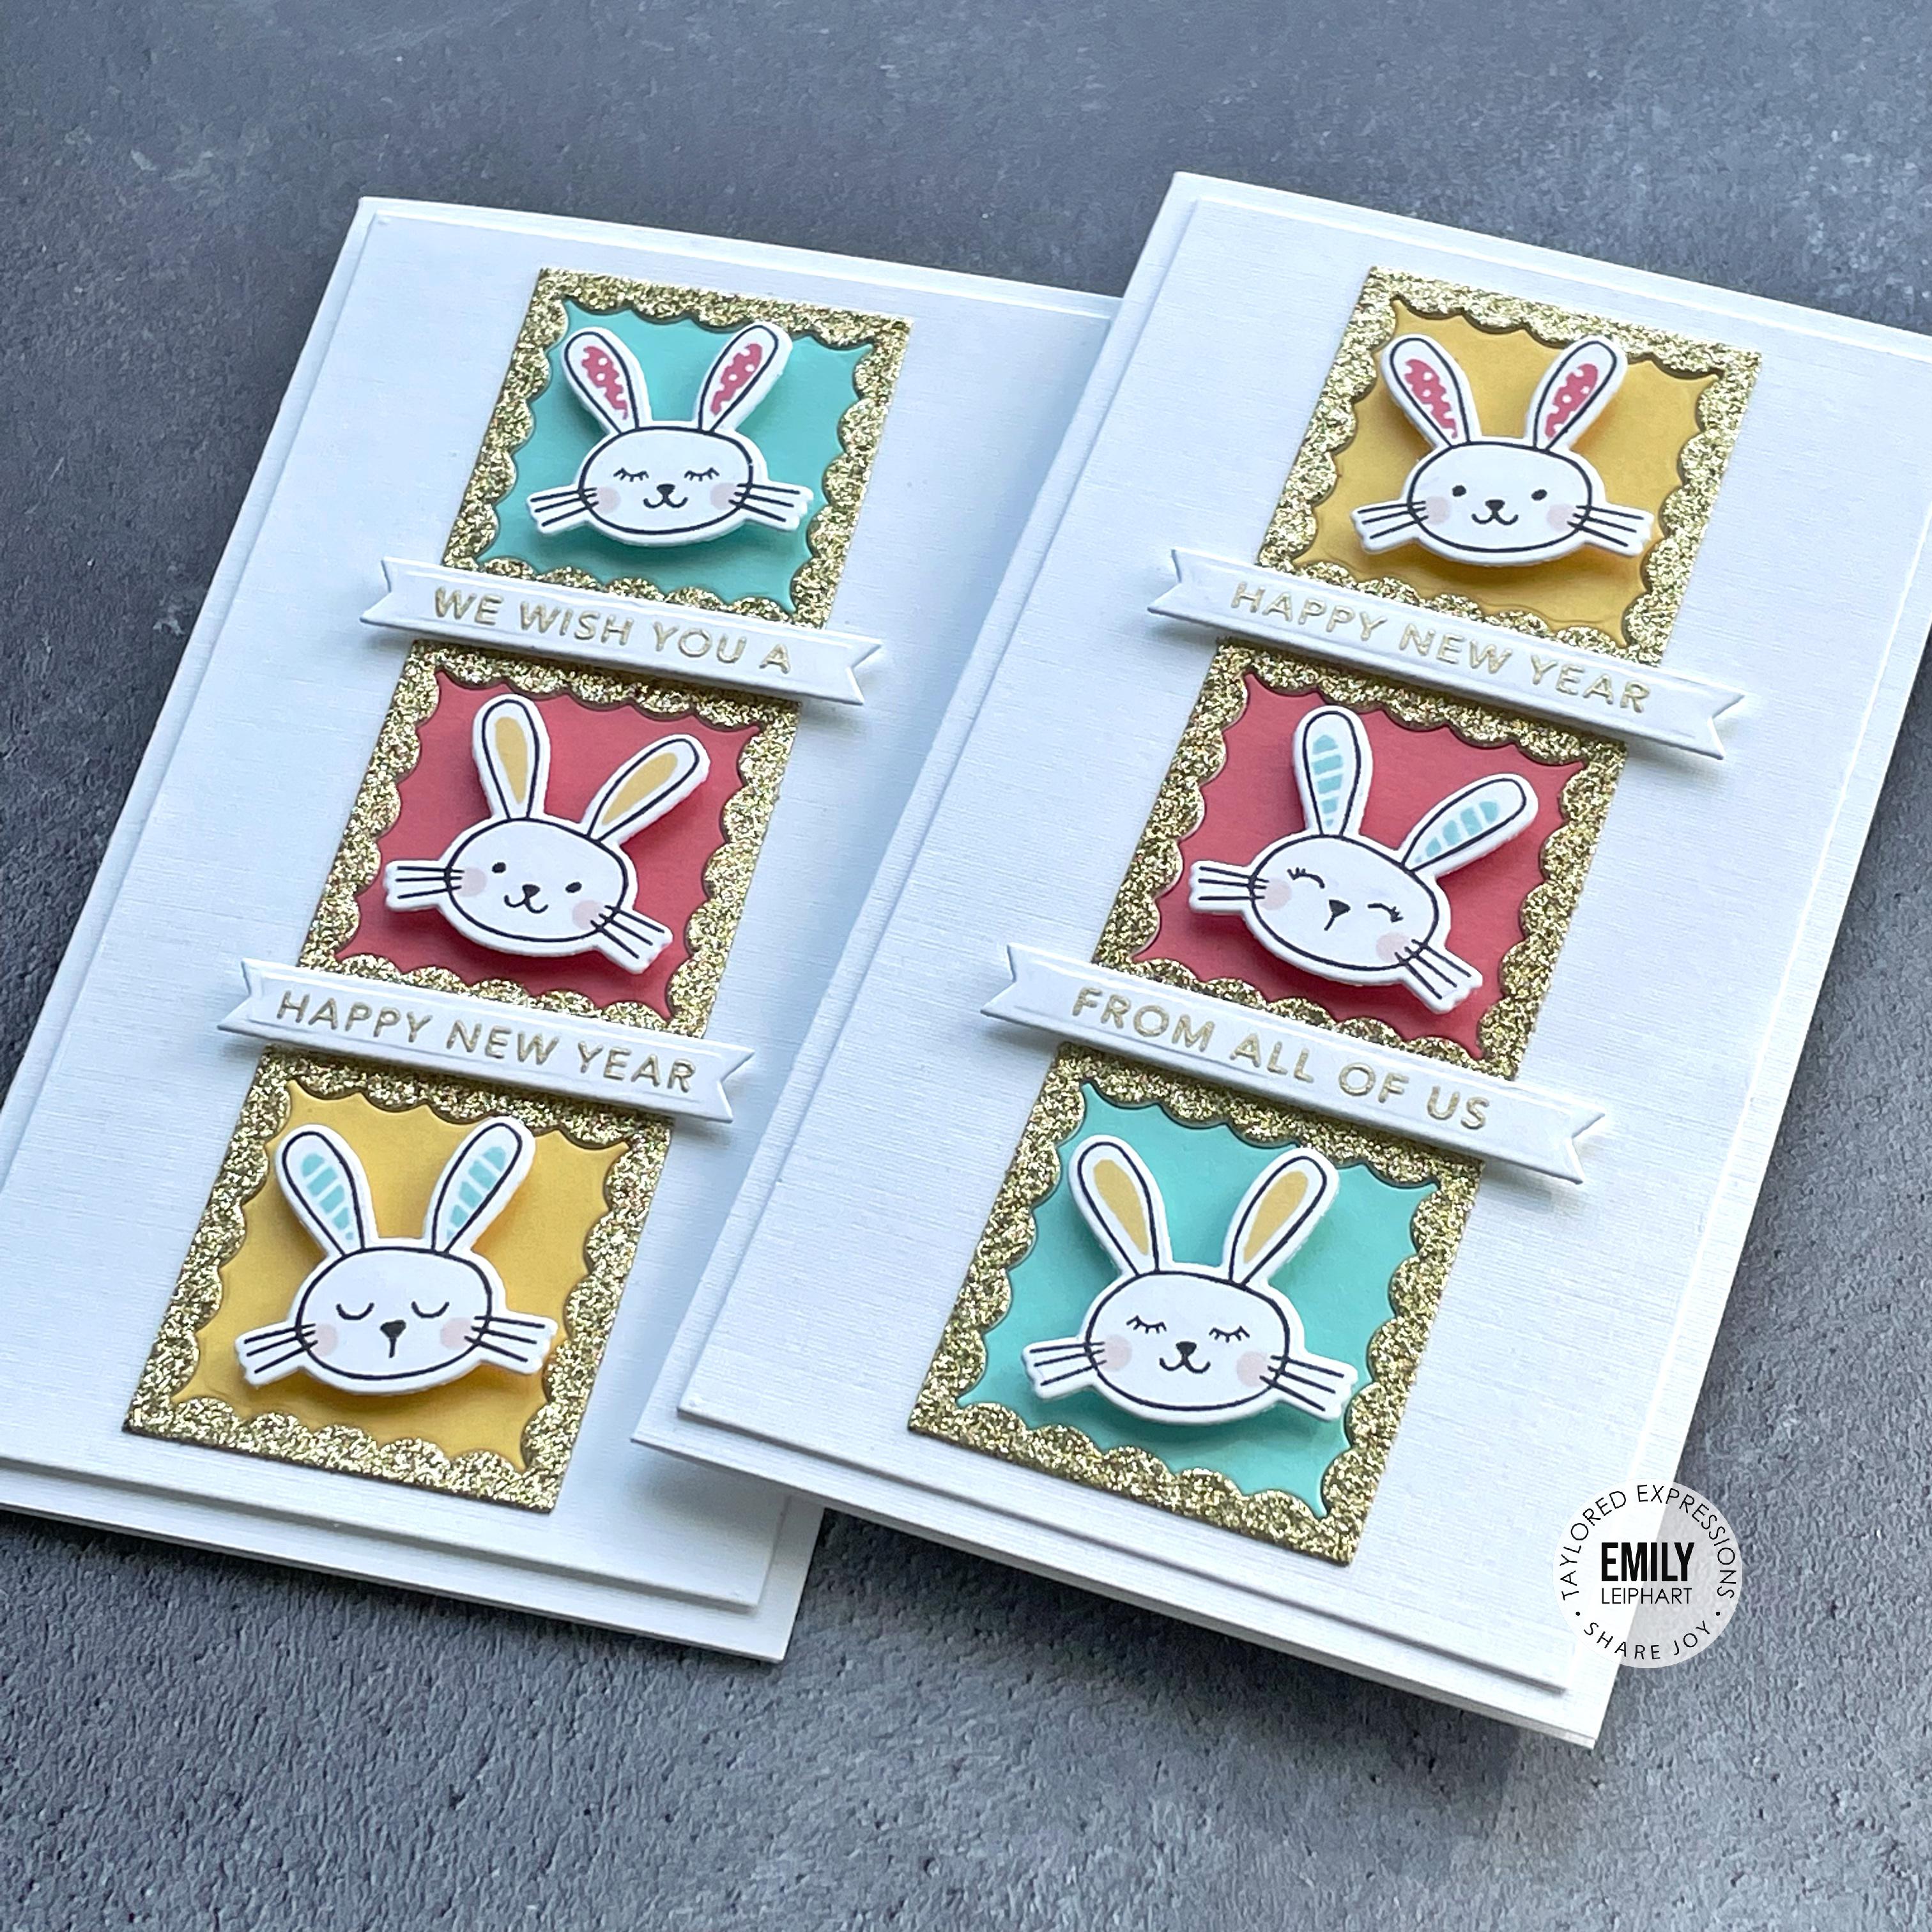
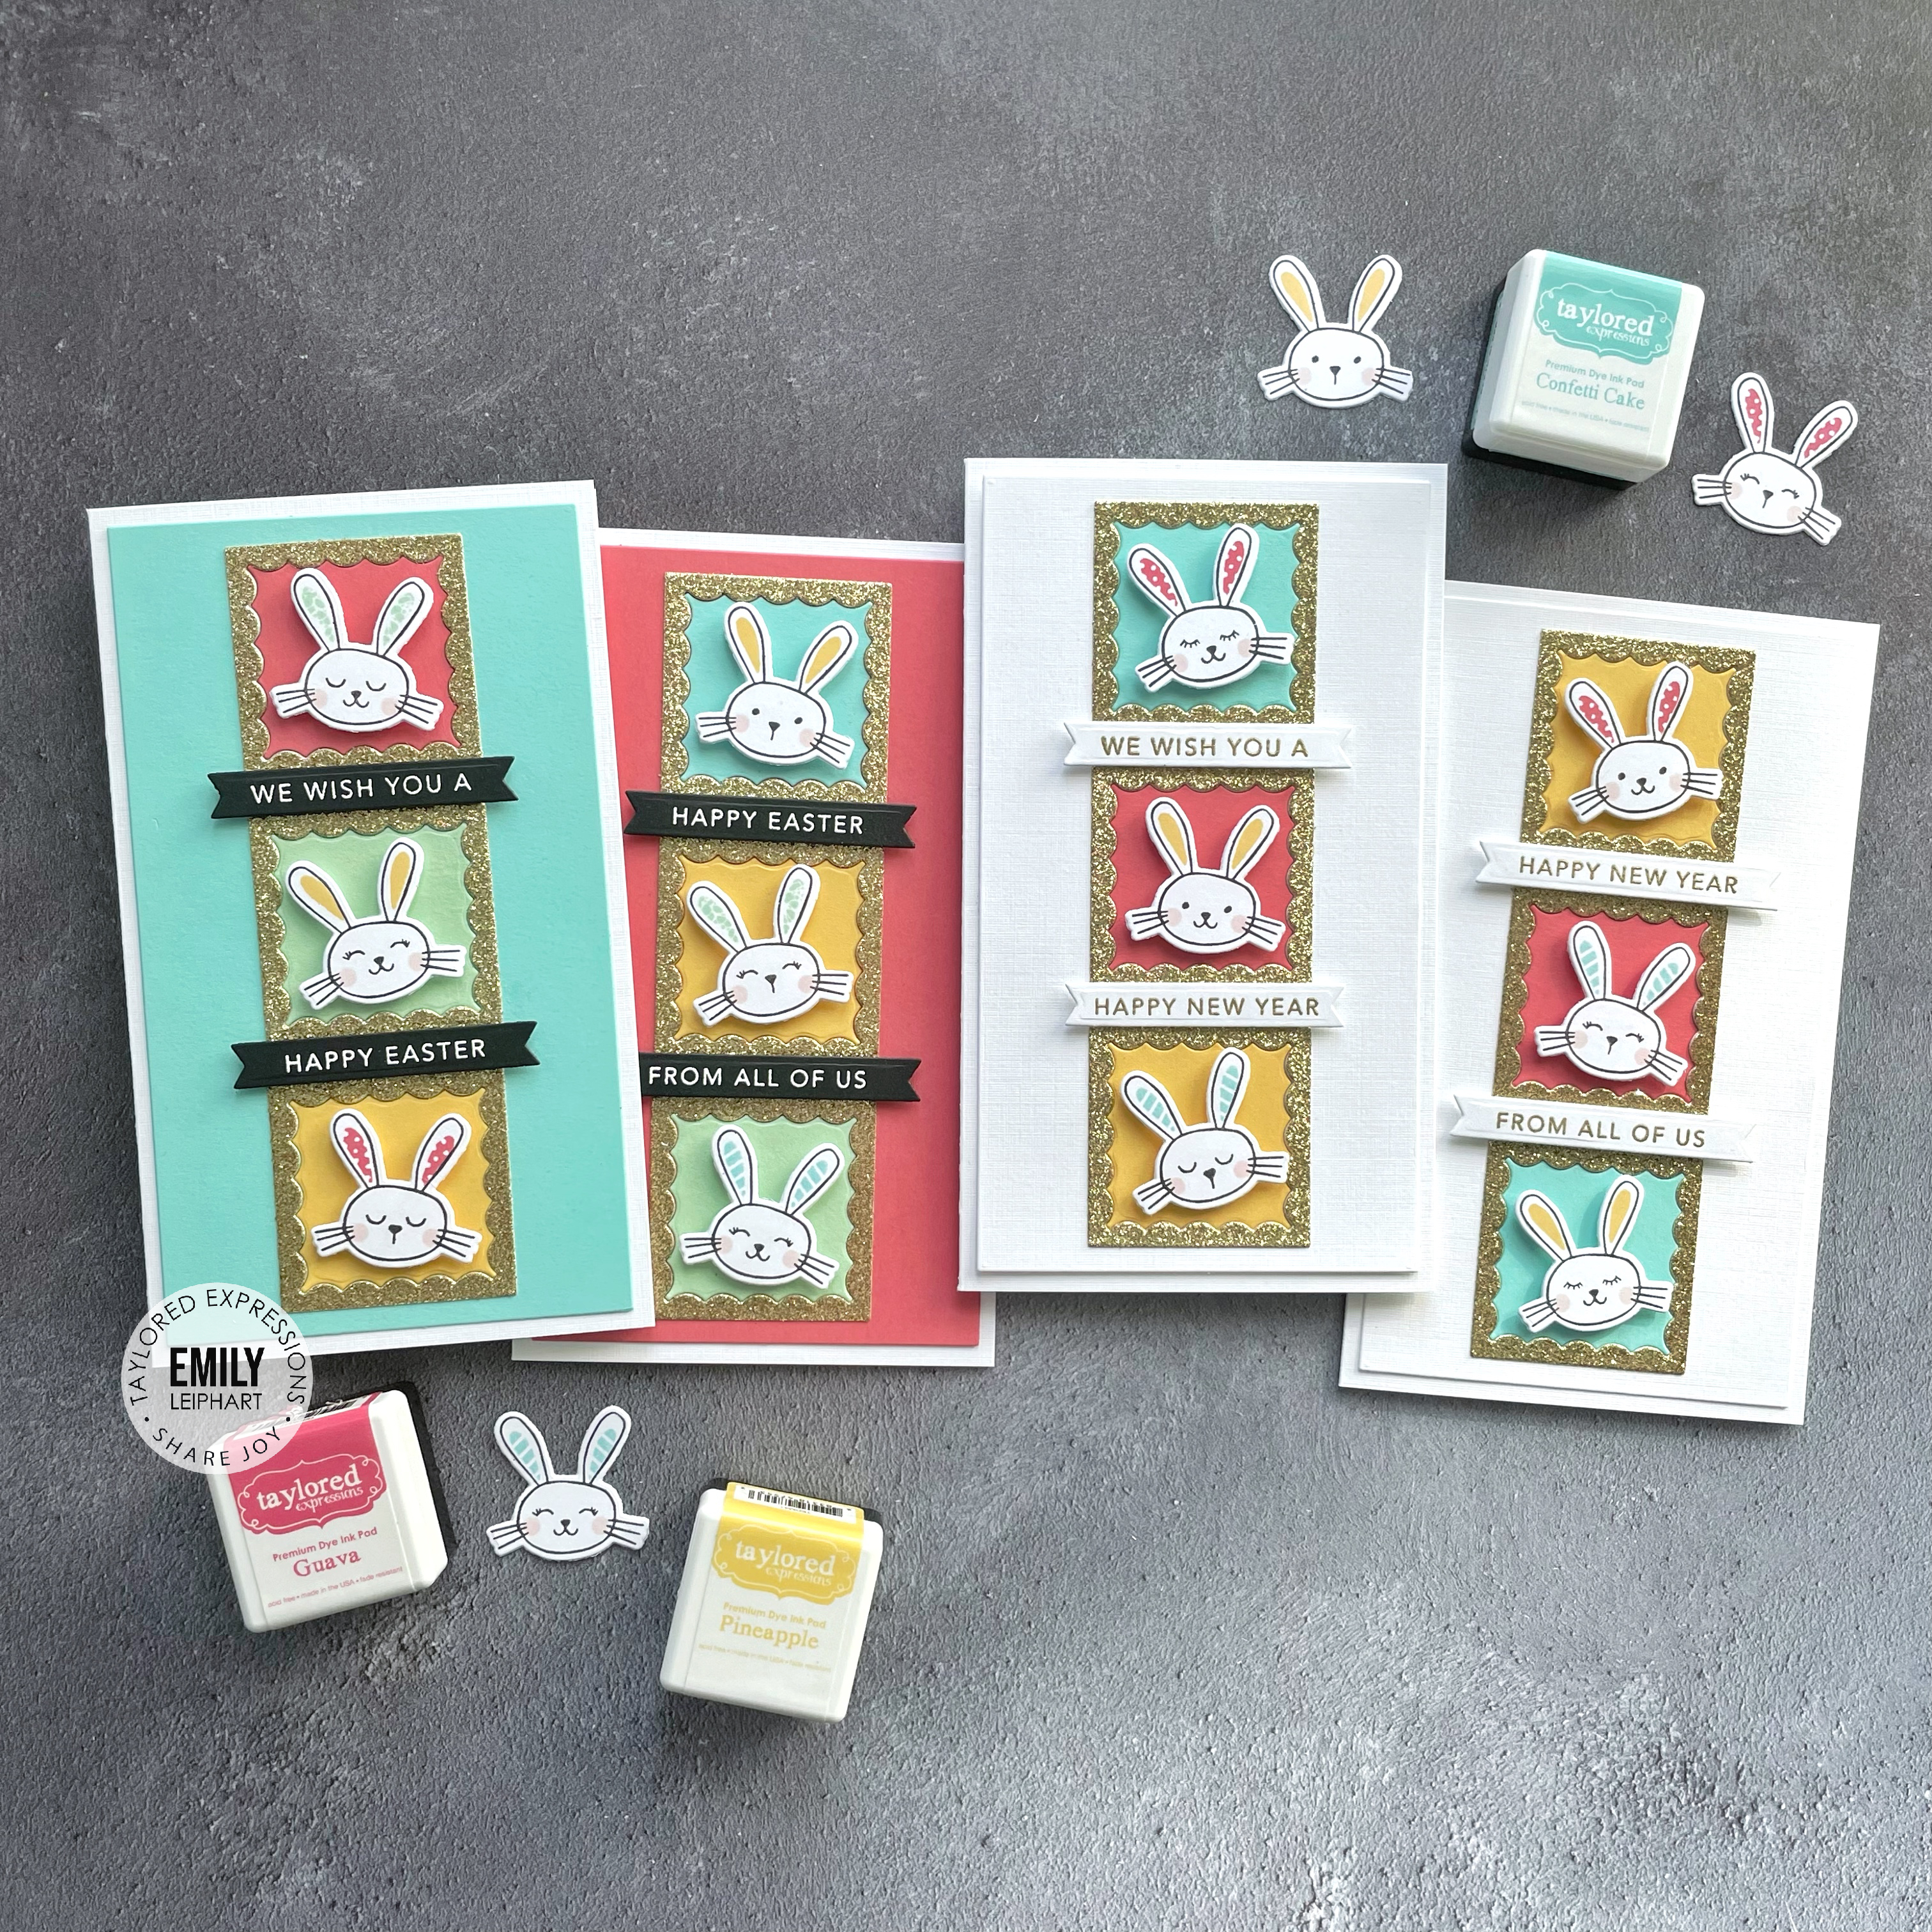
Hello, crafty friends! I have a fun post for you today to celebrate Chinese New Year (Lunar New Year). The Year of the Rabbit begins today and while these cards are non-traditional, swapping out the sentiments makes them work for other occasions like Easter and even to welcome a new baby!
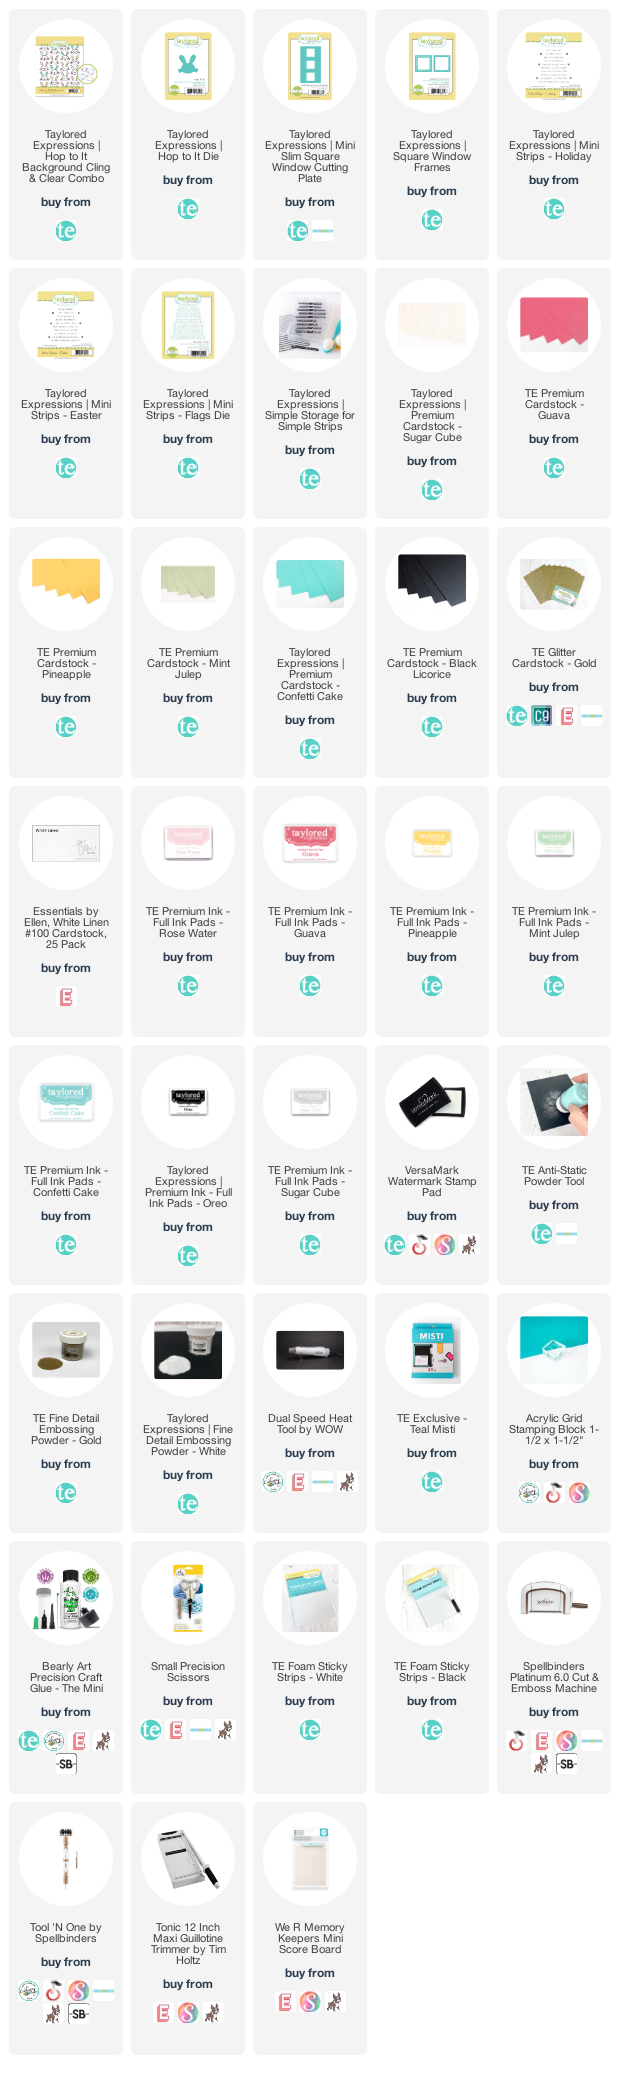
The Taylored Expressions Hop to It Background Cling & Clear Combo is new-to-me and I was excited to use it for Chinese/Lunar New Year because it's the Year of the Rabbit! I usually stick to more traditional colours for CNY but this time I went for non-traditional colours that would also work for Easter.
I used a tape runner and liquid glue to adhere the panels, inserts and frames. Then I popped the bunnies on to the cards with foam tape and set them aside to heat emboss the sentiments.
I chose sentiments from Mini Strips - Holiday, also new-to-me, and Mini Strips - Easter. As I've mentioned before, I love New Year stamps and they're hard to come by so I needed this one, except that it reads "and a Happy New Year".
The way I paired up these sentiment strips, I didn't need the "and a" on that particular strip since it was redundant. I masked off that part before heat embossing these - gold embossing powder on Sugar Cube cardstock and white embossing powder on Black Licorice cardstock.
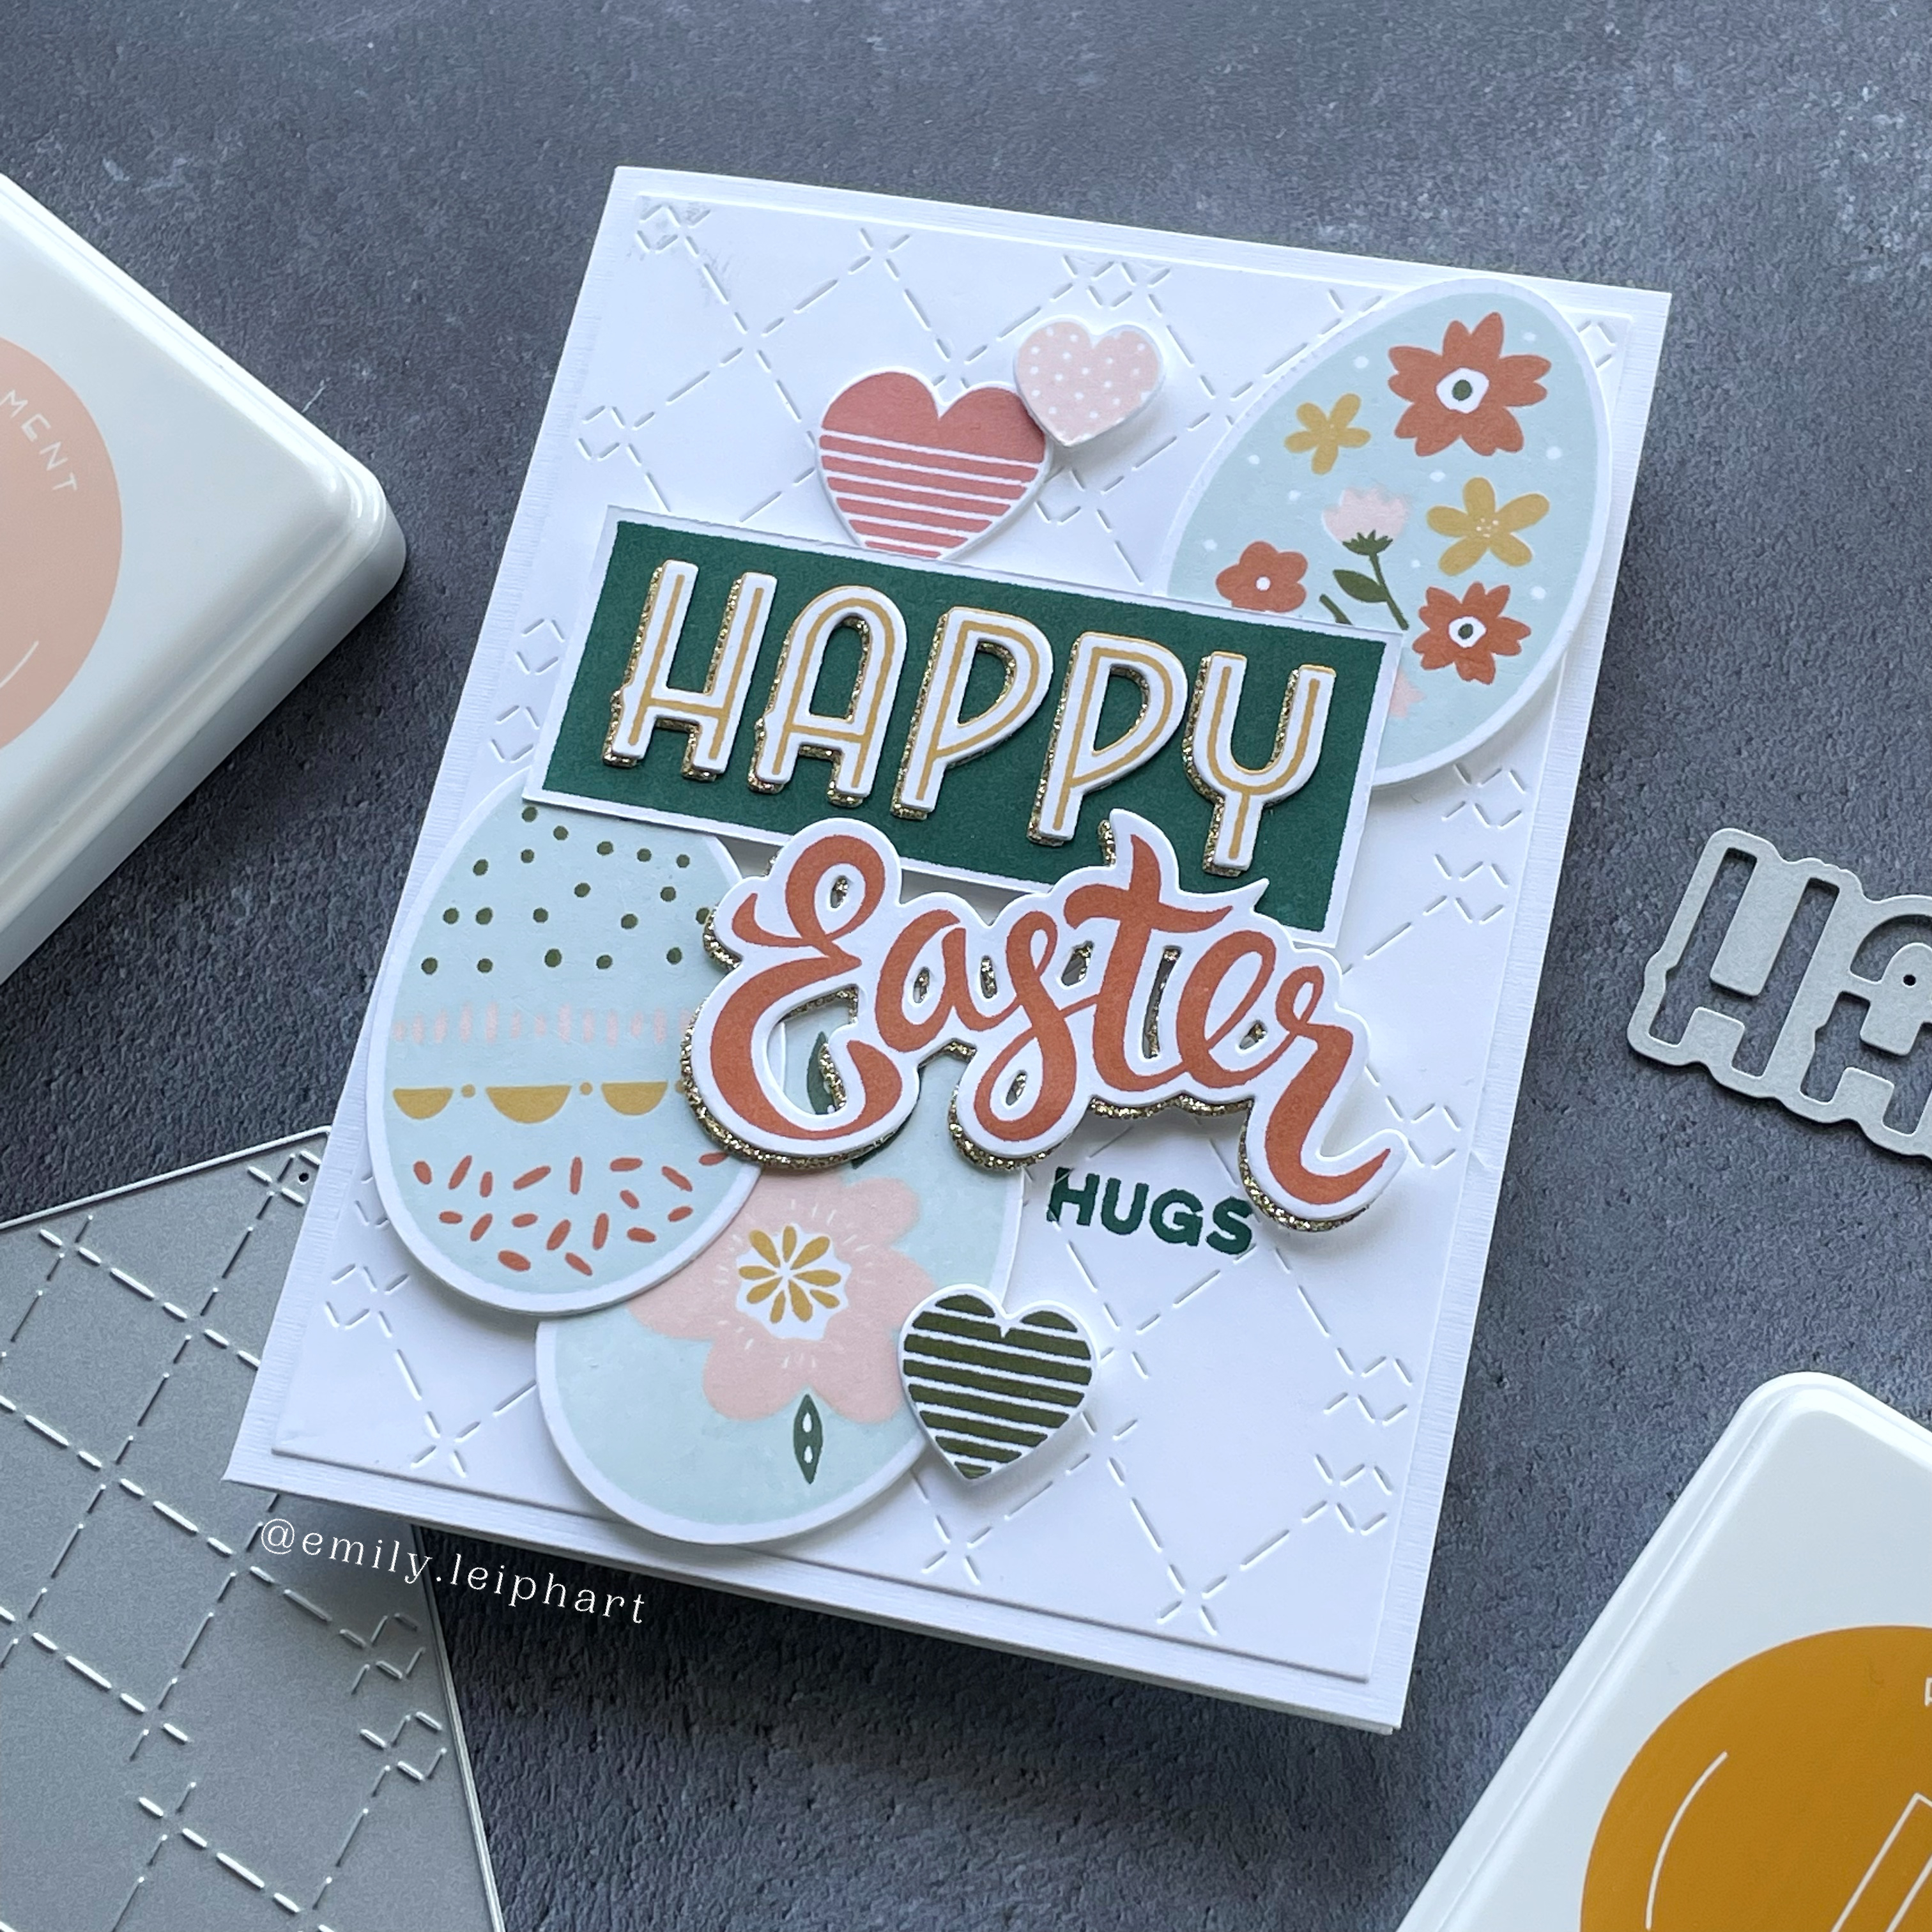
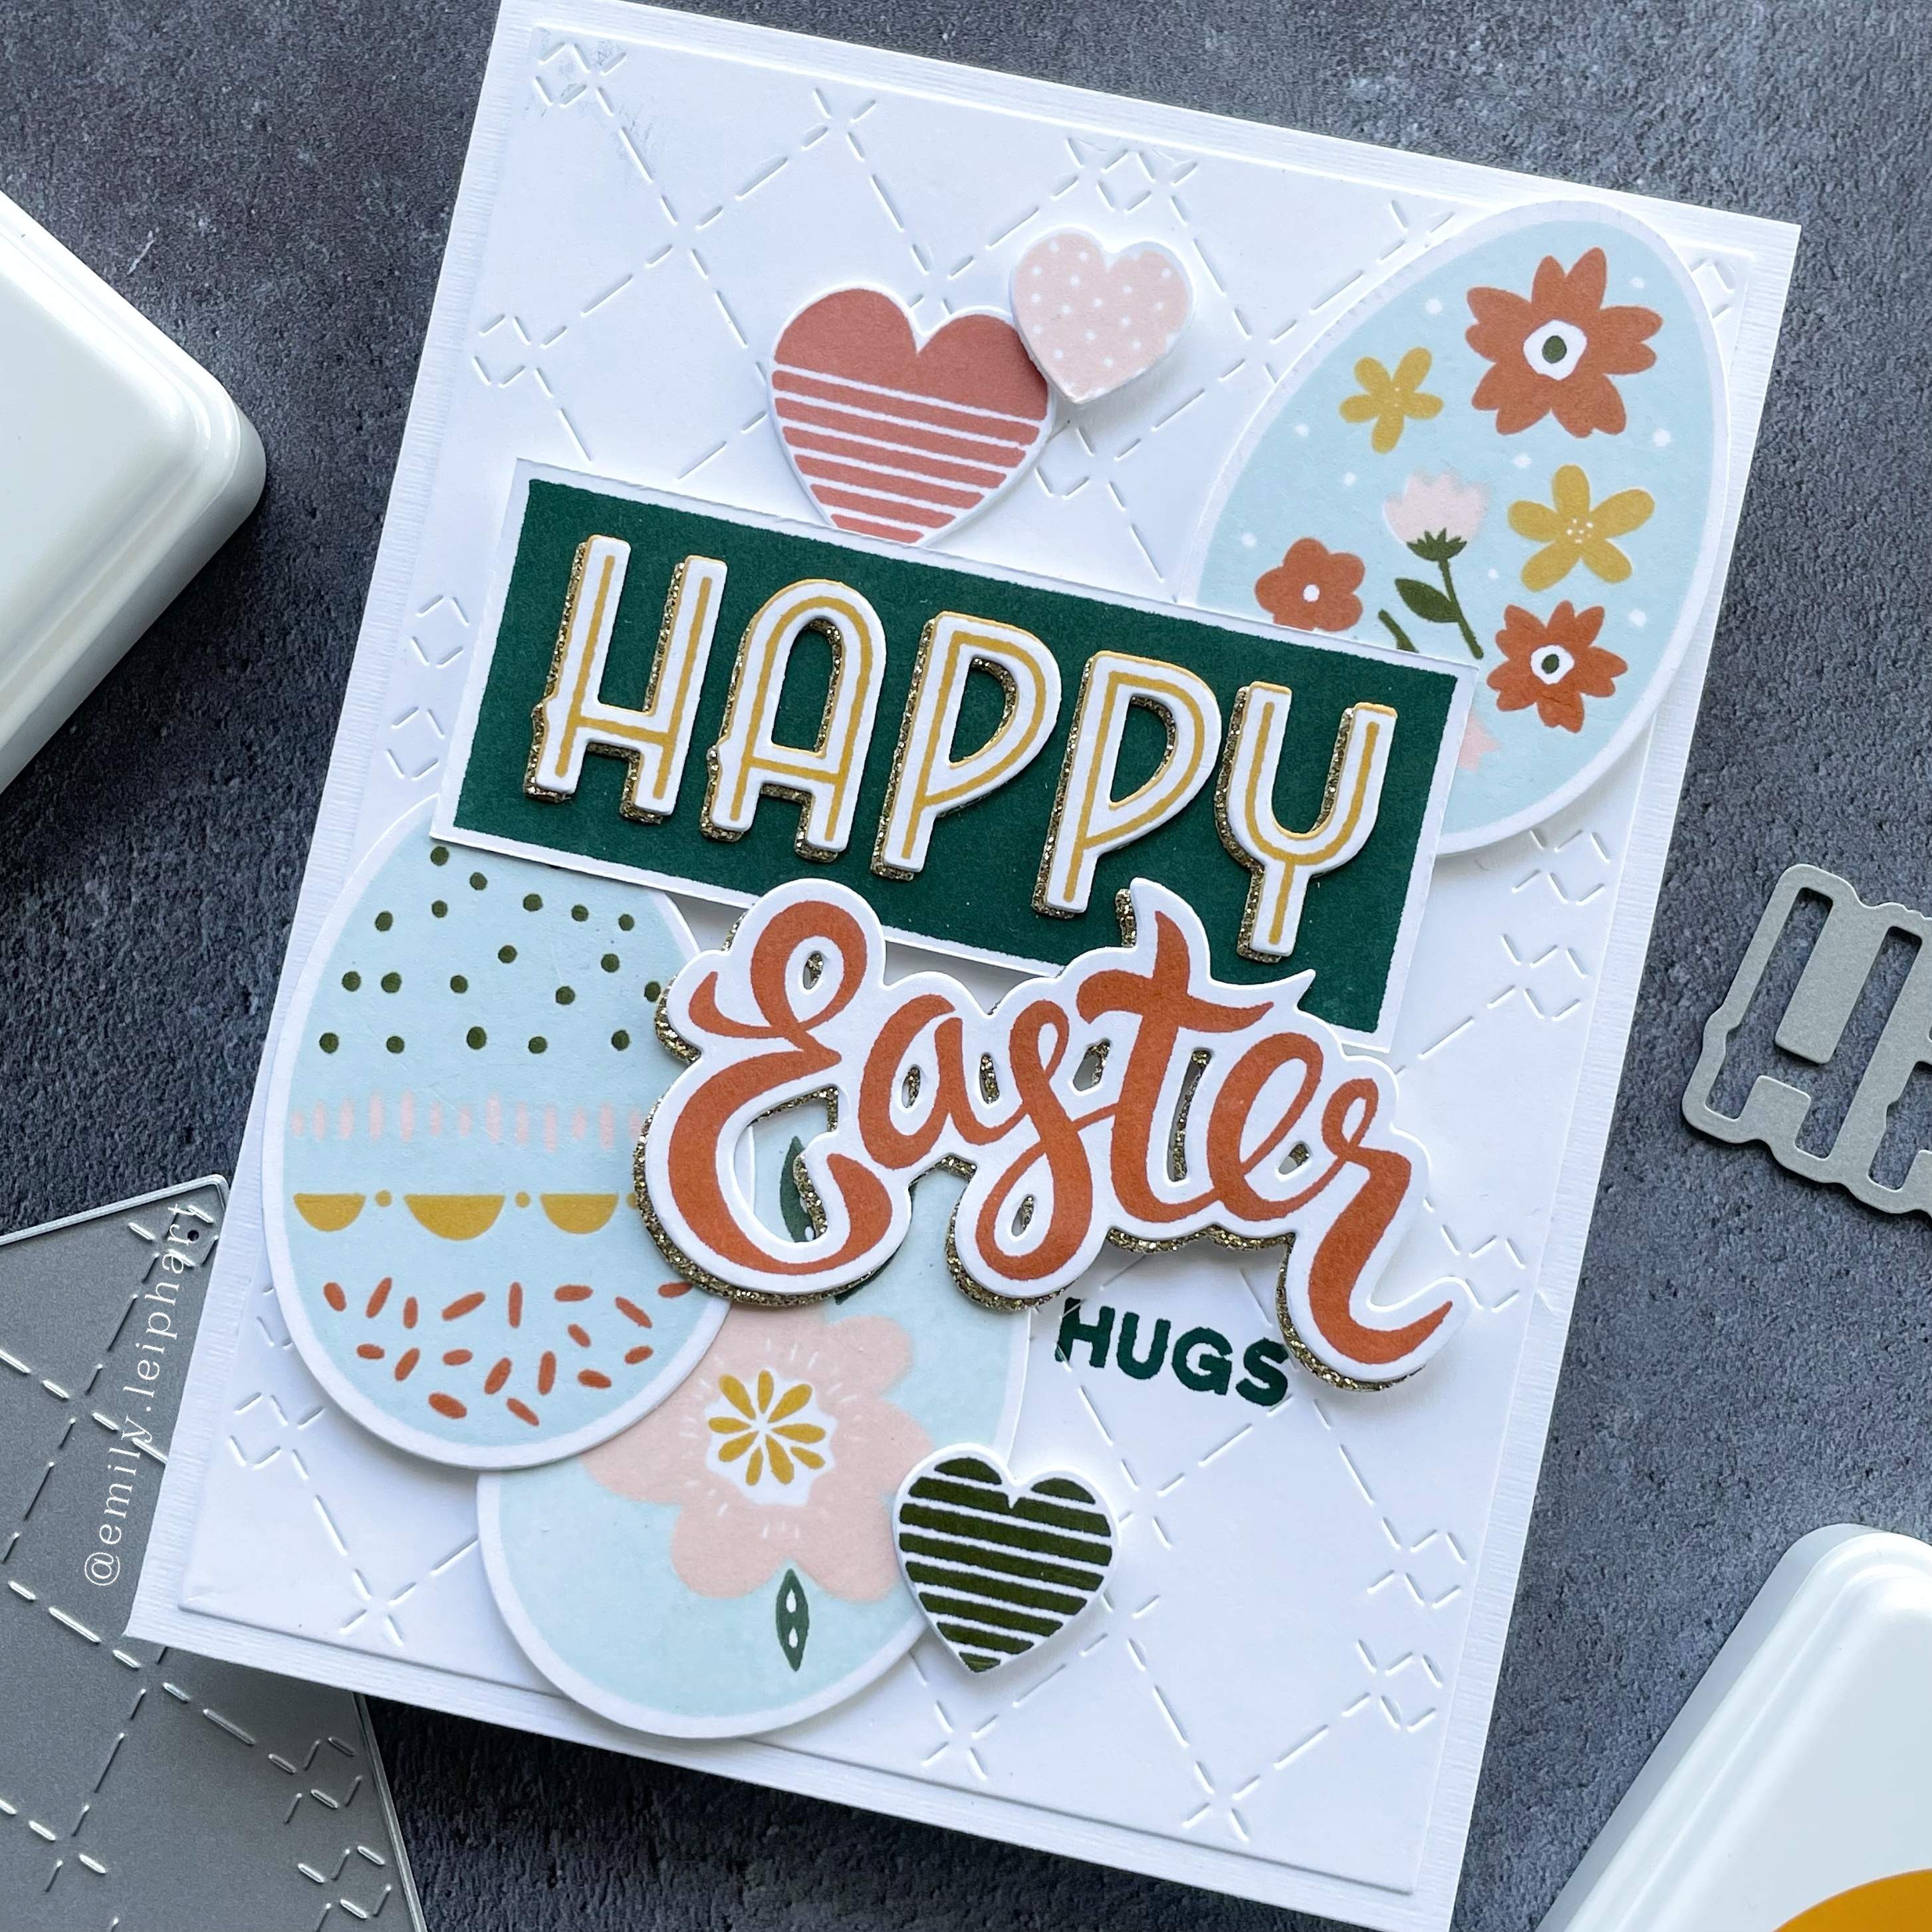
Happy Easter! Hooray for a long weekend filled with family gatherings, good meals and chocolate! I couldn't resist using some of the extra eggs and hearts lying in my stash to create this Easter card. You can see other inspiration using these products HERE and HERE.
This time, I wanted to use the Happy Easter stamp set and coordinating Happy Easter Dies for the big sentiment. I love the way the Happy word has so many layering options.
You know I'm a huge fan of mixed font sentiments so the scripted Easter word makes me so happy. I stamped these in Balsam, Turmeric and Tajine. I layered gold glitter cardstock behind the Happy letters and Easter word die. I stamped the tiny Hugs word directly on the Dashed Diamonds Cover Plate.
I glued the Dashed Diamonds Cover Plate panel directly on the white linen card base. Then I added foam tape to the backs of all the elements, except the Tajine heart, which was attached with glue dots.
I placed the eggs first, then arranged the two large sentiments before stamping the Hugs word directly on to the die cut panel. The last step was to add the hearts.
I hope you enjoy your long weekend. Thanks so much for stopping by!
I love these adorable springtime animals and look forward to mixing and matching them with the previously-released bear, penguin and snowman, even if they might not normally hang out in real life. LOL
I wanted to create tags that open up for a message so I die cut two each of the largest Pierced Tag Stacklets 2 Dies from Mint Julep, Sprinkles and Guava cardstock. I partially die cut the top tag to make it shorter in a design that would allow the sentiment to show at the bottom.
I die cut the Tag Reinforcements from the same three colours and rotated them so that all three colours would be represented on each tag.
I'm thrilled to be part of the Spellbinders March 2021 Clubs Inspiration Blog Hop! You should've arrived from Virginia Lu's blog and I have the full list of participants below. There are also details on the generous giveaway so be sure to read 'til the end. For this hop, I've used the Large Die of the Month which is quite possibly the most creative and outstanding one of its kind yet!
With 23 dies cutting a total of 31 individual pieces, the March 2021 Large Die of the Month is a fully-emcompassed interactive set but you can use easily them without the interactive pieces to create the most beautiful scenes. I've already featured the cloud and grass dies on my Clear Stamp of the Month card HERE.
Lately, my son keeps talking about sheep, probably because we've been playing a lot of Catan and it's fun to collect sheep so I decided to make him a card featuring a lamb trio. The Large Die of the Month includes elements to make bunnies, chicks and sheep, which is a lot of fun!
Much like my first inspiration card using this month's kits, I used cardstock from Concord & 9th and you can find all those colours listed in the supply links below. I just love the mixability of their colour collection. While spring is usually brighter and lighter colours, I love the vibrancy and richness of this combination.
As I've said before, it's rare that I don't stamp on a card but this kit made it easy to create a combination of sentiments with their three scripted word dies. You can also mix and match these word dies with both the die cut sentiments and stamped sentiments from the other March 2021 kits, just like I did HERE. If you missed any of my posts for the March Club Kits, I've included them at the end of the supply links below.
To celebrate this release, we are giving away a $50 gift certificate to 3 lucky blog readers – selected from the comments on our blog. Giveaway closes on Sunday, March 14th, 11:59 pm MST. The winner will be announced in this blog hop post the following Tuesday. The winner is responsible for shipping cost, duties and taxes.
Please note, store credit (gift certificate) cannot be applied to Club Subscriptions. Store credit can be applied to shop past Club products, Club extras and regular releases.
Your next stop is Joy Baldwin and, if you wish, please head to theSpellbinders Blog to begin the hop. Thanks so much for hopping along with us!
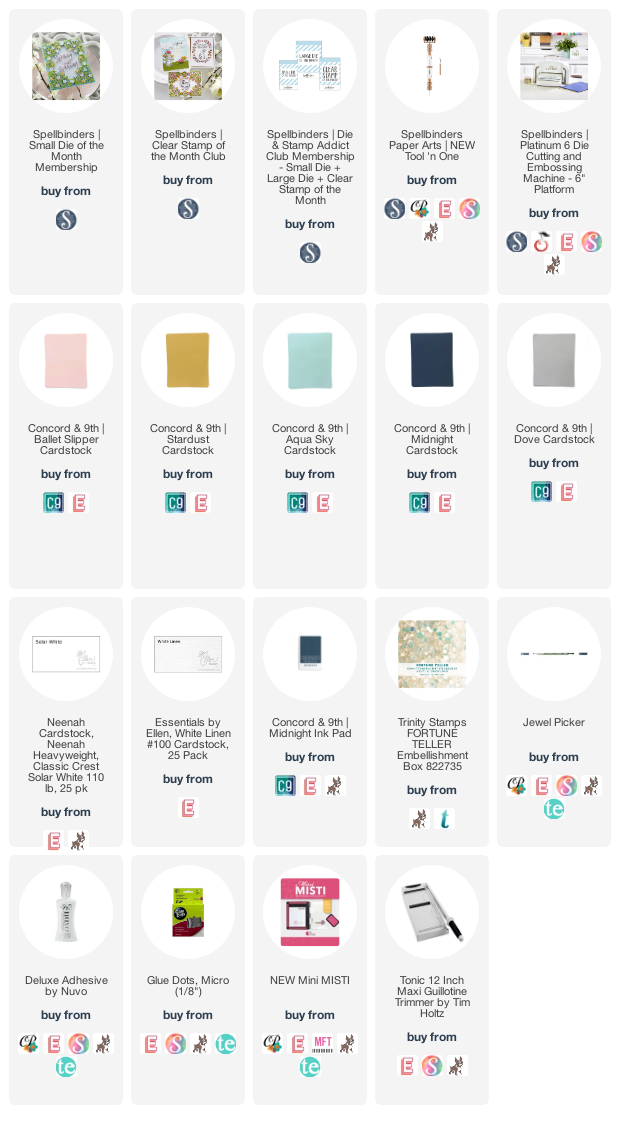
Hello, friends! I'm back with some inspiration for theSpellbinders Small Die of the Month and this month's membership is packed with 13 dies that cut a total of 22 individual pieces. I'm in love with all of the details in these dies which make both rectangular cards and square cards, depending on which pieces you select. The SpellbindersPlatinum 6die cutting machine cuts them beautifully and the awesometool 'n oneremoves all the detailed pieces so easily.
I started by using the largest die, cutting two pieces from Midnight cardstock, two pieces from Dove cardstock, two pieces from Aqua Sky cardstock, and six pieces from white cardstock for layering. I cut off the circles and hoops from each piece and adhered the white and coloured pieces together using liquid glue, slightly offsetting the two layers so you can see a bit of the bottom layer.
I trimmed a piece of Stardust cardstock to 4" x 5.25" and attached the layered die cuts in a diamond pattern, trimming off the overhanging sections. I used micro glue dots to attach die cut flowers from Ballet Slipper cardstock so they'd have a bit more dimension than liquid glue.
The Spellbinders Small Die of the Month comes with its own die cut sentiment but I wanted something smaller and more simple so I opted for a simple sentiment from the Clear Stamp of the Month, stamped in Midnight Ink. The original sentiment is on a single line so I masked it to stamp it on two lines in the centre of the card.
{pronounced lee'·part} I'm a former research analyst and make-up artist turned paper crafter and stay-at-home mom. I love to practice yoga, listen to music, read and bake when I have time but my son keeps me pretty busy! I hope you enjoy what you see here.