Showing posts with label thank you. Show all posts

Wednesday, October 16, 2024

Concord & 9th | October 2024 Guest Designer | True Story Bundle


Hello again! Today's project for Concord & 9th's October Release features the True Story Bundle and this set comes with its own wow factor. It looks amazing no matter how you use it, which is exactly what we want from cardmaking, right? ;)


When I saw the True Story Dies, the very first thing I noticed was the book edge die that cuts the top edge to create a shaped-card! As I mentioned in yesterday's post, having a love for all things book-related means that I love the True Story Bundle just as much as I love the On Display Bundle.


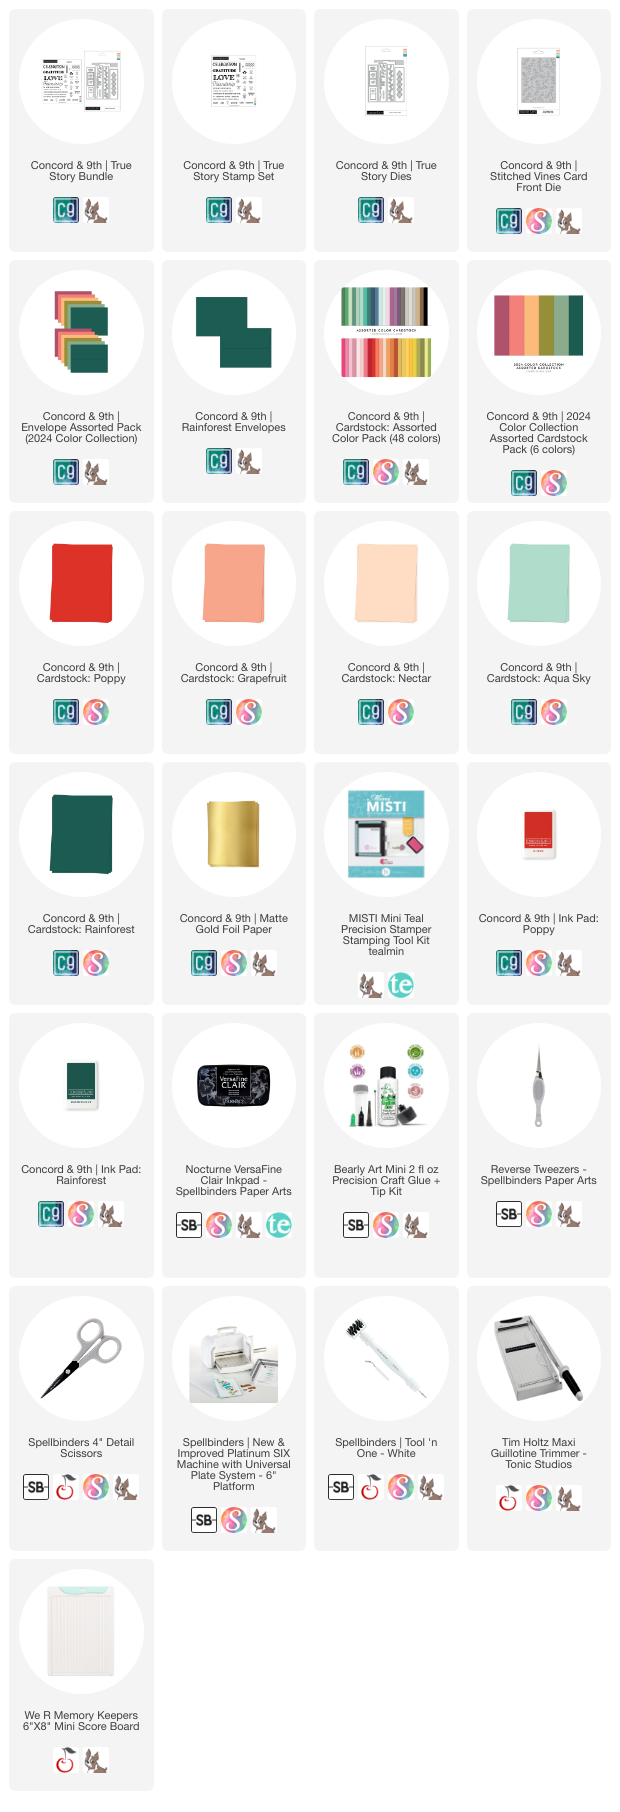
The colours I chose for today's card include all-time favourites Poppy and Nectar, with Grapefruit, Aqua Sky and new-to-me Rainforest. I also included Matte Gold Foil Paper for shine because all the best books have gold foil details! ;)


If you use the book edge die like I did here, your books will always need to be in this order but, if you don't, then you can stack them in any order, whether vertically or horizontally. My books are die cut (from left to right) from PoppyGrapefruitRainforest and Aqua Sky.


The details on the spine of the Poppy novel are cut from Nectar, Grapefruit and Matte Gold Foil Paper, and the sentiment from the True Story Stamp Set was stamped with black ink. On the spine of the Grapefruit novel, I stamped the stripes with black ink, the small words with Poppy ink and the large word with Rainforest ink.


I embossed the Rainforest novel with the Stitched Vines Card Front Die and love how it looks! Then I added flower details using PoppyNectar, Aqua Sky and Matte Gold Foil Paper. For the Aqua Sky novel, I die cut the vines and flowers from Matte Gold Foil PaperPoppyNectar and Rainforest cardstock, then stamped the sentiment with black ink. Behind the card, you'll see one of the new envelope colours in Rainforest.


I hope you enjoyed today's project. If you missed my previous posts, you can find those here:


I'll see you again tomorrow with more inspiration featuring the Cottage Charm Stencil PackIf you're inspired, please shop my affiliate links below. Thanks so much for your continued support!

Supplies

Monday, October 14, 2024

Concord & 9th | October 2024 Guest Designer | Feathered Friends Bundle


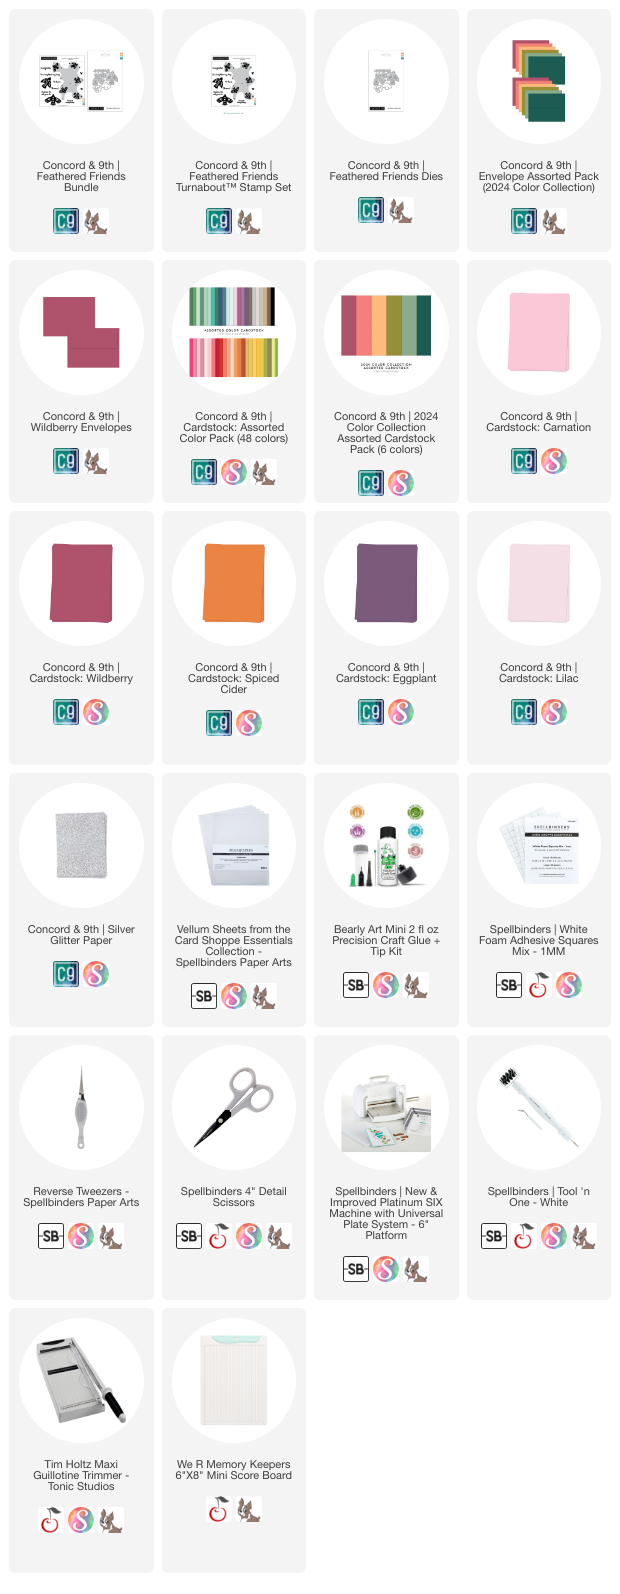
Hello, crafty friends! I'm back with another project for Concord & 9th's October Release and today's featured bundle is the darling Feathered Friends Bundle. I adore the folk-art inspired style of these birds, both in the amazing Feathered Friends Turnabout™ Stamp Set and the Feathered Friends Dies.


I was completely enamoured with the details on the Feathered Friends Dies so I decided to feature those on my card today. The colour palette I chose includes Carnation, Wildberry, Spiced Cider and Eggplant. This may just be my new favourite colour palette and I definitely want to try them out with the Feathered Friends Turnabout™ Stamp Set!


I cut the large birds from Wildberry, and the small birds from Carnation and Spiced Cider cardstock. All of the bird bases were cut from Lilac cardstock and after glueing the two layers together, I added the inlaid pieces using Eggplant for the eyes, the remaining three colours for the hearts, and Silver Glitter cardstock for the flowers and leaves.


Originally, I thought I would heat emboss one of the stamped sentiments on to the Eggplant card base but in the end, I decided to use the thanks die, which I cut from (top down) LilacSilver GlitterWildberry and vellum cardstock.


I added foam squares to the backs of the birds and attached them to the card base. The thanks sentiment was glued flat to the card. To finish, I added three little Silver Glitter hearts which were leftover inlaid pieces. Behind the card, you'll see one of the new envelope colours in Wildberry.


I hope you enjoyed today's project. If you missed yesterday's project featuring the Afternoon Tea Bundle, you can find that HERE. I'll see you again tomorrow with more inspiration featuring the On Display BundleIf you're inspired, please shop my affiliate links below. Thanks so much for your continued support!

Supplies

Saturday, September 7, 2024

Spellbinders | September 2024 Stitching Die of the Month + Glimmer Hot Foil Kit of the Month


Hello, crafty friends! Today, I'm showcasing the September 2024 Monthly Club Kits from Spellbinders. The first card features the "Stitched Sunflower" Stitching Die of the Month and the second card features the "Friendly Thanks" Glimmer Hot Foil Kit of the Month. Club Kits close on the 27th of each month so get them while you can!


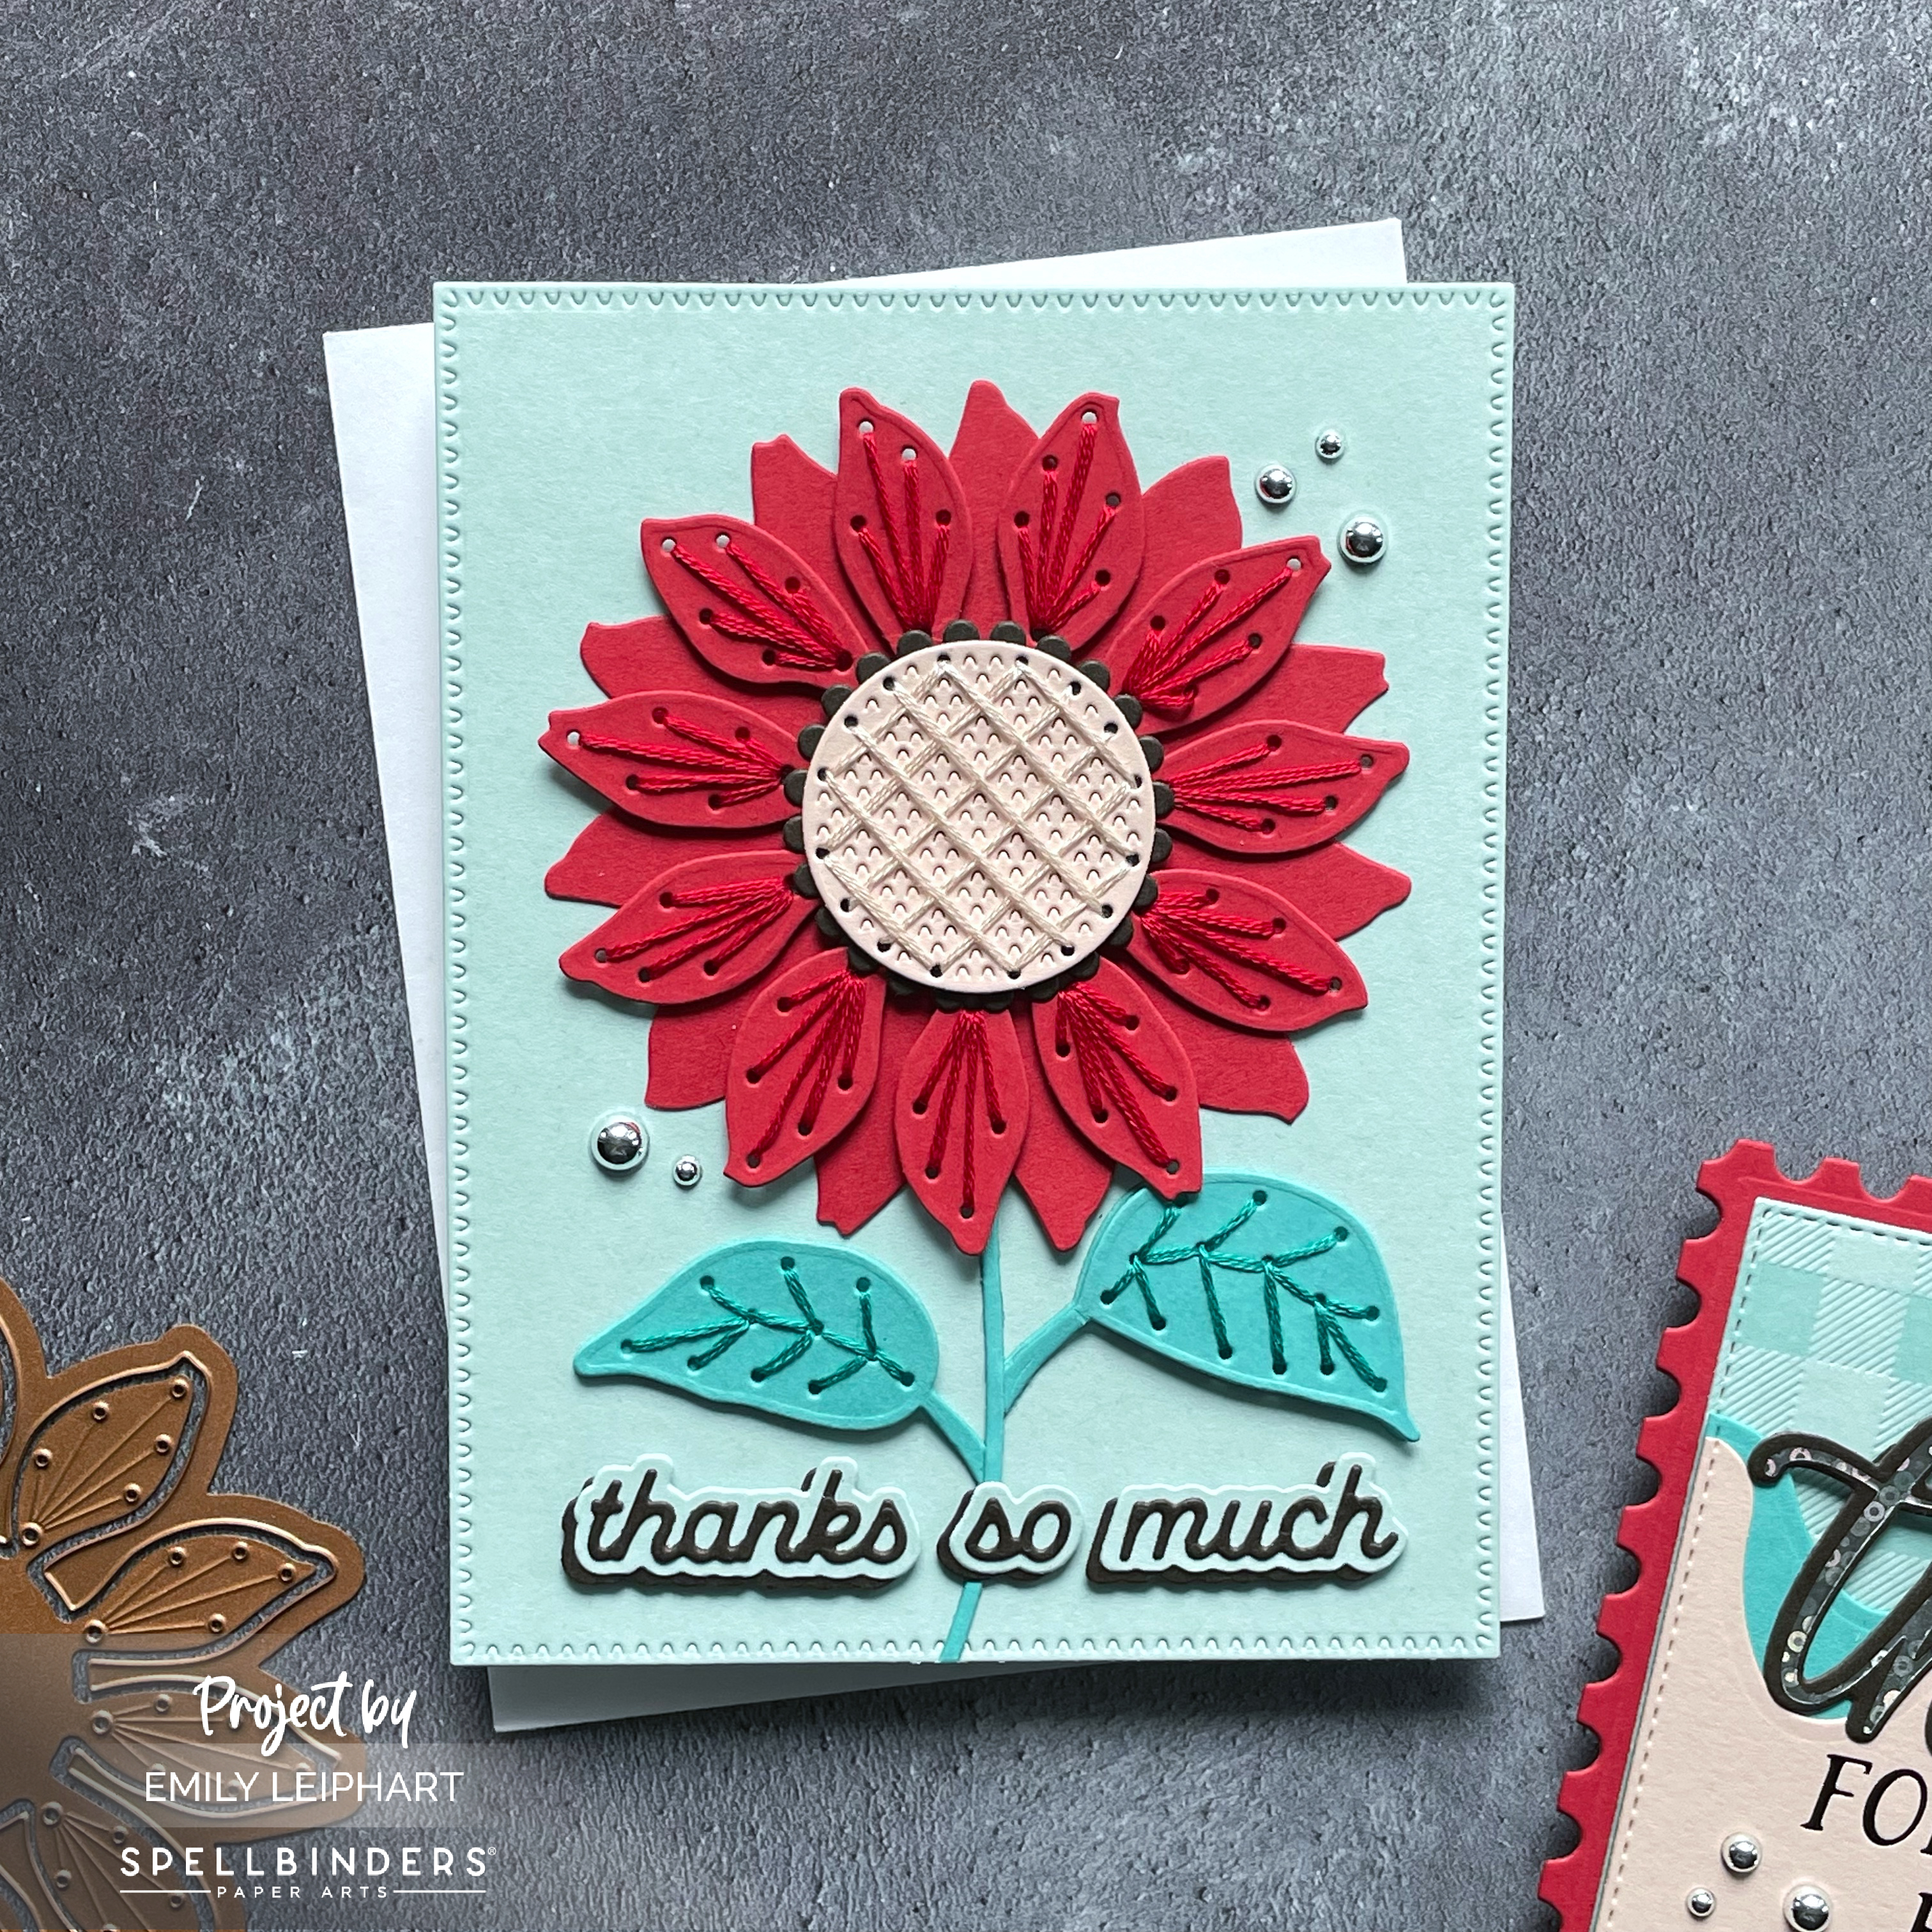
I'll admit, when I saw that this month's Stitching Die of the Month was a sunflower, I wasn't too excited about it. However, when I saw red and mixed red-yellow sunflowers at the market this week, that all changed and I couldn't wait to use a colour palette that would allow me to create red sunflowers! Have you seen them? They're stunning and so unusual! I had no idea that red sunflowers even existed.


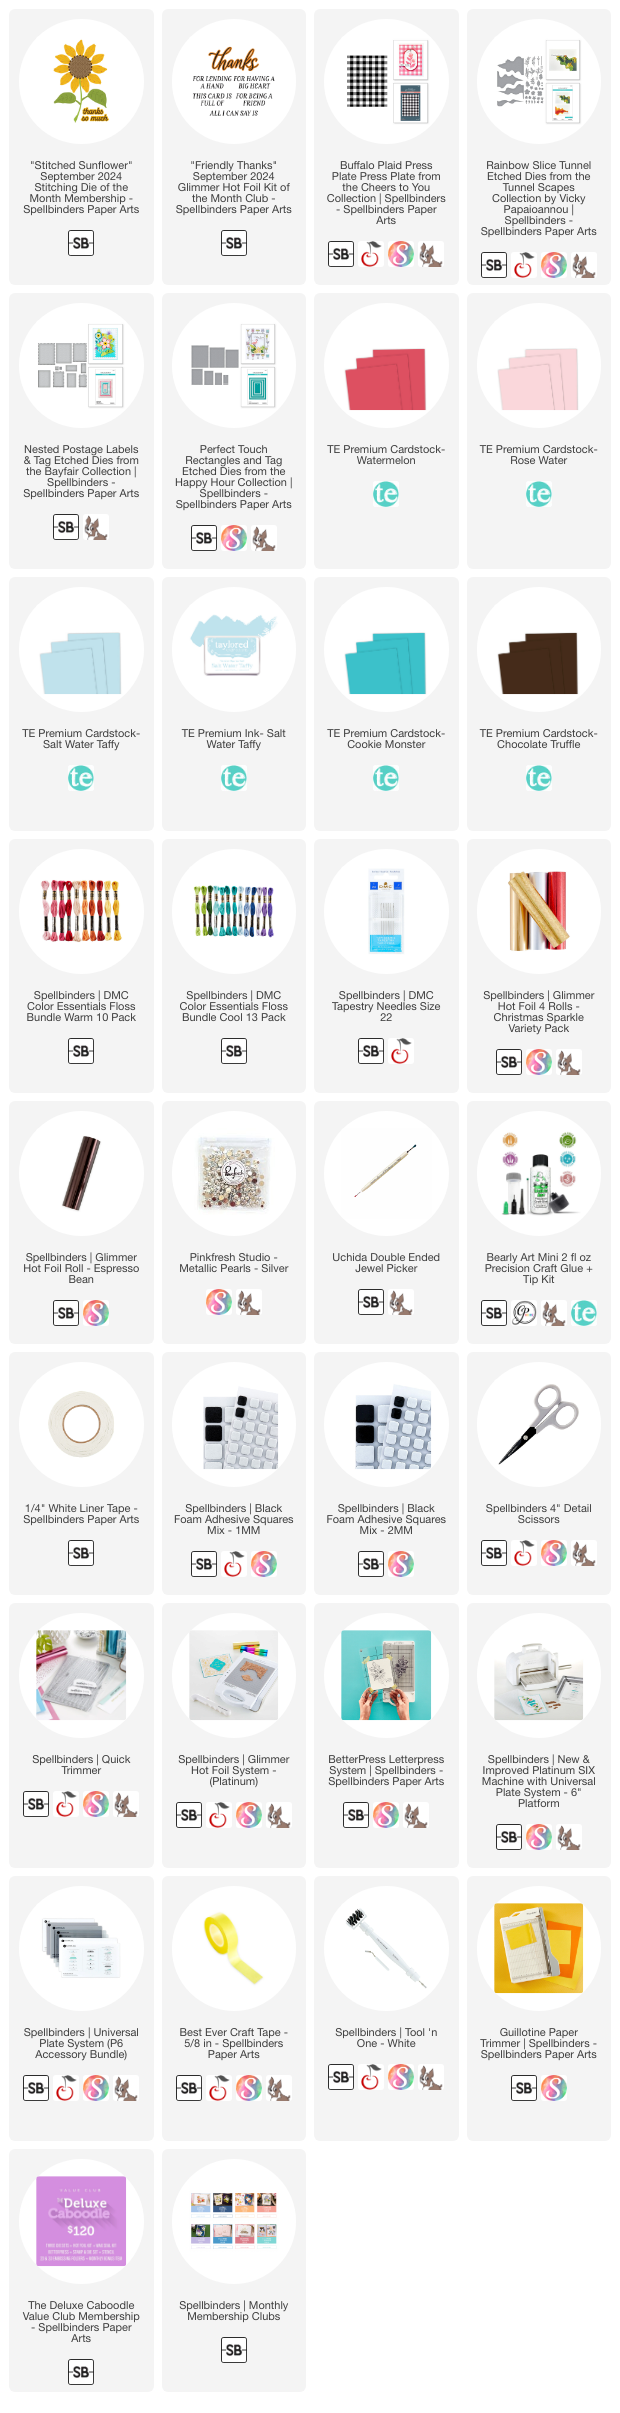
The colour palette I used on both of my cards include Watermelon, Rose Water, Salt Water Taffy, Cookie Monster and Chocolate Truffle. After die cutting the pieces from their respective colours, I used embroidery floss from the DMC Color Essentials Floss Warm Bundle and the DMC Color Essentials Floss Warm Bundle. The floss in the centre of the flower is from my stash and I don't know the number of it but it's definitely DMC branded.


I cut the base panel from Salt Water Taffy using the largest of the Perfect Touch Rectangles. I love that the tiny little details match the centre of the sunflower! I popped the top layer of the sunflower and leaves up on 1mm black foam squares before glueing everything down. To finish, I added a few silver pearl embellishments.


The "Friendly Thanks" Glimmer Hot Foil Kit of the Month is big and includes the scripted thanks with a coordinating die, as well as five secondary sentiments. I went with a shaped card design with a Watermelon card base cut with the largest of the Nested Postage Labels and Tags. The plaid panel was created using Salt Water Taffy ink on Salt Water Taffy cardstock, with the Buffalo Plaid Press Plate.


I was also very excited to finally get my hands on the Rainbow Slice Tunnel Dies so I heat foiled the secondary sentiment using Espresso Bean Hot Foil on Rose Water cardstock. The big thanks was heat foiled using Sparkle Silver Hot Foil available in the Christmas Sparkle Variety Pack on Chocolate Truffle cardstock. This time I used 1mm black foam squares under the Rainbow Slices and 2mm black foam squares at the top of the sentiment.


Here's a list of monthly club kits I share, as well as some of the value kits offered by Spellbinders:


If you're inspired, please shop my affiliate links below and remember to accept your cookies so I can be credited for the referral. Spellbinders would love to know that you were inspired by me. Thanks so much for your continued support!

Supplies

Tuesday, July 23, 2024

Spellbinders | Glimmering Peonies Duo + Christmas in July Sale!


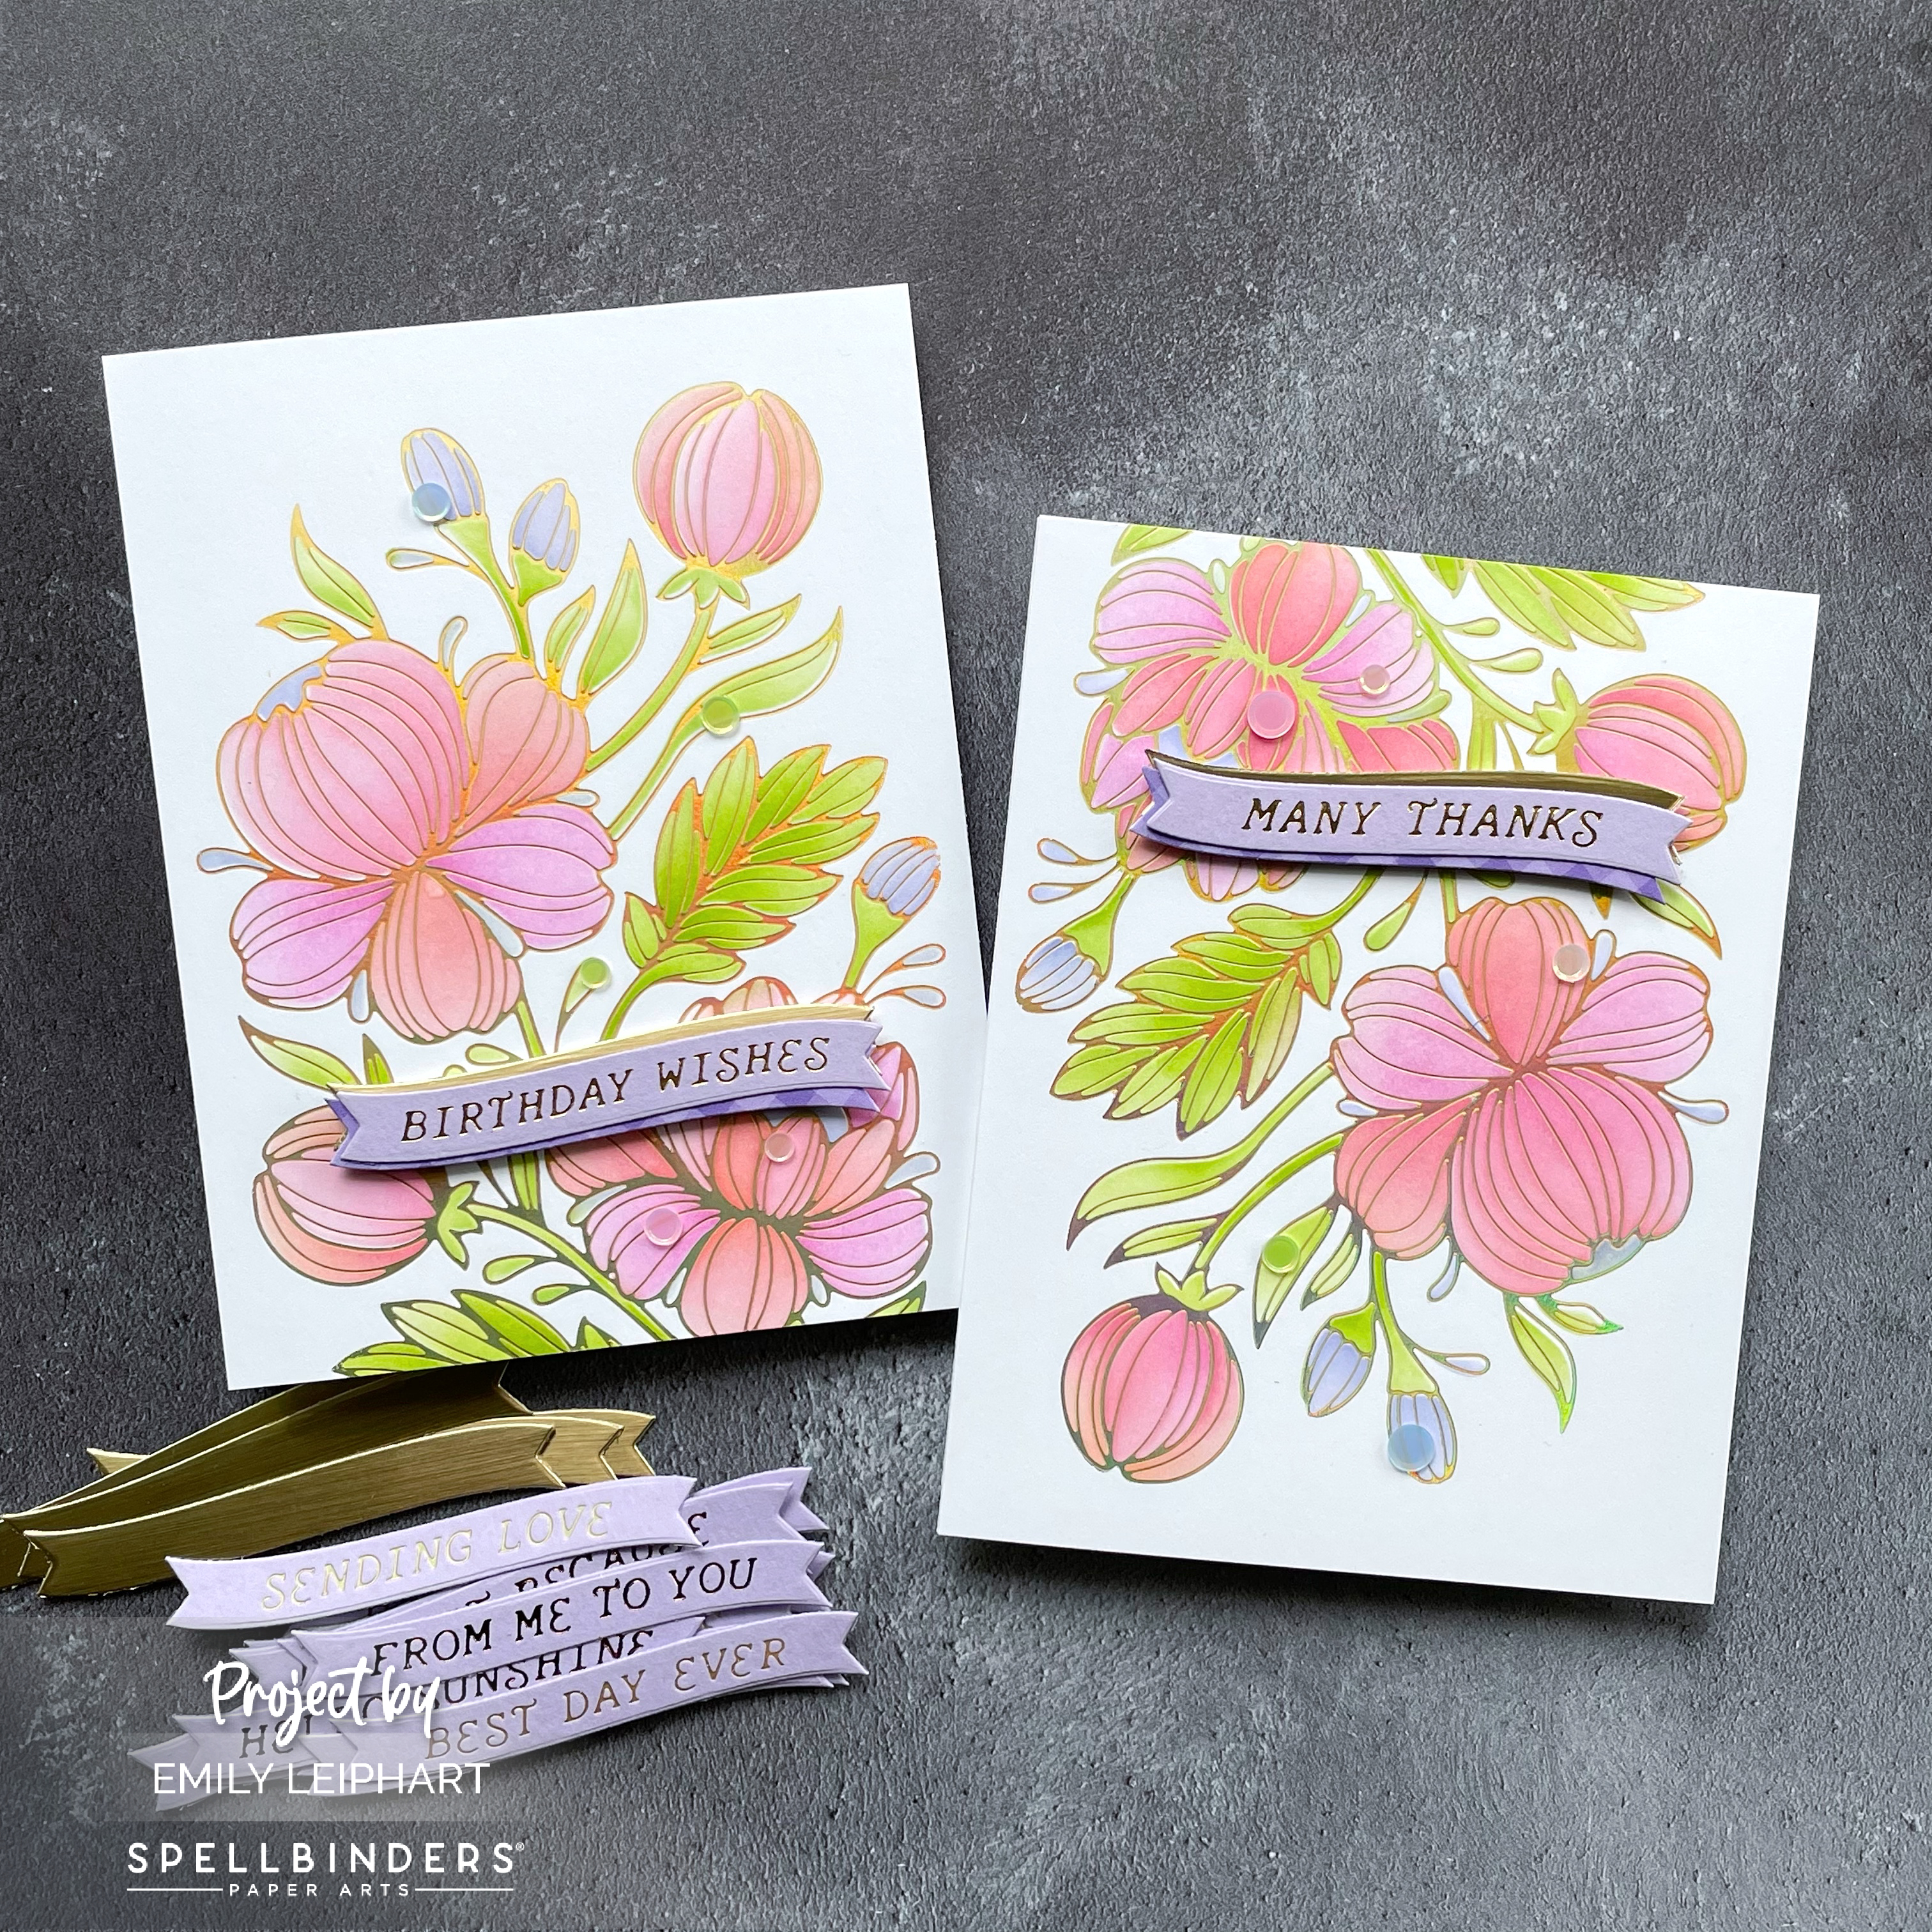
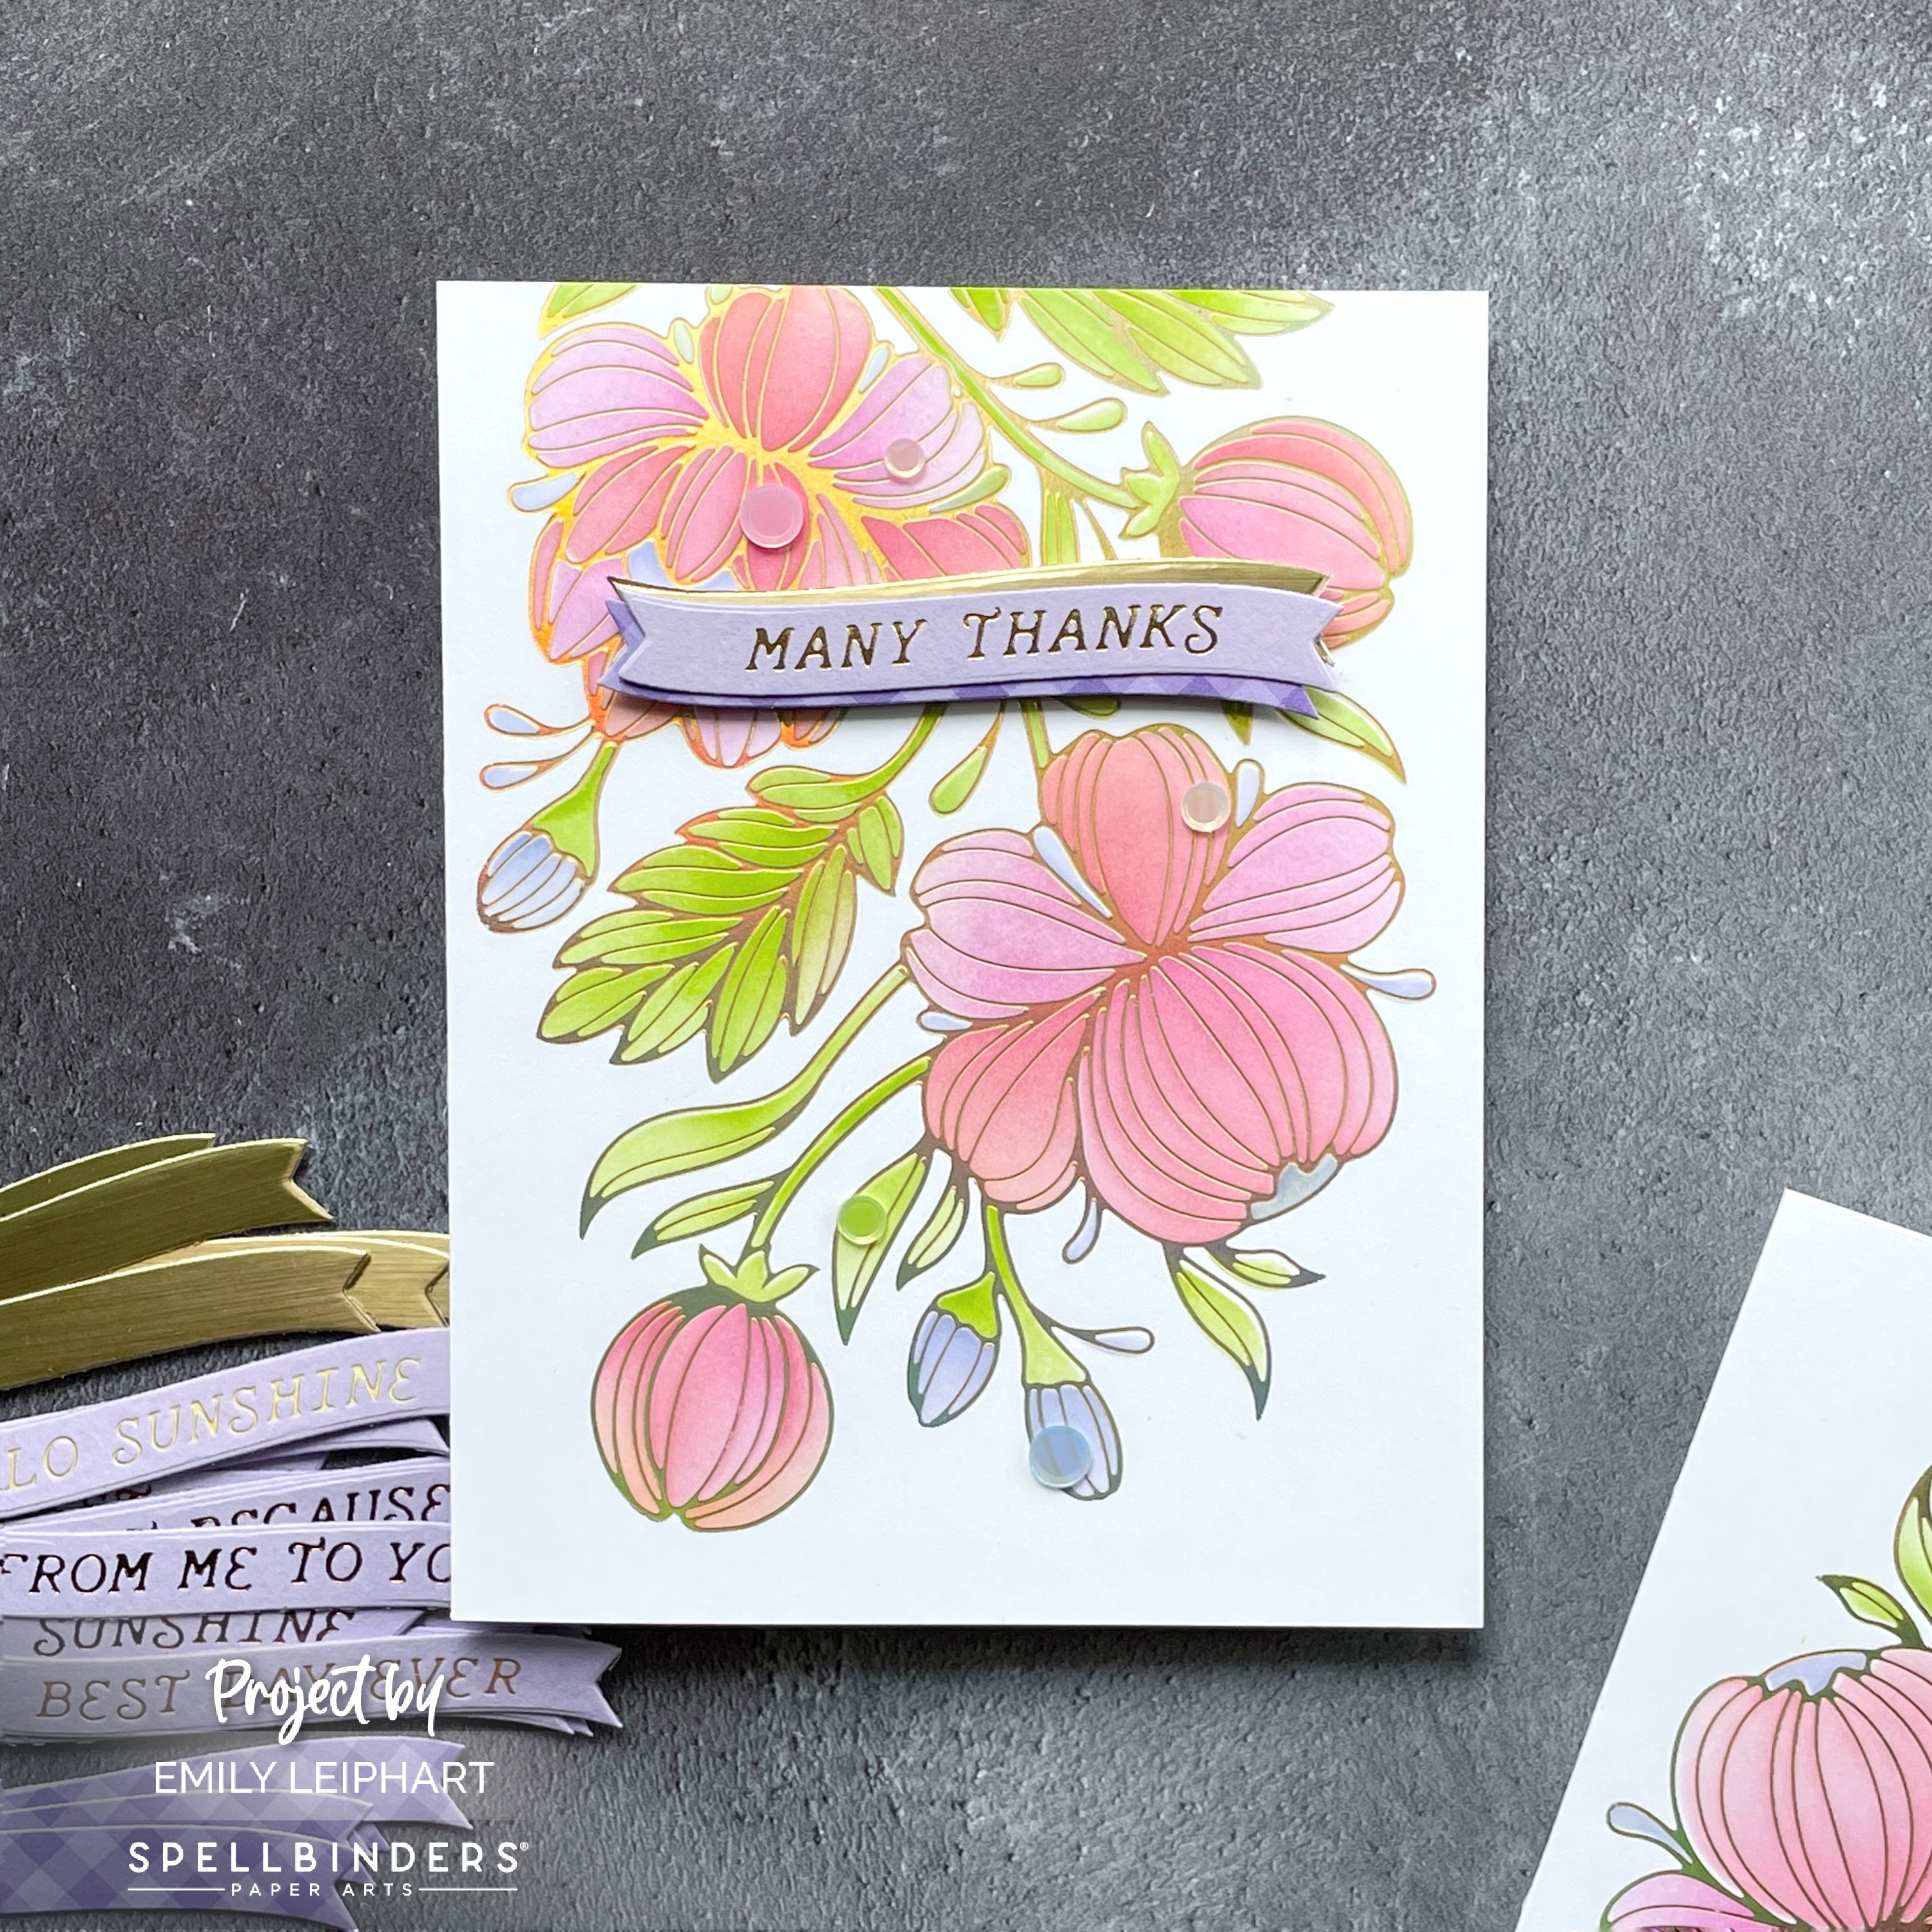
Hello again, crafty friends! You may recall my Glimmering Buttercups POST featuring the Glimmering Flowers Collection from Spellbinders. Today, I'm sharing two clean and simple, same-but-different cards I whipped up featuring the Glimmering Peonies Glimmer Plate and Stencil Bundle.


I needed a couple of quick cards and love having coordinating stencils to colour large, floral images such as this one. Even though I have quite a collection of birthday and thank you cards in my stash, none of them are ever quite right. Do you ever feel that way or is it just an excuse to make more cards? ;)


I started by heat foiling the Glimmering Peonies with Aura Hot Foil on Neenah 80lb White cardstock. Then I used Catherine Pooler's Color Wheel Download to select my colour palette and the ink colours I used are Be Mine, Do-Si-Do, Bellini, Frosted, Serenade, Garden Party and Lime Rickey.


If you don't have the coordinating stencils, you can colour these peonies with your favourite medium or simply heat foil them on dark cardstock and leave them uncoloured as I did in the past.


I loved mixing Be Mine with Do-Si-Do and Bellini on the larger flower petals. I love the way Frosted and Serenade work with the other colours. I went as light as possible with Garden Party and Lime Rickey, but I think I could've gone lighter or perhaps even left the foliage uncoloured for something different.


For the sentiments, I heat foiled the Curved Everyday Sentiments with Polished Brass Hot Foil on Simon Says Stamp Lavender cardstock. I actually tried two other foil colours before choosing this version.


I cut the sentiment banners again from both Brushed Metallic cardstock and Gingham Lilac patterned paper. These were layered behind both sentiments to complement the foiling and the bits of purple in the buds.


As you can see, the Glimmering Peonies Glimmer Plate is significantly bigger than an A2 panel so I decided to leave some of it off the bottom edge. You'll also notice that I flipped the thank you panel upside down for a bit of variation between the two cards.


I almost adhered the banners flat to the ink blended panel to make it super easy to mail but I decided to foam mount it for a tiny bit of dimension. I just couldn't resist! Again, I almost stopped there but I decided to use some flat sequins to add visual interest.


The sequins I used are from Studio Katia's Pastel Rainbow Confetti but you can find similar sequins in the Spellbinders store, available in Aura, Pink and PurpleAura is a great colour that fills in the gaps nicely when you don't have matching sequins for every colour.


Do you like to make batches of cards using the same design and colour palette? I only thought to flip one of the panels at the last minute. Otherwise, I would've had both designs exactly the same but with different sentiments. What other ideas do you have for same-but-different card designs?


Please check out the NEW Christmas in July Sale, on now through July 28, 2024. You can save up to 50% select products. Prices are as marked. The sale also features discounts on select Clearance items. 


I appreciate you stopping by and, if you're inspired, please shop my affiliate links below. Spellbinders would love to know that you were inspired by me.

Thanks so much for your continued support!

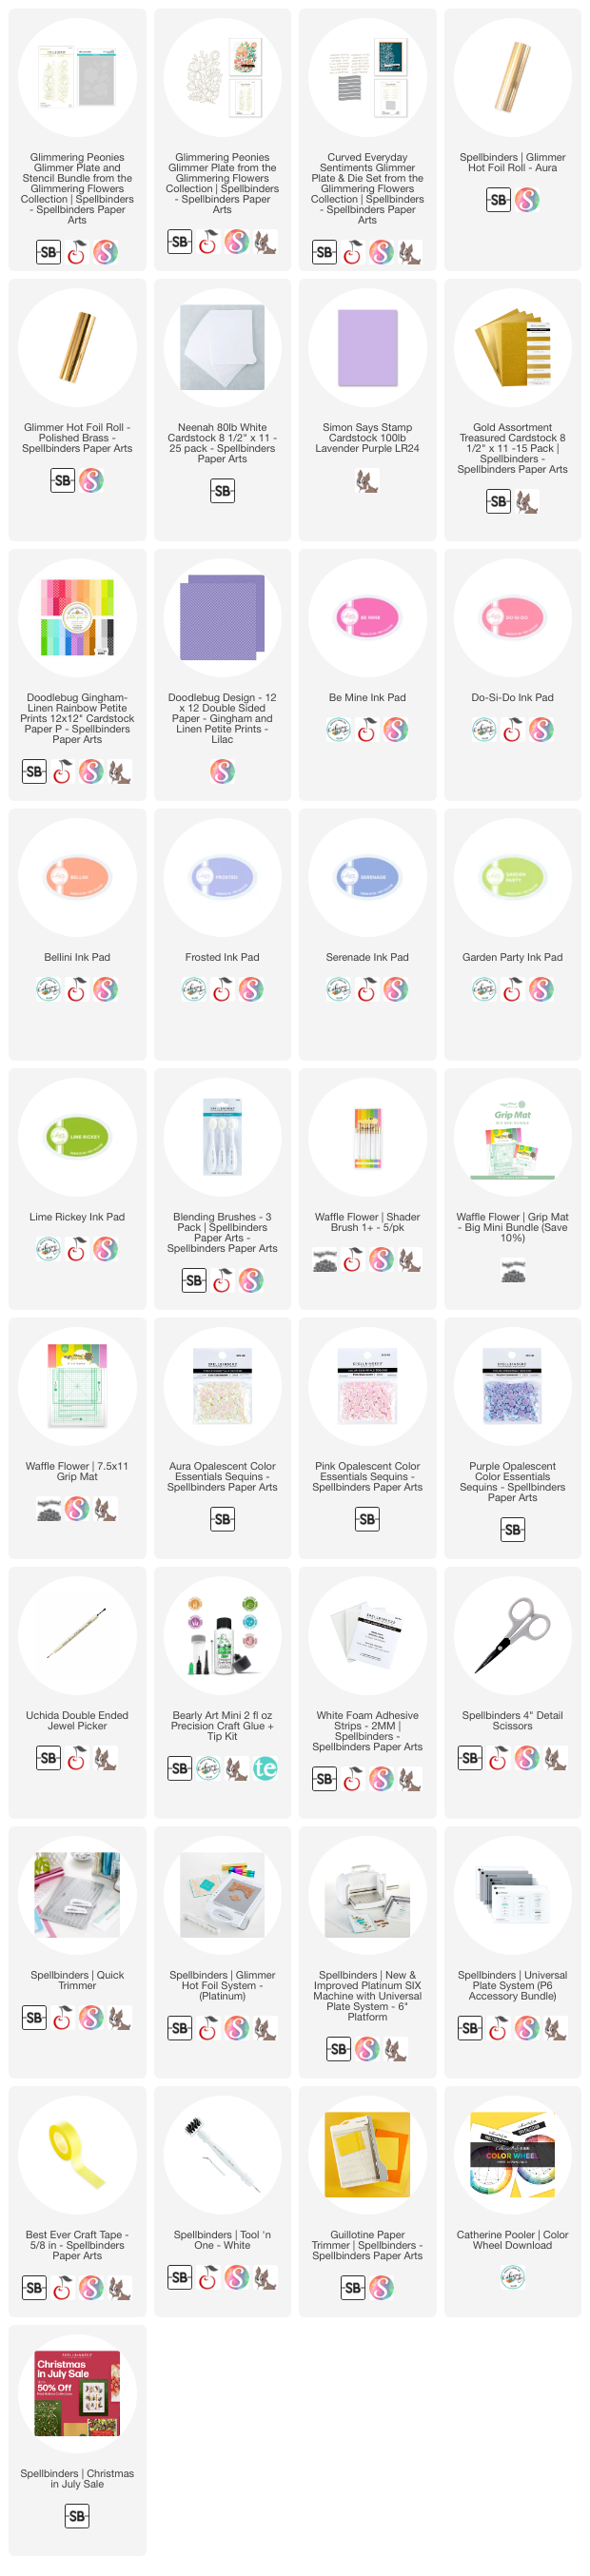
Supplies:
Thursday, December 21, 2023

Spellbinders "My Heart Smiles" Glimmer Hot Foil Kit of the Month | December 2023


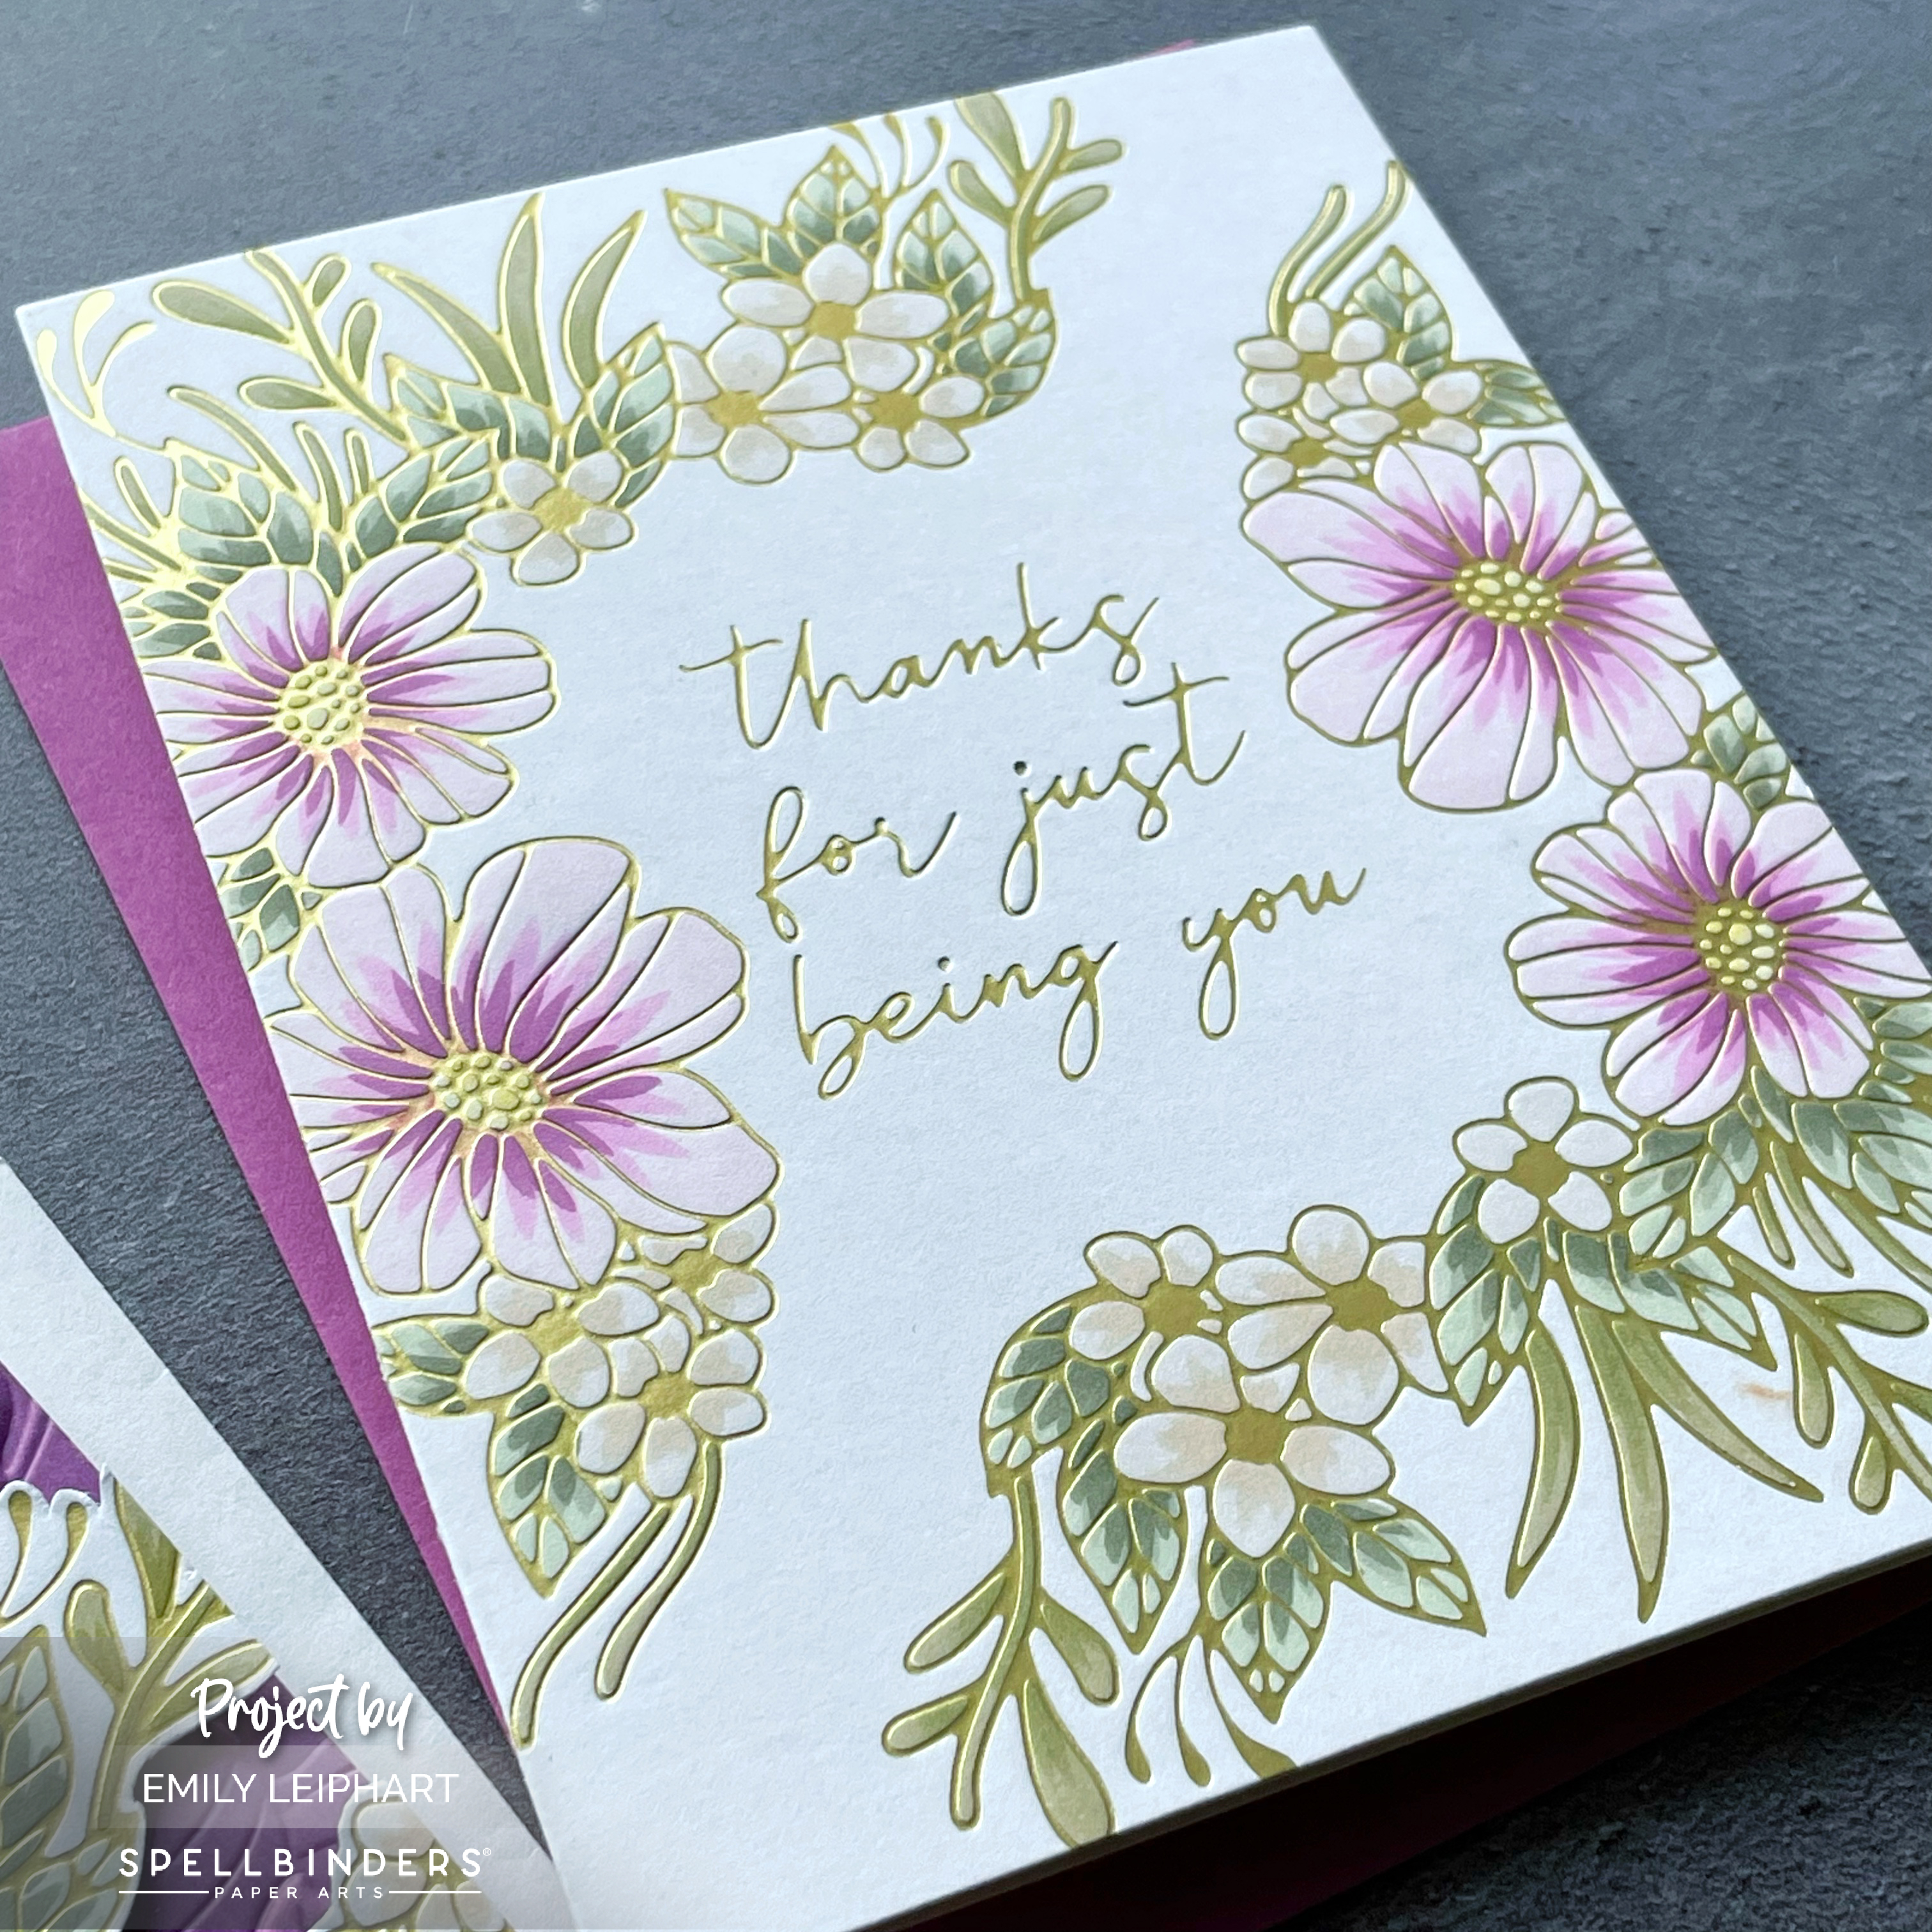
Hello, crafty friends! I'm back with two cards using Spellbinders December 2023 Glimmer Hot Foil Kit of the Month called "My Heart Smiles"! It's absolutely stunning and you can keep it simple or go all out. Originally, I only foiled this floral image once but then I decided to keep going!

I started with a 5.5" x 8.5" piece of Neenah White cardstock. I foiled the sentiment and large floral image twice using Matte Gold Hot Foil by turning the panel 180 degrees. This first card is a flat one-layer design, perfect for mailing. I wish you could see the matte shine in person because it's so beautiful yet subtle. 


Next, I coloured the flowers and leaves using a mix of Copic markers and Sketchmarker Brush Pro markers, both of which are alcohol-based markers. Since my Sketchmarkers were gifted by Ellen Hutson and that store has closed down, I prefer to recommend the OLO markers available at Spellbinders and listed in the supply links below.


After the colouring was completed, I used the largest of the Precision Layering A2 A Dies to cut out the panel and attach it to a white card base using liquid glue.


This card was so simple and quick to make. You could easily create a gift set with different colours and sentiments.


My second card with the December 2023 Glimmer Hot Foil Kit of the Month takes it up a notch. I'll admit that I made this card because I ended up fussy cutting the first panel of heat foiled flowers. Yes, I'm so crazy! Oh, how I wish this hot foil kit came with coordinating dies.


I made the attempt to design a card using just a single panel of popped up flowers. However, I didn't like how it looked so I re-foiled and coloured a second panel and cut it out.


Next, I used the same Matte Gold Hot Foil to heat foil the sentiment on a panel of Fig cardstock. Then I dry embossed the panel using the Floral Archway 3D Embossing Folder. To finish, I placed the flowers around the sentiment using foam tape, trimmed off the overhanging pieces and added a few gold pearls.


I just love all of the details and texture on this second card, which is quite different from the first design. What's your preference? Do you like the first clean and simple design or the elevated design more?


The December Club Kits are only available until December 27, 2023. Be sure to check out all of the amazing deals during Spellbinders Holiday Collections 50% Off Sale, now through 11:59pm PST on December 26, 2023.


Here's a list of monthly club kits I share, as well as some of the value kits offered by Spellbinders:


I hope you enjoyed today's projects. I appreciate you stopping by and, if you're inspired, please shop my affiliate links below. Thanks so much for your continued support!

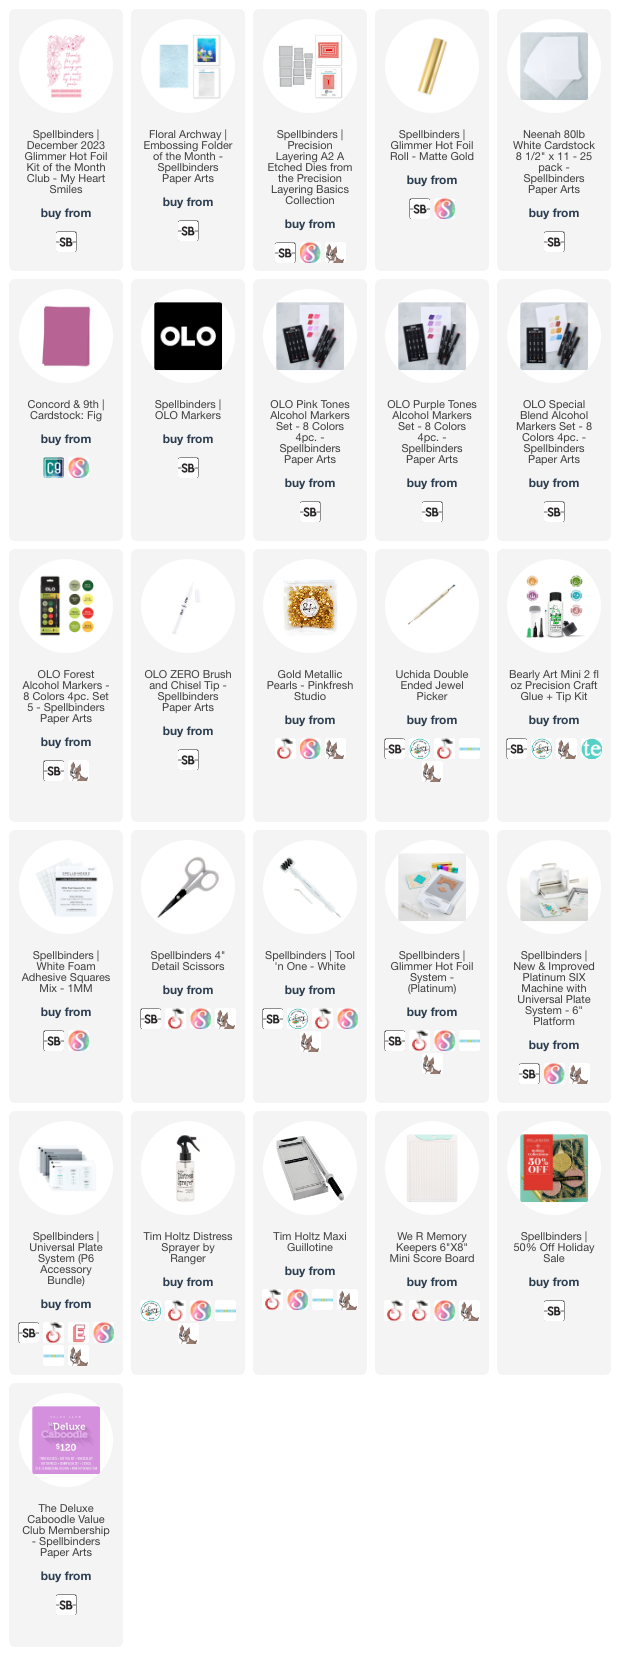
Supplies

Thursday, October 19, 2023

Grateful for You feat. Taylored Expressions


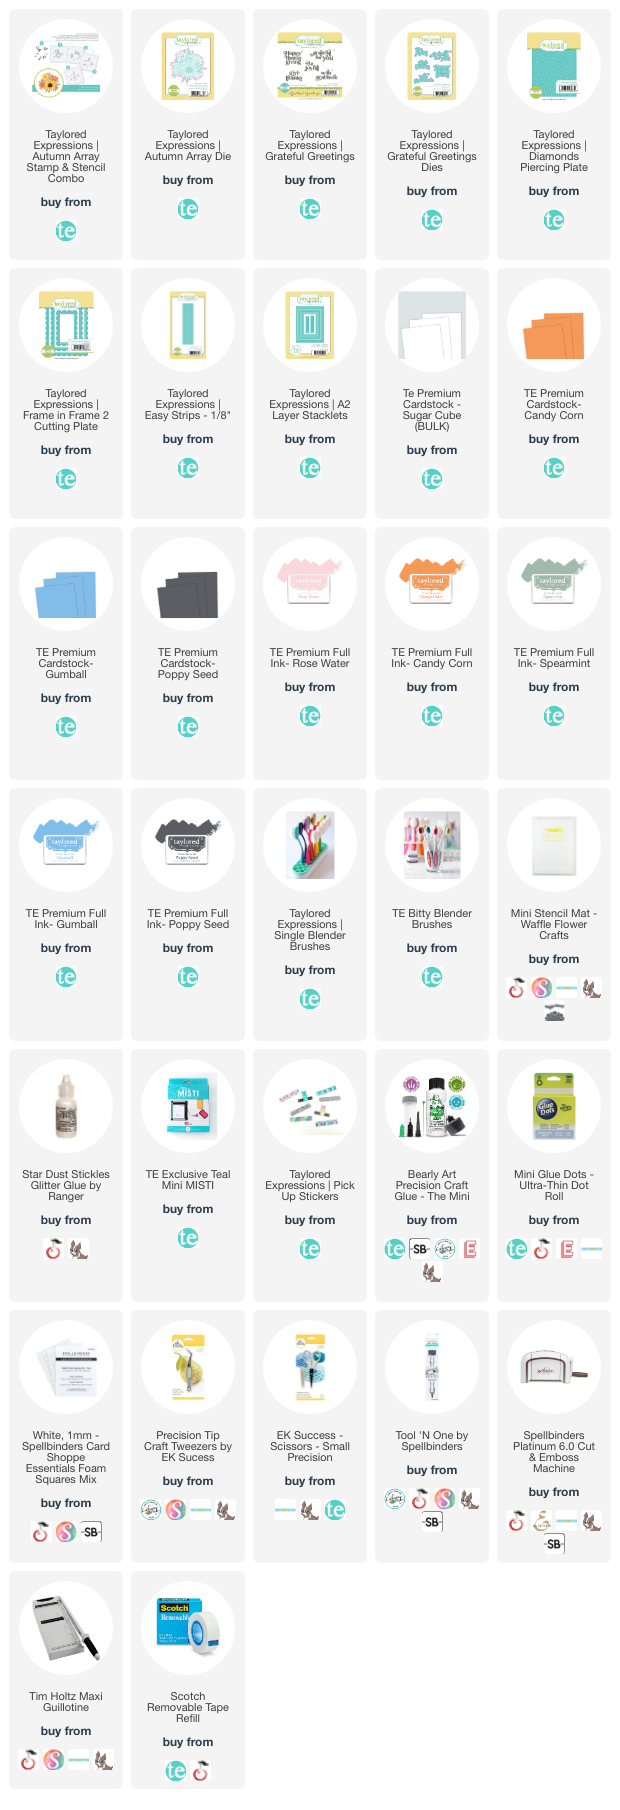
Many months ago, when I posted a bunch of Taylored Expressions sympathy cards with this same colour palette, I set this stencilled Autumn Array aside because remnants of Poppy Seed ink had muddied the Candy Corn flowers. Normally, I would've said goodbye and tossed it in my recycling bin but now I'm glad I kept it. It didn't look good to me in the spring but now that it's fall, it has a nice rustic look to it.


Having purchased it late last fall, I hadn't yet inked up Grateful Greetings so I stamped the sentiment with Poppy Seed ink and die cut it using its coordinating dies. I absolutely love the way the die cuts around all the letters, allowing everything in the background to show.

(click on any photo to enlarge)

I covered the card base with an A2-sized panel of Poppy Seed cardstock, then die cut the medium Frame in Frame 2 from Gumball cardstock. I also cut the same frame from Sugar Cube cardstock and added texture using the Diamonds Piercing Plate.


One small detail I added was a small strip of Candy Corn cardstock cut from the 1/8" Easy Strips Die, which helps tie in with and balances out the colours in the bouquet. I glued two extra panels of cardstock behind the frame before attaching it to the base panel. Then I popped up the bouquet and sentiment with foam squares. To finish, I added Star Dust Stickles to the centres of the seven blue flowers which adds the perfect bit of sparkle in real life! You can click on each photo to enlarge them for a closer look.

I hope you enjoyed today's project. I appreciate you stopping by and, if you're inspired, please shop my affiliate links below. Thanks so much for your continued support!

Supplies