Showing posts with label thinking of you. Show all posts

Wednesday, March 13, 2024

Catherine Pooler | Sweetest Ink Hop + Giveaway


It's Release Day at Catherine Pooler and the *NEW* Party Inks and Spring Gingham Patterned Paper are now available for purchase! We're also having an Instagram Hop to celebrate and you could win a $100 gift certificate just for hopping along. While appreciated, comments here on the blog will not count. 


Be sure to head over to Instagram HERE and enjoy all of the amazing inspiration by Catherine Pooler's design ambassadors and special guests! You have until 11:59pm EST on Monday, March 18, 2024 to enter and the winner will be announced on Tuesday, March 19, 2024.


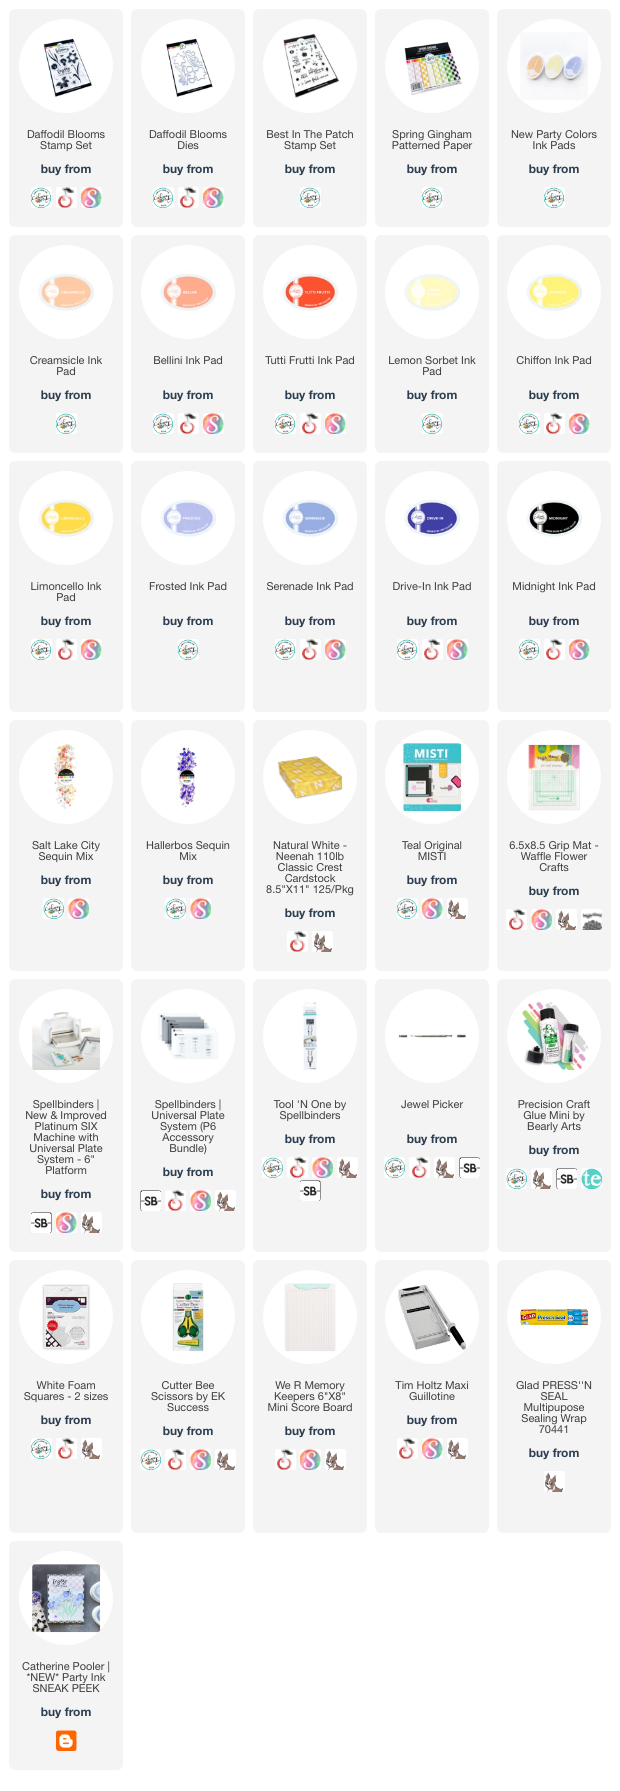
As with my Sneak Peek post HERE, I'm featuring the Daffodil Blooms stamp set and coordinating Daffodil Blooms Dies once again for this duo. It's such a gorgeous and versatile set, perfect for spring cards and more!


I started by selecting the ombre trios for these daffodils. Since there are two styles of daffodils in this set, I wanted to stamp them with all three shades in each trio. For the new Lemon Sorbet ink, I paired it with Chiffon and Limoncello. For the new Creamsicle ink, I paired it with Bellini and Tutti Frutti. For the new Frosted ink, I paired it with Serenade and Drive-In.


I stamped two daffodils in each pairing for each card and since I wanted a bit of variation between the two cards, I stamped a third daffodil with Creamsicle and Tutti Frutti flower for the first card and a third daffodil with Frosted and Drive-In for the second card.


For both cards, I cut the base from Neenah white linen cardstock and cut a 1.25x5.5" strip of Garden Party Gingham from the Spring Gingham Patterned Paper and adhered it to the card base.


After arranging the flowers down the left side over the gingham strip, I used Glad Press'n Seal to pick up the arrangement and preserve the position of the flowers as is. I added foam squares to the back of three of the daffodils and added glue to the back of all the others.


When I pressed the sheet of daffodils back down on the cards, they were perfectly arranged as before. I trimmed off the overhanging pieces on the bottom of the cards. When I mail them, I may trim off the excess at the top and left side of the card but for now, I'm leaving them as they are.


Next, I placed the cards in my Teal MISTI stamping tool and stamped sentiments from the Best in the Patch stamp set that best fit the space between the daffodils. 


To embellish the cards, I used a mix of sequins from both the Salt Lake City and Hallerbos Sequin Mix.


I love the way these turned out and I love the variation between the different shades of daffodils. Popping up just a few of the daffodils on each card gives them enough dimension for visual interest and I love the way the Garden Party Gingham replaces the foliage for the daffodils.


I appreciate you stopping by and, if you're inspired, I hope you'll shop my affiliate links below. Catherine Pooler would love to know that you were inspired by me. Thank you for your continued support! :)

Sources

Tuesday, January 25, 2022

VIDEO | Taylored Expressions | Oh, What a Day! Cardmaking Kit Design Ideas + Alternatives

If you're a fan of MuchSketch's collection of Little CrittersBitty Borders and Max & Millie stamp sets (full list below), you'll love the Oh, What a Day! Cardmaking Kit. I love this adorable new assortment of slightly larger animals and fun mix of sentiments!

I created four cards, focused primarily on design ideas around the Focal Frame. You can use these layouts with any style of frame and image or even a sentiment on the inside of the frame!


I started by choosing four of the seven images included in the Occasional Critters stamp set. I stamped them with Oreo ink and coloured them with Copic markers. You can find a list of all the marker colours in the supply links below.


I die cut them using the coordinating Occasional Critters Dies and set them aside. Next, I die cut the Focal Frame from the kit colours, which are Lollipop, Candy Corn and Lemon Meringue cardstock. I also die cut the frame from neutral colours, including Sea Salt, Earl Grey and Oreo cardstock.


For this first card, I created a Lollipop card base and added texture to the Sugar Cube panel using the largest of the Diagonal Stitch Rectangle Stacklets. I stamped the sentiment from the Essential Sentiments stamp set and popped the image and layered frame on to the card.


My second card features three frames in the kit's colours but only the Lollipop frame is dimensional.


After determining the gallery-style layout of the frames, I stamped the sentiment from Essential Sentiments and glued the frames to the panel.


I trimmed off the overhanging frames and adhered the panel to an Earl Grey card base.


For this third card, I used the Dotted Diamonds Stencil included in the kit with LollipopCandy Corn and Lemon Meringue inks and blender brushes to create a sweet, subtle background. When done, I cut that panel using the largest of the Stitched Rectangle Stacklets.


To create the background behind the bear, I simply used my paper trimmer to cut the Focal Frame inserts from the previous card. I taped the pieces together and adhered them to the card.


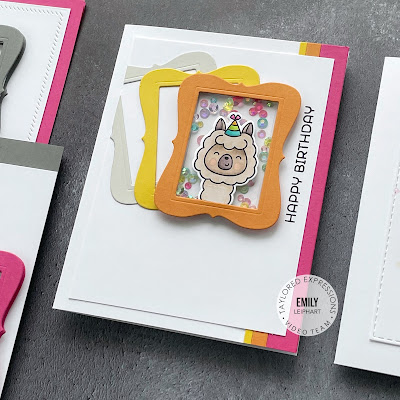
This next card features a shaker on the main frame, using the Rainbow Rhinestones included in the kit. This time, I stamped the sentiment vertically on the right edge of the panel.


I glued the shaker frame on the other two frames before attaching the trio to the panel and trimming off the overhanging portion.


I used all three of the Easy Strips Dies to create the strips down the right edge of the card base. I cut the Lollipop strip using the Easy Strips 1/2" Die, the Candy Corn strip using the Easy Strips 1/4" Die and the Lemon Meringue strip using the Easy Strips 1/8" Die.


There are some new rules for this year's kits. Individual items will no longer be sold individually at a later date nor will kits be restocked. For these reasons, if you see a kit you love, grab it before it's gone!

UPDATED: This kit sold out FAST but I hope you'll be inspired to use my design ideas with similar products listed below. I've also included a list of my videos featuring other MuchSketch products HERE.

Thanks so much for watching!

Sources

Thursday, February 25, 2021

VIDEO | Taylored Expressions | Diamond Botanical Stamp Set, Dies & Masking Stencils


I hope this post finds you well, and perhaps enjoying warmer temperatures! The sun is out here for the first time this week so I'm grateful for that. This post features new products from the Taylored Expressions Spring/Easter Release, including the Diamond Botanical Stamp Set, Diamond Botanical Die and Diamond Masking Stencils, which all coordinate together.

You'll remember that the Diamond Masking Stencils were the December 2020 gift with purchase of over $100 and I featured them in a video HERE. They're now available for purchase individually, with or without the new Diamond Botanical Stamp Set and Diamond Botanical Die.

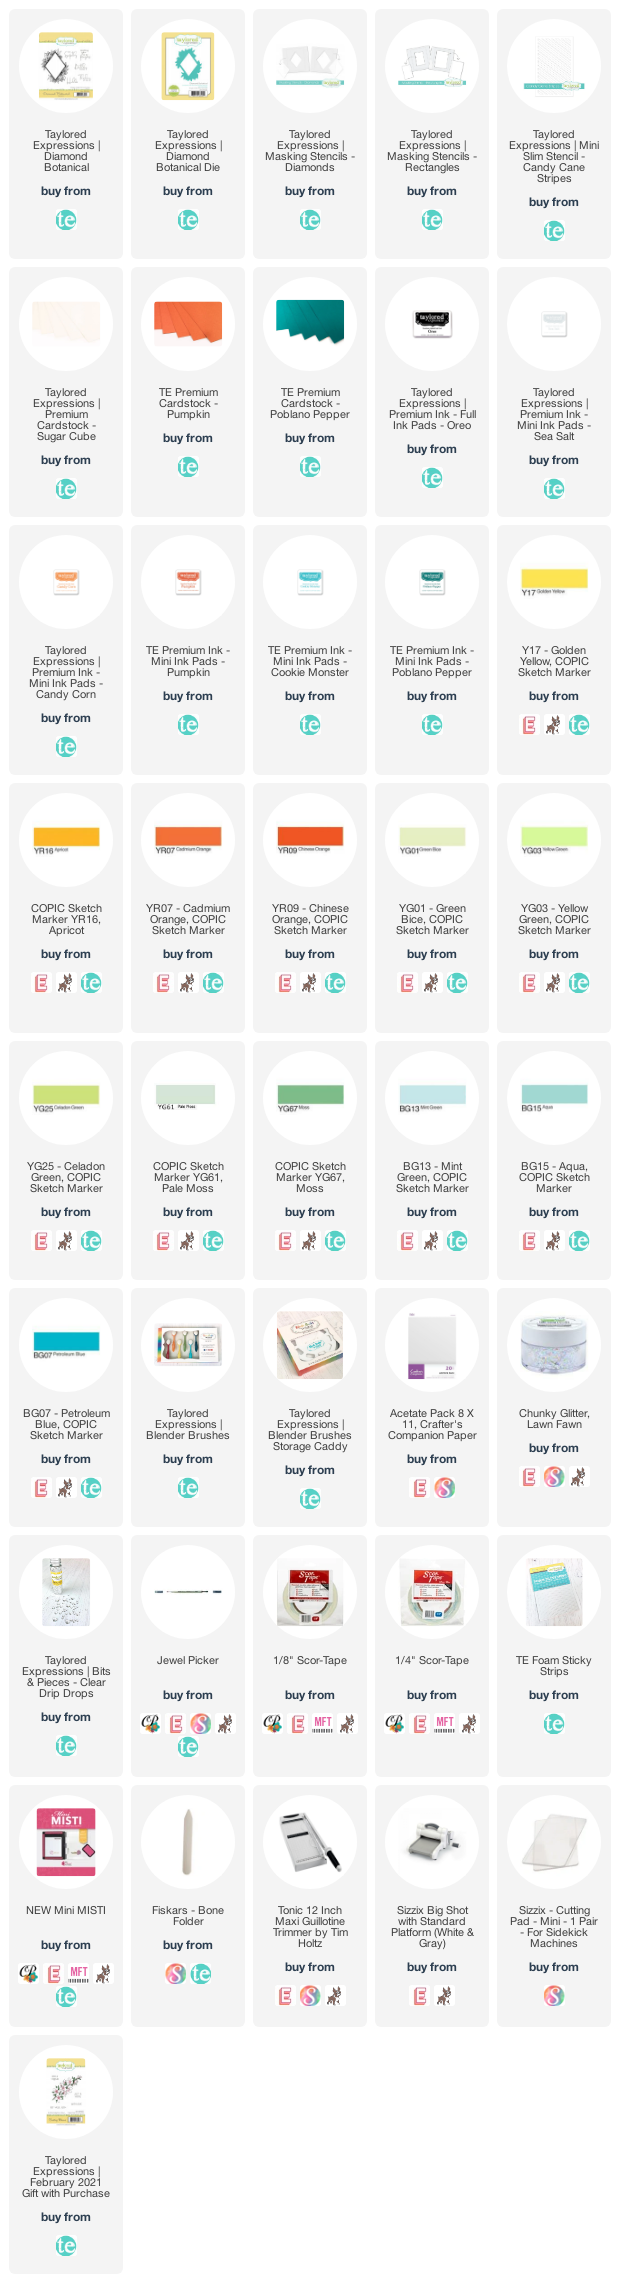
I prepared all three of the cards by stamping multiple copies of the Diamond Botanical image with Oreo ink, then colouring them with Copic markers. You can find all the colours listed in the supply links below. My first card is a shaker that I created by using both pieces of the Diamond Botanical Die.

I filled in the spaces behind the frame by flipping the image, turning it on an angle and stamping it in Sea Salt ink before creating walls with foam sticky strips to house the glitter contained in the shaker. I trimmed the panel before adhering it to a Pumpkin card base.

It's a toss-up as to whether the shaker or this uncoloured card is my favourite of the three but I think it's this one, mostly because I really loved using three different stencils, including the Diamond Masking Stencils, to create this look.

First, I secured the large Rectangle Masking Stencil to the uncoloured image and layered the Candy Cane Stripes stencil on top of that. I used Candy Corn and Pumpkin inks, and a coordinating blender brush, to ink blend two of the corners. I wiped down the stencils, flipped the Candy Cane Stripes stencil 180 degrees on its vertical axis so the stripes would be facing the other direction. Then I used Cookie Monster and Poblano Pepper inks on those corners.

I removed the stencils, then used the smaller of the two Diamond Masking Stencils to protect the previously stencilled areas. I reattached the Candy Cane Stripes stencil, making sure to line up the lines with the previous ink blending. Then I used Candy Corn and Cookie Monster inks to lightly blend inside the diamond.

To finish, I used the Diamond Botanical Die to partial die cut around the edges of the botanicals, popping up that portion with foam tape and adding clear drops. Be sure to watch my video to hear the funny story about this card!

My last card is very clean and simple with straightforward stamping and colouring of the Diamond Botanical image. I didn't use any dies or masking stencils on this card. 

I simply trimmed the panel shorter at the top and bottom to expose the Poblano Pepper card base. This card is nice and flat, and will travel through the mail easily without extra postage. Which of these three cards is your favourite?

Don't forget, you have a few more days to get the Bursting Blooms Stamp Set free with every $100+ purchase and you can watch my video on this stamp set HERE.


Thanks so much for watching!

Supplies

Monday, September 21, 2020

Studio Katia | Lunchbox Notecards with the Slider Tag Die


My son had a very successful first week at school and I hope for more of the same this week. It's been a long time since I made him lunchbox notecards an I think it's a great time to surprise him again. I wanted to make something cute, of course, yet different so the Slider Tag Die made its maiden voyage through my craft room. 


Those of you who've been following me for a while know that my son loves to play Minecraft and has dressed his player as a Creeper ever since he first started playing. He even dressed as a Creeper for Halloween three years ago. Since there are no Minecraft emojis, we use the cactus emoji to represent the Creeper. Hence, the use of the Cactus Hugs stamp set for these little notecards.


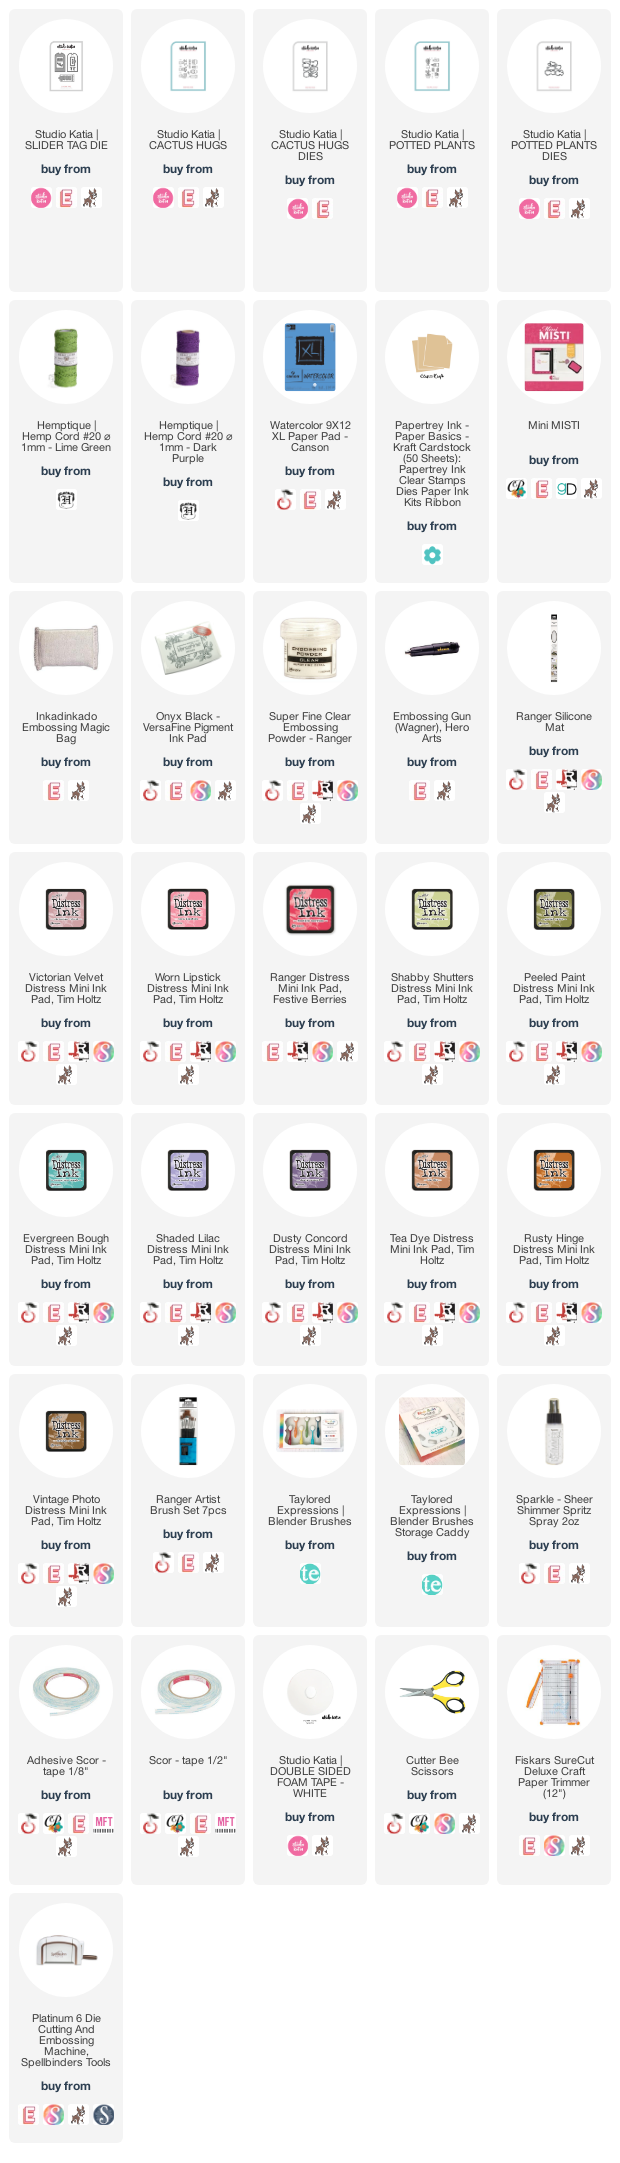
The coloured images, top layer and pull tab were all die cut from watercolour cardstock and the back was die cut from kraft cardstock. All of the images and sentiment, from Potted Plants, were heat embossed. I used distress inks to watercolour the images and ink blend both the top layers and pull tabs. I misted the top layers with shimmer spritz, attached the images with foam tape and added coordinating hemp cord to finish.


Thanks so much for stopping by! 

Supplies:


Tuesday, May 14, 2019

{Technique Tuesday} May 2019 Release Blog Hop


Welcome to  Technique Tuesday's May 2019 Release Blog Hop! The design team is featuring a variety of release products and you're sure to love them so be sure to head over to the Technique Tuesday blog for the full reveal and links to all of the amazing projects. All of the amazing new products are now available for purchase!


Today, I'm featuring the Alligators and Crocodiles stamp set and coordinating dies. I know I say it every month but Technique Tuesday continues to outdo itself with every Animal House Collection release. These alligators and crocodiles have the most hilarious expressions and I love the super suspicious birds! LOL I'm amazed by the detail in their tiny eyes!


The images in this set were so fun to watercolour, which I did with distress inks after heat embossing. I picked my colours for the alligators, crocodiles and birds, then used the same colours to ink blend three panels which were die cut using the Cars on the Border Dies.


After the panels were ink blended, I used shimmer spritz to create splatter on them, to give dimension to the sunset, sand and marsh areas.


I also heat embossed the fun sentiment, which is one of the most unique sentiments I've ever come across. In fact, this set has the best snarky sentiments I've seen in a long time! If I were just starting my Animal House Collection, I'd pick Alligators and Crocodiles as my first set.


Be sure to hop along for more inspiration featuring products from the May 2019 Release!


Thanks so much for hopping along with us!

Supplies: