Hello, crafty friends! I'm thrilled to be back on the Spellbinders Blog with three cards featuring different ways to use Simon Hurley's Let It Snow Collection, one of many awesome releases now available in the Spellbinders store!
If you missed my other post featuring three other cards using products from this collection, combined with the Exclusive All Seasons Collection, you can find all the details HERE or by clicking on the image below. These are just two of the incredible August Releases available now at Spellbinders.
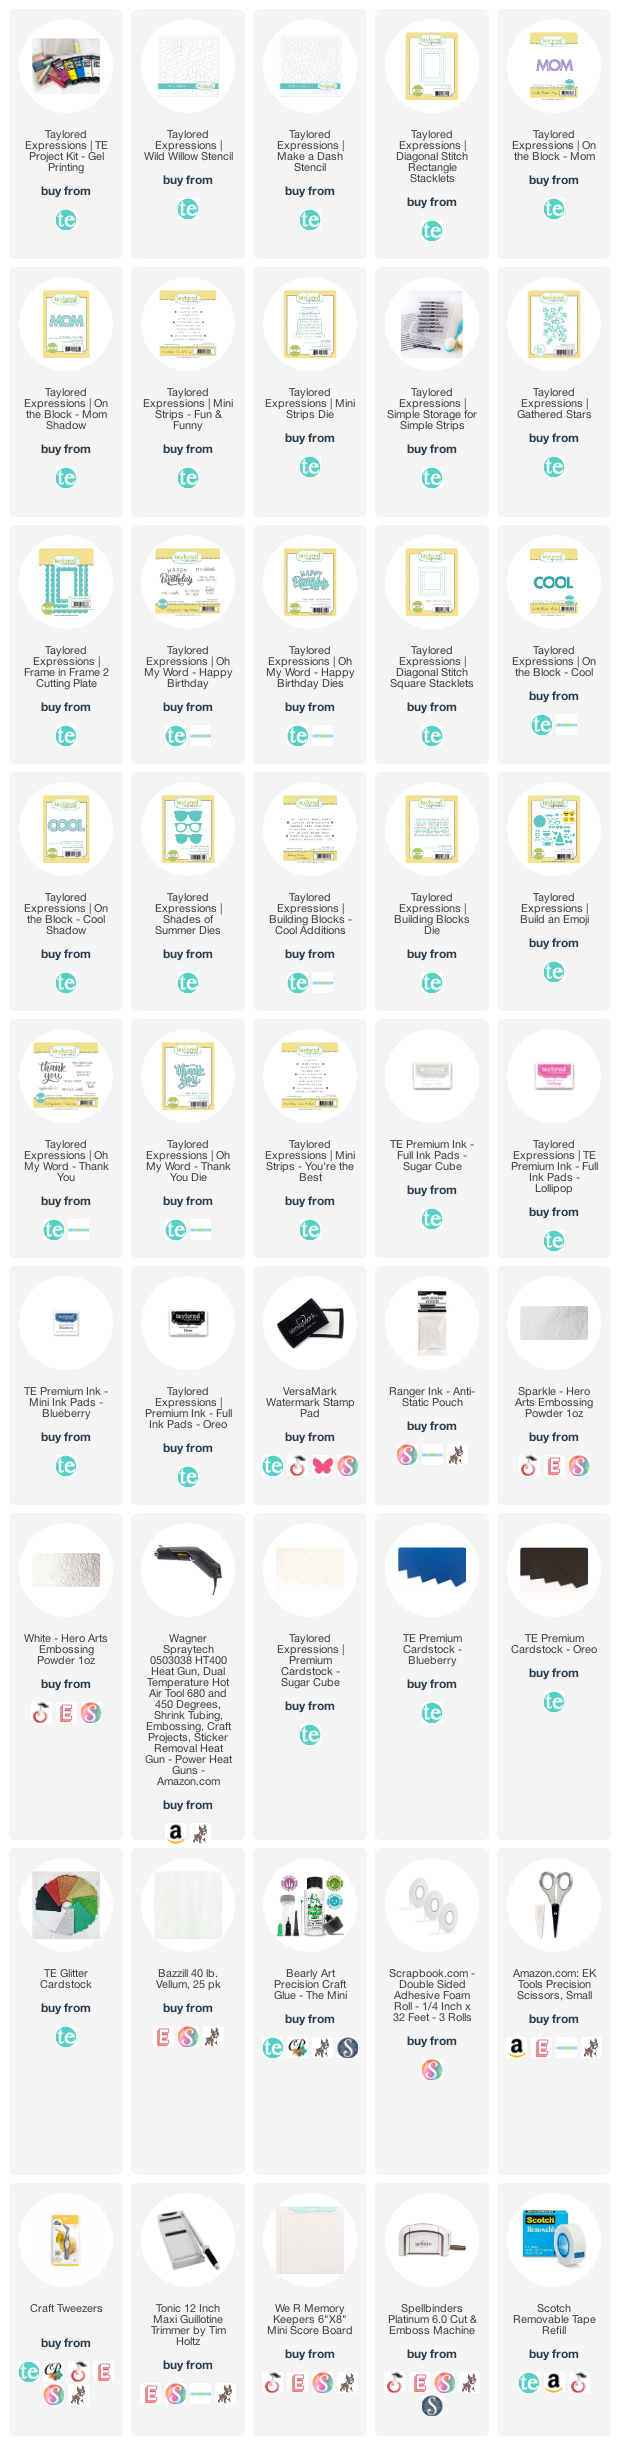
If you're inspired by me, please use the affiliated product links listed below at no extra cost to you. Be sure to accept your cookies so I can be credited for the purchase. :)
It's an exciting week with a new Essentials by Ellen Release available this Friday, March 4th! Today is Day 1 of Reveal Week and we're sneak peeking three new sets - Bear Ware Dress-Up 1, Bear Wear Dress-Up 2 and Bear Ware Dress-Up Sentiments.
I have a pair of cards using these new stamp sets and, if you're a fan of the Bear Ware Collection, you're in for a real treat! I started collecting all of the Bear Ware sets right after All Inside was released and I always feel giddy when I use these cuties.
I love that there are now two big bears and two little bears that you can pair up with all of the accessories for the cutest, customized scenes. This first card pairs up the bear from All Inside with the globe from Bear Ware Grand Tour.
The little bear is from Bear Ware 4, the passport and suitcase are from Bear Ware Grand Tour and the airplane and taxi are from the new Bear Wear Dress-Up 2. I used the Classic Block Alpha and Classic Block Numbers & Symbols (yay, finally!!), plus the awesome new Casual Taglines Stamp Set which coordinates with the existing Nice of You Die. The letters were die cut from leftovers from the background on the first card and I added a blue enamel heart to finish.
I've wanted to make this video for a while and with the launch of Catherine Pooler's Refreshed Inks this week, it was the perfect time. If you've never tried gel printing, you'll definitely want to give it a try, especially since the gel press is currently 20% off during Ellen Hutson's Art Supplies Sale, now through January 17th!
Gel printing is so easy since you really only need a gel printing plate and a brayer. Brayers come in different sizes and with different handles but they all work in the same way. It's really a matter of personal preference as to what style you like.
I used all three of the new refreshed inks - Minted, Oh Boy! and Sixteen Candles - to create the two backgrounds, one in the vertical/portrait format and the other in the horizontal/landscape format.
After the prints were completed, I added thickness to the panels before die cutting them. The first card uses the Essentials by Ellen Abstract Mountain Cover Plate.
I added five cranes from the Origami Cheers stamp set and coordinating dies, stamping the sentiment directly on the gel printed panel. Some of the cranes are popped up with foam tape and others with glue dots.
I die cut the scripted hi from the Essentials by Ellen Mondo Hello Dies from black cardstock. I stamped an origami butterfly from the Origami Cheers stamp set, attached the dot from the letter i and popped it up with foam tape.
I'm so super excited to share this video with you! It features the new Gel Printing Kit from Taylored Expressions, along with a lot of stamp and die products. This was my very first time using a gel press and, wow, I can't believe I haven't before. I also used two new stencils, Wild Willow and Make a Dash, to create patterns on my panels and these are available for individual purchase.
I was mesmerized by how fun, easy and relaxing it was to create so many beautiful backgrounds in a short time and I'm so grateful that Taylor assigned this kit to me because I probably never would've tried gel pressing otherwise. I'm completely addicted now and I have a feeling you will be, too!
It's really hard to believe that all of these beautiful prints resulted from only three paint colours, plus white. Of the dozen or so prints I made, plus all the brayer cast-offs, it was so hard to pick a few favourites to turn into card panels but at least I have quite a stash to choose from for my next set of cards. I ended up with four favourites and these all coordinate beautiful if I decide to gift it as a set.
To finish, I popped up the bottom of the sentiment with foam tape and used scissors to trim trios from the previously die cut Gathered Stars. I attached those to the card using Bearly Art liquid glue.
I'm most excited to talk about this third card because the background was not one of my favourites when I first gel pressed it but then it quickly became a favourite. I just love the boldness and purity of the colours. Plus, it makes a fantastic masculine/kid card which are both hard to make!
This is the only one of all four cards where the gel pressed panel is a full A2. I used the smallest of the Diagonal Stitch Square Stacklets to create a column of squares down the centre of the card, centring the first one around the sentiment and working from there.
My last card is one where it's most obvious that I used the Wild Willow Stencil but it's also the print that features mostly one colour. I kept both the designs and the sentiment ultra simple to allow the print to shine.
I hope this post has inspired you to try something new! If you're interested in trying the gel press for the first time, I highly recommend the Gel Printing Kit since it comes with everything you need to get started.
{pronounced lee'·part} I'm a former research analyst and make-up artist turned paper crafter and stay-at-home mom. I love to practice yoga, listen to music, read and bake when I have time but my son keeps me pretty busy! I hope you enjoy what you see here.