Showing posts with label video tutorial. Show all posts

Tuesday, February 24, 2026

VIDEO | Spellbinders | Chinese New Year Cards feat. Good Fortune Horse


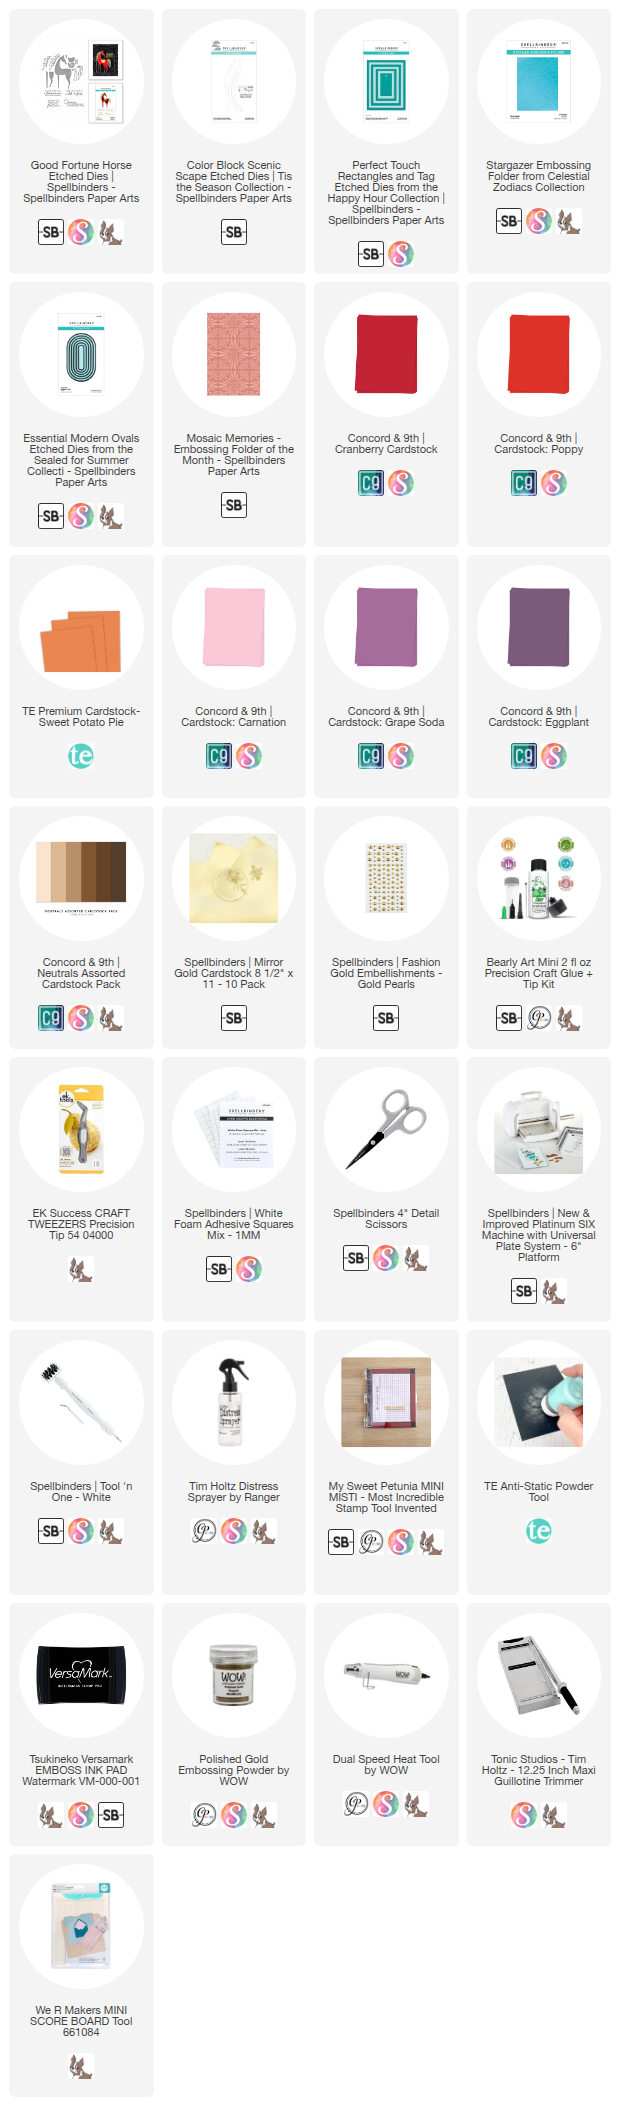
After a long break away from making videos, I'm back with a set of four cards I made to ring in Chinese New Year! The Year of the Fire Horse began on February 17, 2026 and I was thrilled that Spellbinders released the Good Fortune Horse [available from SB | SBC | SSS] die and clear stamp set just for the occasion.


The colour palette I selected was inspired by Marina Zlochin's work and I'm sure you will find her illustrations equally inspiring! The cardstock colours are mostly from Concord & 9th with Taylored Expressions and Spellbinders, too: Cranberry, Poppy, Sweet Potato Pie, CarnationGrape Soda, Eggplant, Almond and Mirror Gold.


This first card features an Almond card base with Color Block Scenic Scape hills cut from Mirror GoldGrape Soda and Eggplant. The horse was cut from Poppy and Cranberry, the mane and tail from Carnation and Sweet Potato Pie, the saddle from Sweet Potato Pie and Almond, and the hooves from Mirror Gold.


I used my favourite sentiment from this set which is the perfect Chinese New Year sentiment. I stamped it in my mini MISTI using Versamark Watermark ink and heat set it with WOW Polished Gold embossing powder.


My second card features a Poppy card base cut from the largest of the Perfect Touch Rectangles [available from SB | SBC]. The horse was cut from Grape Soda and Eggplant, the mane, tail and saddle from Mirror Gold and Almond, and the hooves from Mirror Gold.


Again, the sentiment was stamped it in my mini MISTI using Versamark Watermark ink and heat set it with WOW Polished Gold embossing powder. To finish, I added five Gold Pearls.


This third card features a Carnation which I partially dry embossed using the Stargazer embossing folder [available from SB | SBC | SSS]. I misted the cardstock before running it through the die cutting machine to get the best impression and prevent cracking. This horse was also cut from Grape Soda and Eggplant, the mane and tail from Poppy and Cranberry, the saddle from Sweet Potato Pie and Poppy, and the hooves from Mirror Gold.


Since this sentiment was off-centre, I shifted it to the left and the horse to the right so that the front two hooves lined up above the height of the letters r and s on the cursive word cheers.


My card features an Eggplant card base cut with one of the Modern Essential Ovals [available from SB | SBC | SSSand the outer frame dry embossed with the Mosaic Memories embossing folder. The horse was cut from Poppy and Cranberry, the mane and tail from Almond and Mirror Gold, the saddle from Mirror Gold and Carnation, and the hooves from Mirror Gold.


Due to the design of the oval and textured frame, I wasn't able to stamp this sentiment right on the Eggplant card base so I stamped it on a piece of Almond cardstock and trimmed it to fit. The oval insert and all of the horses were attached using 1mm foam squares.


I appreciate you stopping by and, if you're inspired, please shop my affiliate links below. Thanks so much for your continued support!

Supplies

Tuesday, May 16, 2023

VIDEO | Taylored Expressions | Stitched Easy Strips Dies feat. NEW Colours and Maps

Hello, crafty friends! I hope you're all excited for the new colour release from Taylored Expressions! I'm always thrilled to have new colours in my collection because colour always jumpstarts my creative mojo. I can look at older products in a new way, just by using different colour combinations. There are seven new colours and I'll be using six of those -- Dragon Fruit, Mango, Kiwi, Dill Pickle, Cotton Candy and Snow Cone -- with the new Stitched Easy Strips 1/8", 1/4" and 1/2" Dies and Easy Strips Maps Vol. 2.


At the start of my video, I also share the new True Colors - May 2023 mini stamp set, True Colors Swatch Squares and True Colours Ink-spiration Cards - In Halves. Together, these are a fun way to create and record colour combinations that you can reach for at any time.


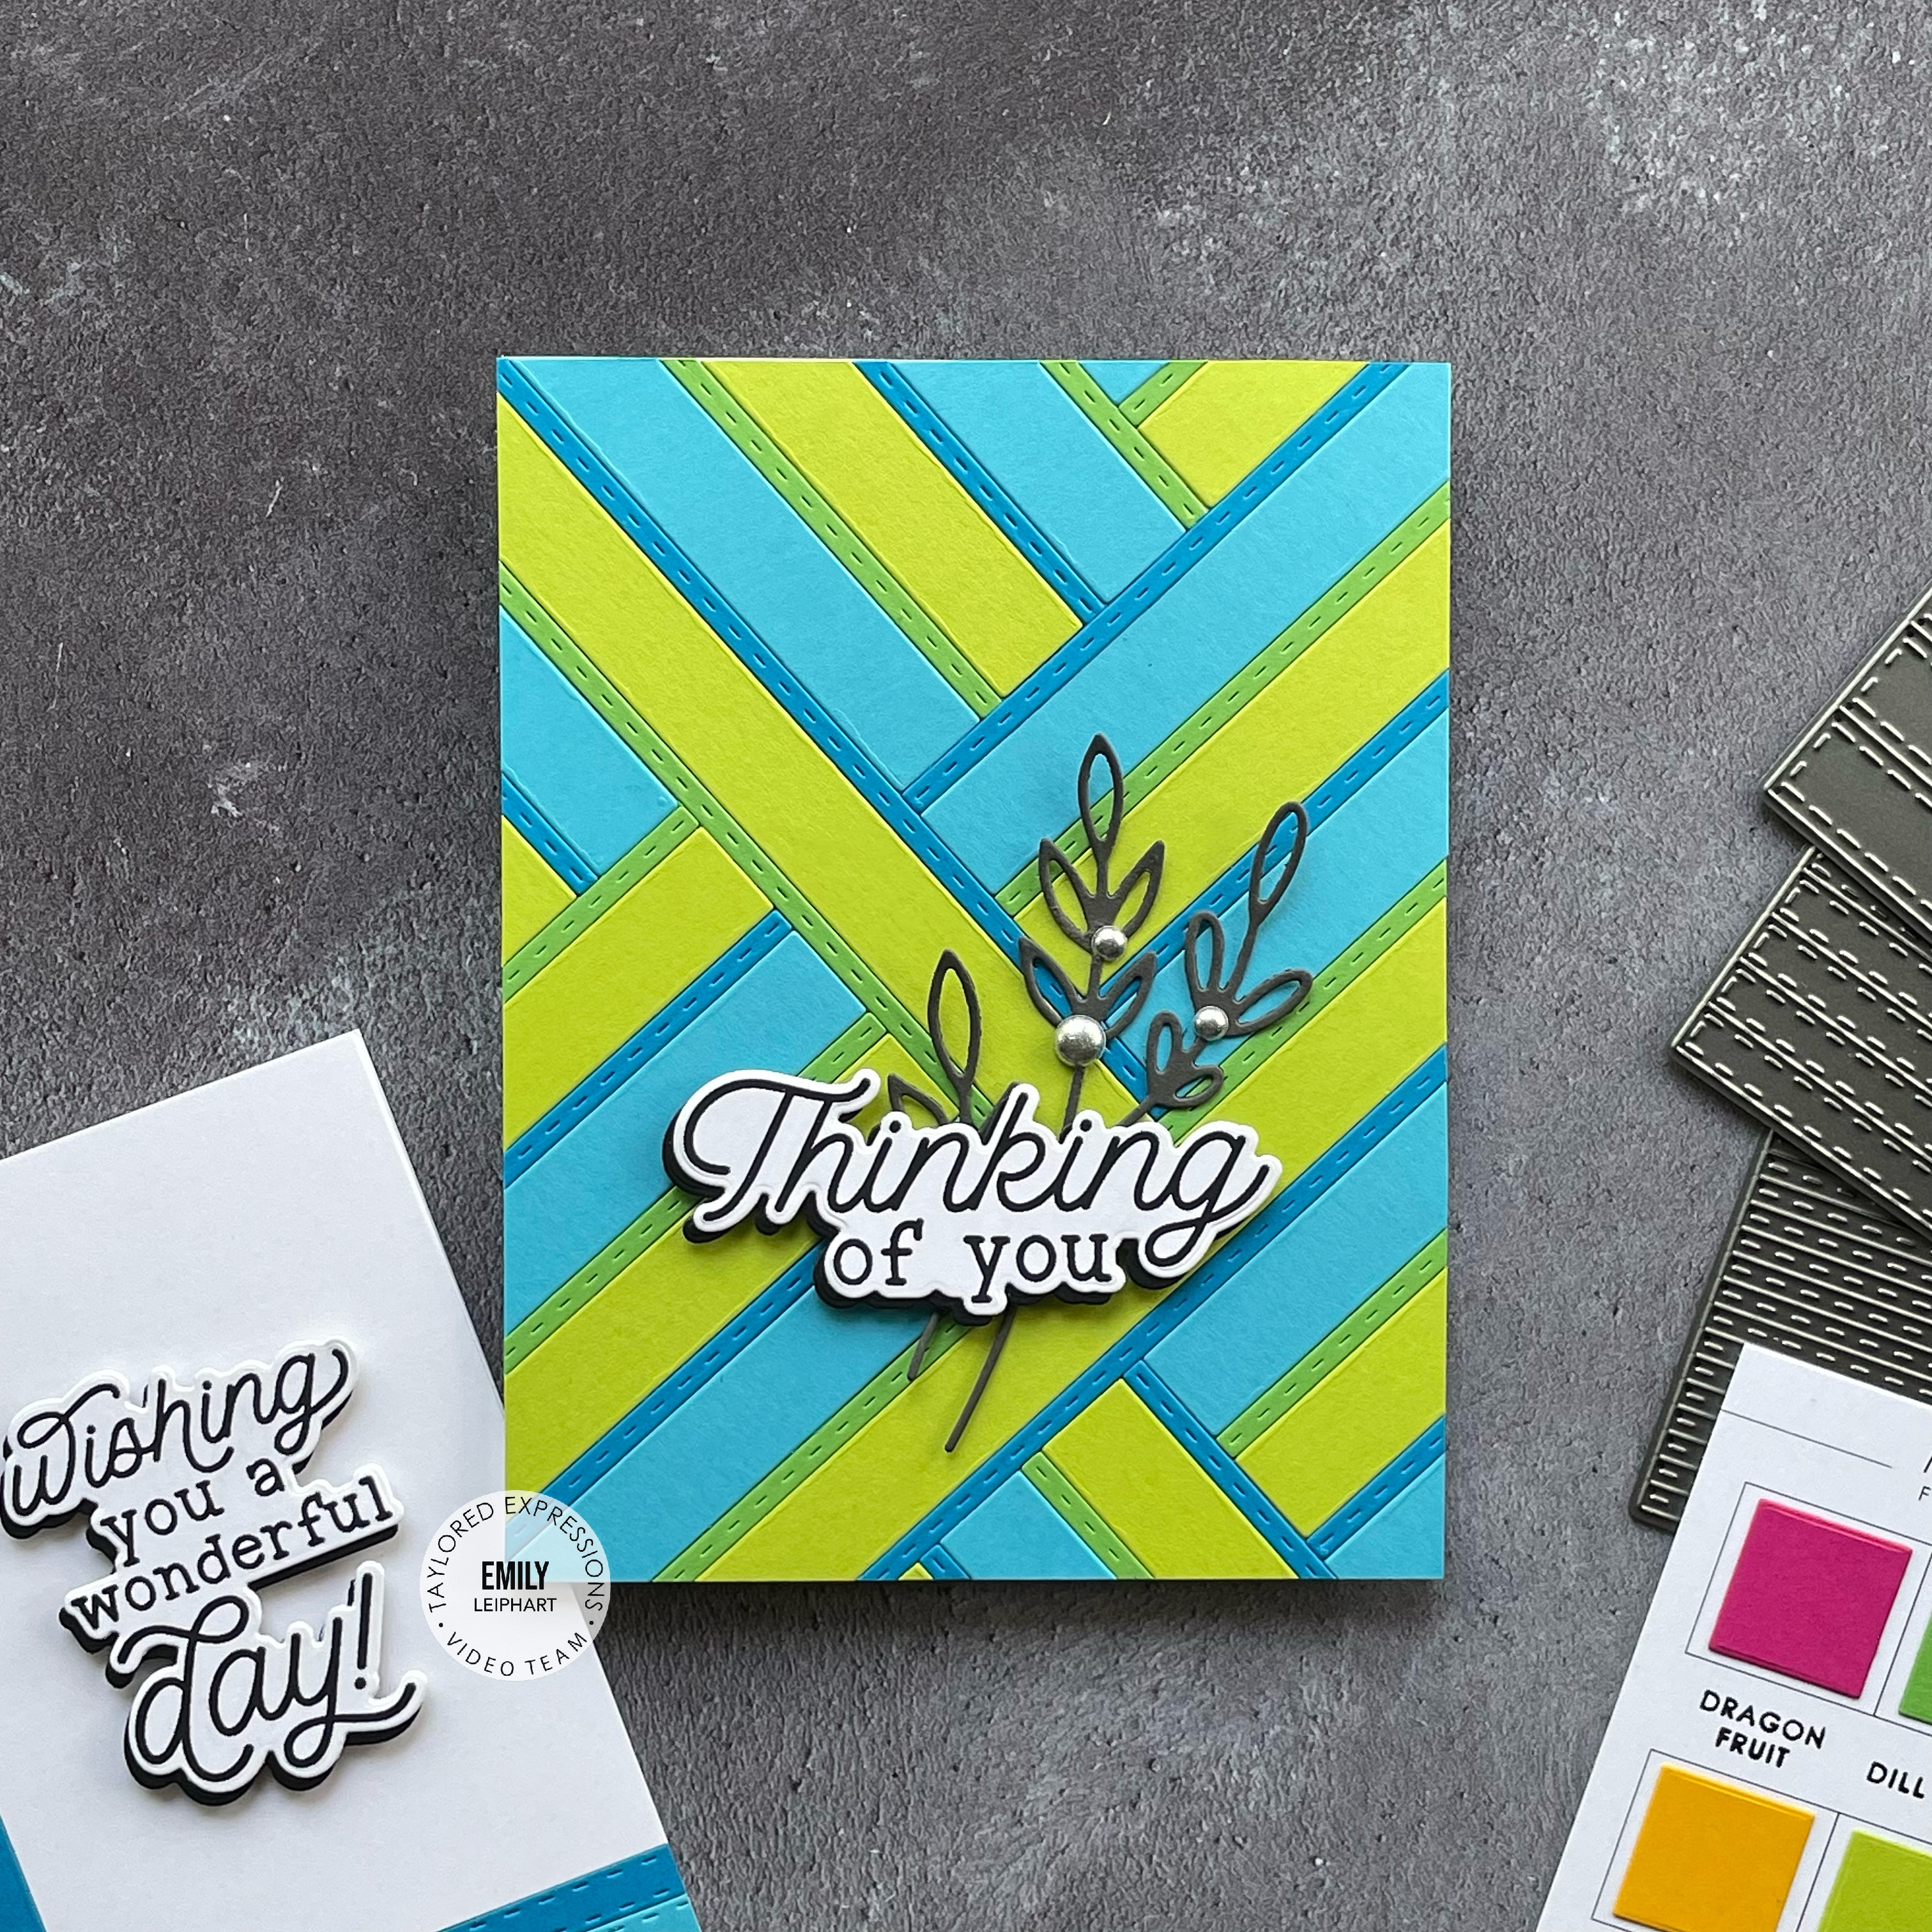
I created three cards for this video, all using patterns from Easy Strips Maps Vol. 2. This one use Dragon FruitMango and Snow Cone, which I feel are the tropical versions of the traditional primary colours. I love how much they pop, especially with the 1/2" Stitched Easy Strips. The colours are so bright, they almost look fluorescent!


After cutting out all the strips and glueing them directly onto the map, I trimmed off the overhanging pieces and attached the panel to a Sugar Cube card base. All of the sentiments are from the Hello Lovely stamp set and they were stamped with VersaFine Clair Nocturne ink on Sugar Cube cardstock. 


I added a shadow behind the sentiment using Black Licorice cardstock and popped it on to the panel with foam squares. For the embellishments, I cut out the small blossom from the Garden Variety Dies in both Sea Salt and Oyster cardstock. I glued the two layers together and attached them to the card with glue dots. To finish, I added black enamel dots in the centres.


My second card uses the simplest map and it's my favourite one! In fact, I made my own version of this map when the original plain Easy Strips were released and you can watch that video HERE.


I decided to mix the original 1/4" Easy Strips with the new Stitched 1/4" Easy Strips and I love the contrast, as well as the way they intersect. Those little details really pack a punch and give this card its wow factor.


Just as with the previous card, the sentiment from the Hello Lovely stamp set was stamped with VersaFine Clair Nocturne ink on Sugar Cube cardstock. A shadow was added behind it with a Black Licorice cardstock die cut, then popped on to the panel with foam squares


My third and final card uses one of the more complex maps. This time, I wanted to use the two new greens and two new blues -- Kiwi (my favourite of the seven new colours), Dill PickleCotton Candy and Snow Cone. This time, I used the original 1/2" Easy Strips and cut those from Kiwi and Cotton Candy. Then I used the new Stitched 1/8" Easy Strips and cut those from Dill Pickle and Snow Cone cardstock.


This background took some time to assemble but the results were definitely worth it! I love the combination of colours, as well as the detail on the Stitched 1/8" Easy Strips! As with the other two cards, this sentiment from Hello Lovely is really striking. I added one of the Subtle Sprigs cut from Poppy Seed cardstock and embellished it with Silver Matte Metallic Enamel Dots.

I appreciate you stopping by and, if you're inspired, please shop my affiliate links below. Thanks so much for your continued support!

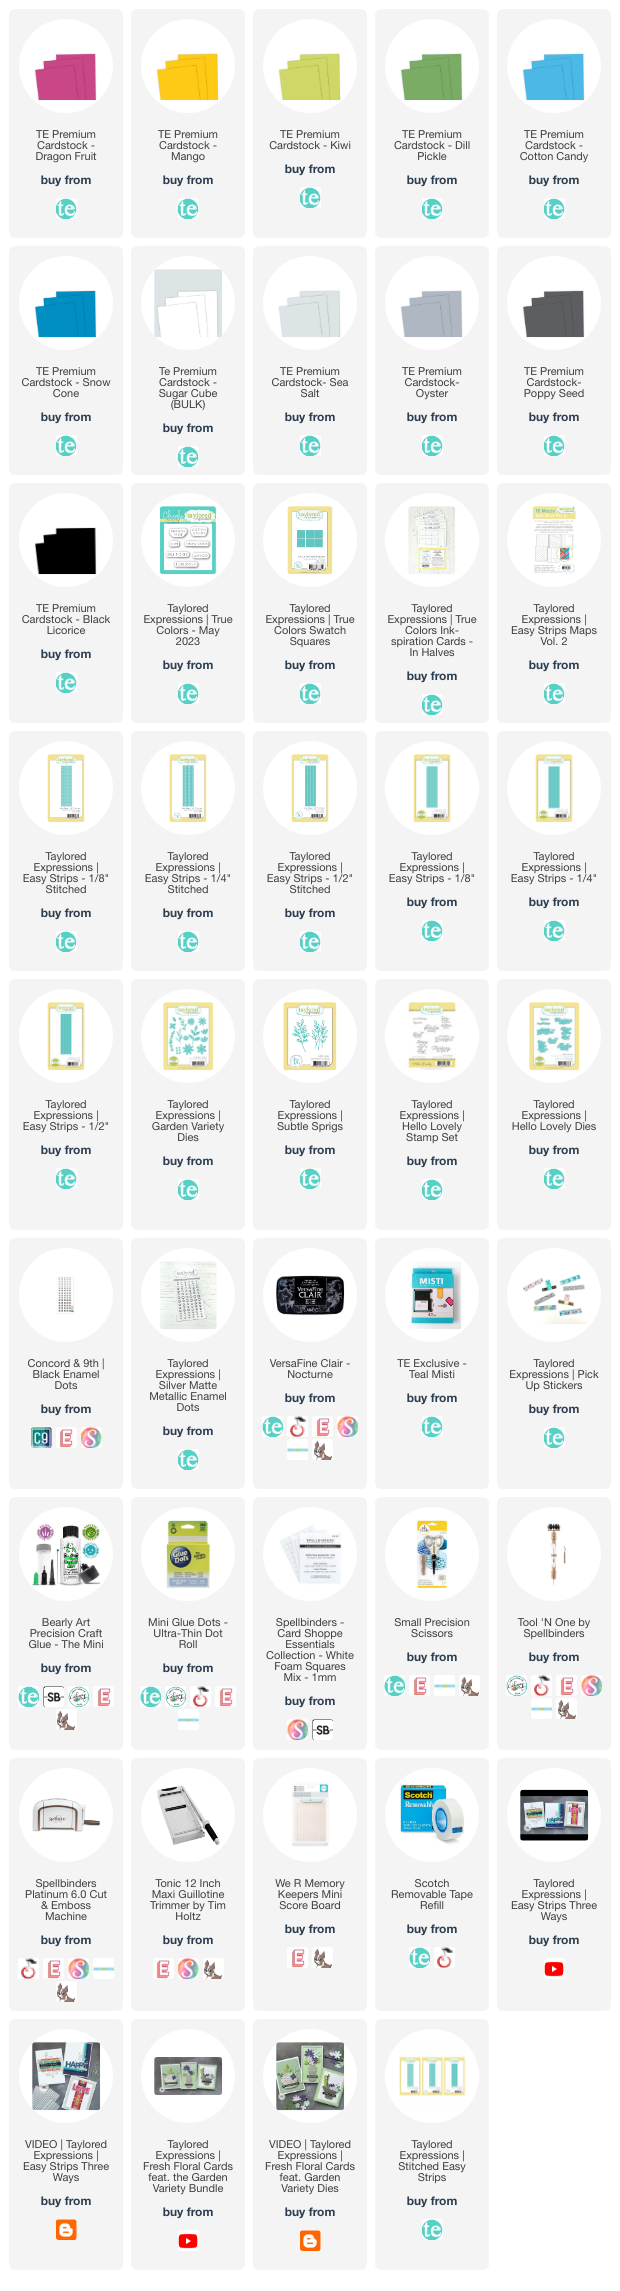
Supplies


Tuesday, April 11, 2023

VIDEO | Taylored Expressions | Create-in-Quads Ever in Bloom Collection

I am over-the-moon excited about this release because it's just so beautiful! The Ever in Bloom Collection is curated around the newest Create-in-Quads - Ever in Bloom Stencil Set from Taylored Expressions. There are seven unique products in this entire collection, all for the newest quad stencils. Yes, that's right! 


I especially love how each quad panel is so different from the next. All of my designs and the uses of the colour palette make each of these cards look like they were made from completely different products. I just love the variety of designs made possible by the Create-in-Quads - Ever in Bloom Stencil Set.


The colour palette for all of these cards includes Lavender Glaze, Plum Punch, Salt Water Taffy and Gumball. Gumball is one of those colours I shied away from for a long time but I've been reaching for it more and more.


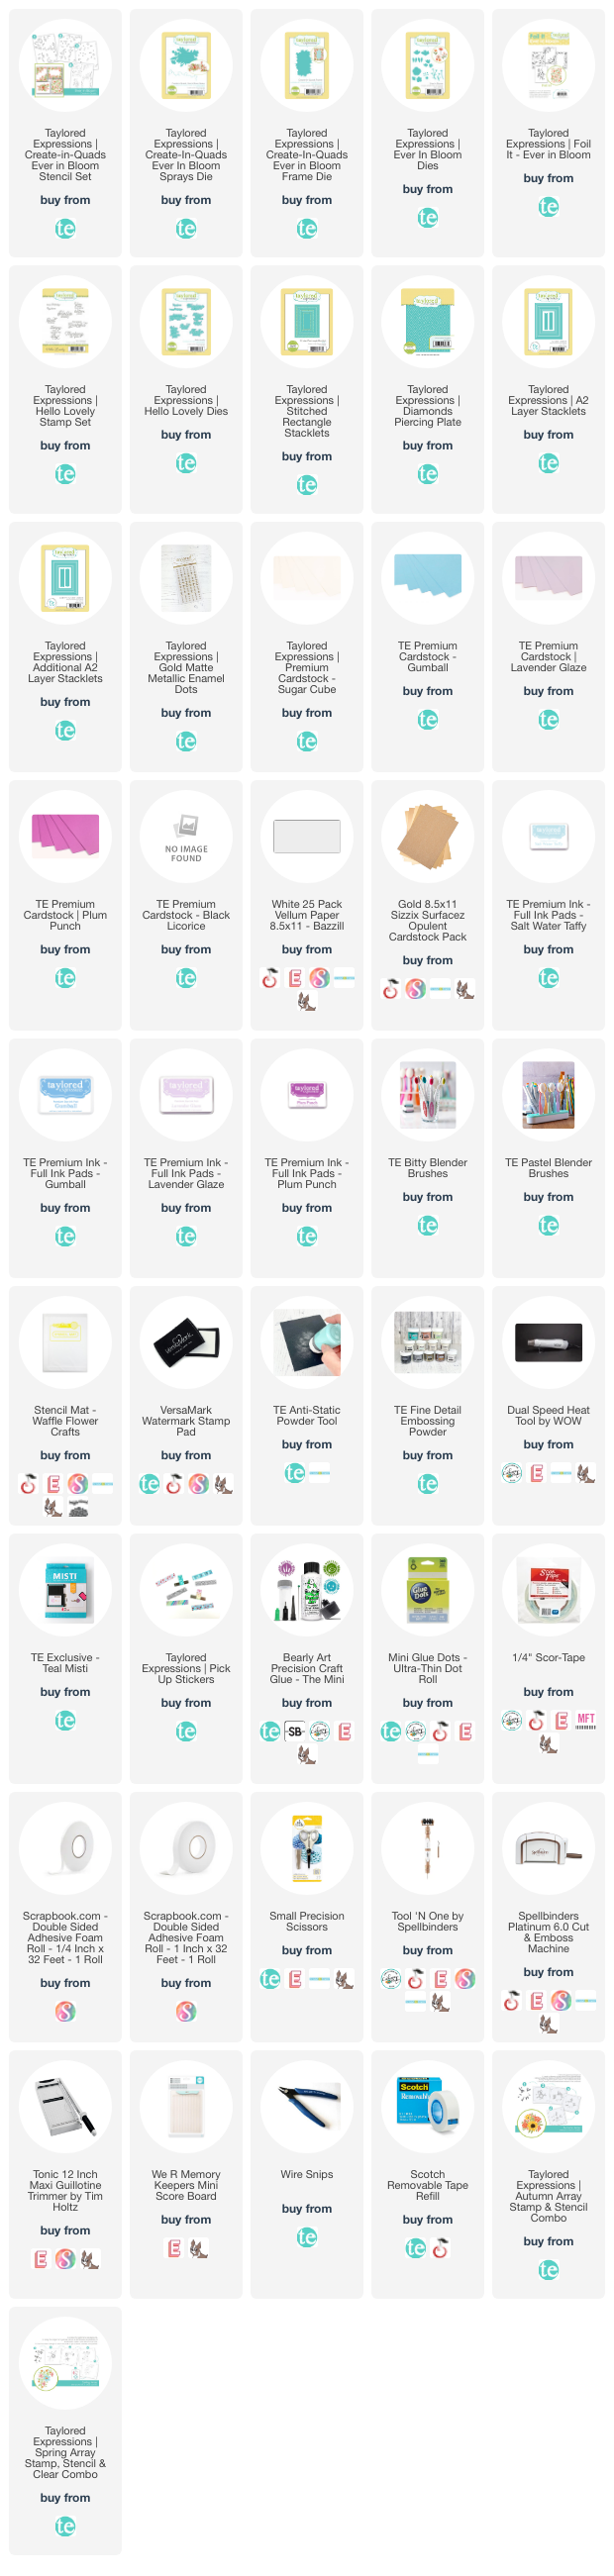
After using bitty blender brushes and pastel blender brushes to stencil the four panels, I cut them up and used A2 Layer Stacklets and Additional A2 Layer Stacklets to trim down the first panel, as well as create a gold foil frame. The inside was die cut using the Create-in-Quads Ever in Bloom Frame Die.


All of the sentiments from the Hello Lovely Stamp Set were stamped with Versamark Watermark ink on Sugar Cube cardstock, then heat embossed with gold embossing powder. I die cut a shadow from Lavender Glaze cardstock, glued it to the sentiment and popped up both the frame and sentiment with foam tape.


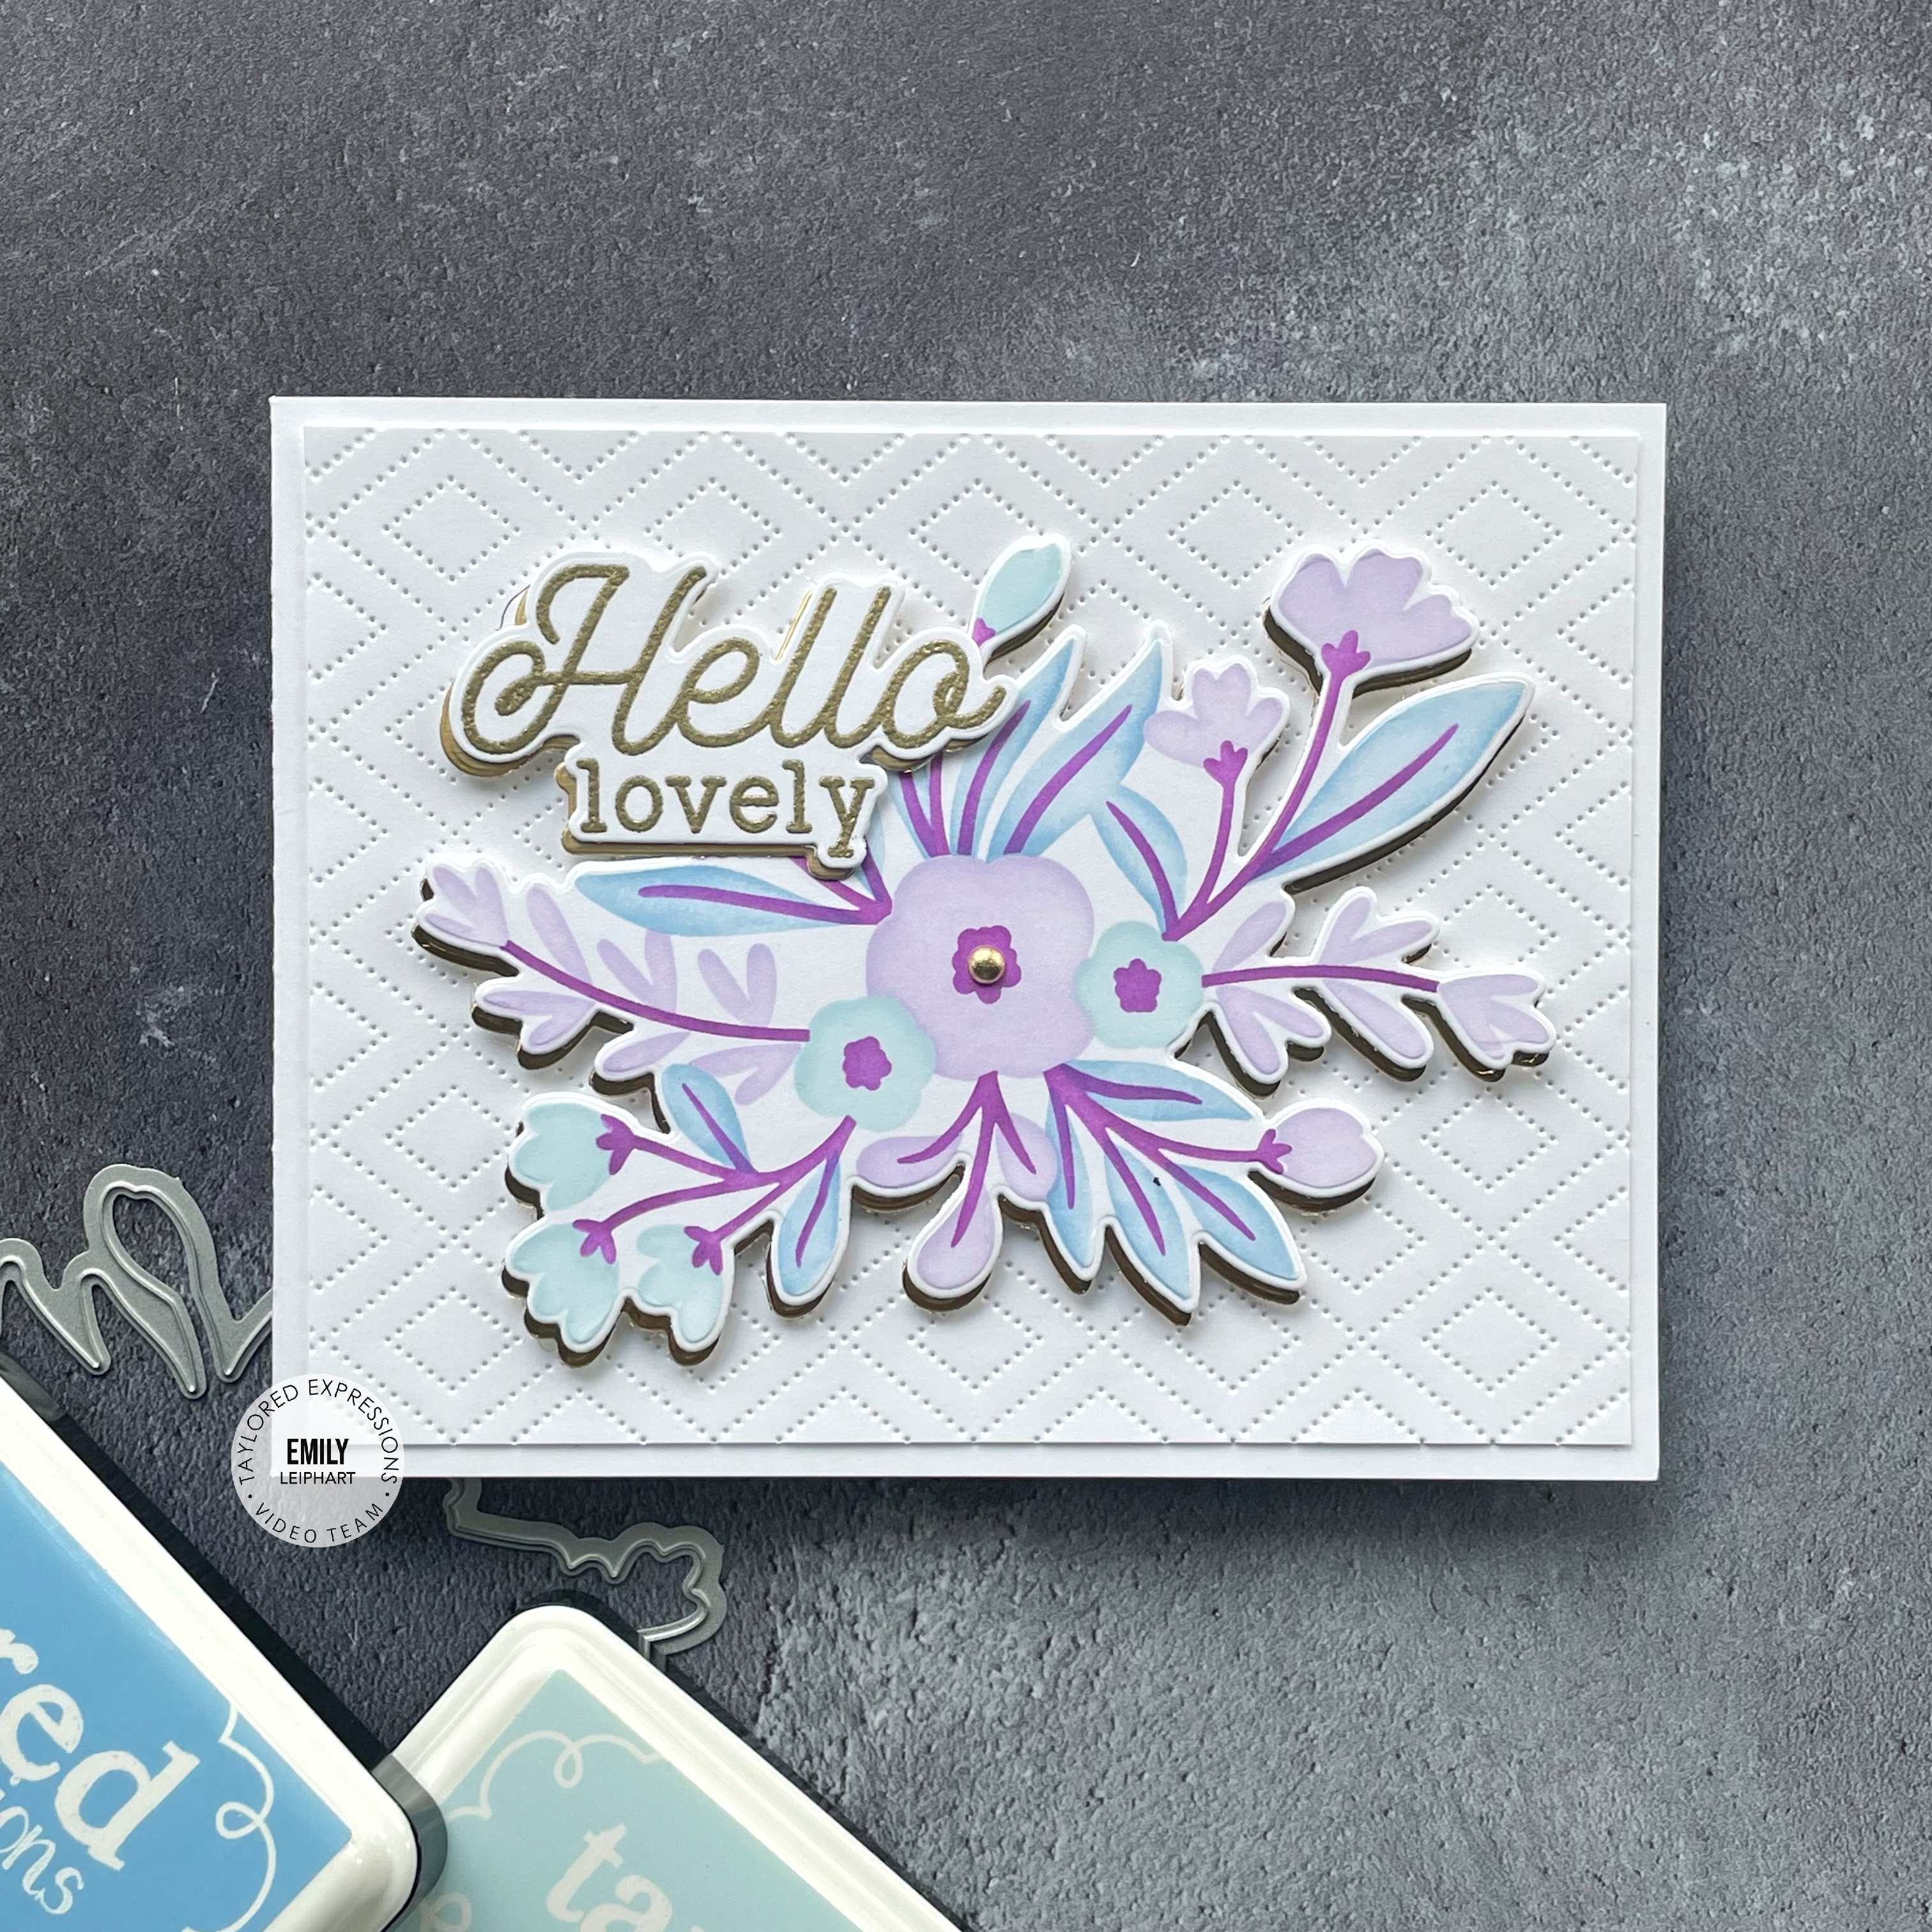
When photographing multiples, it's always ideal to create two portrait cards and two landscape cards. I was really happy that these panels and dies made it ideal for that. This second design features the single array which comes with its own coordinating Create-in-Quads Ever in Bloom Sprays Die.


Much like both the Autumn Array Stamp & Stencil Combo and Spring Array Stamp, Stencil & Clear Combo, which come with coordinating dies, this singular spray shines all on its own. The background panel was created with one of my often-used favourites, the Diamonds Piercing Plate.


I added gold foil shadows to both the spray and the sentiment, popping them on with foam tape. I added one gold matte metallic enamel dot to the centre.


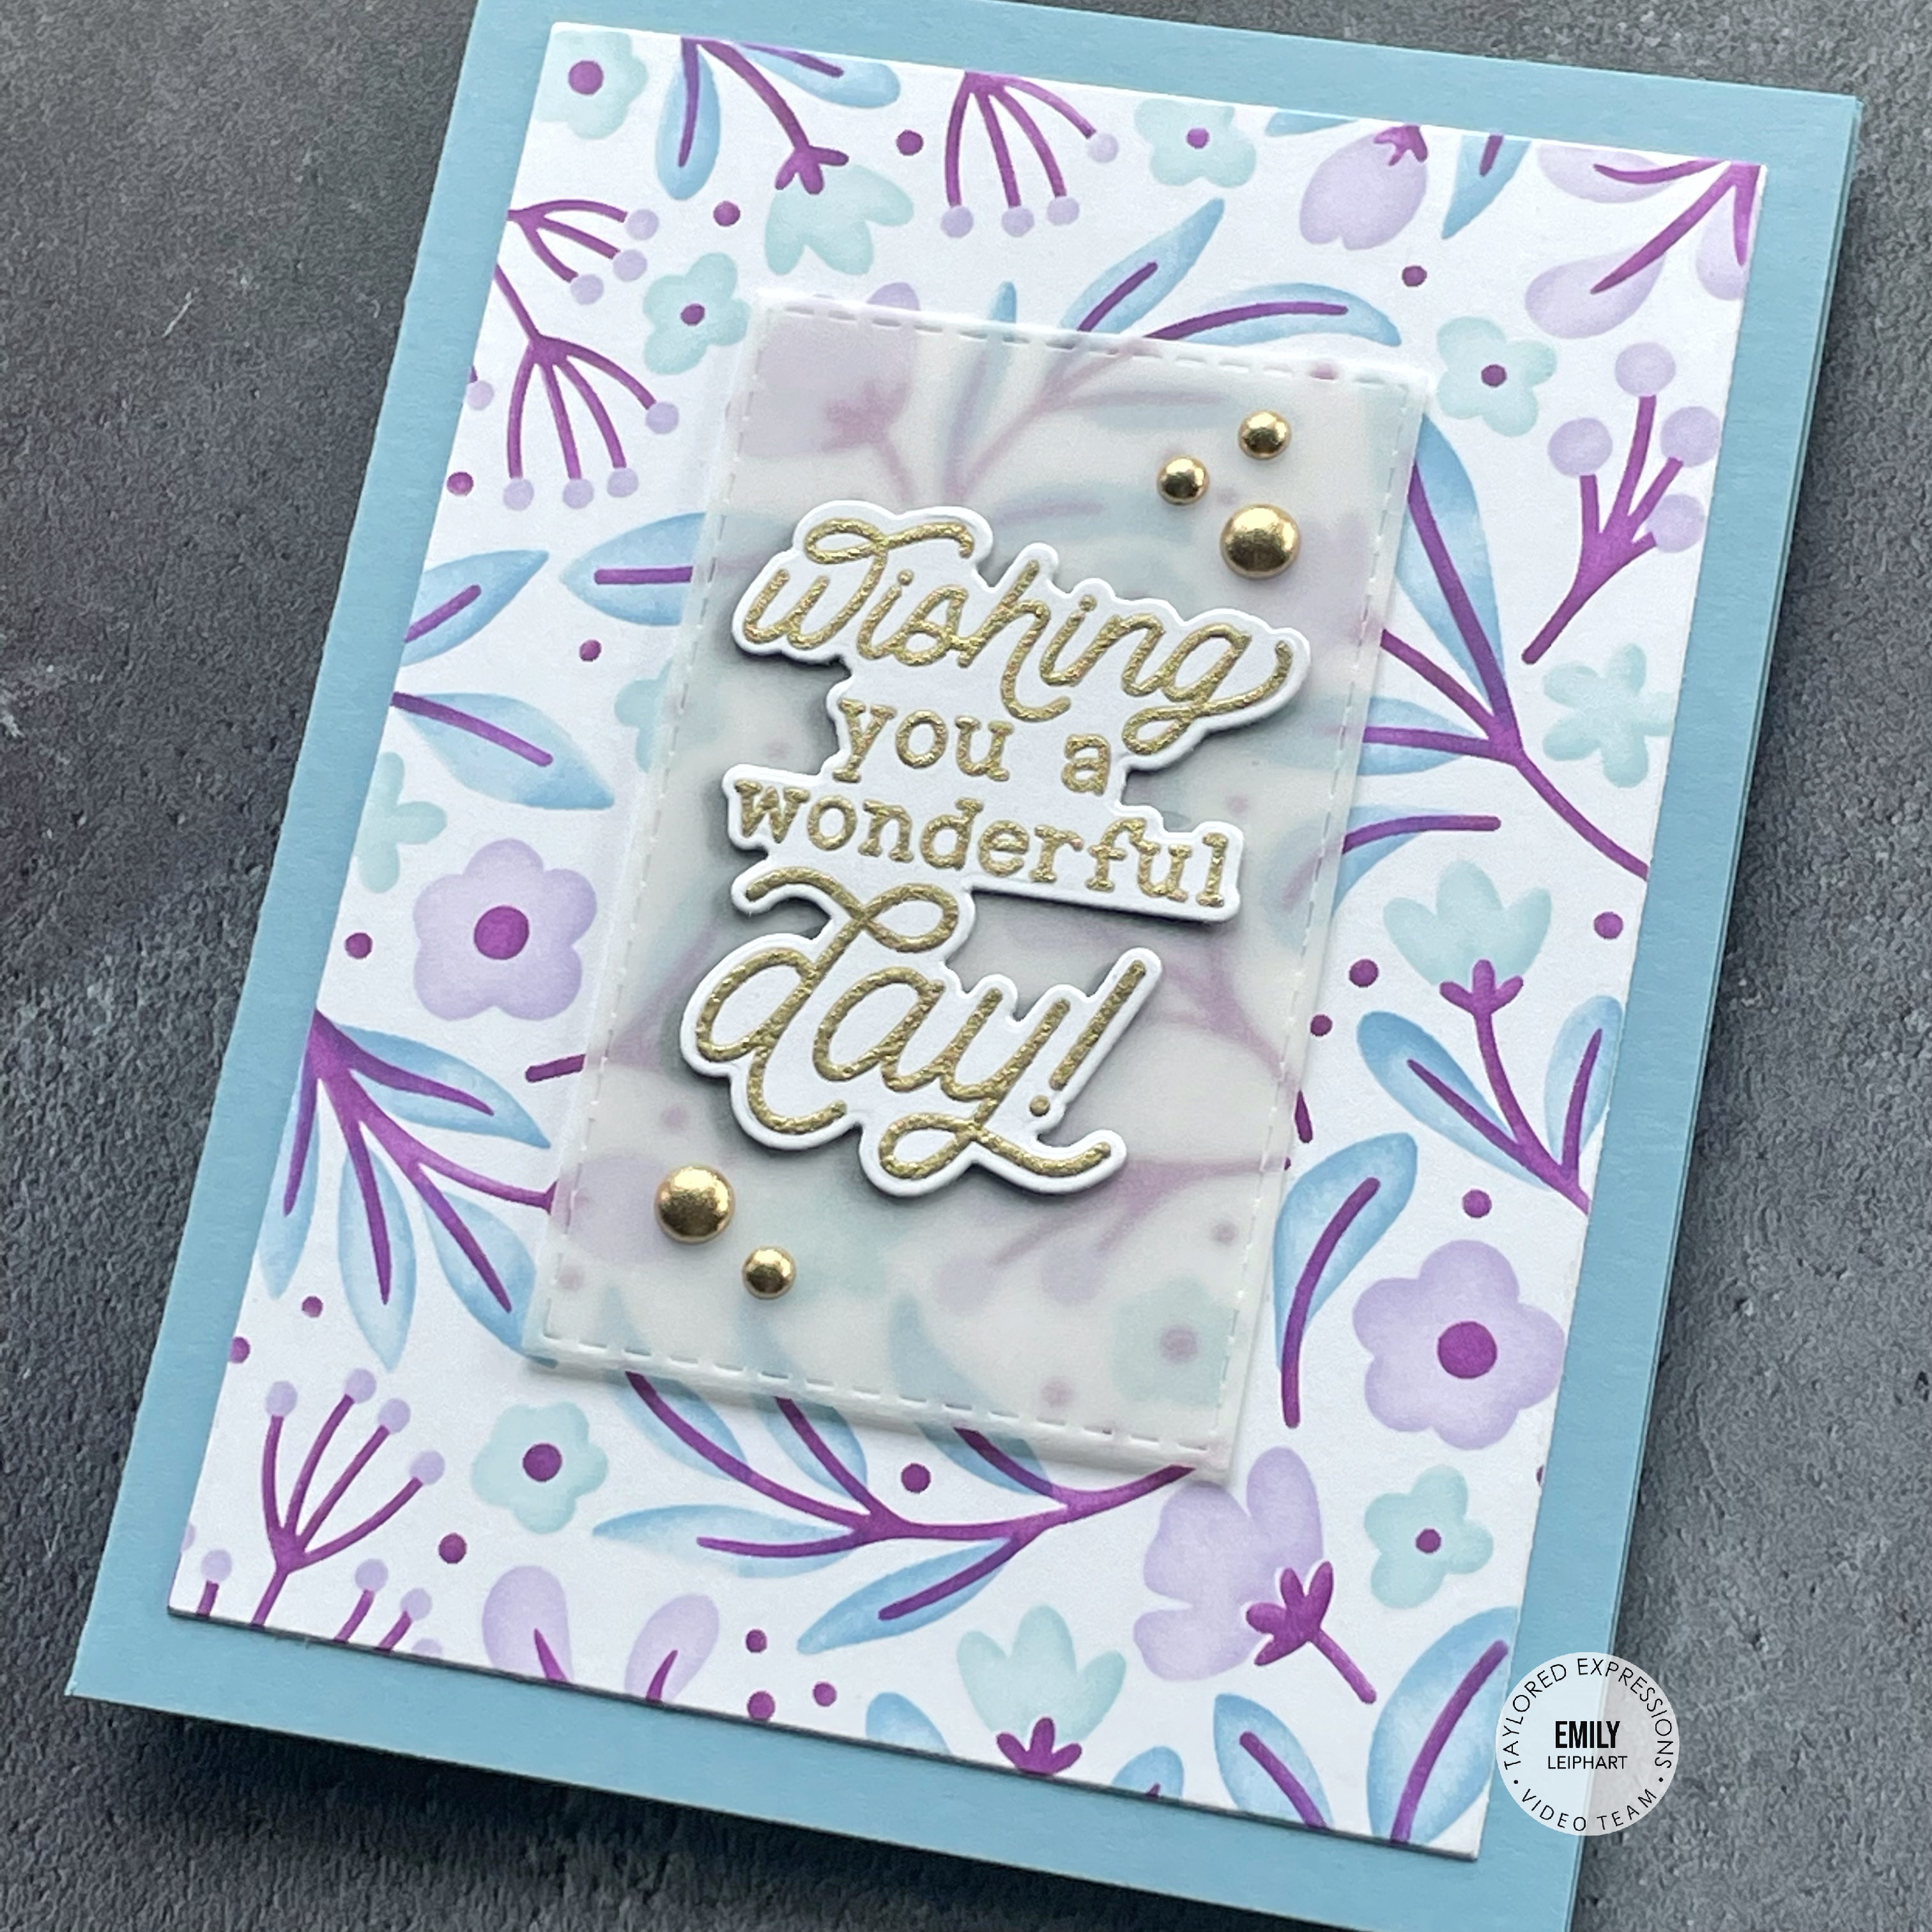
Going back to a portrait orientation, this card base was cut from Gumball cardstock and the fully-stencilled panel was trimmed down with the Additional A2 Layer Stacklets. The sentiment needed something behind it to distinguish it from the busy background.


I used glue dots to attach the sentiment to the Stitched Rectangle Stacklet cut from vellum. Then I used more glue dots to attach the vellum to a shadow cut from Black Licorice cardstock. The whole piece was popped up on foam tape to give the illusion that it's floating above the stencilled panel.


To finish, I decorated two corners with gold matte metallic enamel dots in two sizes.


My last card is also a landscape design and I love the way the second die in the Create-in-Quads Ever in Bloom Sprays Die cuts these corners. They also look amazing on a Lavender Glaze card base. It's such a simple design but with a serious wow factor!


In order to create some dimension, I used double-sided tape on the outermost edges of the die cut pieces and popped up the innermost die cut edges with foam tape. I love this trick to clean card edges with a bit of visual interest.


This time, I added two shadows to the sentiment, one in Plum Punch and a second in gold foil. To finish, I also added a few gold matte metallic enamel dots to this card and all of my Create-in-Quads - Ever in Bloom cards are done!


Thanks so much for stopping by and, if you're inspired, please shop my affiliate links below!

Sources

Tuesday, March 28, 2023

VIDEO | Taylored Expressions | With All My Art Cardmaking Kit

It's the last Tuesday of the month and Taylored Expressions has a new cardmaking kit! Ever since I started cardmaking, I've been obsessed with paint swooshes and brush strokes so I was delighted when I saw the adorable With All My Art Cardmaking Kit! Not only are there both stamped and stencil strokes and splotches, there are layering dies for two sizes of cute paint brushes!

As you'll see in my video, I made four cards (thankfully, ha) but almost only had three and still could've made five. LOL It's impossible to stop once you start playing with all the kit ingredients. Both simple and busy card designs look amazing with these products.


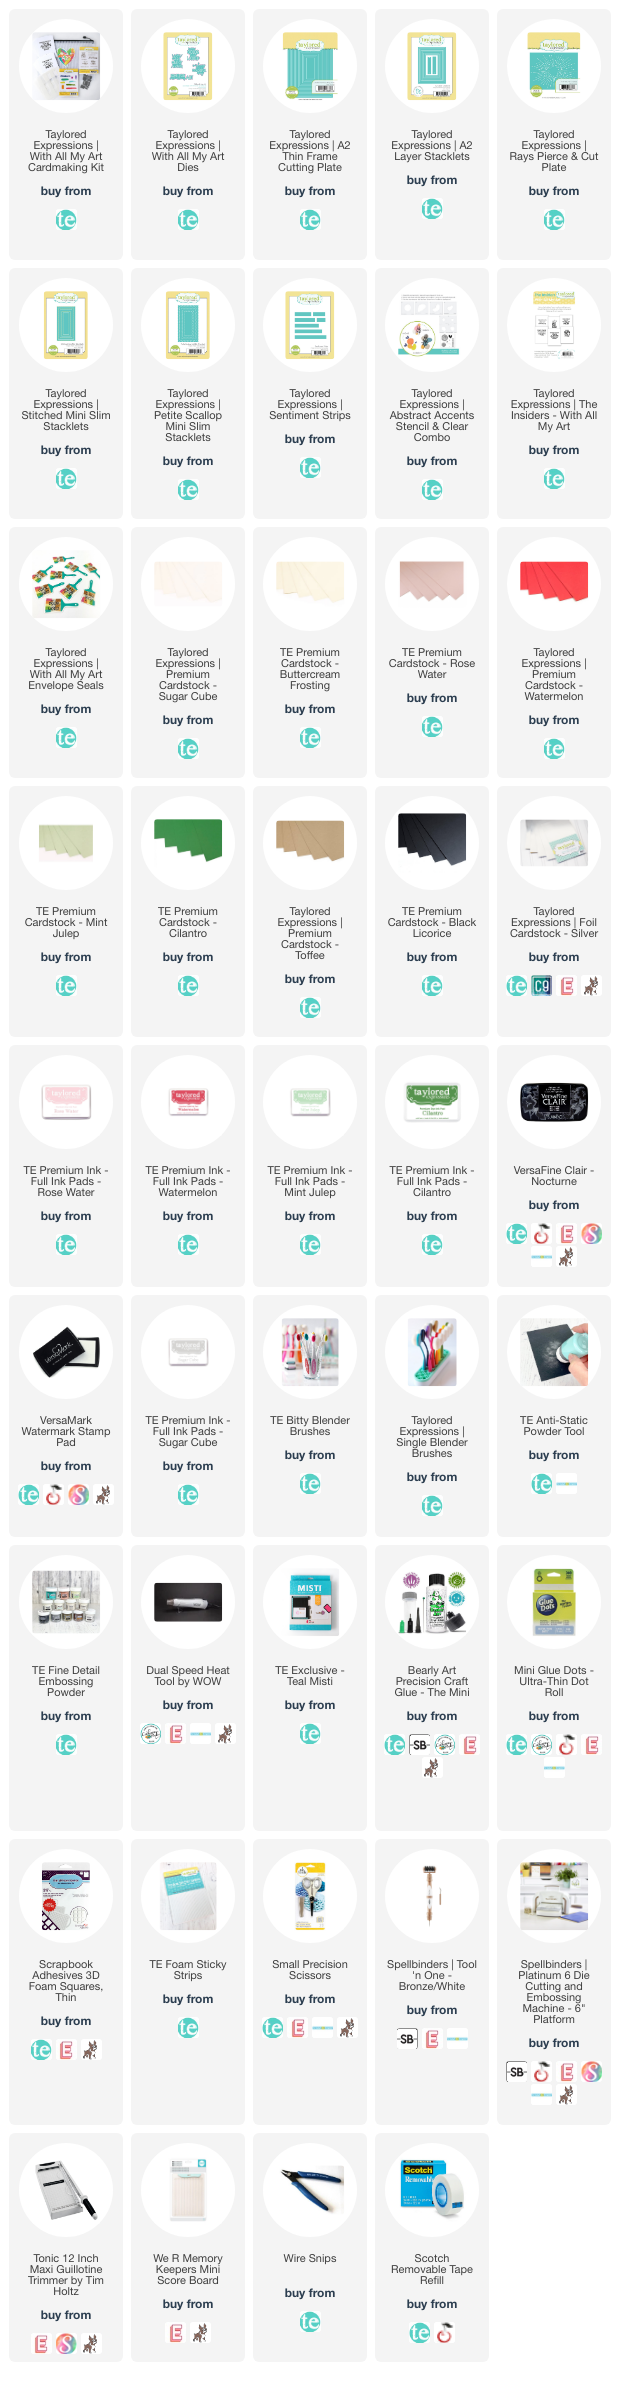
The colour palette featured in this video include Rose Water, Watermelon, Mint Julep and Cilantro. I also featured basics such as Sugar CubeButtercream FrostingToffee, Black Licorice and Silver Foil. I love this fresh colour combination for spring! 


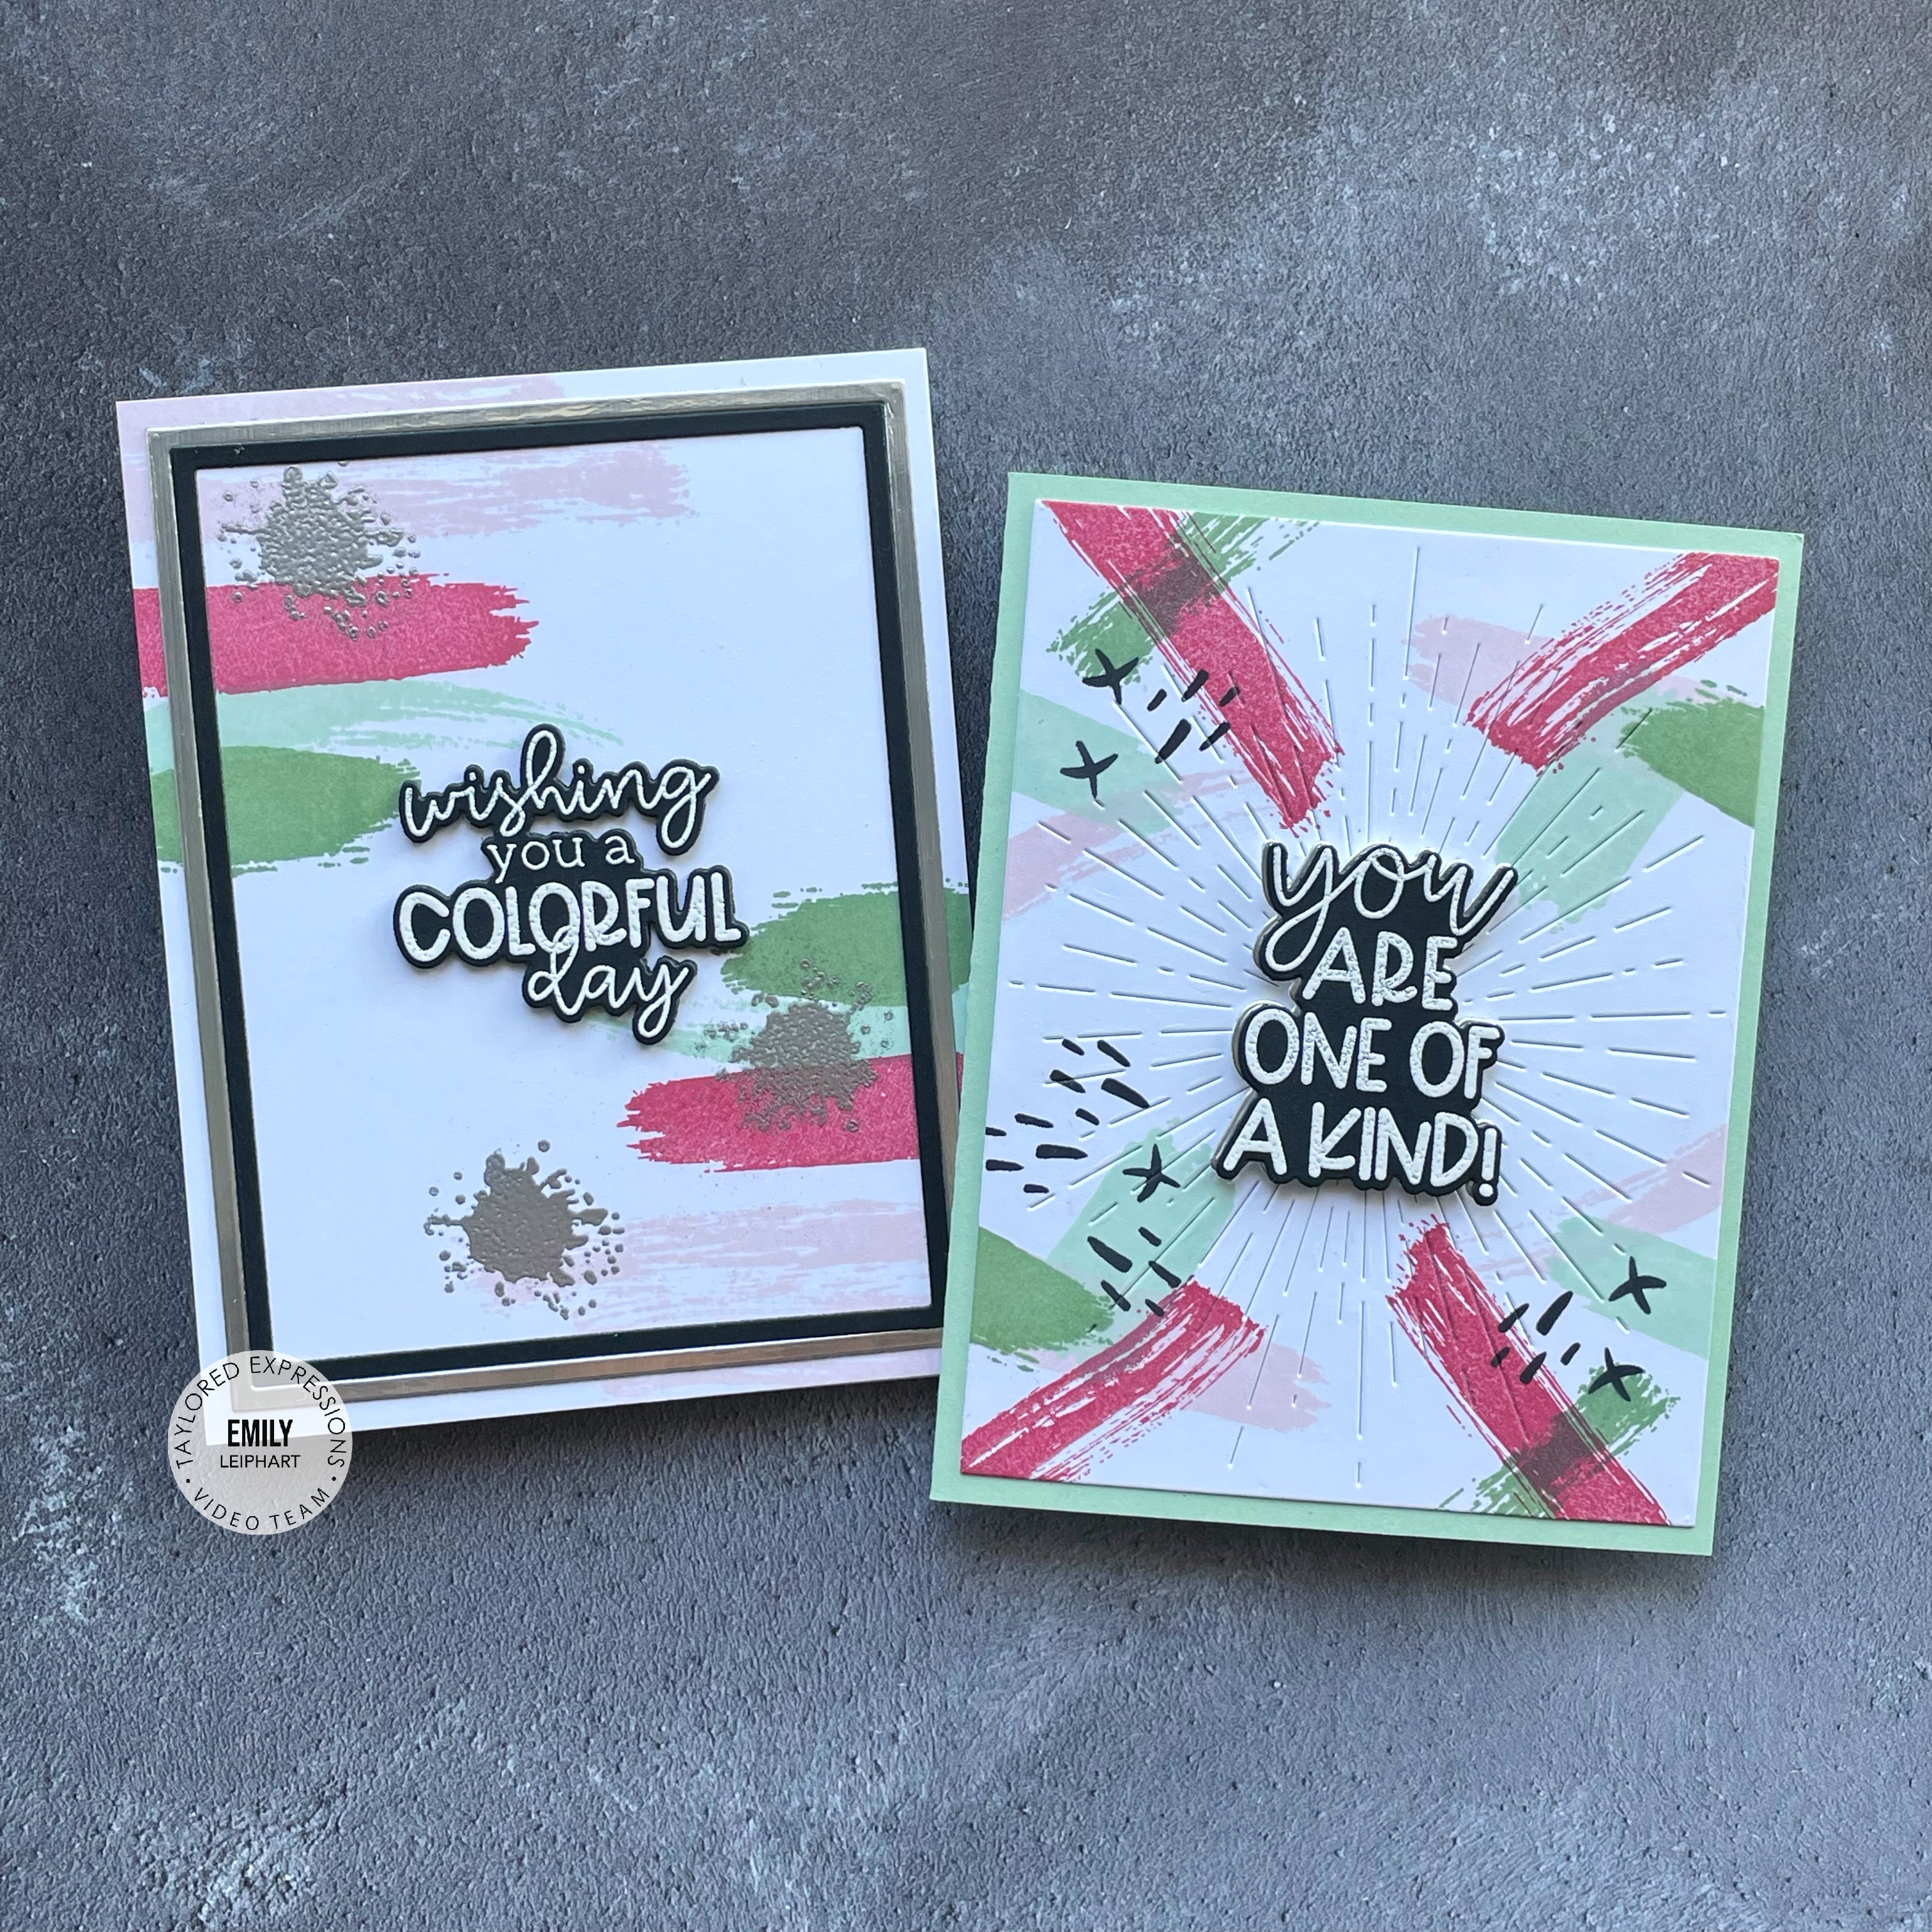
The first two cards are in the A2 size and feature the Splash of Color stamp set, as well as details from the Abstract Accents Stencil & Clear Combo, which was part of the original In the Abstract Cardmaking Kit and now available for purchase individually. The first card was framed with the A2 Thin Frame Cutting Plate in Black Licorice and Silver Foil.


The second card also features the Rays Pierce & Cut Plate, which I used to add even more detail to the stamped panel, as well as highlight the marvellous sentiment. All of the sentiments in this video are from the With All My Art stamp set and were white heat embossed on Black Licorice cardstock. The coordinating With All My Art Dies are sold separately and I love how closely the dies cut around the letters so they don't cover any of the backgrounds. 


The other two cards are in the horizontal mini slim orientation and they feature the Paint the Town paint brush dies. These dies feature two paint brushes and four layers for each size. I love all the details in those brushes, including that little hole to hang the brushes and the metal pieces that hold the bristles to the handle. They're super cute and you'll love assembling them!


My third card features the Bold Brushstrokes Layering Stencil. This two-part stencil is meant to create and cover an entire A2 card but I customized the strokes for my mini slim layout. After ink blending the strokes, I cut out the centre of the panel using the Stitched Mini Slim Stacklets and added a cute scalloped edge cut from the Petite Scallop Mini Slim Stacklets.


After botching what would've been the fourth card in my video, I decided to create this bolder design and I really love it, especially the two-colour base panel in Mint Julep and Cilantro which coordinates with the singular Mint Julep and Cilantro brushes.

With All My Art will not be restocked so grab this adorable kit while supplies last. Thanks so much for watching and, if you're inspired, please shop my affiliate links below!

Supplies

Wednesday, March 22, 2023

VIDEO | Catherine Pooler | Canadian Adventure YouTube Hop + Giveaway!


***THIS GIVEAWAY HAS ENDED. The lucky winner is Caroline Bredeson!***

Welcome to the Canadian Adventure YouTube Hop! My crafty friends and I are featuring the brand new O Canada Bundle which is part of the Global Adventure Part Tres Collection, now available at Catherine Pooler Designs. If you missed my preview Instagram Reel, please check it out HERE!


My video shares lots and lots of tips on stamping every image included in the O Canada Stamp Set, as well as how to use the Forever Maple Stencil and coordinating Forever Maple Dies. I also have a quick tutorial on how to reink Catherine Pooler ink pads and using stencils to dry emboss like I did here on my first card.


The colour palette featured on all of these cards was inspired by the Moose Crossing Patterned Paper, which includes Rockin' Red, Cranberry Fizz, Glitz, Grass Skirt, Deck the Halls, Something Borrowed, Dress Blues, Over Coffee and S'mores. I also used Sand Castle, Twilight, Black Jack and an alternate black ink.


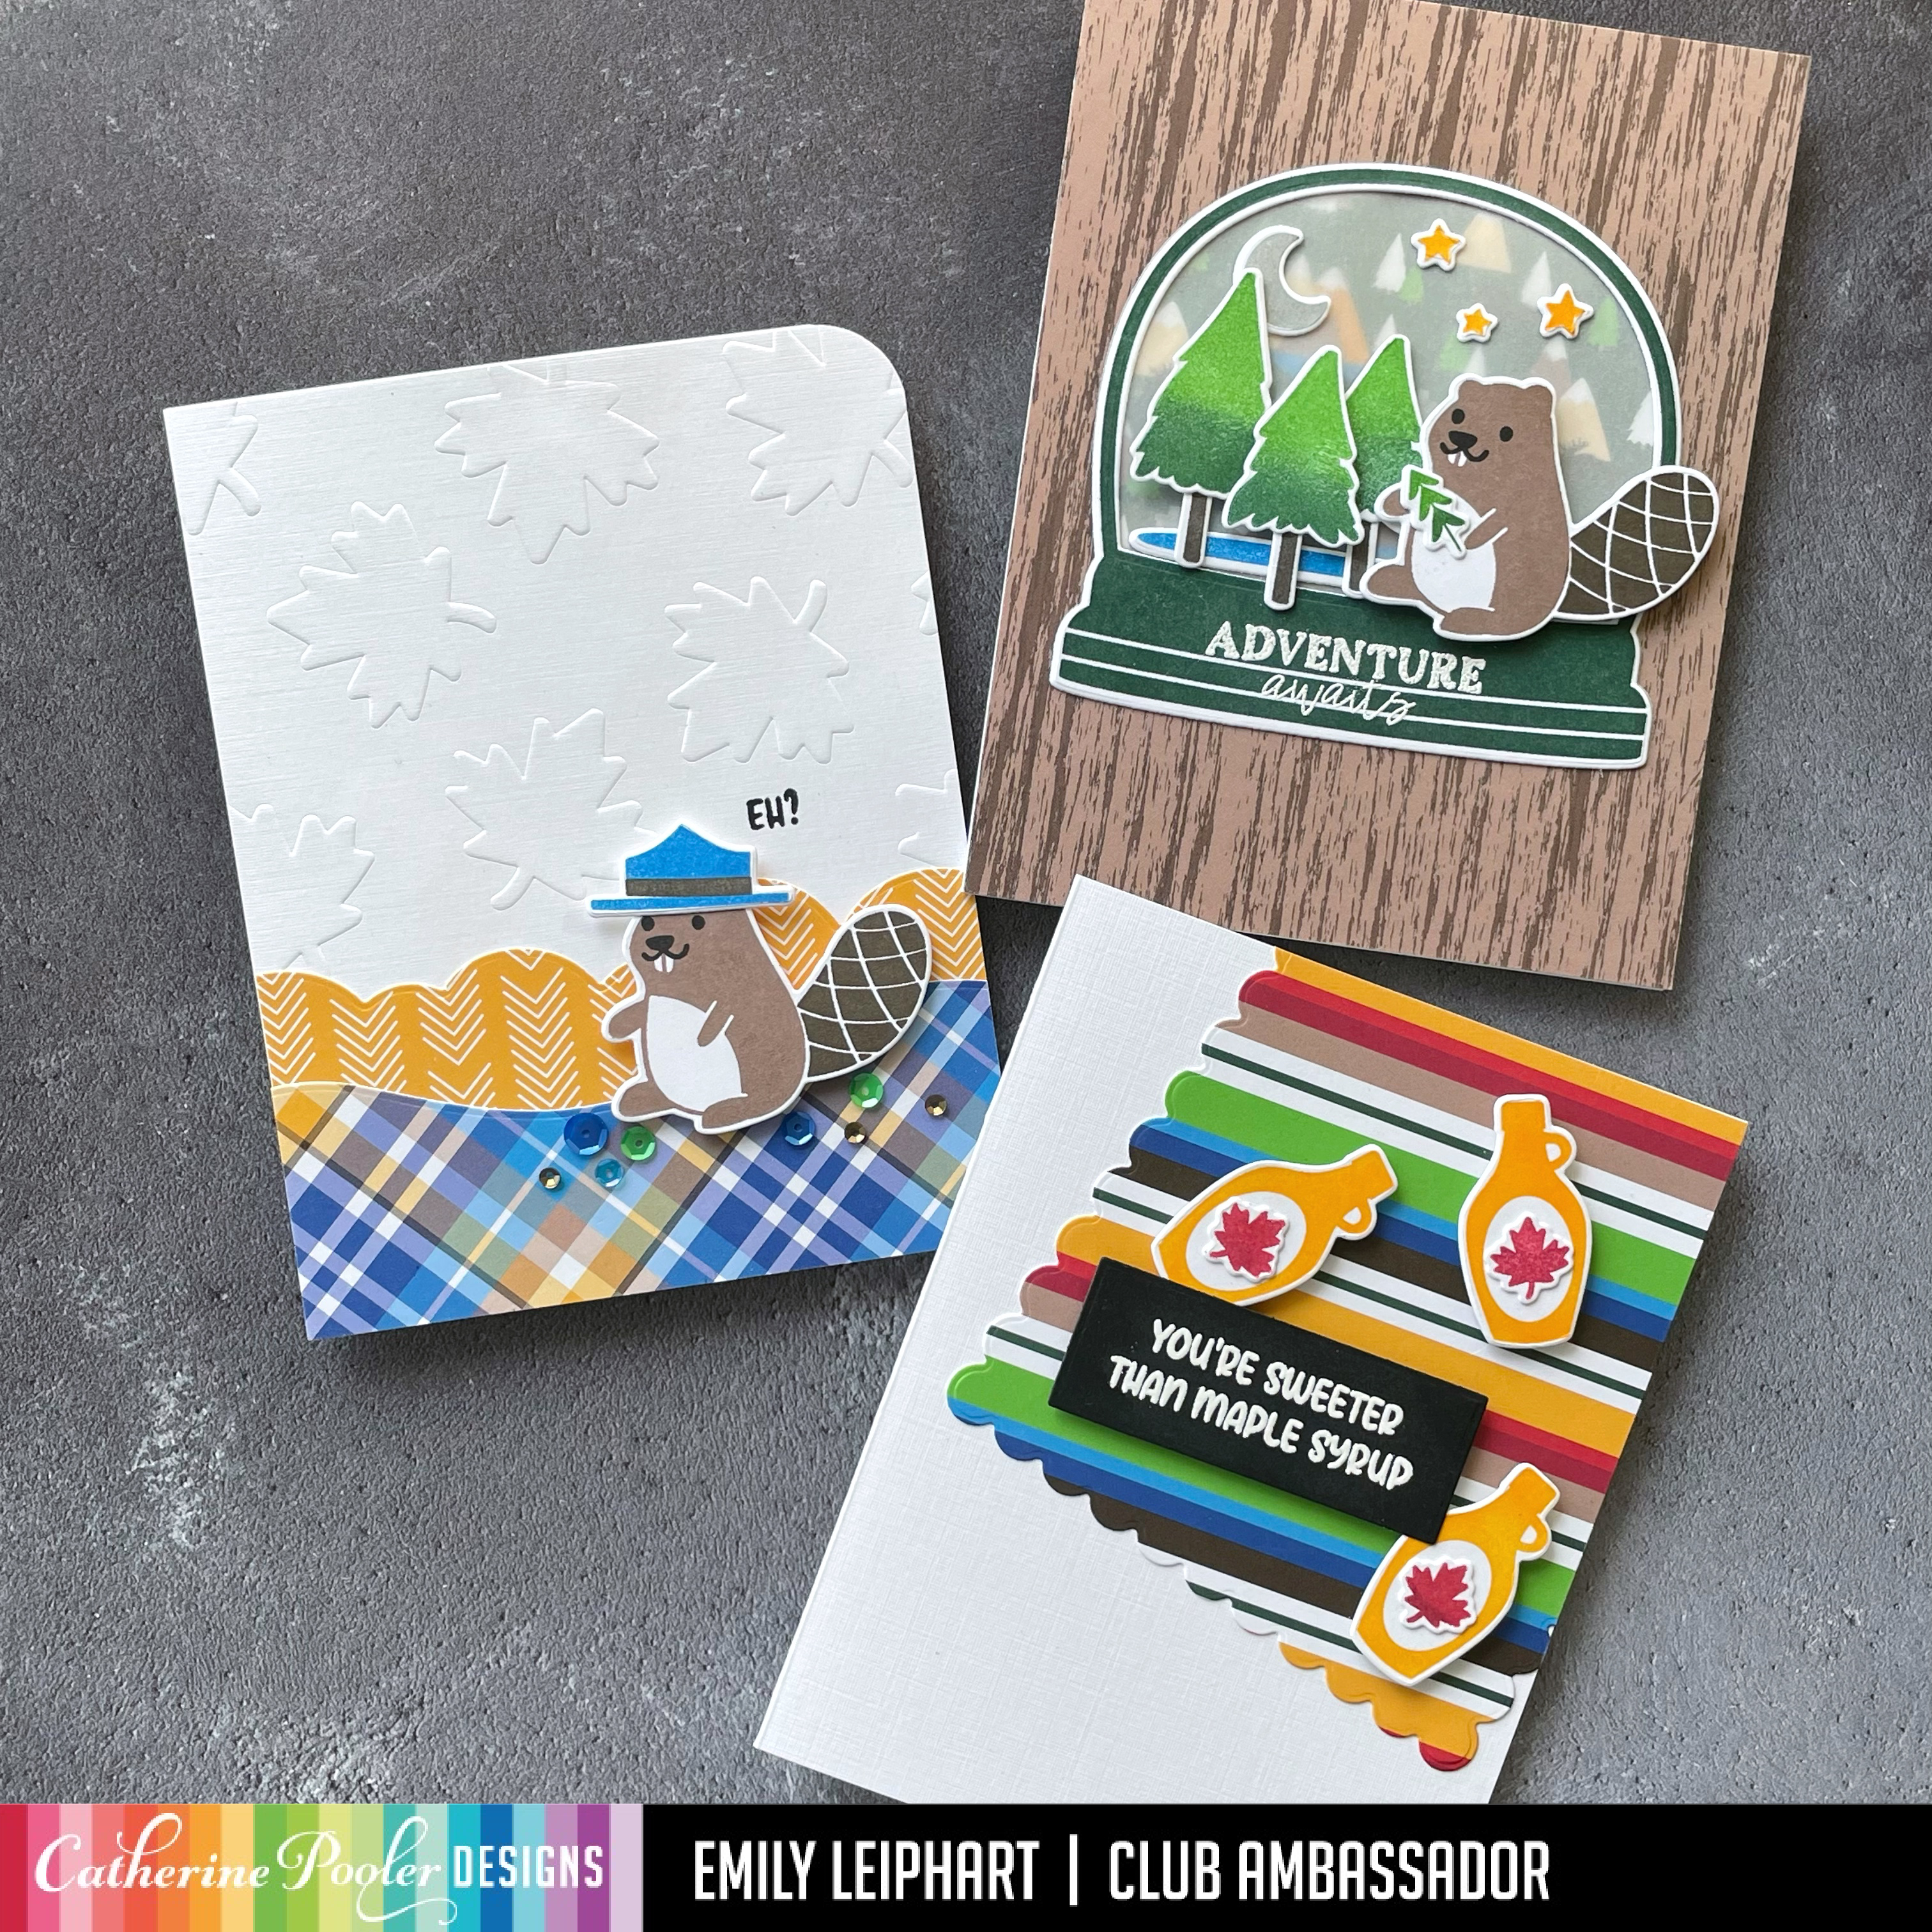
The background of this first card features the Forever Maple Stencil, which was used to dry emboss the pattern into the base panel. I used the Melon Edge Dies to cut two sheets of Moose Crossing patterned paper to mimic water and sunlight.


I cut up one of the sentiments so I could easily stamp one word as the sentiment, popped up the beaver on foam tape and added some sparkle using the Yukon Sequin Mix. To soften the corners and coordinate with the die cut papers, I used the 1/2" side of my corner chomper to round the upper right hand corner.


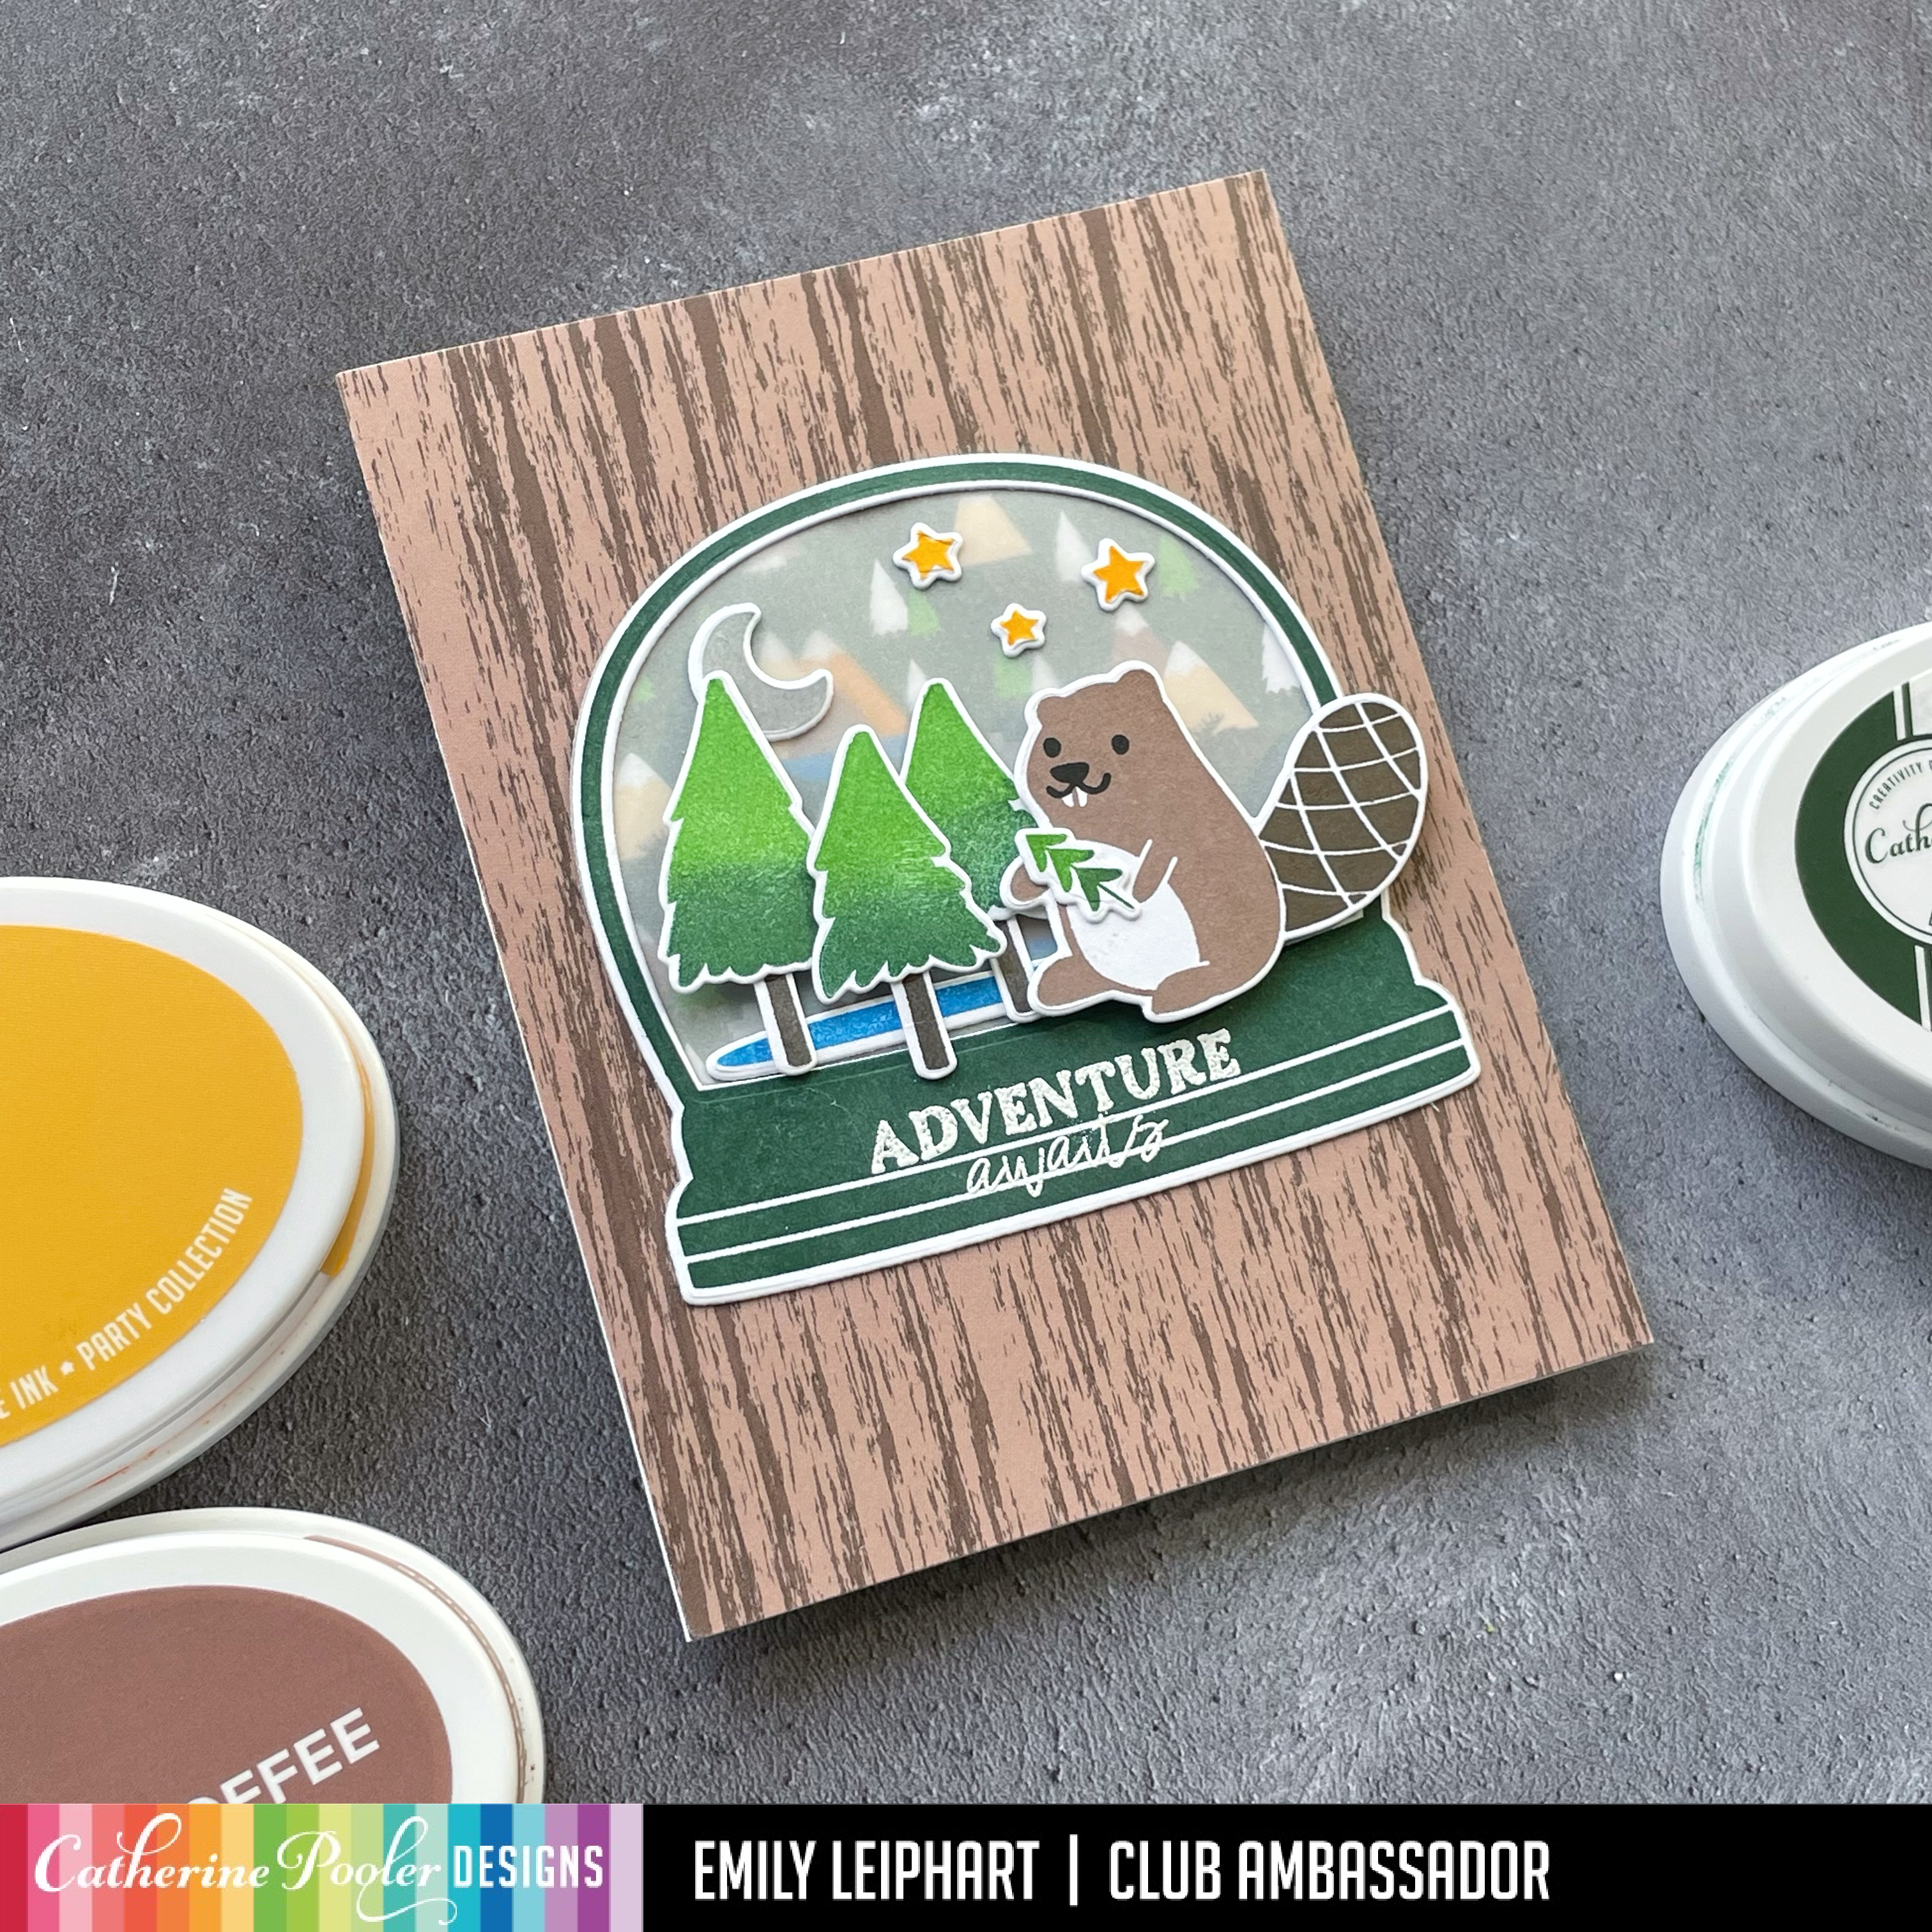
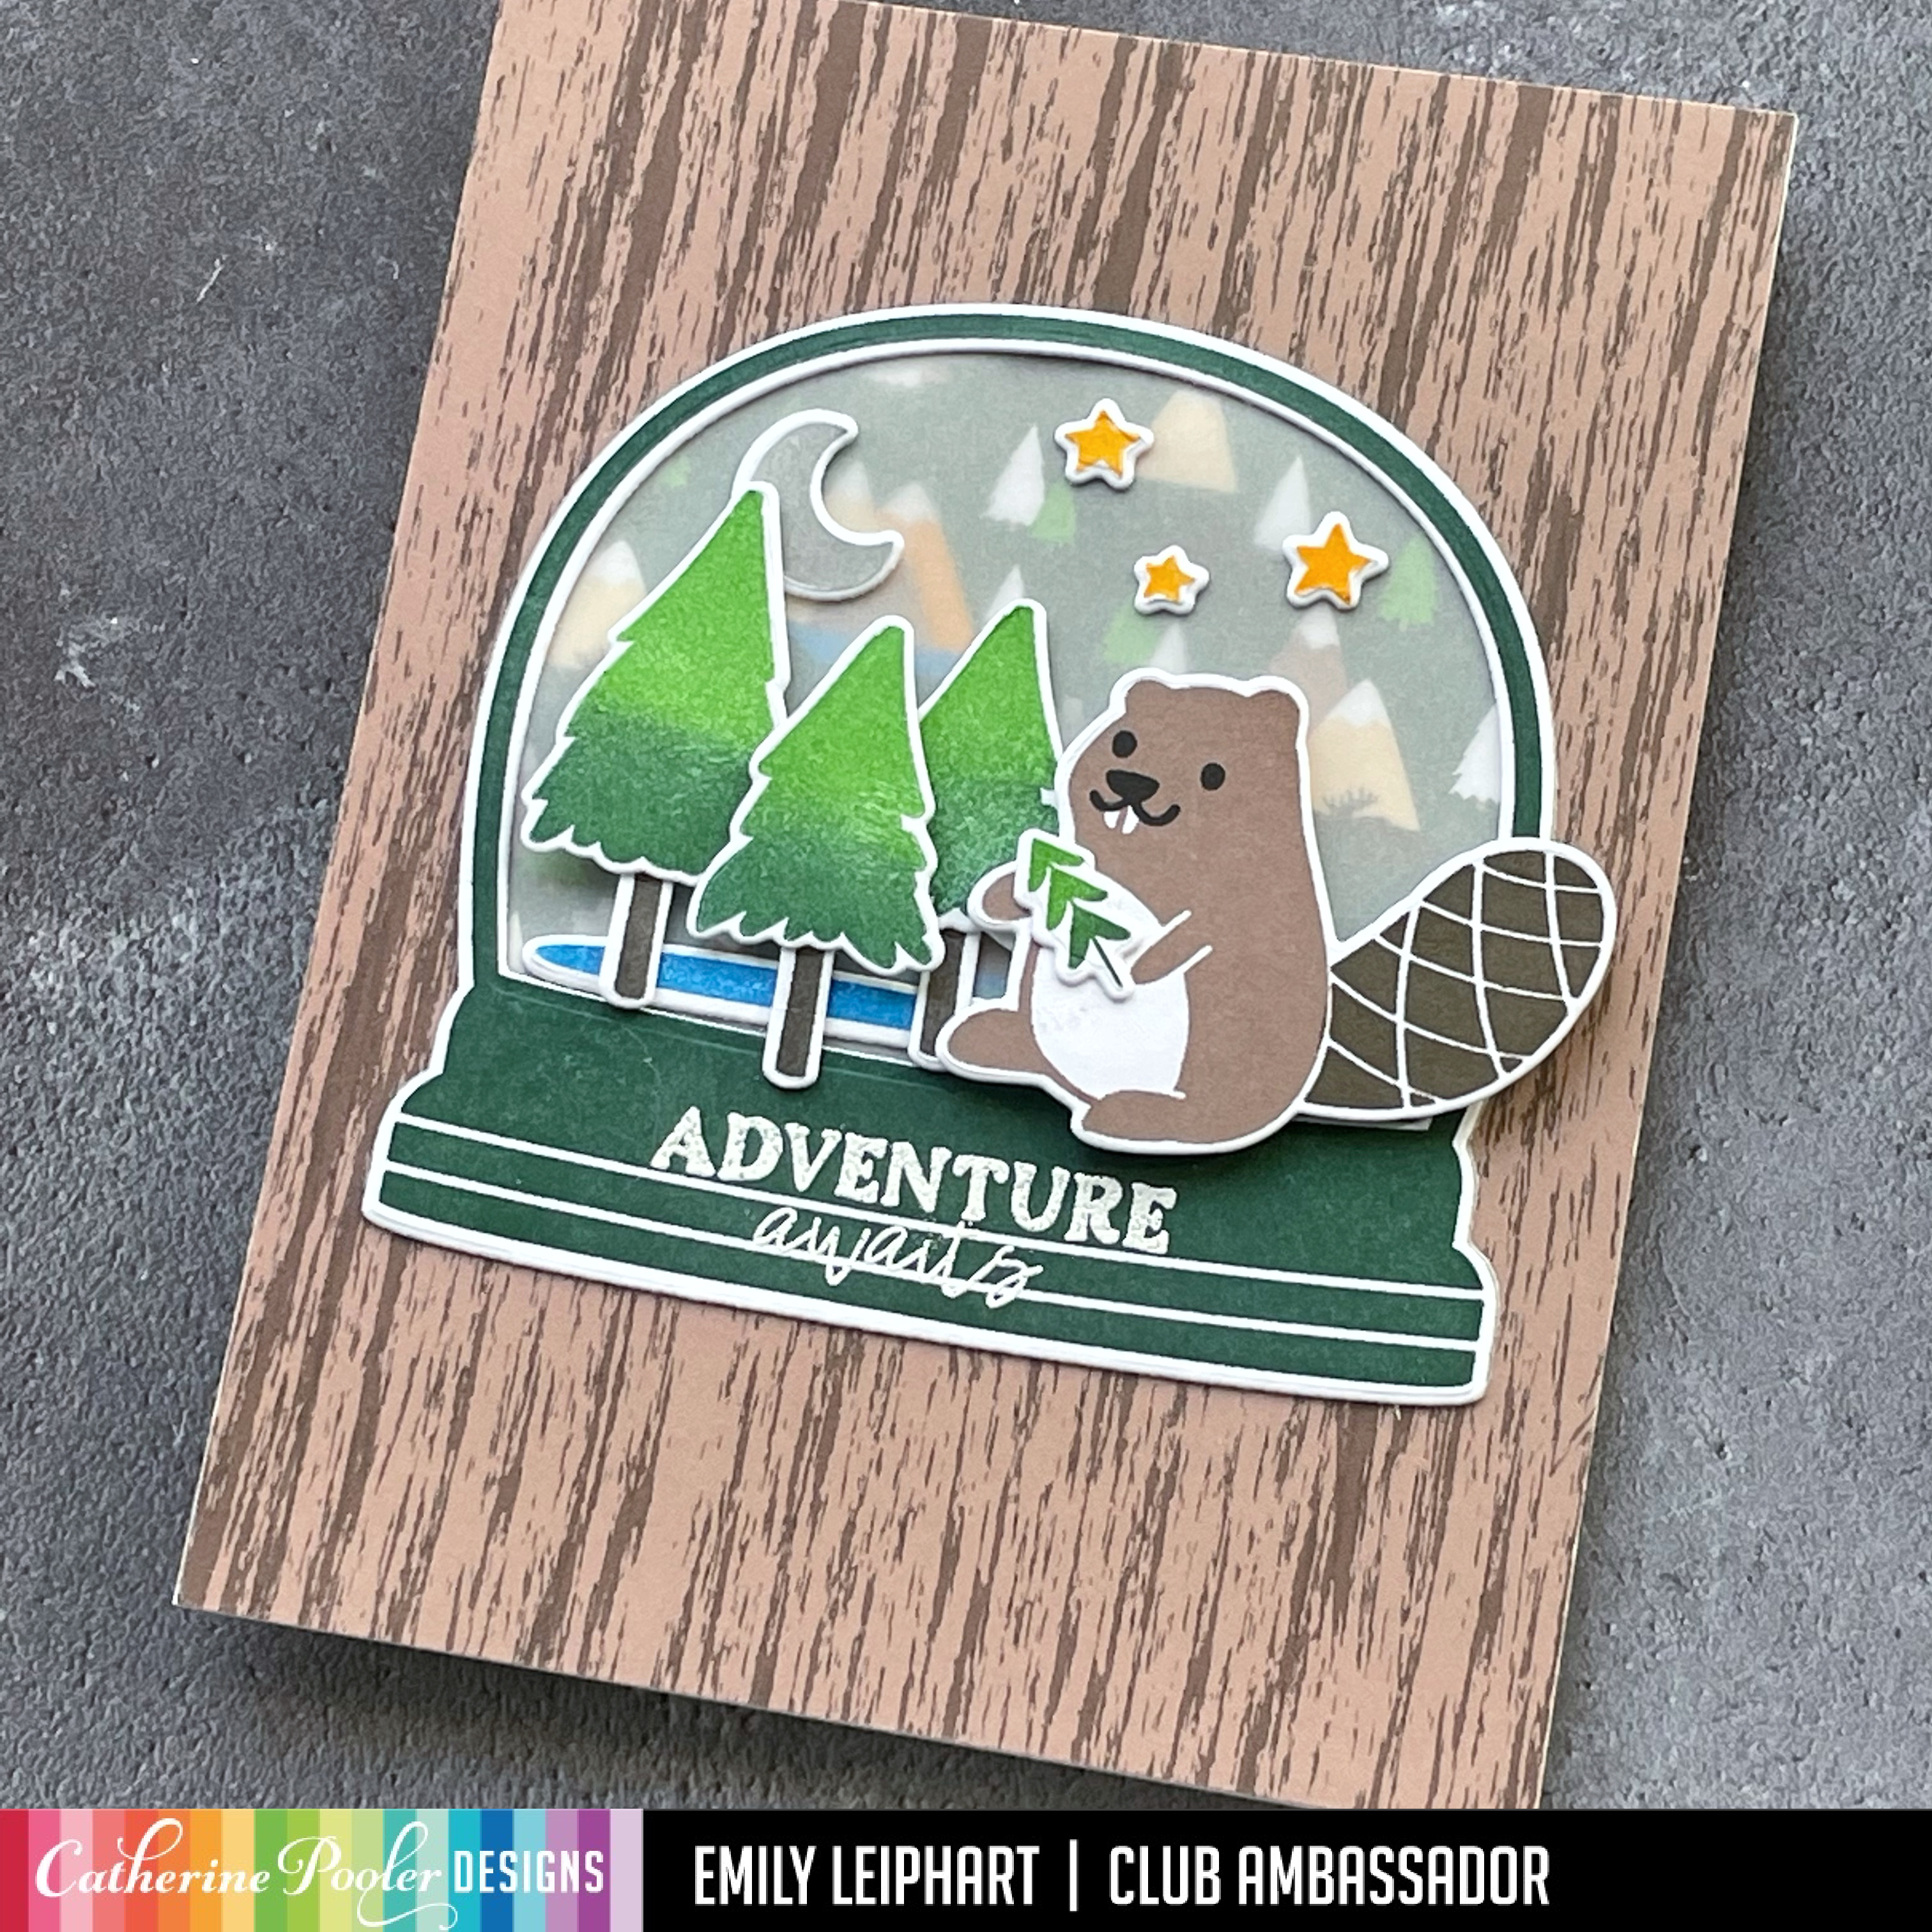
My second card features two more prints from the Moose Crossing paper pack. I also brought in an older but new-to-me set called Snow Globe Adventure. I stamped the snow globe with Deck the Halls, water with Something Borrowed, moon with Twilight and stars with Glitz.


I used a vellum overlay on the forest background because it would've taken away from the elements in the foreground. I white heat embossed the sentiment directly on to the base of the snow globe. Everything was glued flat to the card base, except for the large trees and beaver, which were popped up with foam tape.


I just love this adorable card with a scene within a scene! I just love snow globes and was thrilled that this older set worked with the O Canada Bundle. The snow globes could be used on their own, as small note cards and even gift tags and shakers.


This last card design was inspired by Ilina Crouse who frequently uses an angled panel on her cards. I used the largest of the Scallops and Dots Dies and another piece of Moose Crossing patterned paper to create that panel, which was glued on to the white linen base.


I glued the stamped maple leaves on to the maple syrup bottles. I also white heat embossed the coordinating sentiment on to black cardstock, then die cut it using one of the Ex Libris Dies. I popped up all of those pieces with foam tape. In hindsight, I feel like the lower right bottle should be sitting on top of the sentiment panel so don't mind me while I carefully make that change after-the-fact. ;)


I hope you enjoyed all of today's inspiration, including the detailed review of the O Canada Bundle and many tips and tricks related to reinking, as well as using the Forever Maple Stencil and coordinating Forever Maple Dies.


Remember to leave comments at every stop for a chance to win a $50 gift certificate to the Catherine Pooler Shop. The winner will be announced on YouTube on Wednesday, March 29, 2023.

Full Hop List


Thanks so much for watching and for shopping my affiliate links below!

Supplies