Showing posts with label sale. Show all posts

Tuesday, July 23, 2024

Spellbinders | Glimmering Peonies Duo + Christmas in July Sale!


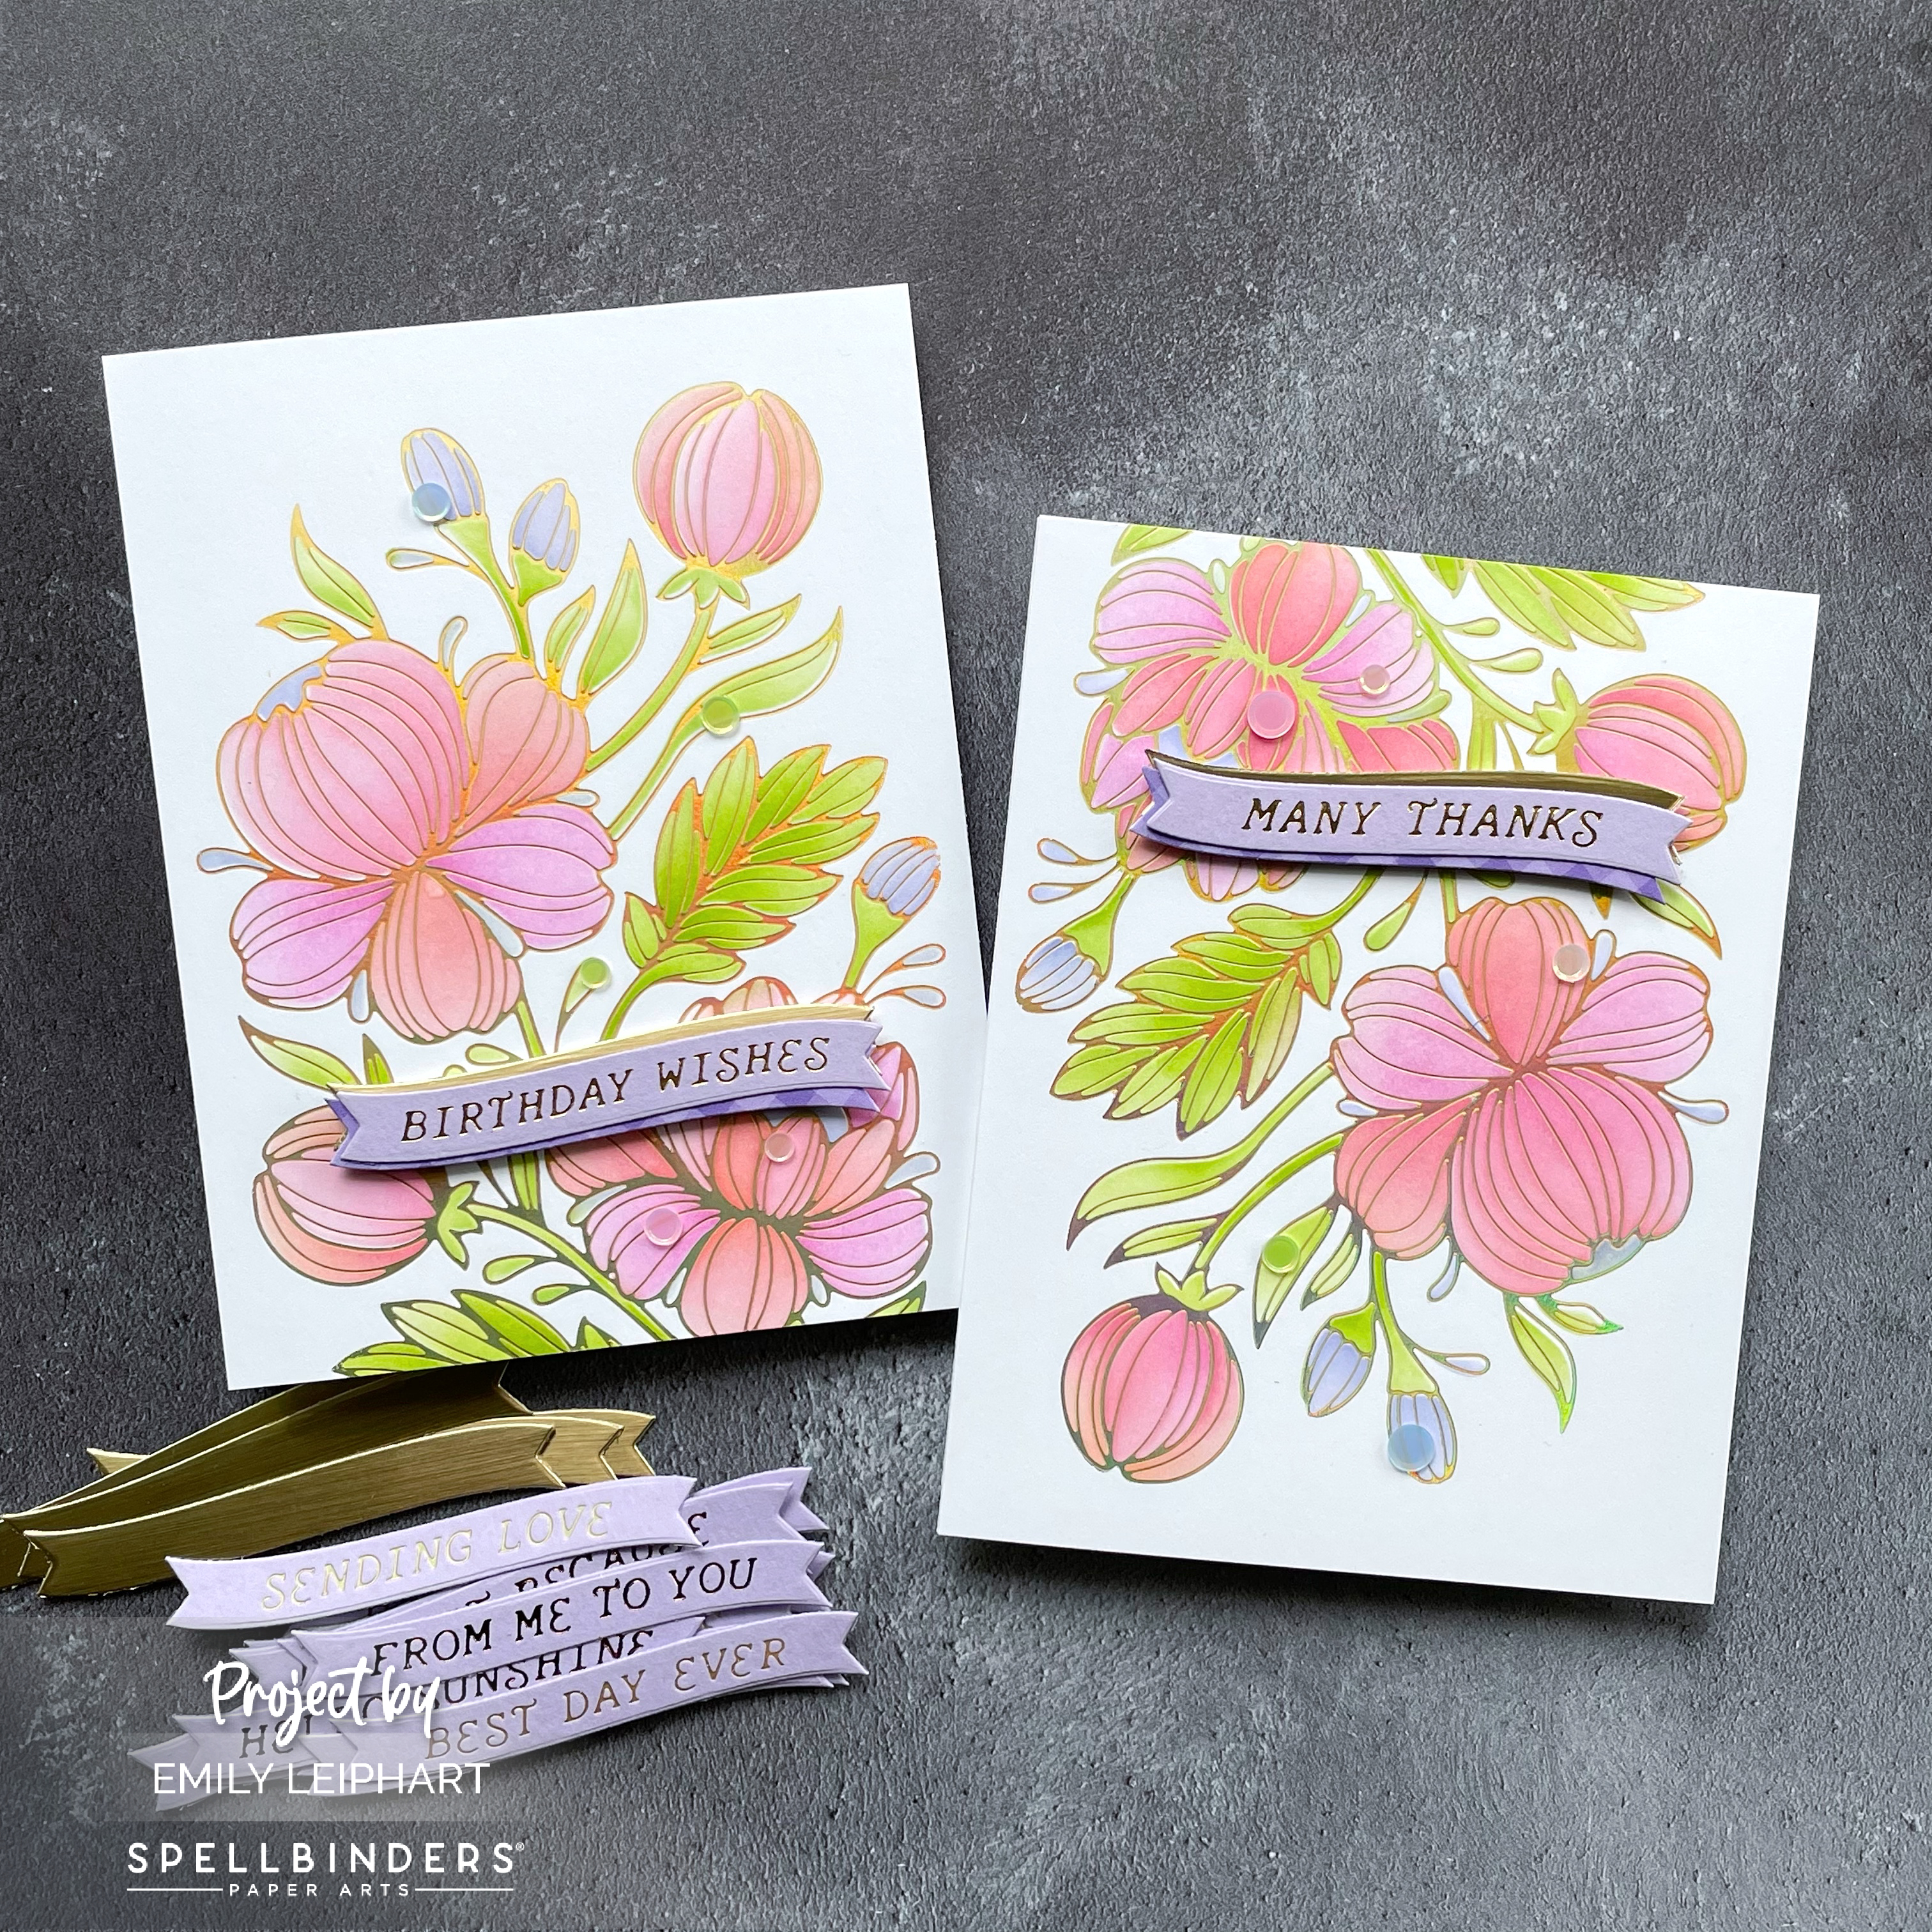
Hello again, crafty friends! You may recall my Glimmering Buttercups POST featuring the Glimmering Flowers Collection from Spellbinders. Today, I'm sharing two clean and simple, same-but-different cards I whipped up featuring the Glimmering Peonies Glimmer Plate and Stencil Bundle.


I needed a couple of quick cards and love having coordinating stencils to colour large, floral images such as this one. Even though I have quite a collection of birthday and thank you cards in my stash, none of them are ever quite right. Do you ever feel that way or is it just an excuse to make more cards? ;)


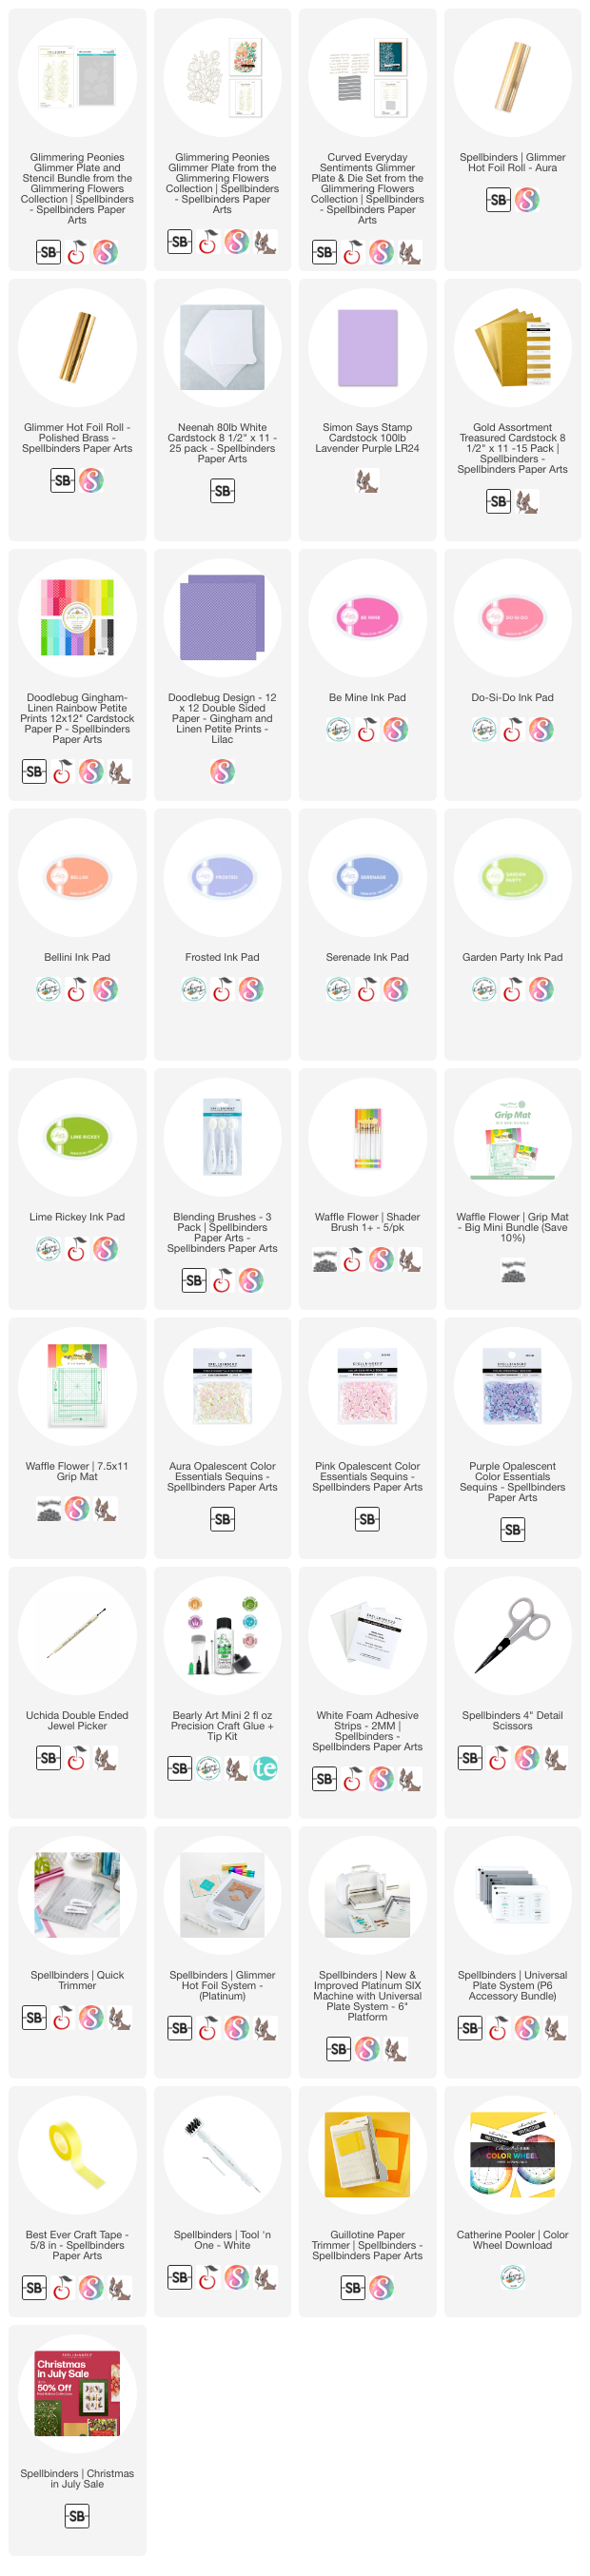
I started by heat foiling the Glimmering Peonies with Aura Hot Foil on Neenah 80lb White cardstock. Then I used Catherine Pooler's Color Wheel Download to select my colour palette and the ink colours I used are Be Mine, Do-Si-Do, Bellini, Frosted, Serenade, Garden Party and Lime Rickey.


If you don't have the coordinating stencils, you can colour these peonies with your favourite medium or simply heat foil them on dark cardstock and leave them uncoloured as I did in the past.


I loved mixing Be Mine with Do-Si-Do and Bellini on the larger flower petals. I love the way Frosted and Serenade work with the other colours. I went as light as possible with Garden Party and Lime Rickey, but I think I could've gone lighter or perhaps even left the foliage uncoloured for something different.


For the sentiments, I heat foiled the Curved Everyday Sentiments with Polished Brass Hot Foil on Simon Says Stamp Lavender cardstock. I actually tried two other foil colours before choosing this version.
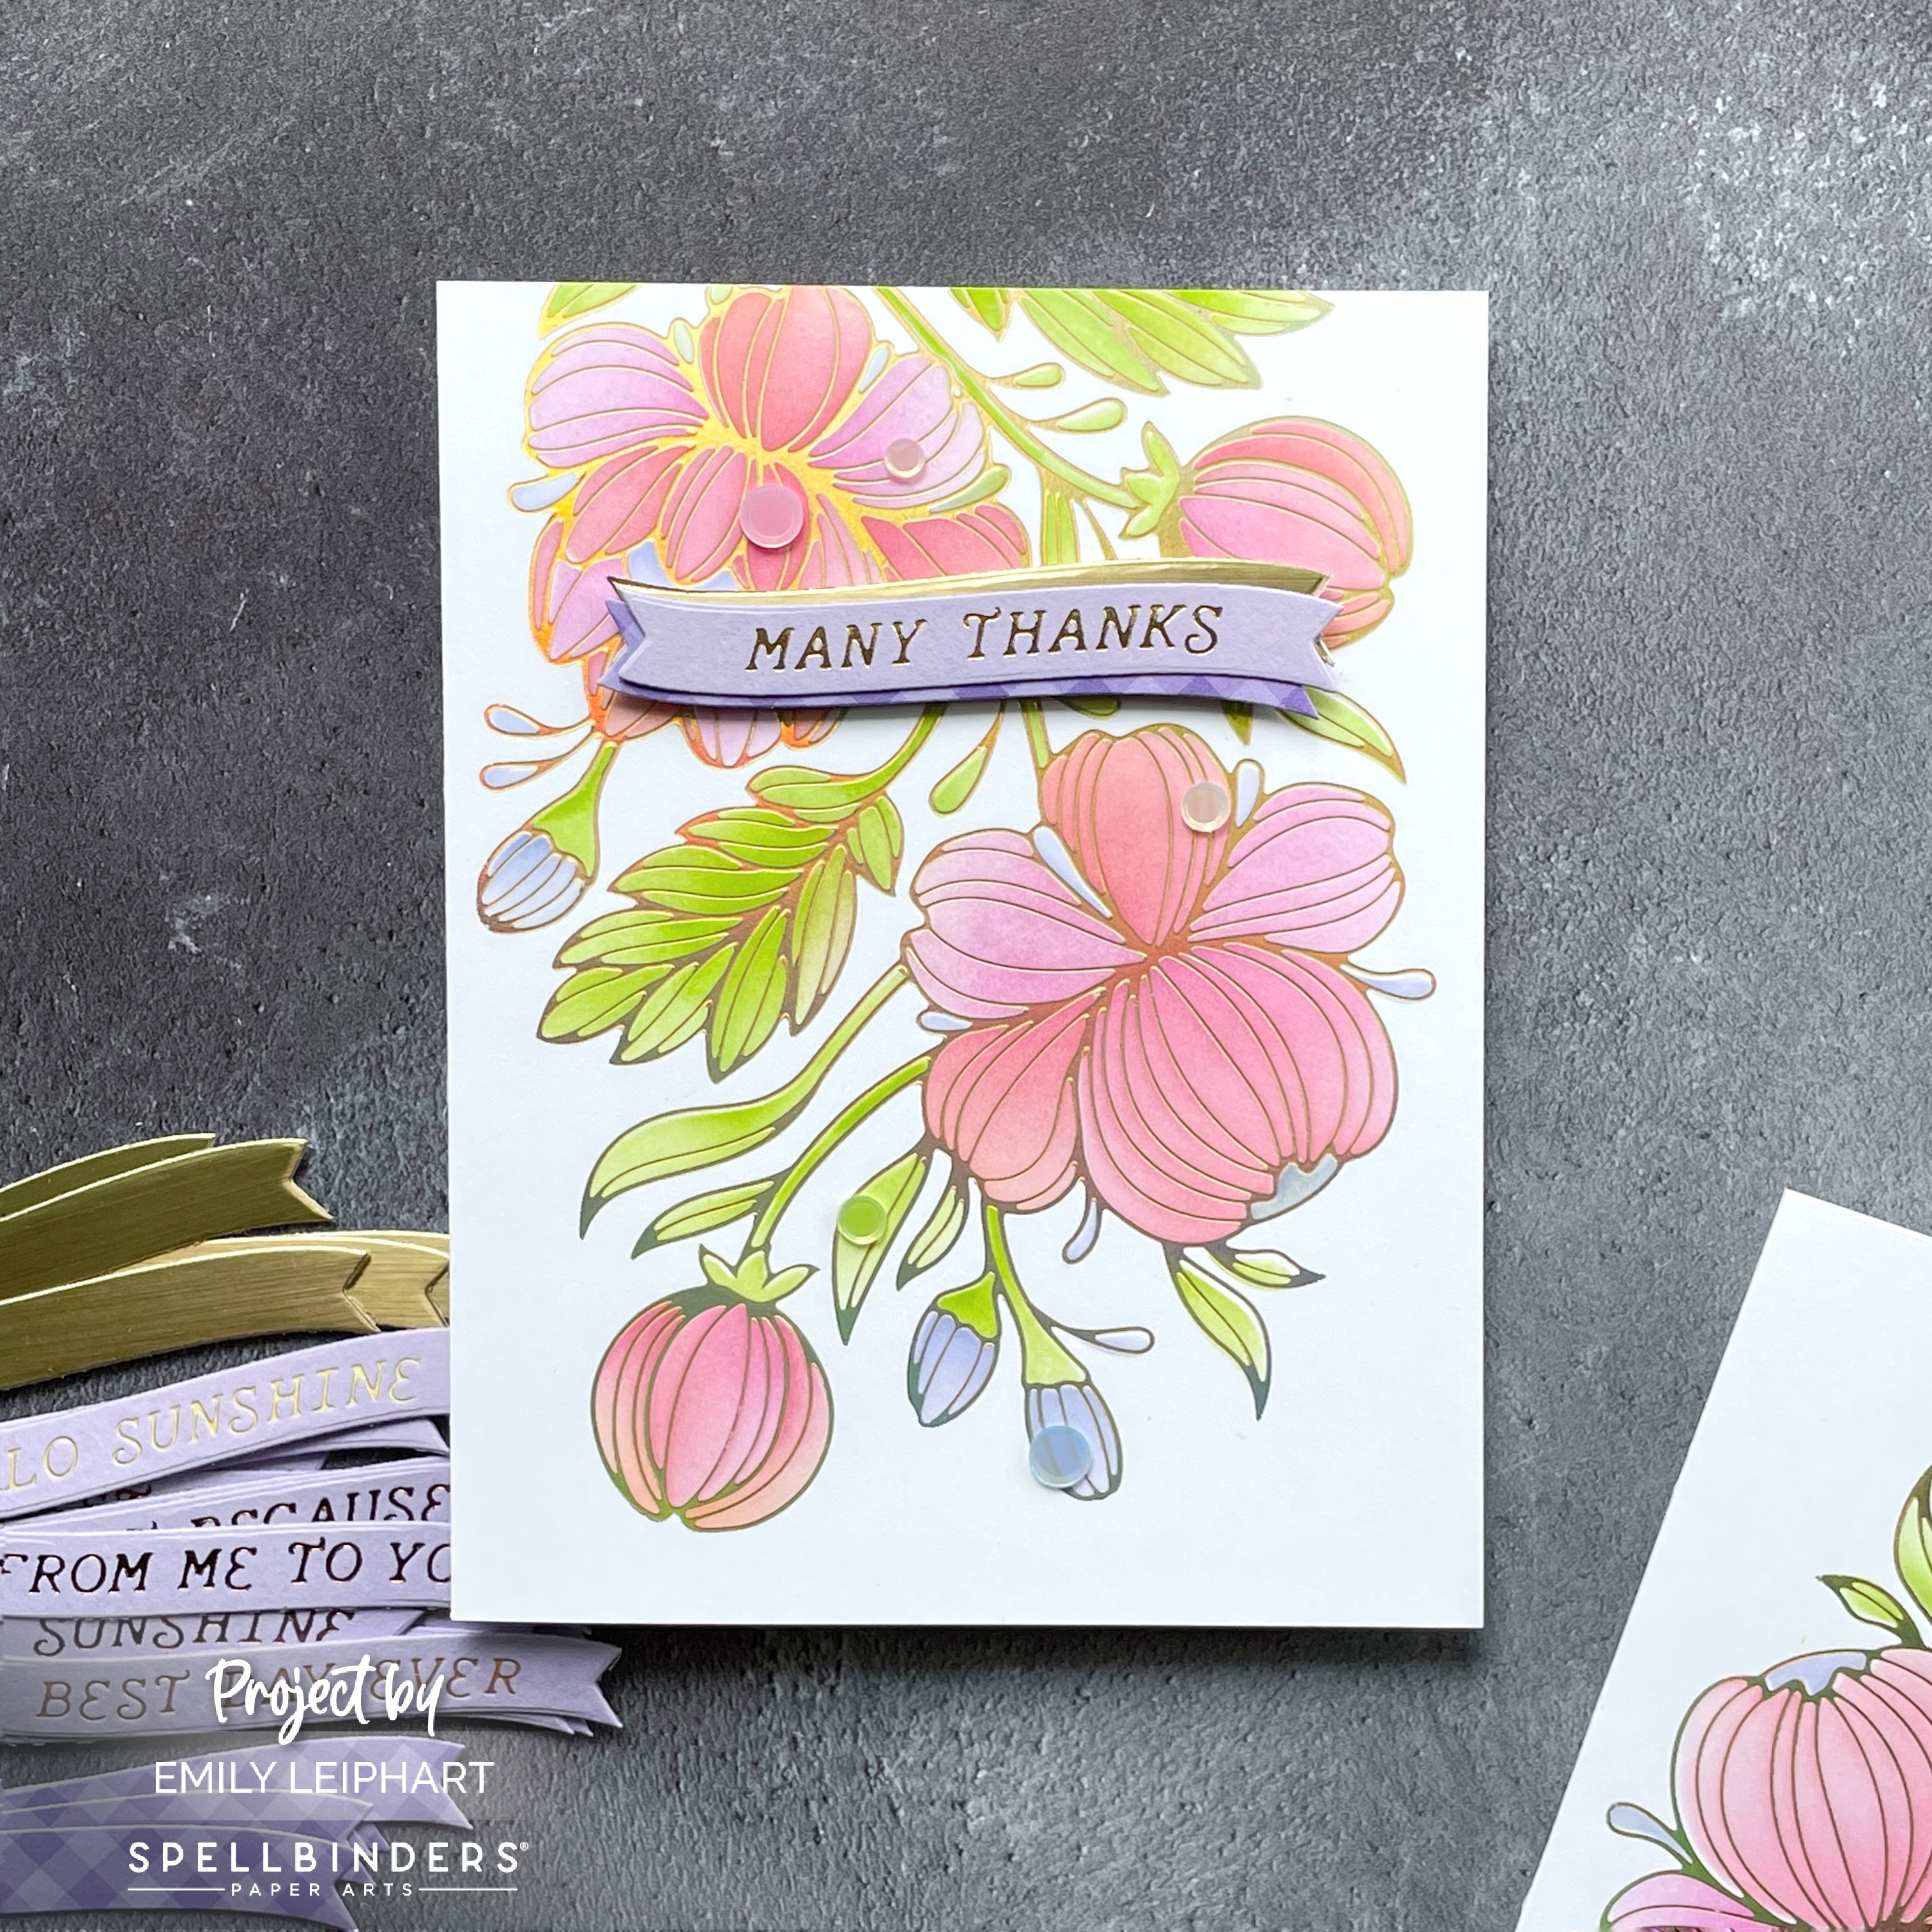

I cut the sentiment banners again from both Brushed Metallic cardstock and Gingham Lilac patterned paper. These were layered behind both sentiments to complement the foiling and the bits of purple in the buds.


As you can see, the Glimmering Peonies Glimmer Plate is significantly bigger than an A2 panel so I decided to leave some of it off the bottom edge. You'll also notice that I flipped the thank you panel upside down for a bit of variation between the two cards.


I almost adhered the banners flat to the ink blended panel to make it super easy to mail but I decided to foam mount it for a tiny bit of dimension. I just couldn't resist! Again, I almost stopped there but I decided to use some flat sequins to add visual interest.


The sequins I used are from Studio Katia's Pastel Rainbow Confetti but you can find similar sequins in the Spellbinders store, available in Aura, Pink and PurpleAura is a great colour that fills in the gaps nicely when you don't have matching sequins for every colour.


Do you like to make batches of cards using the same design and colour palette? I only thought to flip one of the panels at the last minute. Otherwise, I would've had both designs exactly the same but with different sentiments. What other ideas do you have for same-but-different card designs?


Please check out the NEW Christmas in July Sale, on now through July 28, 2024. You can save up to 50% select products. Prices are as marked. The sale also features discounts on select Clearance items. 


I appreciate you stopping by and, if you're inspired, please shop my affiliate links below. Spellbinders would love to know that you were inspired by me.

Thanks so much for your continued support!

Supplies:
Thursday, March 28, 2024

Lunar New Year Challenge | MFT Sponsor Feature + Sale!


Today, several members of the Lunar New Year Challenge team are being featured on the My Favorite Things Blog! We've created cards using lots of awesome products that were gifted to us by My Favorite Things. My card features images from the YUZU Darling Dragons stamp set with a sentiment from Celebrate Everything.


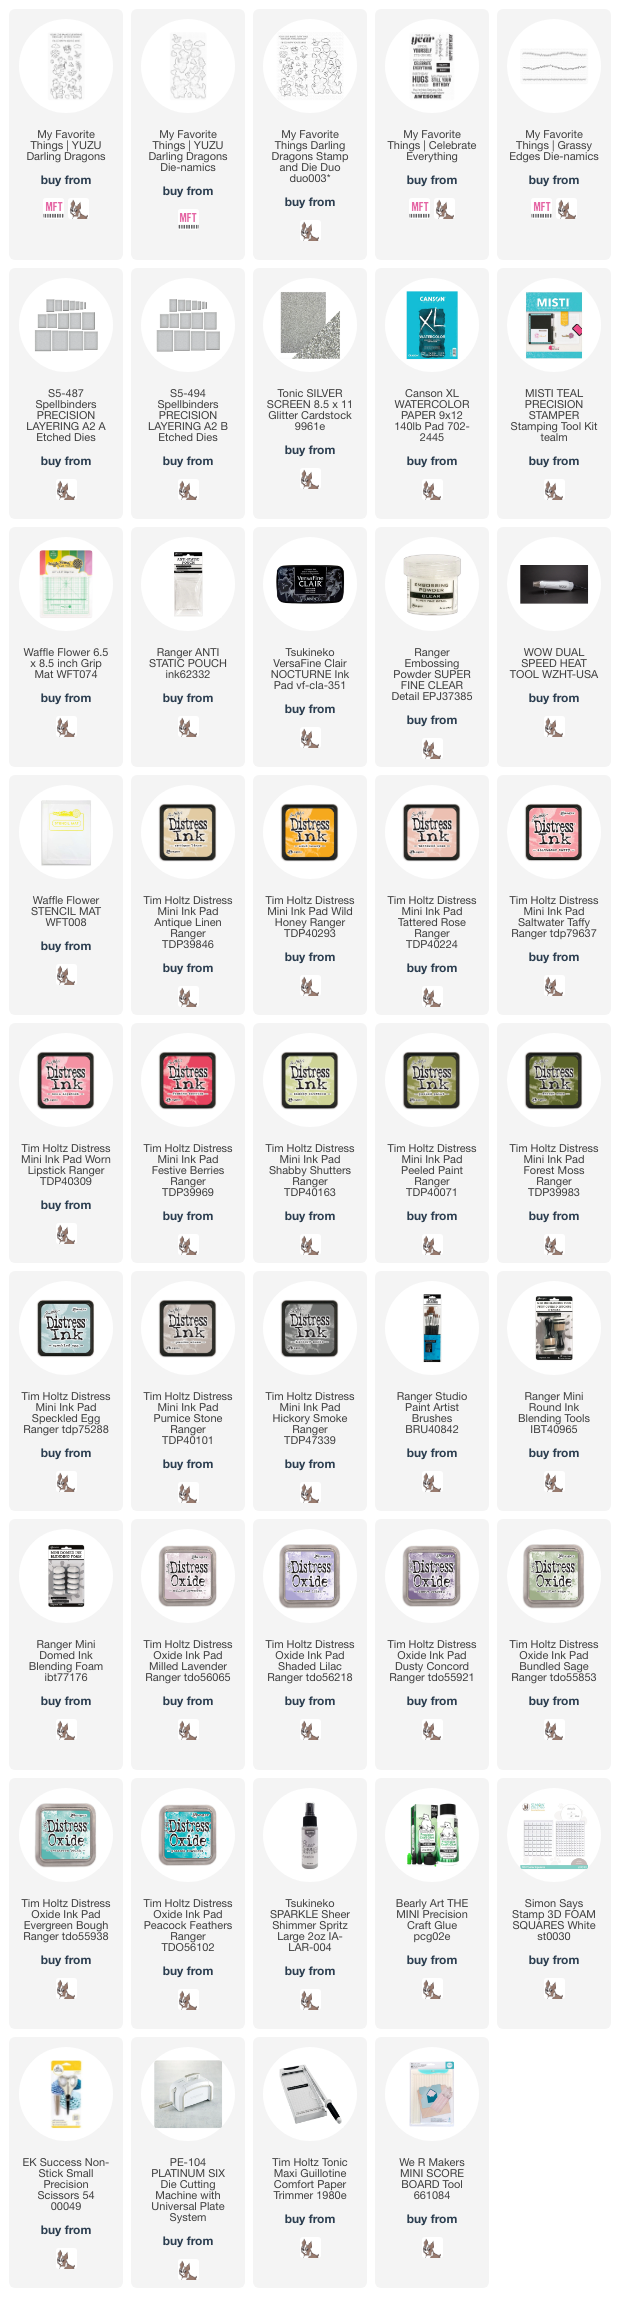
I started by stamping all the images from YUZU Darling Dragons using VersaFine Clair Nocturne ink, then heat embossed them with clear embossing powder. Next, I selected distress inks for watercoloring.


I smooshed the following mini ink pads onto a stencil mat and used artist brushes to watercolour the images: Antique Linen, Wild Honey (belly and wings), Tattered Rose, Saltwater Taffy, Worn Lipstick, Festive Berries (body and heart), Shabby Shutters, Peeled Paint, Forest Moss (leaves), Speckled Egg (clouds), Pumice Stone and Hickory Smoke (nostrils, finger/toenails and rocks).


After the images dried completely, I fussy cut and set them aside to create the background. The grassy panel was die cut from the retired Tucked-in Turf - Vertical Die-namics but Grassy Edges Die-namics could be used to create the top edge and partial die cutting could be used to create the grassy tufts.


I used the mini ink blending tool with domed blending foam and the following distress oxides to add colour to the grassy panel: Bundled Sage, Evergreen Bough and Peacock Feathers. For the sky panel, I used the mini ink blending tool and domed blending foam with the following distress oxides: Milled LavenderShaded Lilac and Dusty Concord. Then I splattered it with Tsukineko shimmer spritz to create visual interest.


Once the panel dried, I stamped the sentiment from Celebrate Everything with VersaFine Clair Nocturne ink and heat embossed it with clear embossing powder. I cut a border using silver glitter cardstock and glued the two panels to the card base before popping the images on with foam tape.


My Favorite Things is an annual sponsor of the Lunar New Year Challenge and they are giving away one $25 gift certificate each month, all year long.


Visit the March Link-Up Party post HERE to read the rules, see all of the design team projects and be inspired to create your own! 


I appreciate you stopping by and, if you're inspired, please shop my affiliate links below. My Favorite Things would love to know that you were inspired by me. Thanks so much for your continued support!

Supplies

Saturday, March 9, 2024

Spellbinders | More BetterPress feat. Thank You Blooms


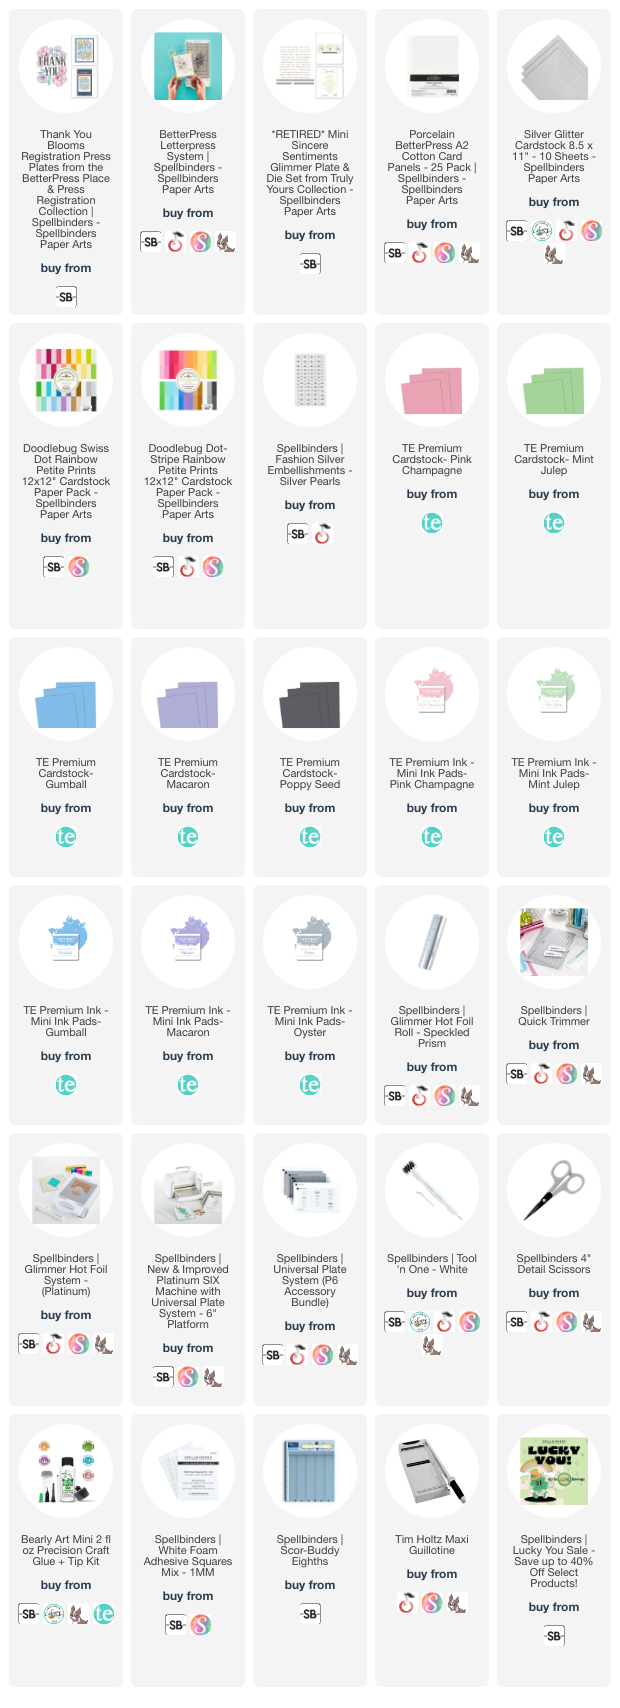
My love affair with the Spellbinders BetterPress Letterpress System continues with this duo of cards using the Thank You Blooms Registration Press Plates from the BetterPress Place & Press Registration Collection. If you missed my last post featuring the Blooming Garden Press Plates, you can find that HERE.


This pair features two very different looks using the same colour palette. The inks and coloured cardstock are from Taylored Expressions. This first card features Pink Champagne, Mint Julep, Gumball and Macaron mini ink pads. 


I experimented with using full size ink pads and, while it's easier and faster to use larger ink pads, the ink can get all over the surrounding areas and into the flatter areas of the BetterPress dies which is not ideal. 


I pressed these inks and the Thank You Blooms on to a Porcelain BetterPress A2 Cotton Card Panel and trimmed 1/4" off the top and bottom so it measures 4.25x5". I also cut a strip of Silver Glitter Cardstock, which I adhered to the back of the panel before attaching it to an A2 card base cut from Gumball Cardstock.


I was torn between leaving this as it to show off the beauty of the BetterPress Letterpress look and adding a few embellishments but decided to leave it as is and I'm glad I did! This is one of those cards that is hard to resist running your fingers across. LOL


This second design is much more bold and not only features the same Taylored Expressions inks in Pink ChampagneMint JulepGumball and Macaron but also the coordinating cardstock colours.


This time, I started by taping pieces of Pink ChampagneMint JulepGumball and Macaron cardstock to form an A2 panel. As I inked up the different quarters, I pressed the coordinating ink colour into its coordinating colour of cardstock. It's such a cool look, wouldn't you agree?! I wasn't sure it would work and I did go through at least three trials to get this result.


I fussy cut the pressed image, taped it to a panel of Silver Glitter Cardstock and fussy cut it again so the image would have a beautiful sparkly border around it. I wasn't sure that would work either but I knew want I wanted in my head and I'm really happy with the way it turned out!


Finally, I heat foiled a sentiment from (retired) Mini Sincere Sentiments using Speckled Prism Hot Foil on Taylored Expressions Poppy Seed Cardstock. I cut a panel of patterned paper from my stash and, luckily, Spellbinders has just stocked Doodlebug's Swiss Dot Rainbow Petite Prints 12x12" Cardstock Paper Pack, which includes some great polka dotted options. I finished the card by adding a few Silver Pearls.


I hope you enjoyed today's projects! I appreciate you stopping by and, if you're inspired, please shop my affiliate links below. Spellbinders would love to know that you were inspired by me. :)


Be sure to check out the Lucky You Sale, as well as the Cardmaking Super Star Contest!


Thanks so much for your continued support!

Supplies

Friday, January 26, 2024

Catherine Pooler | Retirement Sale + Chinese New Year Card


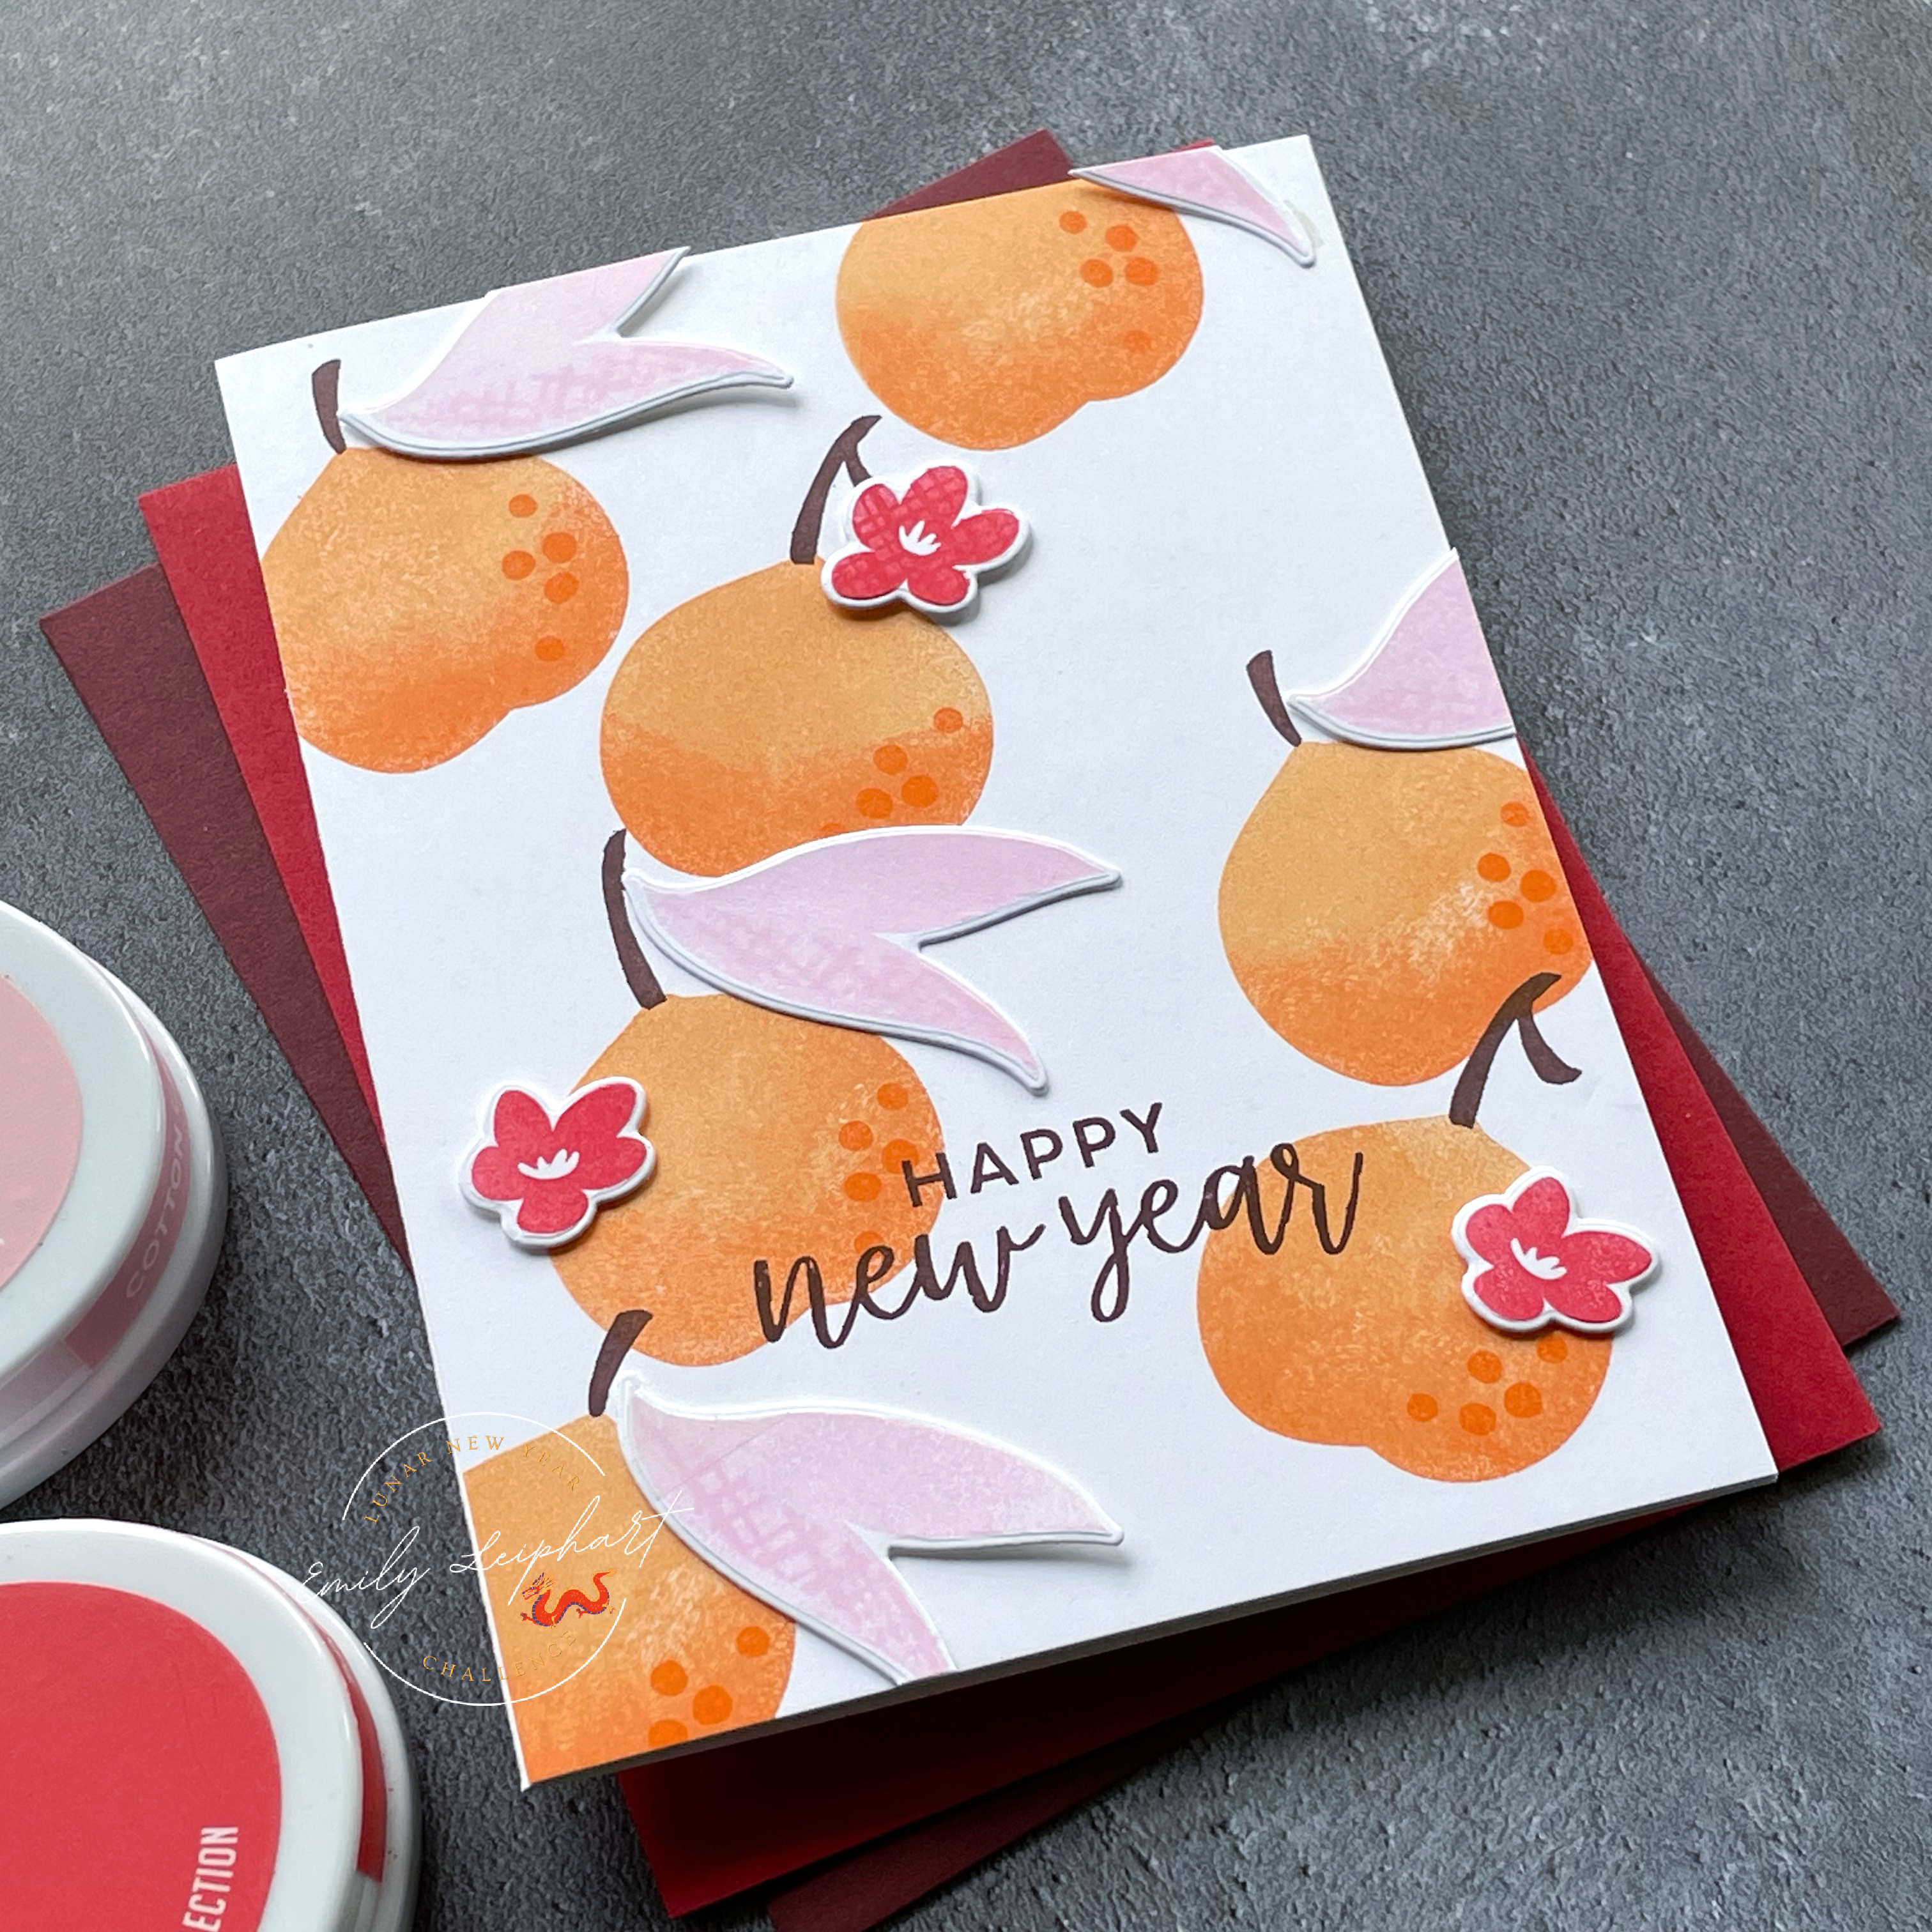
Hello, crafty friends! I'm back after a few days filled with administrative work in getting my new challenge up and running. I've been absolutely thrilled with the response and level of participation in the Lunar New Year Challenge and hope to see many more entries throughout the year! Today's card was inspired by one of my all-time favourite retired products from Catherine Pooler, a former Club Sursee stamp set called Just Peachy.


Last month, my husband bought a crate of clementines that looked like this. They were the strangest shape I'd ever seen and, trust me, he never heard the end of it! Even my son laughed so much over their shape. I turned the peach stamp upside down to mimic that shape. Anyway, both my husband and son did not think my card featured clementines, which are one of the luckiest fruits to eat at Chinese New Year. My son thought they were apricots and my husband thought they were pears and asked why they were orange and short. (insert eye roll here) LOL


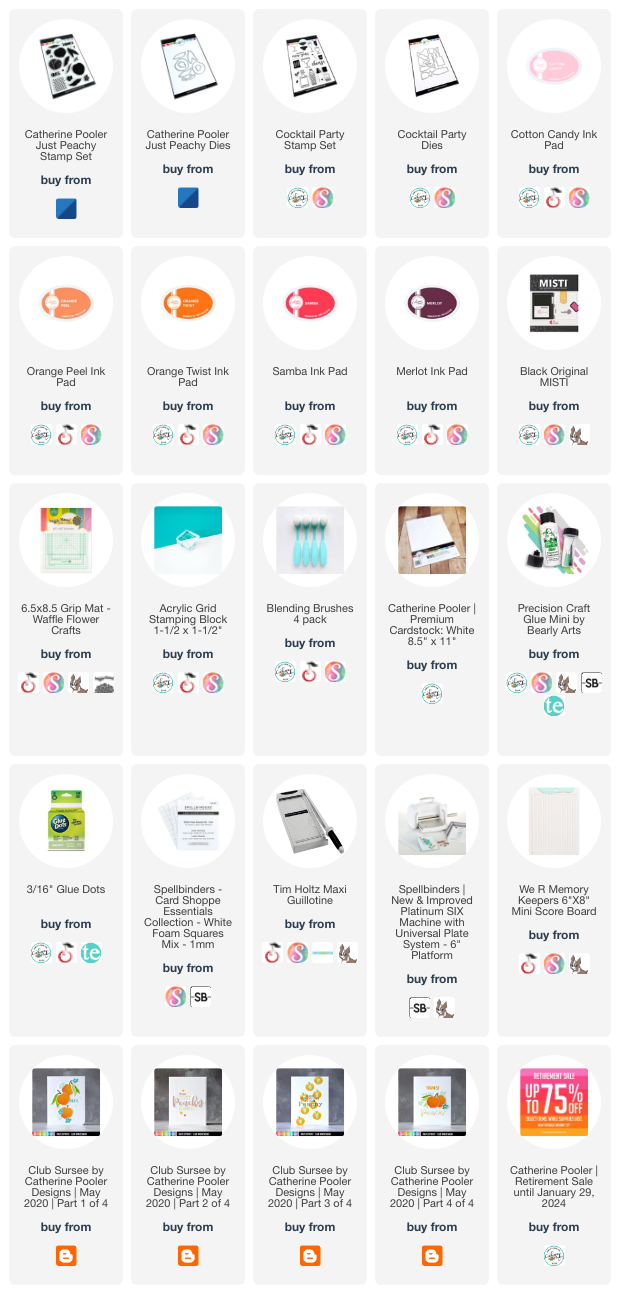
In my original MISTI with a grip mat, I inked up the peaches with Orange Peel ink, then rock 'n' rolled the bottom using Orange Twist ink. I used a blending brush to blur the transition line between the two colours before stamping. Next, I used a small acrylic block to stamp the stamps with Merlot ink and added dots on the clementines with Orange Twist.


Both the base layer of the leaves and the crosshatch detail were stamped with Cotton Candy ink, my first time using this newish ink colour! I've waited an insanely long time to add this to my collection and I can't believe it took so long. Both styles of blossoms and the crosshatch layer were stamped with Samba ink. After I adhered the die cut leaves and blossoms with two layers of glue dots, I stamped the sentiment from Cocktail Party using Merlot ink. I really love this fresh, easy-to-mail design!


Be sure to check out Catherine Pooler's Retirement Sale with so many of my all-time favourites. I'm quite sad about these since they've been part of my crafty stash for a long time! I still don't know if I can part with them but, as you know, there will always be plenty of new products to love and covet. ;)


Thanks so much for stopping by and I hope to see you again soon!

Supplies

Saturday, September 2, 2023

Taylored Expressions | End of Summer Sale!

Hello, crafty friends! It's been a long time since I last posted. I'm desperately trying to craft again and I want to try and make something this long weekend but, first, I have to re-arrange my craft space. You know what that means -- more retired and unused products are going into my destash bin. Please help me clean out my craft space so I can find my crafty mojo!

If you haven't already seen Taylored Expressions' End of Summer Sale, be sure to check it out! Here are some of the projects I've made using products that are currently 40% off now through Tuesday, September 5, 2023. I've linked back to the original post and videos, if available, so you can find more inspiration.