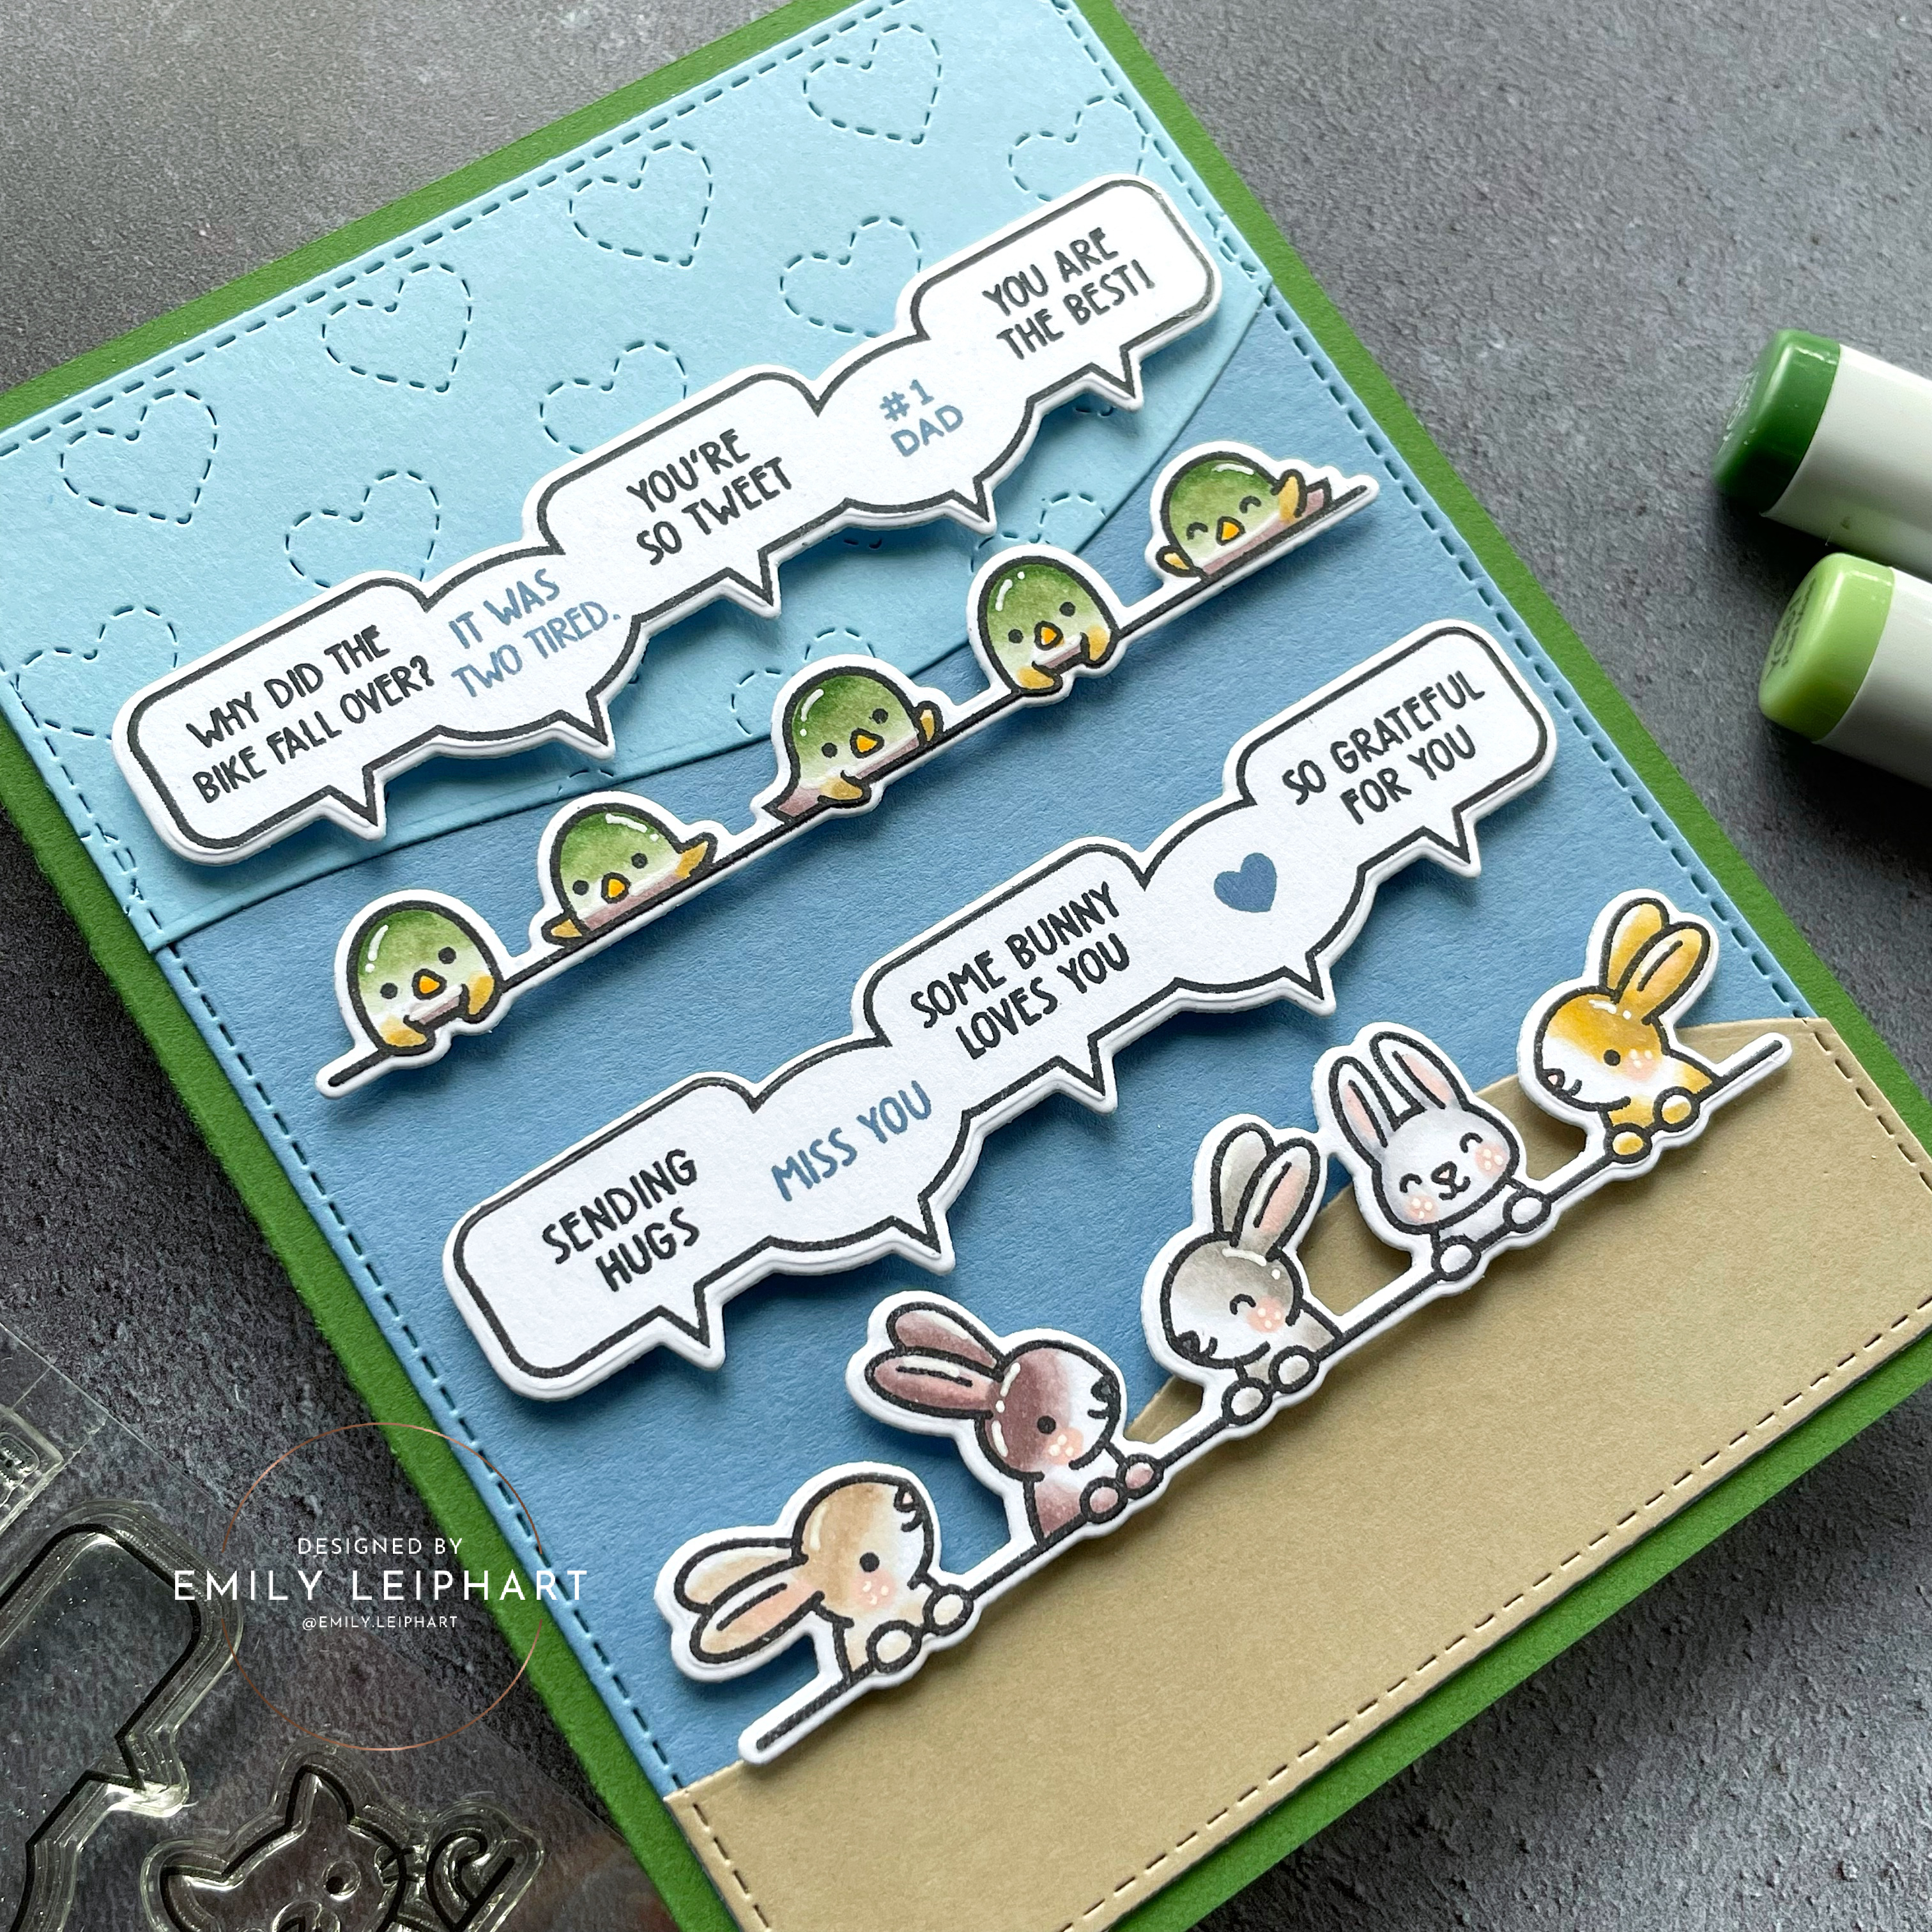
Hello, crafty friends! Today's card is essentially the twin of THIS CARD that I made for my son's friend. Last month, my husband was required to travel for three weeks on business and our family tradition is that we make him a card to take along with him to keep us close. This was that card!
Since the Squishmallow Avery is my son's most cherished stuffie, and the Miniso bunnies are also a family favourite, I chose the row of little birds and added the adorable bunnies below. All of the Copic markers are listed below, as is the white gel pen I used to add highlight details.
I glued the three panel layers together before attaching them to a Noble Fir card base. Finally, I added foam tape to the back of all four die cuts and attached them to the tri-coloured panel.
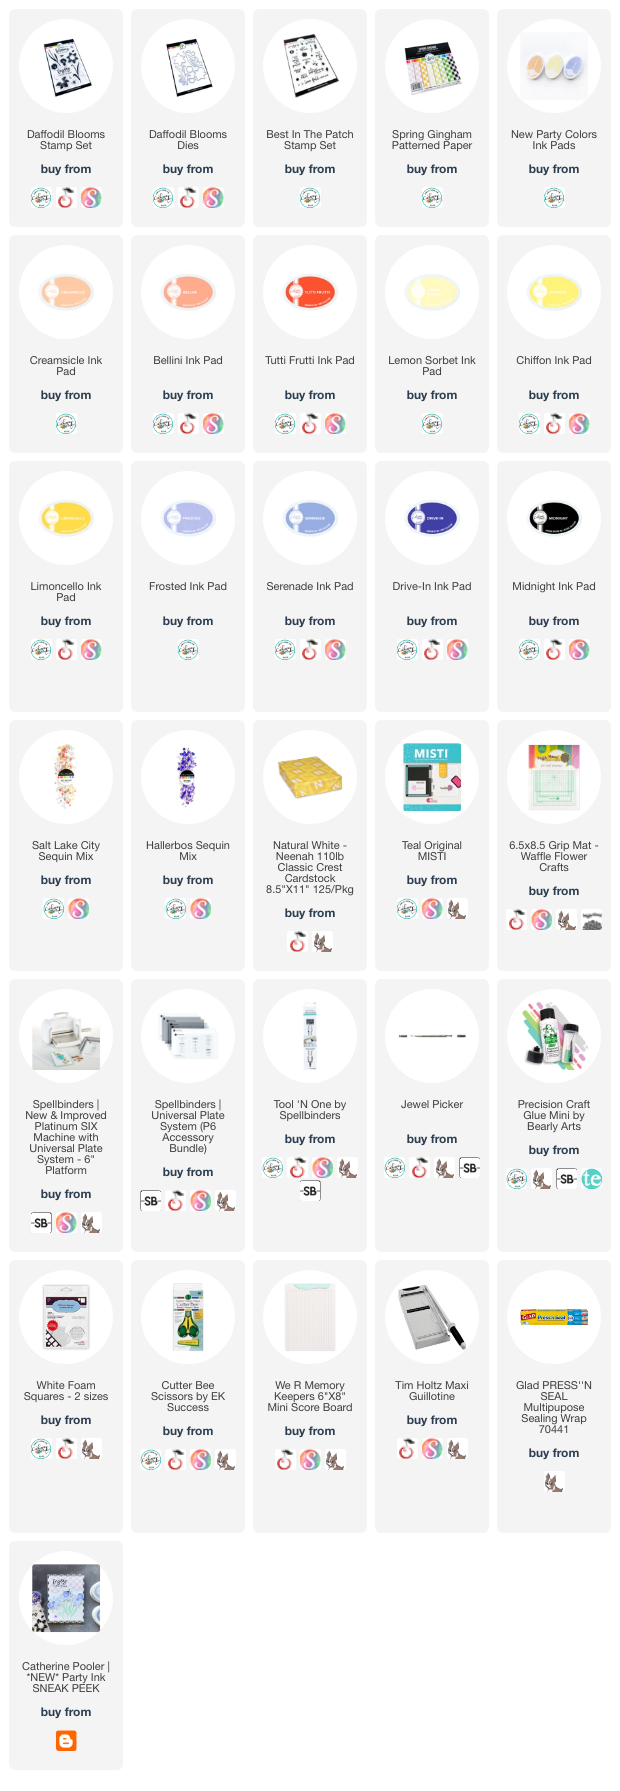
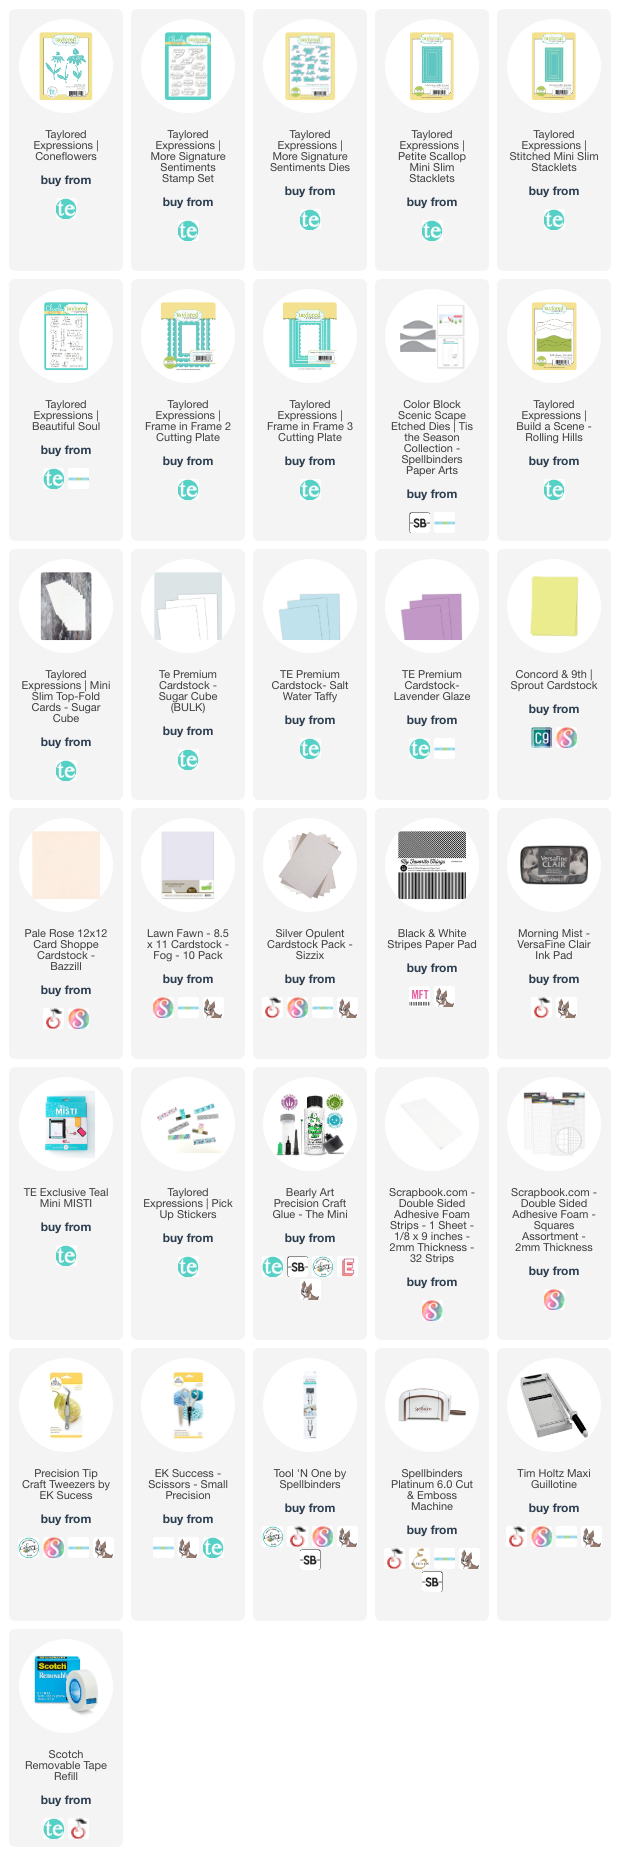
I appreciate you stopping by and, if you're inspired, please shop my affiliate links below.Thanks so much for your continued support!
It's Release Day at Catherine Pooler and the *NEW* Party Inks and Spring Gingham Patterned Paper are now available for purchase! We're also having an Instagram Hop to celebrate and you could win a $100 gift certificate just for hopping along. While appreciated, comments here on the blog will not count.
Be sure to head over to Instagram HERE and enjoy all of the amazing inspiration by Catherine Pooler's design ambassadors and special guests! You have until 11:59pm EST on Monday, March 18, 2024 to enter and the winner will be announced on Tuesday, March 19, 2024.
As with my Sneak Peek post HERE, I'm featuring the Daffodil Blooms stamp set and coordinating Daffodil Blooms Dies once again for this duo. It's such a gorgeous and versatile set, perfect for spring cards and more!
I started by selecting the ombre trios for these daffodils. Since there are two styles of daffodils in this set, I wanted to stamp them with all three shades in each trio. For the new Lemon Sorbet ink, I paired it with Chiffon and Limoncello. For the new Creamsicle ink, I paired it with Bellini and Tutti Frutti. For the new Frosted ink, I paired it with Serenade and Drive-In.
I stamped two daffodils in each pairing for each card and since I wanted a bit of variation between the two cards, I stamped a third daffodil with Creamsicle and Tutti Frutti flower for the first card and a third daffodil with Frosted and Drive-In for the second card.
For both cards, I cut the base from Neenah white linen cardstock and cut a 1.25x5.5" strip of Garden Party Gingham from the Spring Gingham Patterned Paper and adhered it to the card base.
After arranging the flowers down the left side over the gingham strip, I used Glad Press'n Seal to pick up the arrangement and preserve the position of the flowers as is. I added foam squares to the back of three of the daffodils and added glue to the back of all the others.
When I pressed the sheet of daffodils back down on the cards, they were perfectly arranged as before. I trimmed off the overhanging pieces on the bottom of the cards. When I mail them, I may trim off the excess at the top and left side of the card but for now, I'm leaving them as they are.
I love the way these turned out and I love the variation between the different shades of daffodils. Popping up just a few of the daffodils on each card gives them enough dimension for visual interest and I love the way the Garden Party Gingham replaces the foliage for the daffodils.
I appreciate you stopping by and, if you're inspired, I hope you'll shop my affiliate links below. Catherine Poolerwould love to know that you were inspired by me. Thank you for your continued support! :)
Hello, crafty friends! As you know, I love making sets of cards using the same colour scheme and you may recall when I posted an Instagram reel a week ago showing all these die cuts. Well, I finally got a chance to assemble these cards and I want to make more of them because the colours are so lovely and perfect for uplifting card themes!
Someone I met recently asked me to make an encouragement card for her friend and I immediately thought of the More Signature Sentiments set from Taylored Expressions. Since I received the Coneflowers as a gift with purchase back in August 2022 and hadn't used them yet, I decided now was the perfect time to do it! The great news is, you can now buy these gorgeous dies in the Taylored Expressions shop. ;)
I used the Mini Slim Top-Fold Cards - Sugar Cube as the base for these two horizontal cards so they open from the right and stand nicely on the mantle or wherever the recipient chooses to display them.
The colours I chose for the flowers are Taylored ExpressionsLavender Glaze, BazzillPale Rose and Lawn Fawn Fog, plus Concord & 9thSprout for the leaves.
I wanted a contrast for the soft pastels so I snuck in some black and white stripes from My Favorite ThingsBlack & White Stripes Paper Pad on the two A2 cards.
On this second A2 card, I featured a sentiment from Beautiful Soul because this stamp set features some of my favourite uplifting sentiments. I really wish there were coordinating dies for this set. Taylor, if you're reading this, please release dies for these awesome sentiments!
(click on any photo to enlarge)
When I was creating these cards, I looked for my Taylored ExpressionsBuild a Scene - Rolling Hills Dies but couldn't find them. I'm sure they'll turn up somewhere at some point but, in case you have these in your stash, they're a great way to create depth in similar garden scenes.
All of the panels and frames were glued flat to the card bases. I used small and large foam squares on the left side of the flowers and leaves, and liquid glue on the right side of the leaves and stems to create dimension and visual interest.
All of the sentiments were stamped using VersaFine Clair - Morning Mist pigment ink. I used black ink first as a test but it was too stark against the pretty pastels so I switched to a slightly softer shade and it was a great match.
I hope you enjoyed today's project. I appreciate you stopping by and, if you're inspired, please shop my affiliate links below. Thanks so much for your continued support!
Taylored Expressions has a new Exclusives Release! This means there's a new batch of monthly freebies available for purchase and there are NEW coordinating products for these exclusives. My video features the Ring Around the Words dies, which were the freebie for March 2022. Also featured are the NEW Building Blocks - Ring Around sentiments.
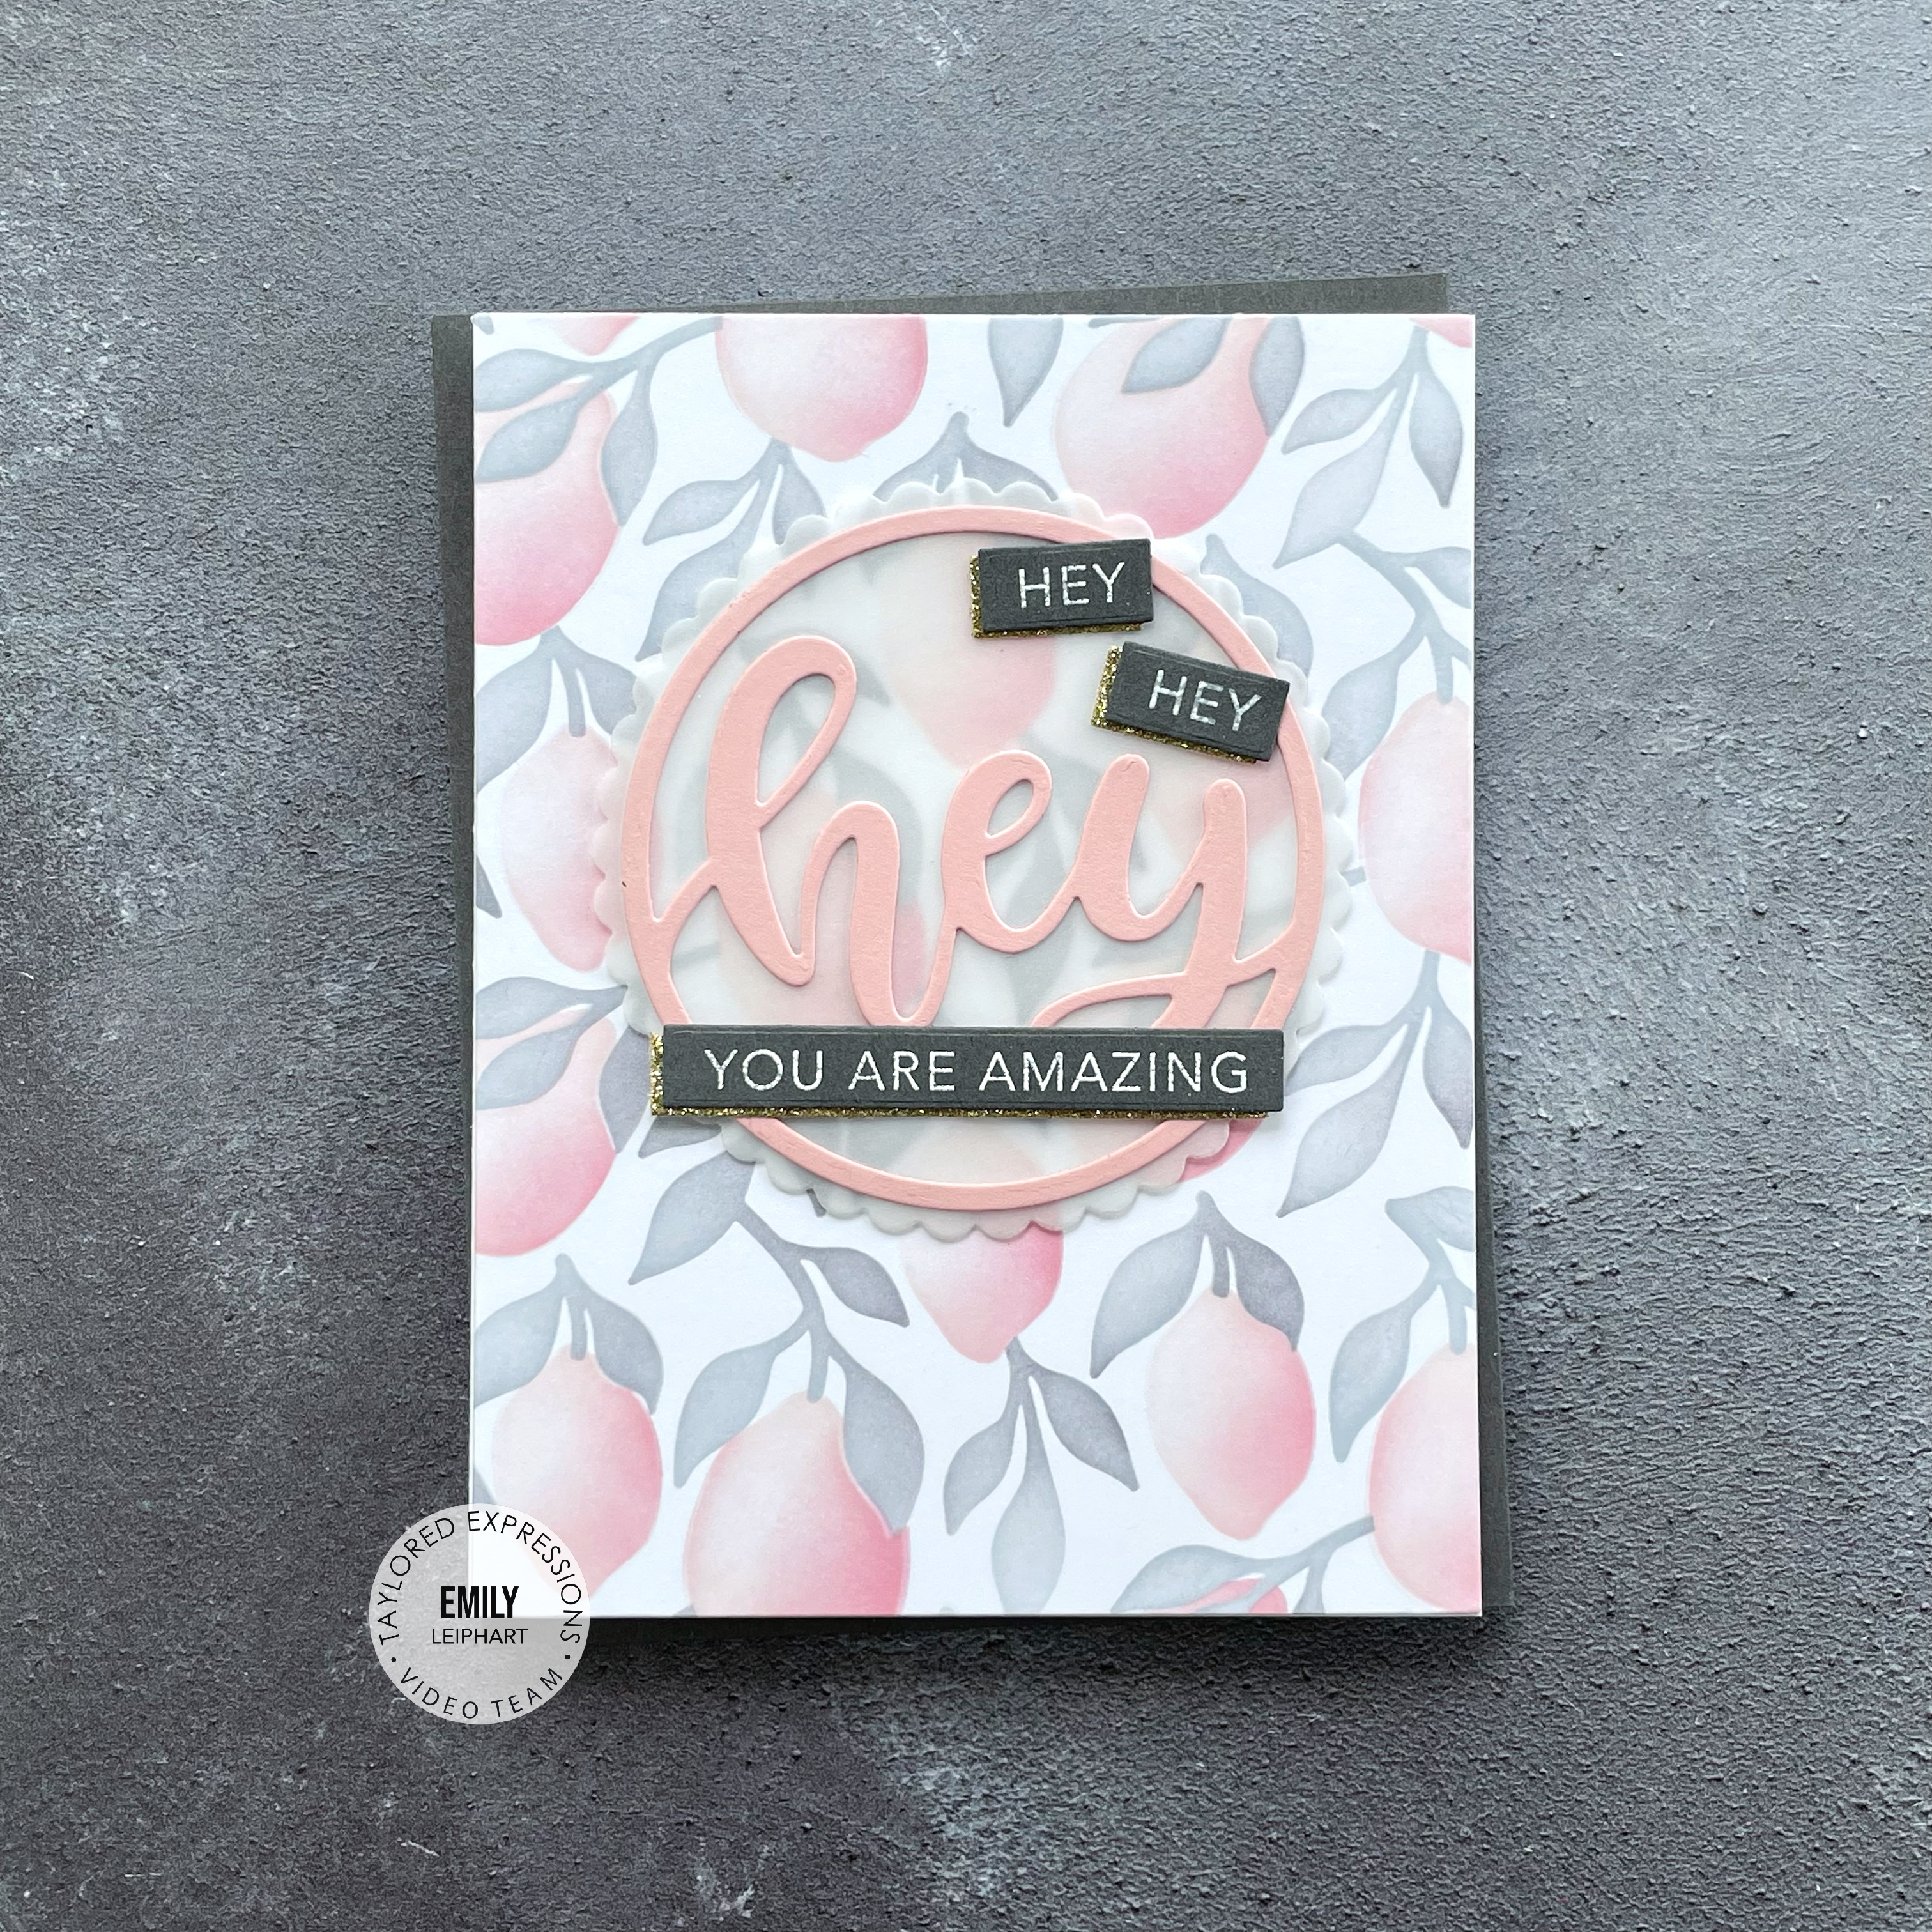
I made three cards which feature each of the dies included in the Ring Around the Words set. I chose a set of colours and used different variations of that combo for these cards. Each card will feature either the inks, cardstock or both of the following colours: Watermelon, Pink Champagne, Rose Water, Sugar Cube, Oyster and Poppy Seed.
My first card features the Wish sentiment in Poppy Seed cardstock. I cut a panel from Oyster cardstock using the largest of the Stitched Rectangle Stacklets. Then I used the Easy Strips 1/8", Easy Strips 1/4" and Easy Strips 1/2" cut from Watermelon, Pink Champagne, Rose Water, Poppy Seed and gold glitter cardstock.
All of the layers were glued flat on the panel and the panel itself was glued flat to a Sugar Cube card base. The Building Blocks - Ring Around sentiment strip was popped on with foam strips for a bit of dimension.
This second card features a leftover die cut panel using the Rays Pierce & Cut Plate on Rose Water cardstock. When Rose Water was released, it immediately became one of my favourite colours. It works well with so many colours, including Watermelon, which the Love die is cut from. I used double-sided adhesive to attach it to the gold glitter die cut, as well as to the Rose Water panel.
To finish, I attached the panel to a Poppy Seed card base, popped on the Building Blocks - Ring Around sentiment strip with foam strips and added three enamel hearts. While I was making this card, I had forgotten about the Bits & Pieces - Hearts from the Like Gnome Other Kit but I've included it in the supply links below in case you're interested. Adding glossy accents to the NEW Little Bits - Wonky Hearts is another great idea!
For my third and final card, I also used another one of the exclusives, Squeeze the Day Stencil & Clear Combo, which was available in April 2022. This is one of my all-time favourite freebies because it's so beautiful! There are NEW coordinating Squeeze the Day Dies with this release so please check them out. If you have the freebie, you're going to need the dies!
I used Rose Water, Pink Champagne and Watermelon inks to stencil the lemons, turning them into the prettiest peaches. I also used Oyster and Poppy Seed to sponge the leaves. After cutting the stencilled panel down to 4.25" x 5.5", I attached it to a Sugar Cube card base.
The Hey die was cut from Pink Champagne cardstock and glued to a vellum panel cut from the largest of the Petite Scallop Circle Stacklets. I also glued two layers of the Hey die to the back of that to lift it up off the stencilled layer for a bit of dimension. I heat embossed the secondary sentiments from Building Blocks - Ring Around and added gold shadows.
I hope you enjoyed all of these ideas using the new exclusives and their coordinating products. Thanks so much for watching!
My first card features the Simply You Bundle and I started by stamping the background image from the Simply You stamp set in Ballet Slipper ink. I then cut out a mask for the tiny tulip and stamped a shadow image behind each existing tulip using Stardust ink.
I used the coordinating scalloped frame from the Simply You dies and stacked it two-high. I stamped the word 'miss' in Midnight ink and also die cut two layers of the word 'you' from Midnightcardstock.
Since this is a very clean and simple design, I added a panel cut from the Stitched Vines Card Front and trimmed down to 4" x 5.25" to show the Dove cardstock base. I'm completely obsessed with the Stitched Vines Card Front and want to use it on every card! It adds so much detail without overwhelming the overall design.
I already shared the small floral die from Magnolia Perfect Pairings in my second card for Week #1 so my second card for this week features the large floral border. This border is absolutely stunning and I knew I wanted to cut it up with different colours of cardstock to create a fresh, spring look!
I started by die cutting the border from white, Buttercup, Sprout, Parsley and Clover cardstock. I used the white base to glue the pieces from the four colours. I used my scissors to snip sections from each colour, starting with colours that would be at the base so the consecutive colours would overlap.
I used Sprout for the small, solid leaves; Parsley for the detailed magnolia leaves; Clover for the small posies; and Buttercup for the magnolias. For more details, I added white flowers using the Friendship Garden dies. To finish, I stamped a sentiment from the Magnolia Messages stamp set using Mushroom ink.
GIVEAWAY
Concord & 9th is sponsoring one $25 gift certificate on this post. Please leave a comment here and/or on my two corresponding Instagram posts (HERE and HERE) by 11:59pm EST on Sunday, March 27, 2022. You must be following me @emily.leiphart and @concordand9th. The winner will be selected randomly on Monday, March 28th and be notified by email or direct message.
{pronounced lee'·part} I'm a former research analyst and make-up artist turned paper crafter and stay-at-home mom. I love to practice yoga, listen to music, read and bake when I have time but my son keeps me pretty busy! I hope you enjoy what you see here.