Showing posts with label get well. Show all posts

Thursday, October 17, 2024

Concord & 9th | October 2024 Guest Designer | Cottage Charm Stencil Pack


Today is my last guest post for Concord & 9th's October Release and I'm featuring the Cottage Charm Stencil Pack. This pack of four layering stencils is truly charming and you can get very different looks just by switching up the colour palette or even going with a monochromatic look. Aside from using ink pads, you can try embossing pastes to add dimension, texture and shine!


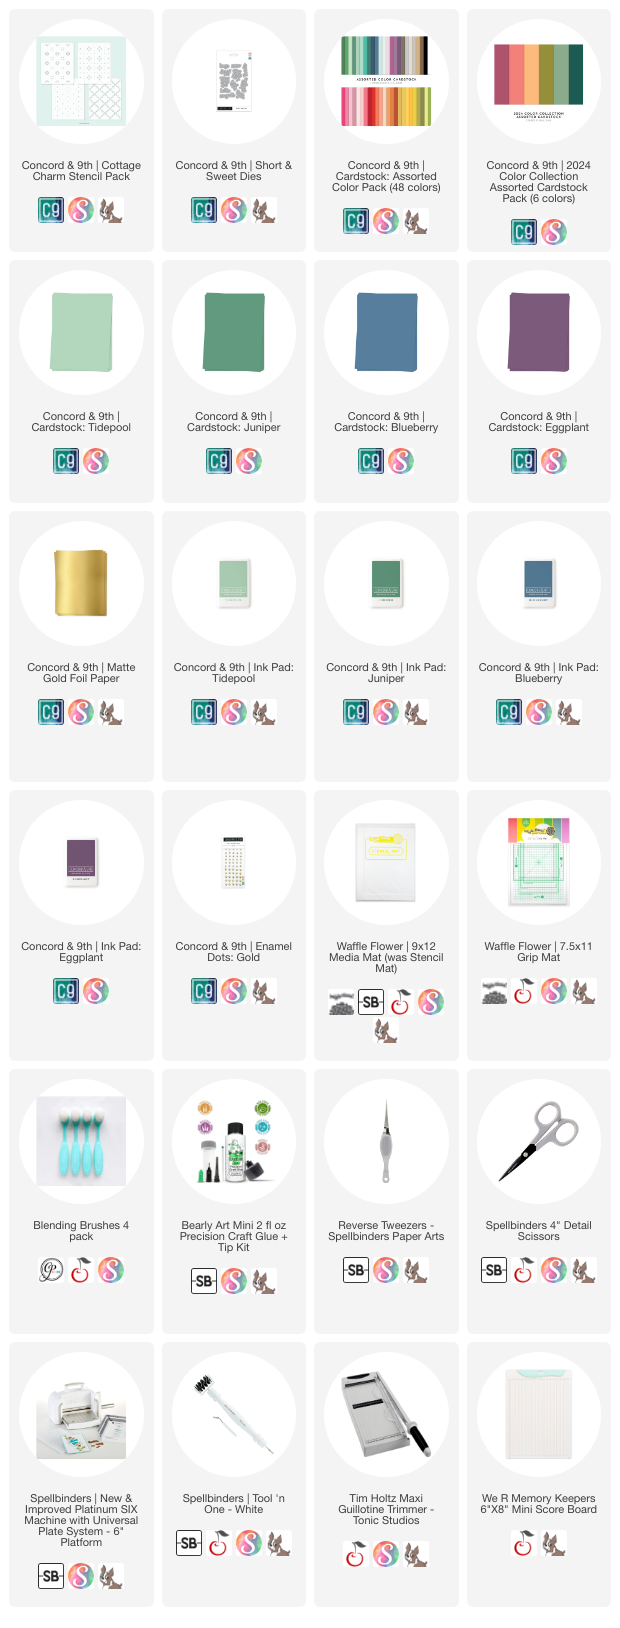
My colour palette for this card is the simplest of all my guest designer cards but it allows the stencilled pattern to shine. The colours I used are Tidepool, Juniper, Blueberry, Eggplant and Matte Gold Foil Paper.


After stencilling, I set the panel aside and cut two strips from Juniper and Eggplant cardstock. I die cut the sentiment from the Short & Sweet Dies using Blueberry cardstock with a Matte Gold Foil shadow, adhering both layers to a Tidepool base.


After attaching all the pieces to the card base and popping up the sentiment with foam tape, I added tiny Gold Enamel Dots to the stencilled panel which finishes the card nicely. The gold elements are reflected in the shadow of the sentiment.


I hope you enjoyed today's project. If you missed my previous posts, you can find those here:


I'm so grateful to Concord & 9th for having me as their guest designer this month! If you're inspired, please shop my affiliate links below. Thank you for your continued support!

Supplies

Friday, June 28, 2024

Waffle Flower | Stencilled Butterflies Mini Slimline + NEW Grip Mat Review


My awesome friends at Waffle Flower sent me their *NEW* Grip Mat - Big Mini Bundle to review and I love them so much! I already own and love the grip mats that fit inside both original and mini MISTIs so I was more than excited to try the two newest sizes - the 7.5x11" Grip Mat and 4x4" Grip Mat - which are now the largest and smallest sizes available.


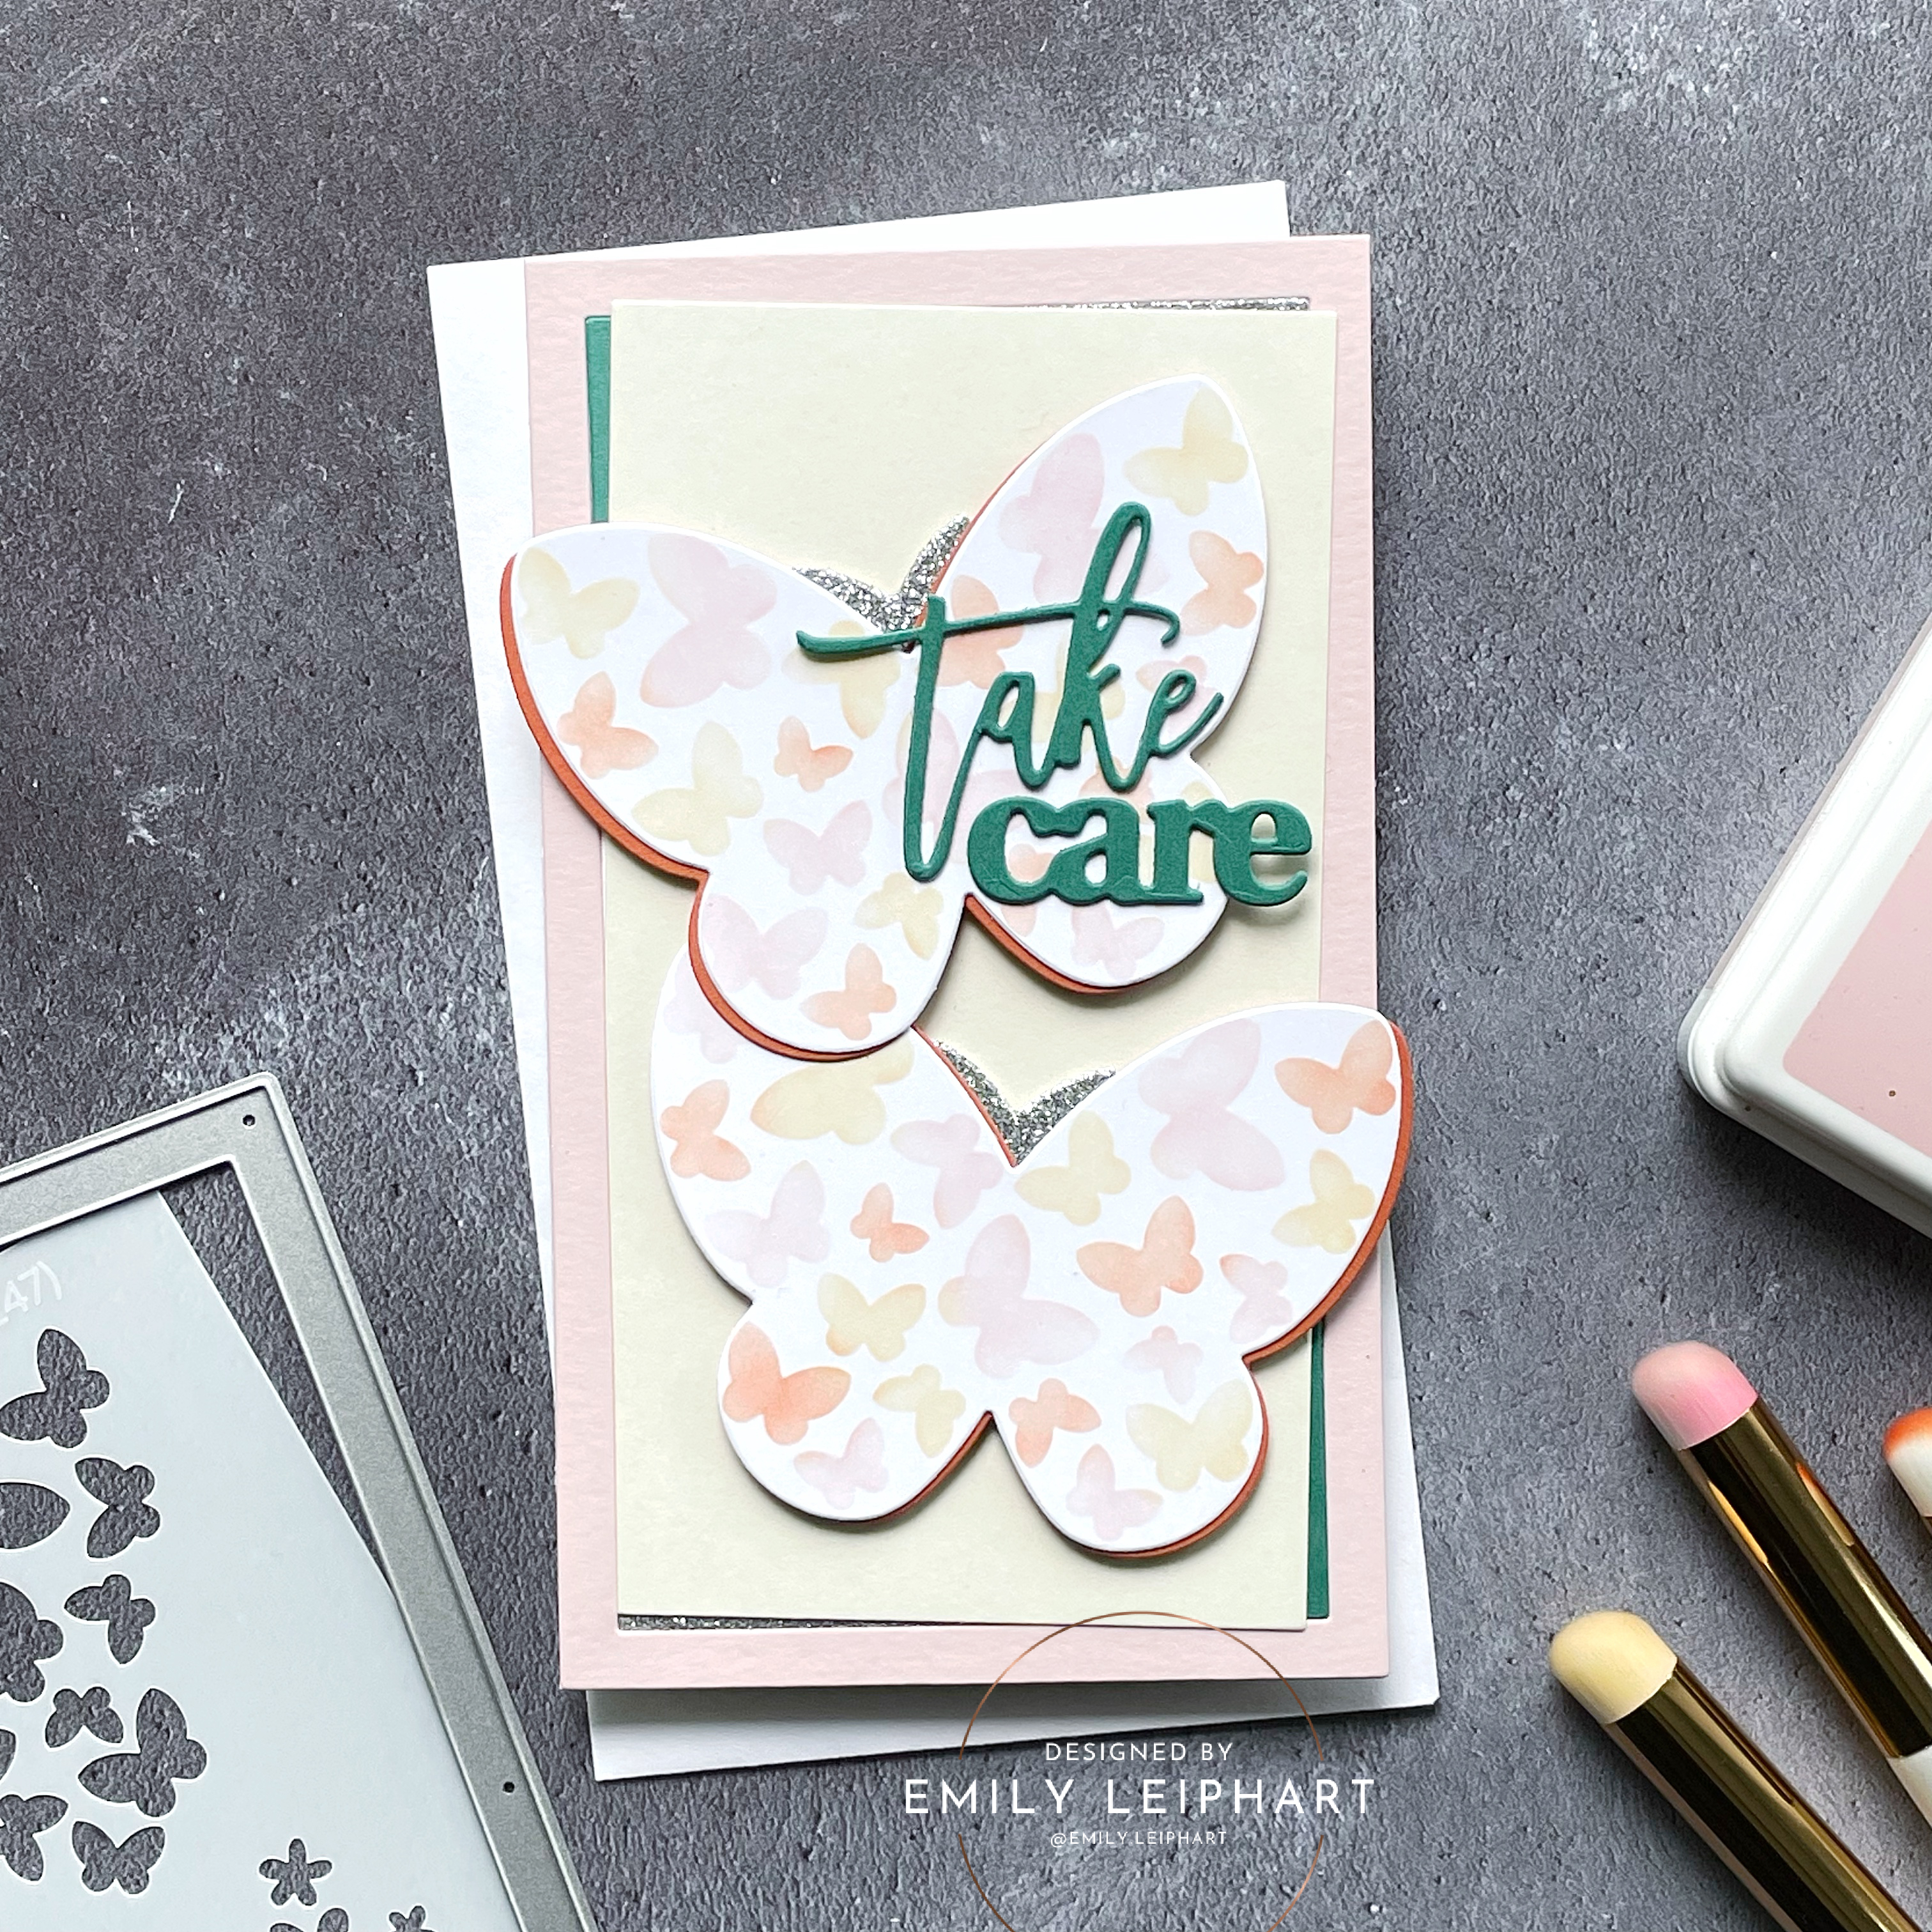
Waffle Flower also sent me a few products to play with, perfect for pairing the 1+ Shader Brushes I already have and love. Featured here are the Butterfly Shaker Die and coordinating Butterfly & Daisy Stencil.


After die cutting the butterflies from Snowdrift and Sweet Potato Pie cardstock, plus antennae from Silver Glitter cardstock, I used Buttercream, Mandarin Spice and Ballet Slipper to ink blend the small butterflies on the die cut.


To frame the mini slimline, I cut the largest of the Mini Slimline Nesting Rectangle Frames from both Alabaster and Ballet Slipper cardstock. After cutting small corners from Juniper and Silver Glitter cardstock, I assembled the background and popped on the butterflies. To finish, I added a sentiment from the Print & Script Take Care Die, stacked two layers in Juniper, and glued it in place.


The 7.5x11" Grip Mat is a great size for the 9x12" Media Mat (was Stencil Mat) and the 4x4" Grip Mat is the perfect compact size to leave on your craft desk for stencilling small die cuts. I hope you'll check out all of these products in the Waffle Flower Shop.

Thanks so much for stopping by and I hope to see you again soon!

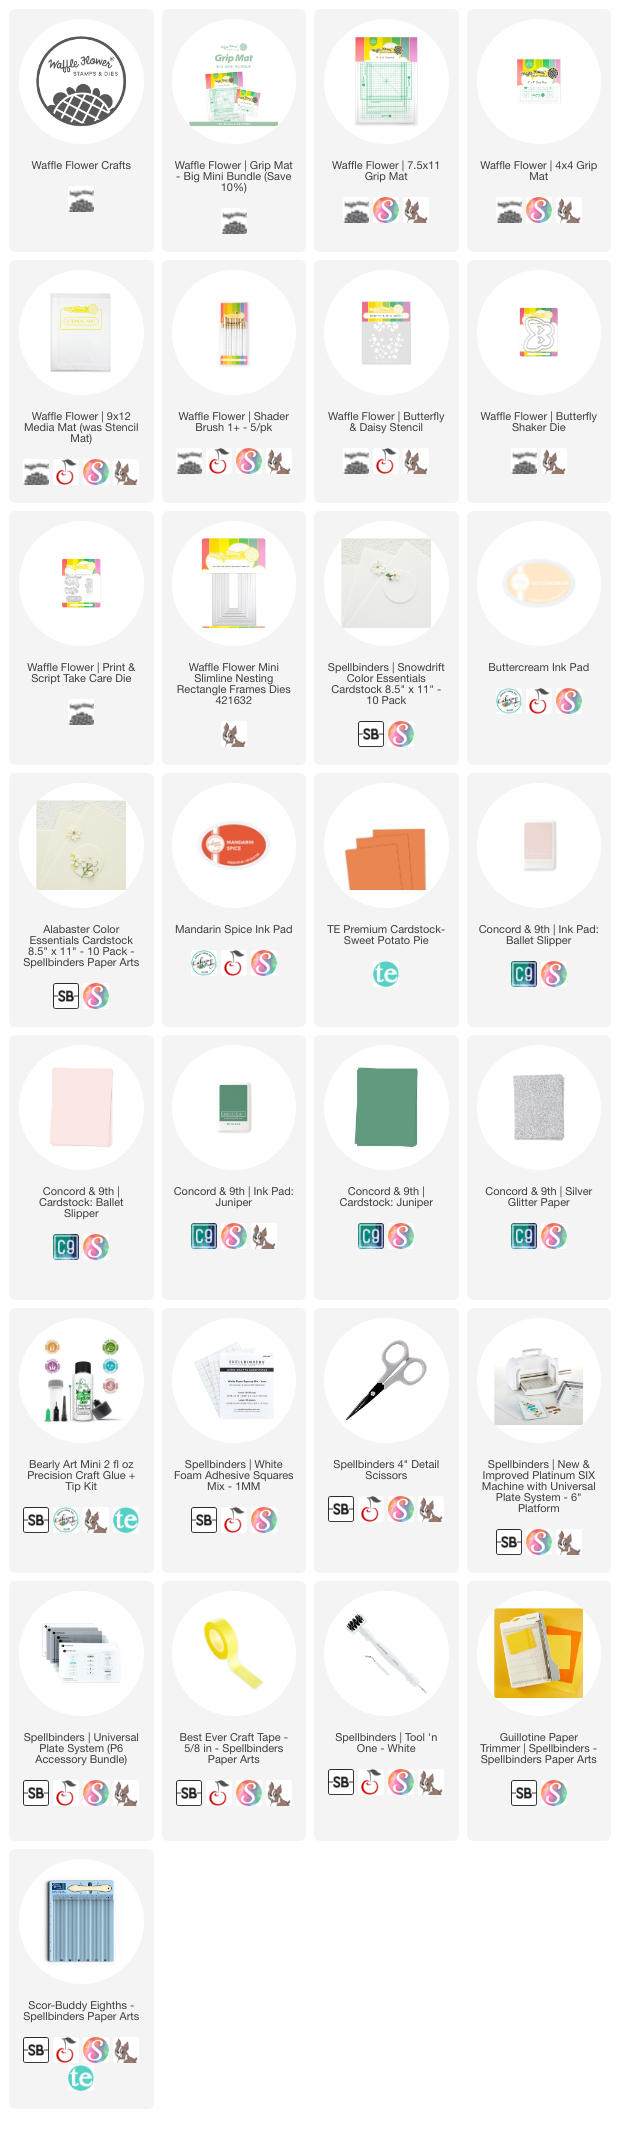
Supplies

Tuesday, March 26, 2024

Spellbinders | March 2024 Monthly Club Kits


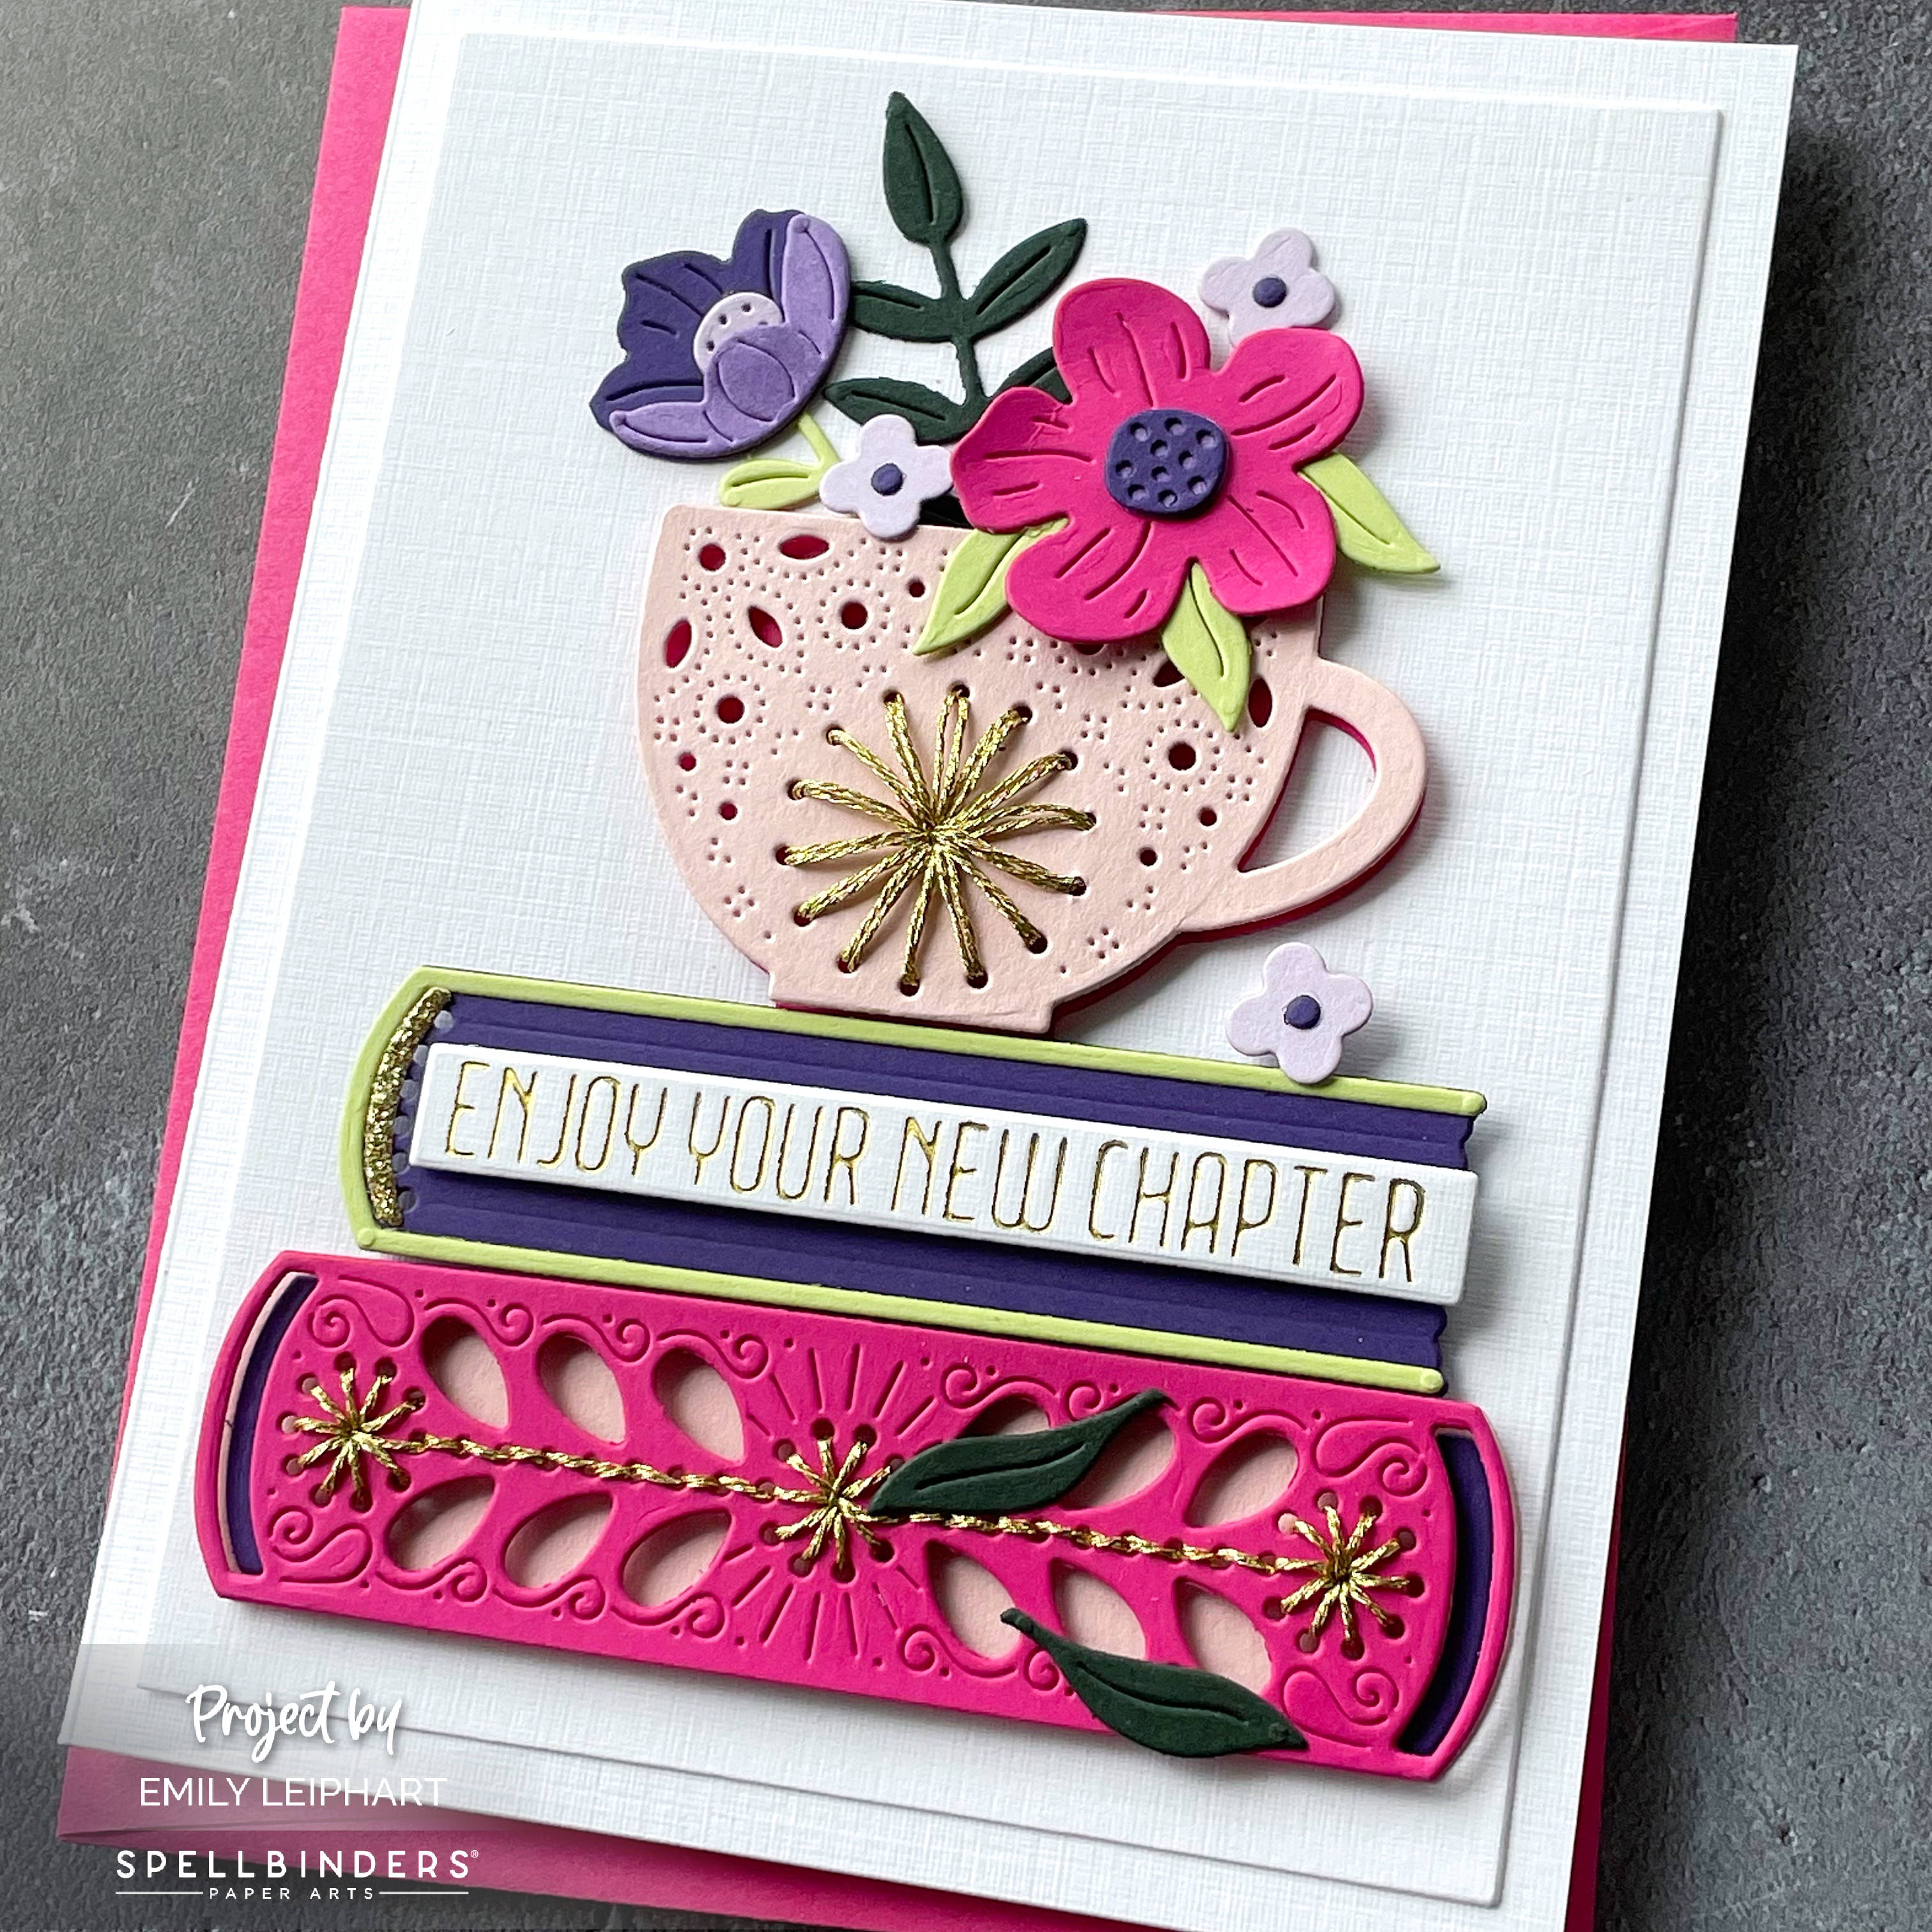
Hello again, crafty friends! Today, I'm sharing projects featuring the March 2024 Monthly Club Kits from Spellbinders. My first card features the "Stitched Read & Sip" Stitching Die of the Month and the "Sketched Lines" Glimmer Hot Foil Kit of the Month. Club Kits close on the 27th of each month so get them while you can!


I used similar colours on both cards, give or take, and I made one that was lighter and another that was more saturated with colour. The colour palette I used includes Ballet Slipper, Dragonfruit, Sprout, Midnight Green, Lilac, Lilac Blossom and Eggplant. Gold Glitter cardstock was also added as an accent on both cards.


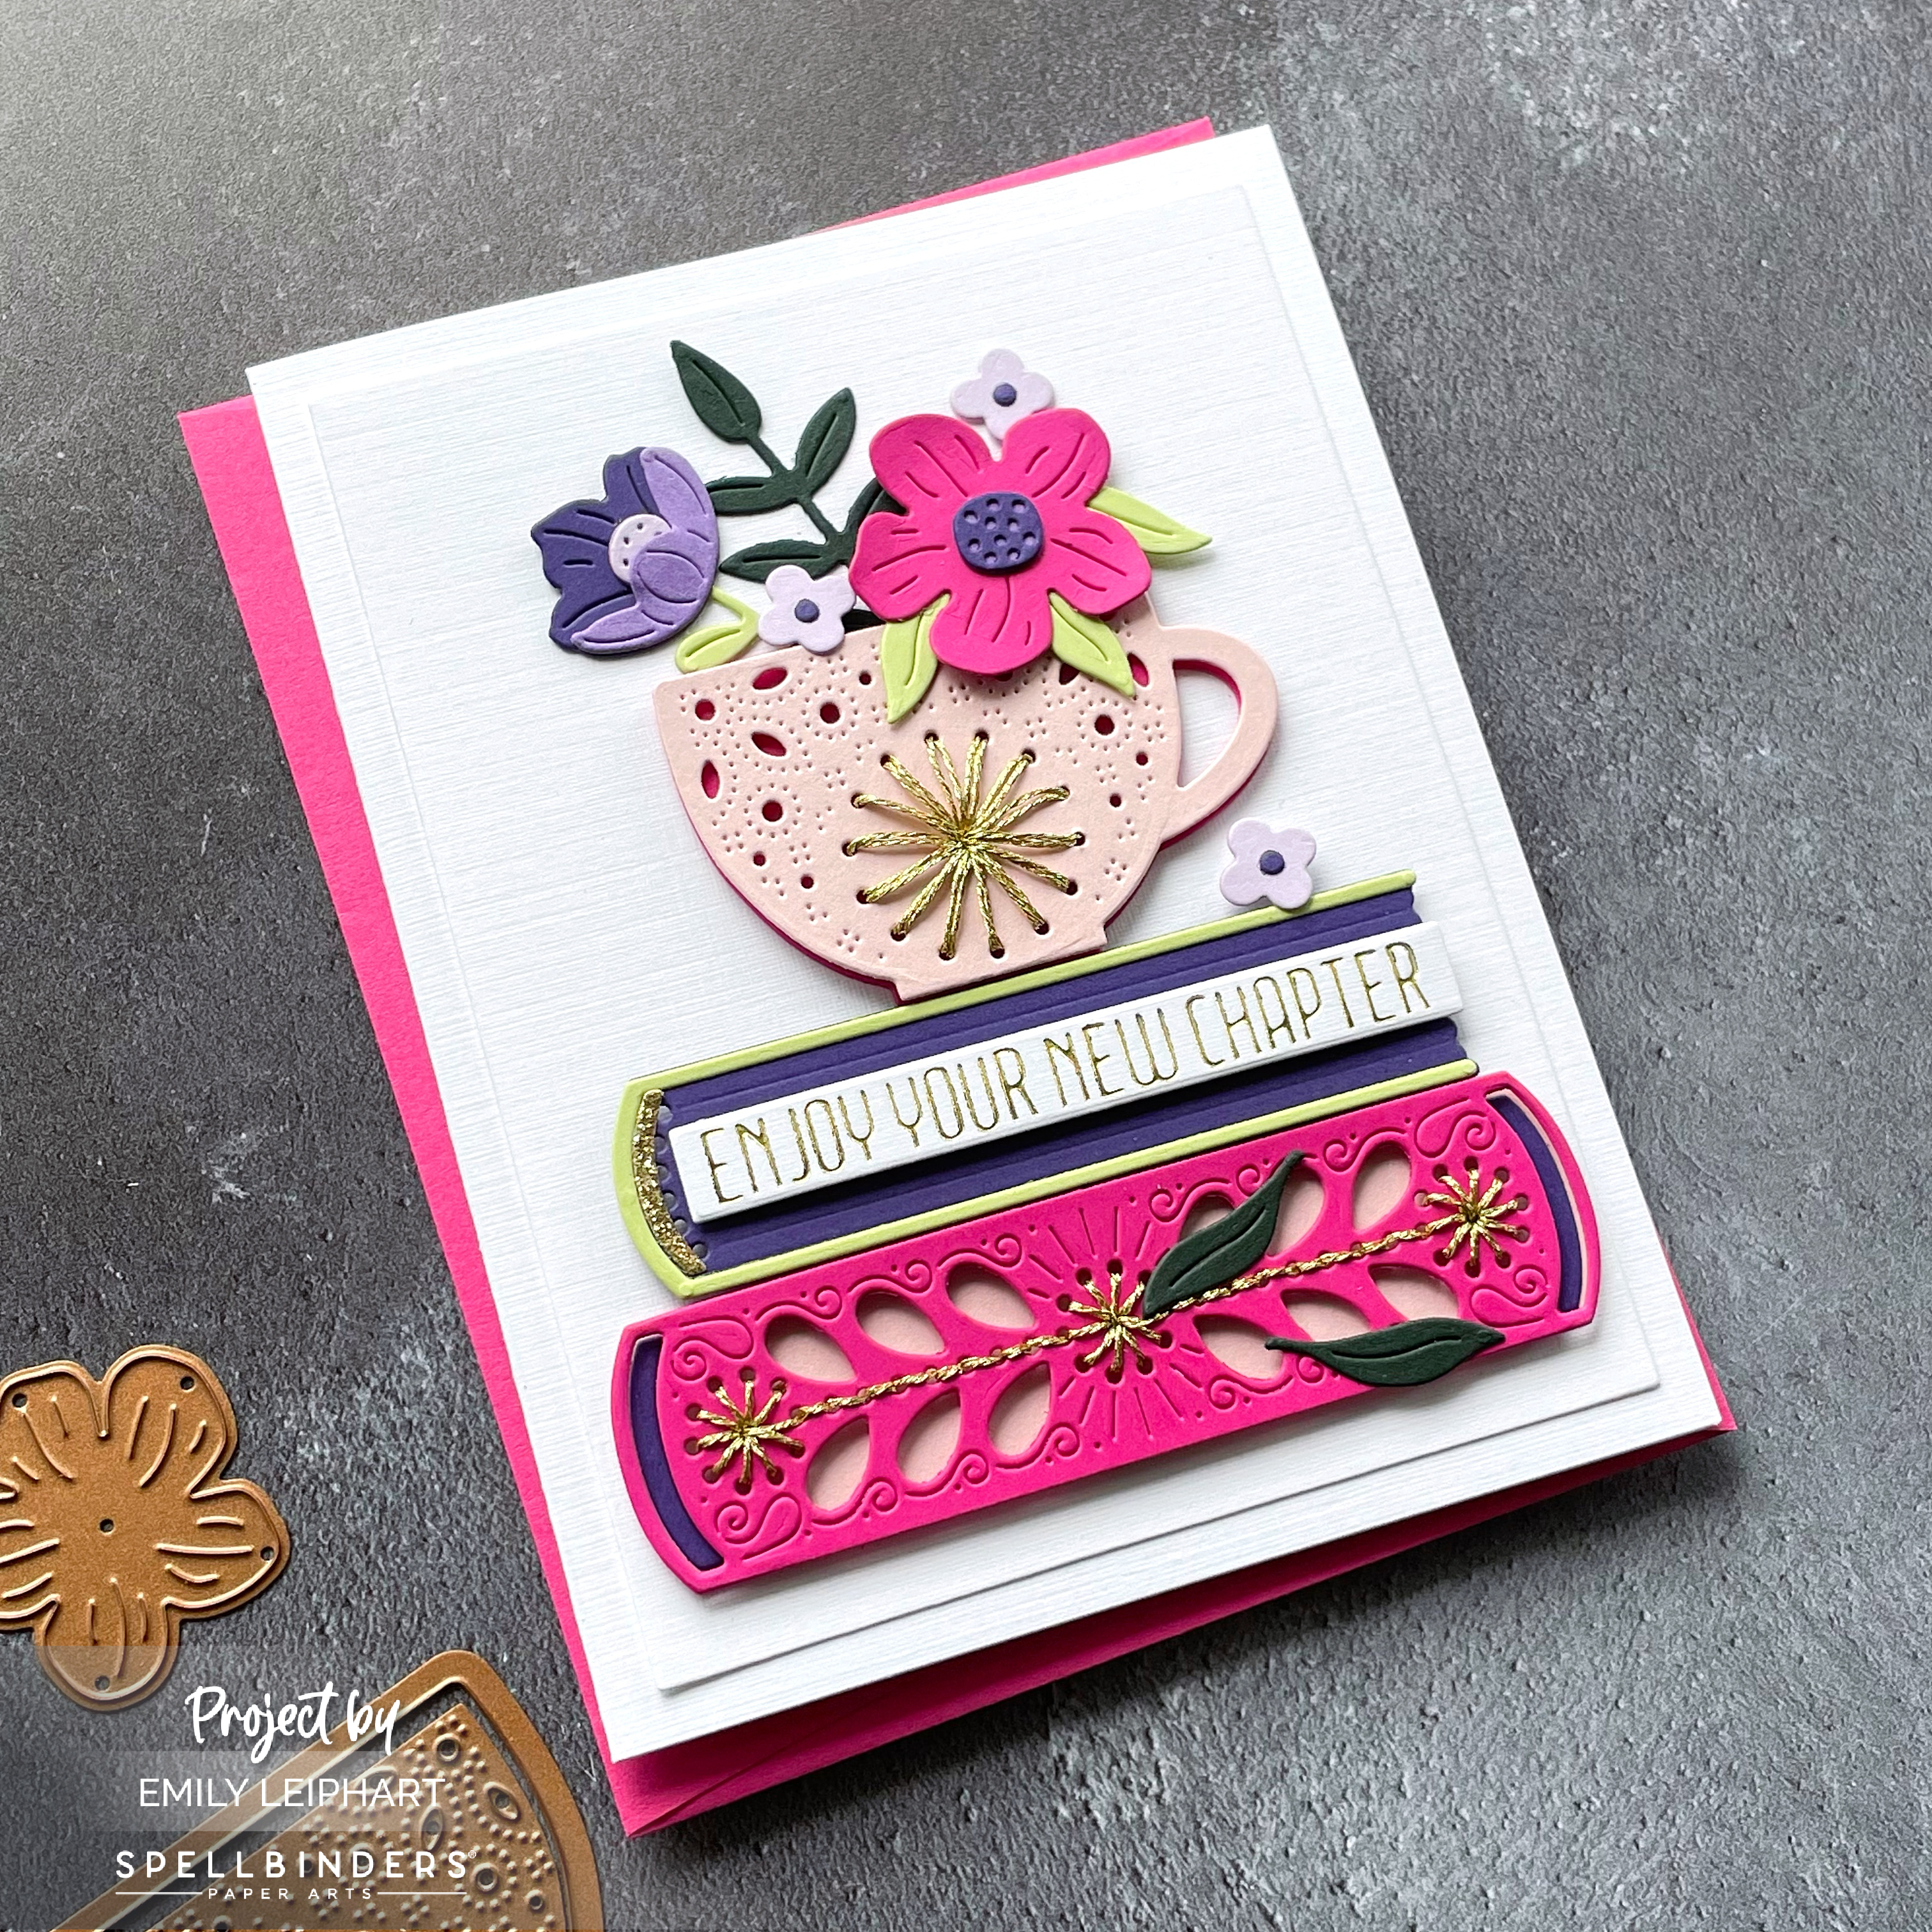
For this first card featuring the "Stitched Read & Sip" Stitching Die of the Month, I cut the card base and panel from white linen cardstock. Then I cut the books from Ballet SlipperDragonfruitSprout, Eggplant and Gold Glitter cardstock.


After cutting the teacup and flowers from Ballet SlipperDragonfruitSproutMidnight GreenLilacLilac Blossom and Eggplant cardstock, I stitched both the teacup and large book using Light Gold DMC Diamant Grande Metallic Thread.


After using liquid glue and foam tape to assemble the layers of the teacup and books, I glued most of the pieces directly on to the base panel and popped ups few of the flowers with foam tape.


To create the sentiment, I used Gold Hot Foil to heat foil one of sentiments from the "Sketched Lines" Glimmer Hot Foil Kit of the Month on white linen cardstock and popped that on to the smaller book using foam strips.


I made this card for a friend who is starting a new job in a complete different industry than what she has worked in all her life. We regularly meet up for coffee and we're both avid readers so I thought this was the perfect design and sentiment for her new endeavour!


For this second card featuring the "Sketched Lines" Glimmer Hot Foil Kit of the Month, I cut an A2 panel from Lilac Blossom cardstock and used Pastel Lavender Hot Foil in two directions on an angle to create the cool background for my coffee cups.


Next, I cut all the coffee cup layers and flowers from the "Stitched Read & Sip" Stitching Die of the Month using DragonfruitSproutMidnight GreenLilacEggplant and Gold Glitter cardstock. This time, I didn't add stitching to those dies.


After stacking the layers of coffee cups with foam tape, I glued the flowers and leaves on to each cup in a different mix of colours so each cup had each colour represented on it. I also alternated the Sprout and Midnight Green leaves for variation.


For the sentiment from All You Need Sentiments, I used Gold Hot Foil on white linen cardstock and popped it up with foam strips. Lastly, I added a few Gold Pearls to embellish the card and give it a little more gold.


I made this card for a friend who had a freak slip-and-fall accident last month which resulted in a nasty break in her left leg. She often joins me and the recipient of the first card for coffee and lunch so we'll be missing her for a couple of months while she recuperates. I hope this card brings her a smile and encourages her to heal quickly.


Here's a list of monthly club kits I share, as well as some of the value kits offered by Spellbinders:


I appreciate you stopping by and, if you're inspired, please shop my affiliate links below. Spellbinders would love to know that you were inspired by me. Thanks so much for your continued support!

Supplies

Saturday, February 17, 2024

Spellbinders | February 2024 Monthly Club Kits


Hello again, crafty friends! Today, I'm sharing projects featuring the February 2024 Monthly Club Kits from Spellbinders. My first card features the "Stitched Floral Focal Card Front" Stitching Die of the Month and the "Daffodil Spray" Glimmer Hot Foil Kit of the Month.


I love designing several cards with the same colours and it was so easy with this amazing colour combination. The Spellbinders cardstock colours featured on both cards are Barely Peach, Dahlia, Wild Berry and Teal Topaz.


For this first card featuring the "Stitched Floral Focal Card Front" Stitching Die of the Month, I cut the base panel from Teal Topaz cardstock.


Then I cut the A2 leafy panel from Wild Berry cardstock and stitched the four largest leaves with Light Silver Metallic Thread. After glueing it on to the Teal Topaz base, I added Bella Pearls in three different sizes.


Next, I die cut the large centre flower from Dahlia cardstock and stitched it using Light Silver Metallic Thread. I popped up this panel on foam squares.


The sentiment was created by heat foiling one of the sentiments from the "Daffodil Spray" Glimmer Hot Foil Kit of the Month. I used Pewter Hot Foil on Barely Peach cardstock and also popped that on to foam squares.


For this second card featuring the stunning "Daffodil Spray" Glimmer Hot Foil Kit of the Month, I cut pieces of Barely PeachDahliaWild Berry and Teal Topaz cardstock and taped them together at the back.


Then I heat foiled the "Daffodil Spray" on to the panel using Satin Champagne Hot Foil. This foil is pinkish gold so it was the perfect shade for the peachy pink shades of cardstock. It's subtle and still makes quite the impact on this simple design.


I needed a Get Well card so I chose a sentiment from All You Need Sentiments, which was the November 2023 Glimmer Hot Foil Kit of the Month and now available for purchase.


I heat foiled the sentiment using Pewter Hot Foil on Teal Topaz cardstock. I also die cut an extra banner from Black Glitter cardstock and offset it before popping it on to the card panel with foam squares. To finish, I embellished the card with a few carefully placed Silver Pearls.


Here's a list of monthly club kits I share, as well as some of the value kits offered by Spellbinders:


Have you heard about SpellbindersCardmaking Super Star Contest? It's running from February 13th through March 13, 2024 and you could win a $300 shopping spree! Visit this link HERE or click on the image below for all the details.


Thanks so much for stopping by and I'll see you again soon!

Supplies

Friday, December 15, 2023

Deco Stencil Pack + Quirky Stripe Stencil from Concord & 9th


I'm back with another project for Concord & 9th's December Release and today's post is a long one because I have two cards to share using the Deco Stencil Pack and Quirky Stripe Stencil.


This first card features the Deco Stencil Pack which consists of two layering stencils. You can also use them separately but they so cute together! 


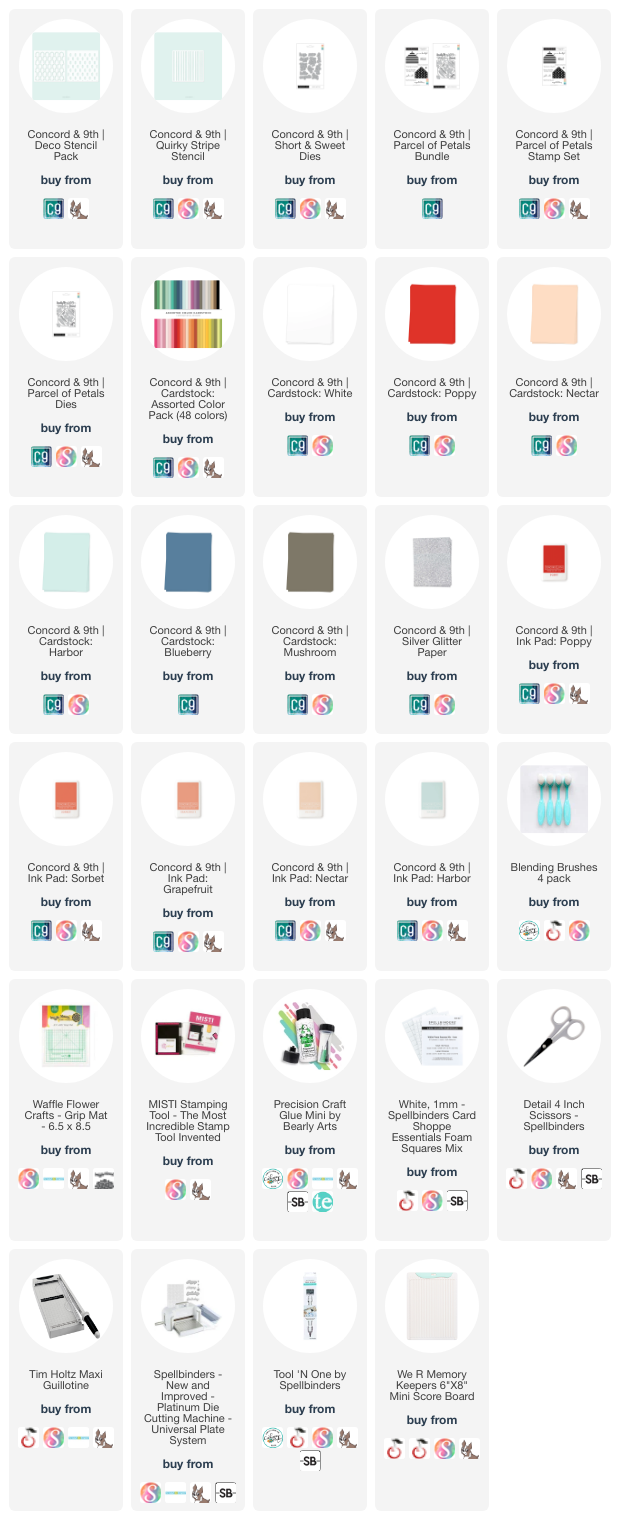
I started with a Nectar cardstock panel and placed it on a grip mat. I placed the arches stencil on top and started ink blending from the top down using Poppy, Sorbet, Grapefruit and Nectar inks, creating an ombre gradient as I moved down the panel. For the inside of the arches, I used SorbetGrapefruit and Nectar and a lighter hand.


After the panel was completed, I die cut the sentiment from the Short & Sweet Dies with Harbor and Blueberry cardstock. The flowers and leaves were cut from the Parcel of Petals Dies with Poppy, Nectar and Mushroom cardstock.


I glued the leaves directly on the stencilled panel and popped up the flowers and sentiment with foam squares.


I was so in love with this clean and simple design that I ended up using the same colours to make a slightly different version featuring the Quirky Stripe Stencil.


For this second card, I started with a Harbor cardstock panel and ink blended the Quirky Stripe Stencil on an angle using Harbor ink for a subtle tone-on-tone look.


The stencil wasn't long enough to extend from one diagonal corner to the next so I shifted the stencil up to the top right corner but forgot that the stripes are quirky and thus don't match from one to the next. Don't look too closely or you'll see a slight offset. I left it as is since it just adds to the quirkiness. ;)


This time, I used a different sentiment from the Short & Sweet Dies with Poppy and Nectar cardstock. The flowers and leaves were cut from the Parcel of Petals Dies with BlueberryWhite and Silver Glitter paper.


I used a slightly different and more full floral arrangement on this card because the background is more plain than the first card.


As with the first card, I glued the leaves flat on the panel and popped up the flowers and sentiment with foam squares.


I hope you enjoyed today's projects. If you missed my previous posts, you can find those here:


I'll see you again tomorrow with more inspiration featuring the Enchanted Garden DiesIf you're inspired, please shop my affiliate links below. Thanks so much for your continued support!

Supplies