Showing posts with label enamel dots. Show all posts

Thursday, October 17, 2024

Concord & 9th | October 2024 Guest Designer | Cottage Charm Stencil Pack


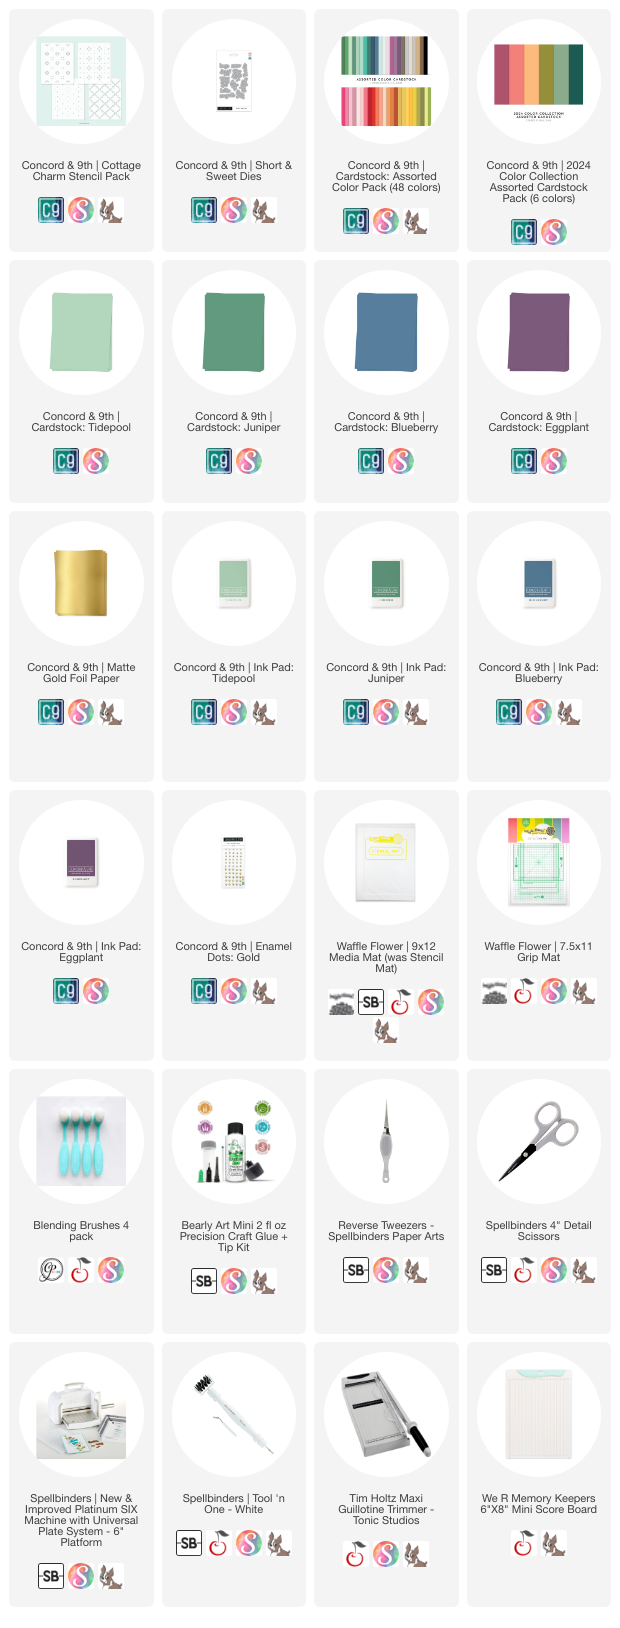
Today is my last guest post for Concord & 9th's October Release and I'm featuring the Cottage Charm Stencil Pack. This pack of four layering stencils is truly charming and you can get very different looks just by switching up the colour palette or even going with a monochromatic look. Aside from using ink pads, you can try embossing pastes to add dimension, texture and shine!


My colour palette for this card is the simplest of all my guest designer cards but it allows the stencilled pattern to shine. The colours I used are Tidepool, Juniper, Blueberry, Eggplant and Matte Gold Foil Paper.


After stencilling, I set the panel aside and cut two strips from Juniper and Eggplant cardstock. I die cut the sentiment from the Short & Sweet Dies using Blueberry cardstock with a Matte Gold Foil shadow, adhering both layers to a Tidepool base.


After attaching all the pieces to the card base and popping up the sentiment with foam tape, I added tiny Gold Enamel Dots to the stencilled panel which finishes the card nicely. The gold elements are reflected in the shadow of the sentiment.


I hope you enjoyed today's project. If you missed my previous posts, you can find those here:


I'm so grateful to Concord & 9th for having me as their guest designer this month! If you're inspired, please shop my affiliate links below. Thank you for your continued support!

Supplies

Monday, May 6, 2024

Lawn Fawn | Anniversary Card


Hi, lovely friends! Today, I'm sharing the cutest card that my son made for our 20th wedding anniversary last month. Damian used THIS card that I made for my husband as his inspiration. If you don't know the Squishmallow Avery story, you can read more HERE and HERE about why we're obsessed and why our birds are often coloured like male mallards. ;)


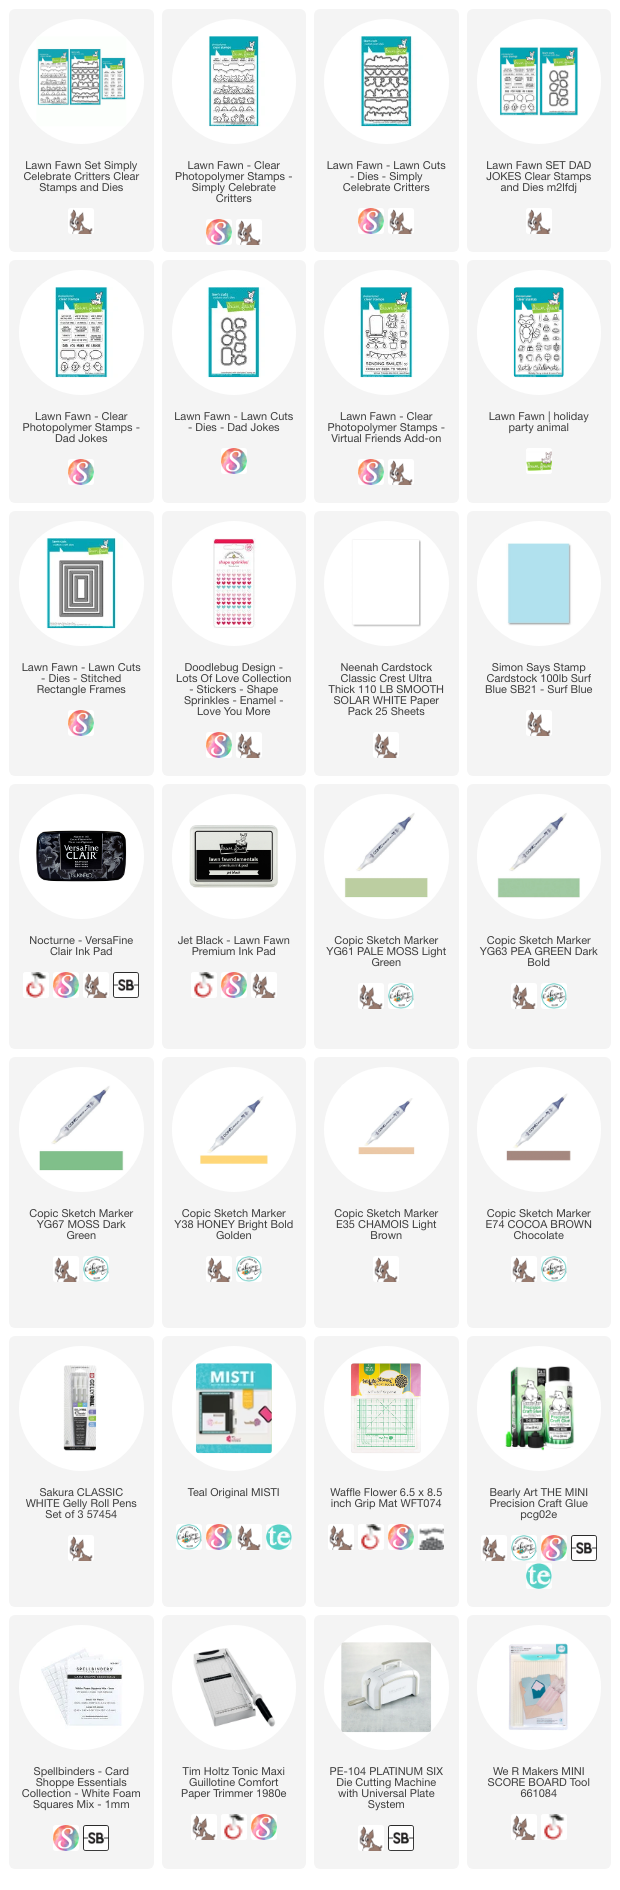
Damian stamped and coloured 20 adorable birds, one for each year of marriage, from Simply Celebrate Critters using the Copic markers listed below. Then he added white gel pen accents just like I did on my existing card. 


After die cutting the birds, he set those aside and stamped two speech bubbles from Dad Jokes and filled them with sentiments from Virtual Friends Add-On.
 

Next, he cut a card base from Surf Blue cardstock, plus a matching frame using the Stitched Rectangle Frames dies. Before popping all the die cuts on to the card base, Damian stamped a sentiment from the Party Animal stamp set.


After all the die cuts were arranged with small foam squares, Damian added three enamel hearts in three shades of pink-red for a pop of colour. I really love his cute and clever design to use one bird for each year of marriage!


I appreciate you stopping by and, if you're inspired, please shop my affiliate links below. Thanks so much for stopping by!

Supplies

Friday, March 1, 2024

Lunar New Year Challenge + Giveaways | March 2024


The Lunar New Year Challenge is back for its third month and since we've partnered up with your favourite craft companies all year long, that means there are giveaways every month! This month, we're giving away ONE $25 gift certificate to Simon Says Stamp, ONE $25 gift certificate to Lawn Fawn, ONE $25 gift certificate to My Favorite Things, and ONE $25 gift certificate to Trinity Stamps. That's a total of $100 in giveaways in March! 


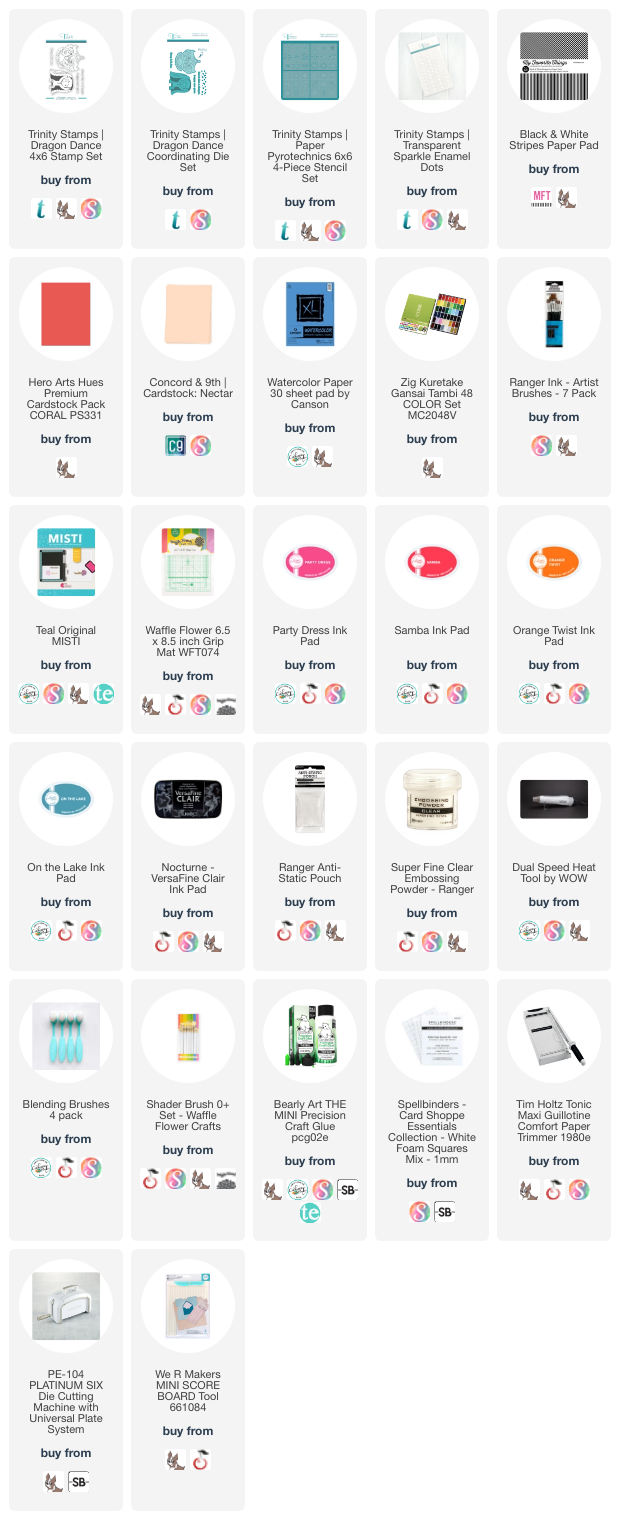
Several of our design team members received product from Trinity Stamps to create their inspiration projects for February. I was immediately drawn to the beautiful Dragon Dance stamp set and Paper Pyrotechnics layering stencil set.


I knew I wanted to use vivid, highly saturated Gansai Tambi watercolours to colour these images so I stamped them with Nocturne VersaFine Clair ink and heat embossed them with clear embossing powder on Canson watercolour cardstock. After the images dried, I die cut them using the coordinating dies and, after gauging the position of the lion, heat embossed the sentiment on a Nectar cardstock panel cut to 4" x 5.5".


On the Nectar cardstock panel, I used Party DressSamba, Orange Twist and On the Lake inks with the Paper Pyrotechnics layering stencil set to create the fireworks in the background. I love those stencils so much that I'm going to have to make a card with just the fireworks alone to showcase how fun and beautiful they look! To finish the card, I adhered the smaller panel on an A2 panel of Coral cardstock, added a strip of striped patterned paper and a few Transparent Sparkle Enamel Dots.


The rules are simple. You must create a new Lunar New Year, Chinese New Year or a 2024 Dragon Birthday card and add the link to your post below. For March, you are also invited to use your lucky St. Patty's Day sentiments with your Japanese Maneki-Neko "lucky cat" or Easter bunny images to create cards for friends and family to wish them luckgood health and prosperityMultiple entries are allowed. Backlinking to an older project is strictly prohibited.

Our March Lunar New Year Challenge will run from 12:00am EST on March 1, 2024 through 12:00pm EST on March 31, 2024. We would love to see you using products from our four generous sponsors! The four lucky winners will be randomly selected from all eligible entries and announced at the start of the April Challenge. 

(save and share with your project)

Visit the March Link-Up Party post HERE to see all of the design team projects and be inspired to create your own! When sharing your challenge entries on social media, feel free to save this badge and post it along with your project. Please tag us @lunarnewyearchallenge on Instagram and use the hashtag #lunarnewyearchallenge so everyone can find and be inspired by all your amazing projects.

Thanks so much for stopping by and I'll see you again soon!

Supplies

Sunday, December 3, 2023

Tis' the Season | Catherine Pooler


I pulled out an older but still fabulous 6" x 8" Catherine Pooler holiday set called Nostalgic Season and you can find past inspiration in the following release posts:


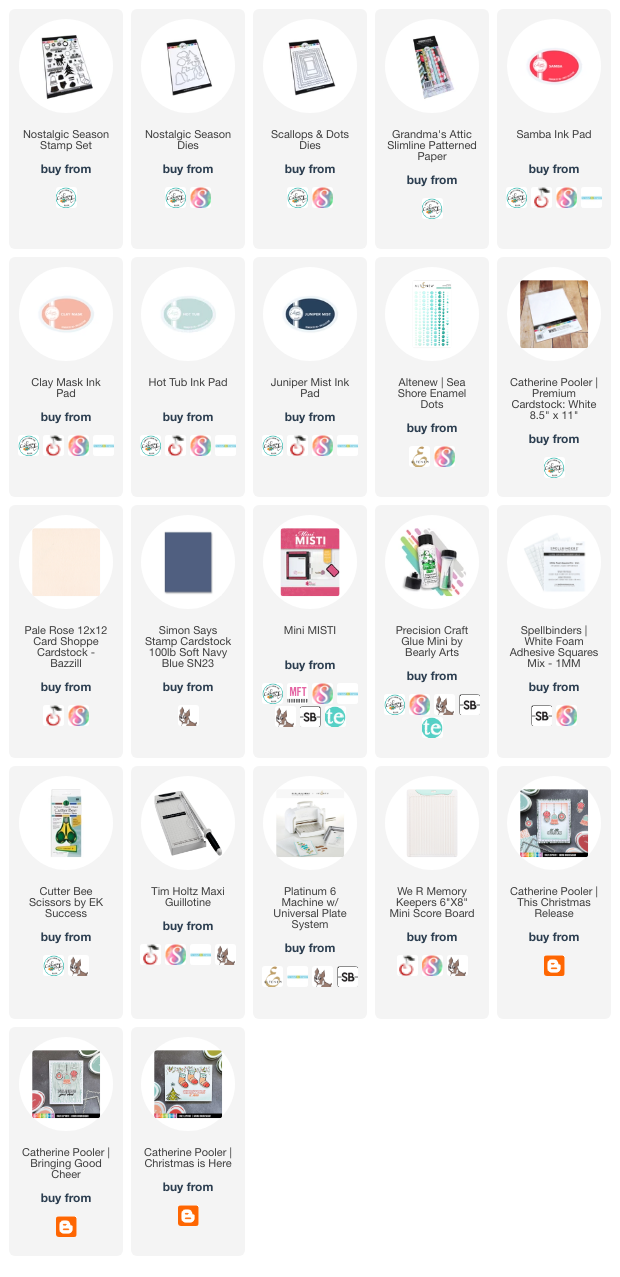
As with the original cards I made, I was once again inspired by the Grandma's Attic Slimline Patterned Paper. Since I was only featuring one image from this set, I chose four of the eight ink colours from those papers.


I stamped the outline of the stockings with Juniper Mist on premium white cardstock, then "coloured" the stocking from top to bottom using Hot Tub, Clay Mask and Samba. After cutting out the stockings using the coordinating Nostalgic Season Dies, I set them aside and prepared the background panels.


I used the Scallops & Dots Dies to cut panels from Pale Rose and Soft Navy cardstock. Pale Rose is the fourth colour for this card's palette and Soft Navy was a perfect match to Juniper Mist ink. After arranging the stockings on the Pale Rose panel and popping them on to foam tape, I used my paper trimmer to cut off the overhanging pieces. Then I stamped the sentiment in Juniper Mist.


I cut the card base from white linen cardstock and decided to attach the Soft Navy panel on an angle, trimming off the overhanging bits. To finish, I attached the dimensional panel on top and added a small enamel heart to fill the space above the sentiment.


I hope you enjoyed today's project. I appreciate you stopping by and, if you're inspired, please shop my affiliate links below. Thanks so much for your continued support!

Supplies

Saturday, November 4, 2023

Sending Hugs feat. Waffle Flower


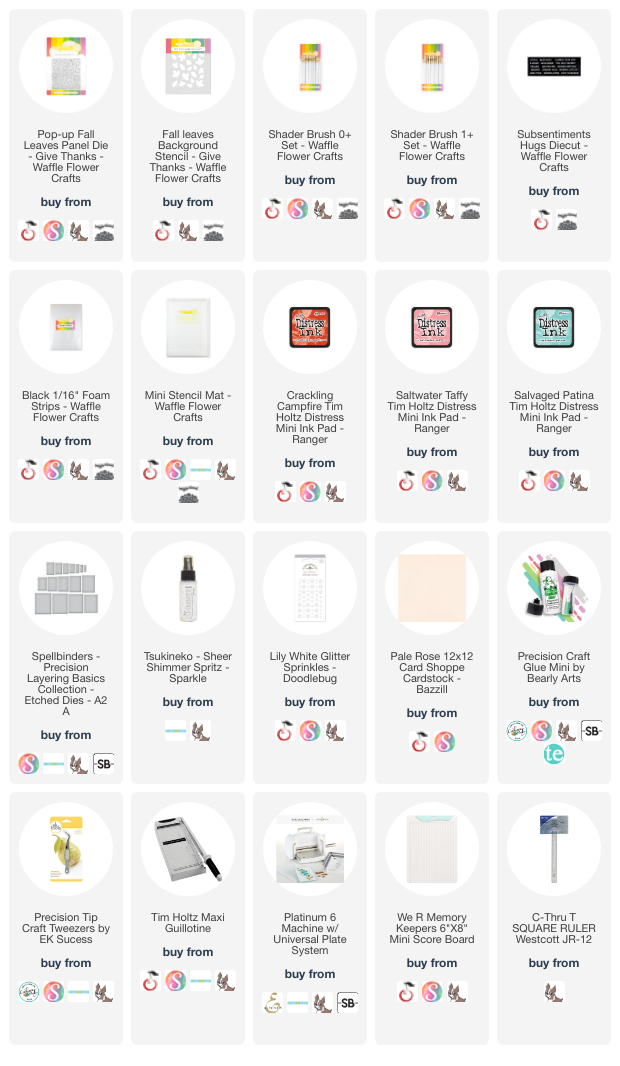
Waffle Flower sent me the Pop-up Leaves Panel Die and Fall Leaves Background Stencil to play with and they were every bit as satisfying to play with as I imagined! Plus, the card came together so quickly and it's absolutely stunning with that big of texture and all those details.


I love all the different leaves on this die and you can use as few or as many colours as you want. I hadn't used my distress inks in a while so I chose Crackling Campfire, Saltwater Taffy and Salvaged Patina.


I didn't own any of the Waffle Flower shader brushes until recently and, boy, was I missing out! They are so cute and I just love how they feel in my hands. There are several sizes and they're made for small areas such as this. My favourites are the new Shader Brush 0+ Set and Shader Brush 1+ Set. I will definitely be buying more!


After die cutting the background and stencilling it on white linen cardstock, I splattered it with a shimmer spray and soaked it up with a paper towel. When it was dry, I lifted up the edges of the leaves, being careful not to put creases in the cardstock. 


Next, I glued the stencilled panel to sheet of Pale Rose cardstock of the same size for a bit of extra dimension before attaching it to a Pale Rose card base. I trimmed a Subsentiments Hugs Diecut and popped it on to the panel with a foam strip. To finish, I added several white glitter enamel dots.


I hope you enjoyed today's project. I appreciate you stopping by and, if you're inspired, please shop my affiliate links below. Thanks so much for your continued support!

Supplies

Friday, September 8, 2023

My Return to Crafting + Lindsey's Legacy Hop


Hello, crafty friends! It has officially been five months since I last created. Yes, it's sad but I've had a lot of heartache in my life these last three years. Losing both my parents and one of my best friends finally broke me and while I'm still not sure if I can craft again, I've helped Lindsey's husband Burke organize a legacy hop which will take a week from today! This means that I will have to make something for next Friday. 


Today's post actually features a couple of cards that I made five months ago and neither photographed nor posted. Even photographing these cards today felt foreign but it's really nice to see them here on my blog so I'm glad I at least forced myself to do that! In fact, I have a few more cards that were made months ago that I'll be sharing over the next few days just to try and get back into a creative mood.


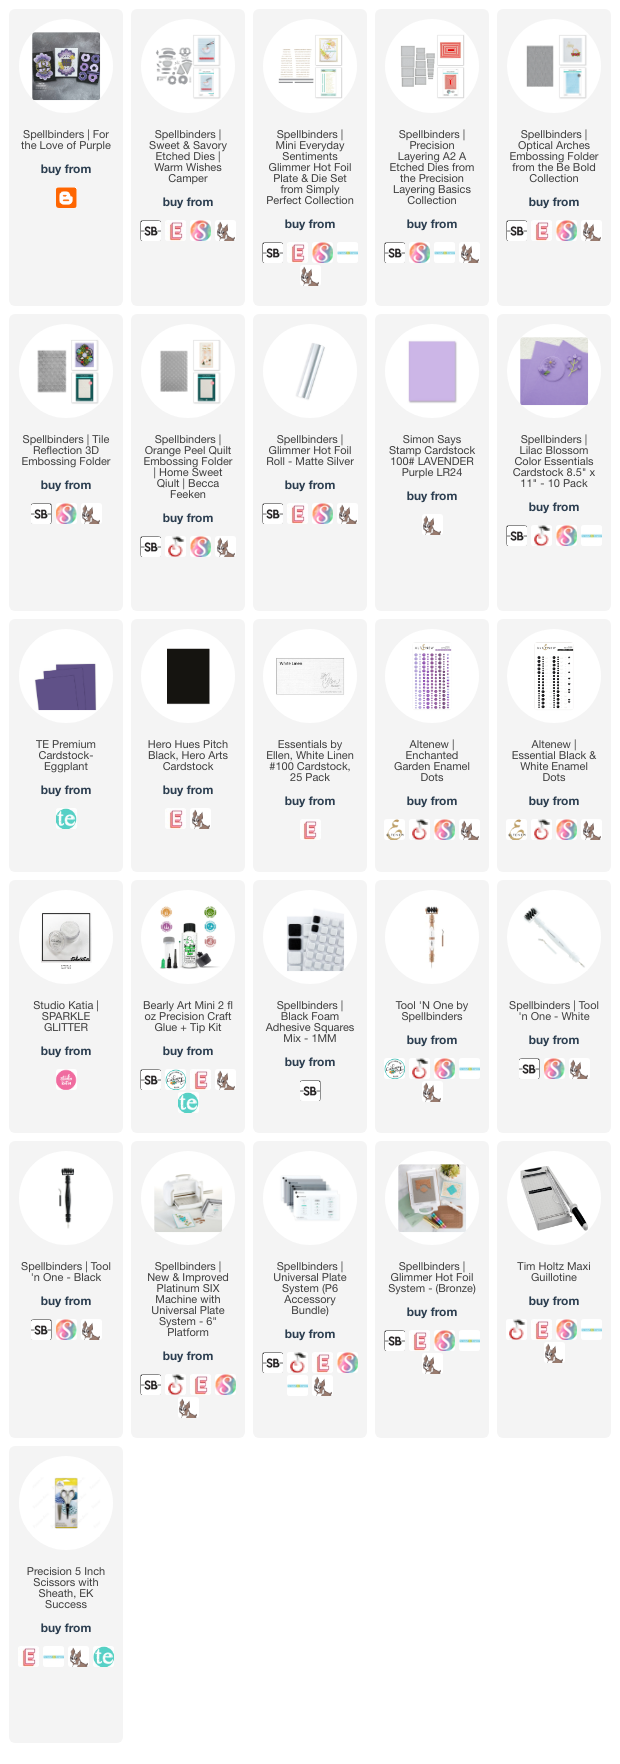
You might recognized this card from a previous post in early May. I loved that card so much that I had to remake it but, this time, I used the back side of the Optical Arches Embossing Folder on Pitch Black cardstock. I used the Sweet & Savory Dies, cutting three sets of donuts from LavenderLilac Blossom and Eggplant cardstock, and layering them in various combinations. I "drew" the sprinkles with liquid glue, then topped it with sparkle glitter and set them aside to dry completely.


Next, I adhered all of the donuts to the embossed panel using black foam squares. Both sentiment strips were created using the Mini Everyday Sentiments, which were heat foiled using Matte Silver Hot Foil on Eggplant cardstock. To finish, I embellished the donuts with three shades of purple enamel hearts.


I cut a few extra donuts this time and decided to make a mini slim card using the March 2023 3D Embossing Folder of the Month, Tiled Motif. Unfortunately, this embossing folder is not currently available (though it could be in the future). For a similar look, I recommend the Tile Reflection or Orange Peel embossing folders.


All this purple reminds me of Lindsey because purple was her favourite colour, followed closely by red. When her birthday passed this year, I wished that I could've given her this card. For those of you who've lost loved ones, you must know how hard those "firsts" are -- the birthdays, anniversary and special holidays are when you miss them the most.


If you've made it this far, THANK YOU! As I mentioned at the start of this post, I will be hosting Lindsey's Legacy Hop on Friday, September 15, 2023 9:00 a.m. EST and I hope you will join me and a long list of Lindsey's friends as we celebrate her life and create a legacy helping those with clear cell ovarian cancer.

I appreciate you stopping by and, if you're inspired, please shop my affiliate links below. Thanks so much for your continued support!

Supplies

Tuesday, May 16, 2023

VIDEO | Taylored Expressions | Stitched Easy Strips Dies feat. NEW Colours and Maps

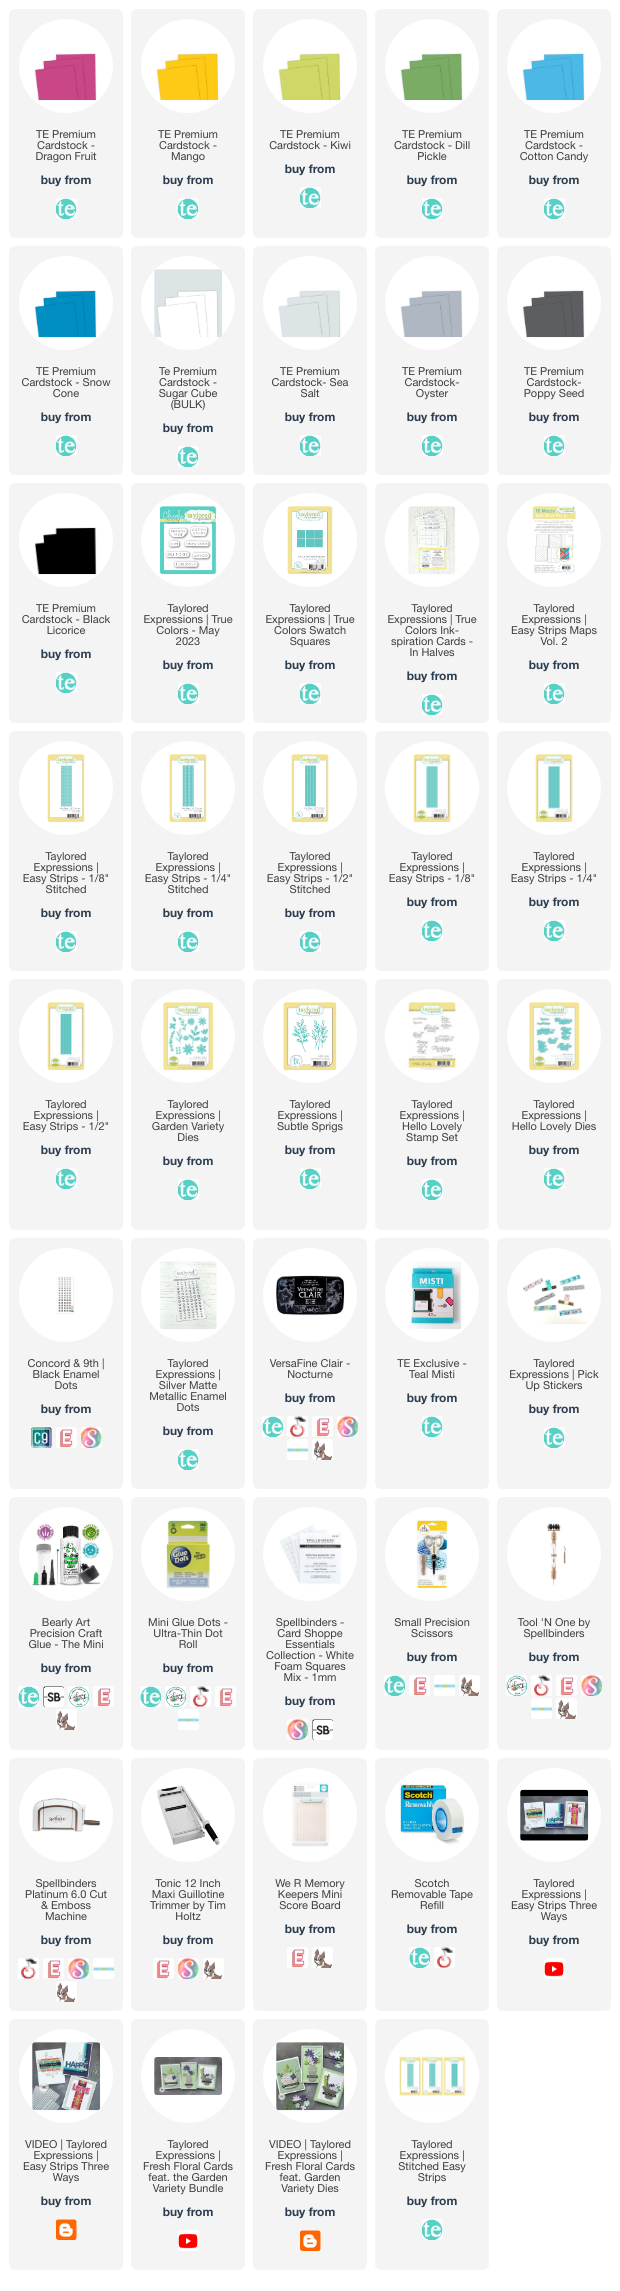
Hello, crafty friends! I hope you're all excited for the new colour release from Taylored Expressions! I'm always thrilled to have new colours in my collection because colour always jumpstarts my creative mojo. I can look at older products in a new way, just by using different colour combinations. There are seven new colours and I'll be using six of those -- Dragon Fruit, Mango, Kiwi, Dill Pickle, Cotton Candy and Snow Cone -- with the new Stitched Easy Strips 1/8", 1/4" and 1/2" Dies and Easy Strips Maps Vol. 2.


At the start of my video, I also share the new True Colors - May 2023 mini stamp set, True Colors Swatch Squares and True Colours Ink-spiration Cards - In Halves. Together, these are a fun way to create and record colour combinations that you can reach for at any time.


I created three cards for this video, all using patterns from Easy Strips Maps Vol. 2. This one use Dragon FruitMango and Snow Cone, which I feel are the tropical versions of the traditional primary colours. I love how much they pop, especially with the 1/2" Stitched Easy Strips. The colours are so bright, they almost look fluorescent!


After cutting out all the strips and glueing them directly onto the map, I trimmed off the overhanging pieces and attached the panel to a Sugar Cube card base. All of the sentiments are from the Hello Lovely stamp set and they were stamped with VersaFine Clair Nocturne ink on Sugar Cube cardstock. 


I added a shadow behind the sentiment using Black Licorice cardstock and popped it on to the panel with foam squares. For the embellishments, I cut out the small blossom from the Garden Variety Dies in both Sea Salt and Oyster cardstock. I glued the two layers together and attached them to the card with glue dots. To finish, I added black enamel dots in the centres.


My second card uses the simplest map and it's my favourite one! In fact, I made my own version of this map when the original plain Easy Strips were released and you can watch that video HERE.


I decided to mix the original 1/4" Easy Strips with the new Stitched 1/4" Easy Strips and I love the contrast, as well as the way they intersect. Those little details really pack a punch and give this card its wow factor.


Just as with the previous card, the sentiment from the Hello Lovely stamp set was stamped with VersaFine Clair Nocturne ink on Sugar Cube cardstock. A shadow was added behind it with a Black Licorice cardstock die cut, then popped on to the panel with foam squares


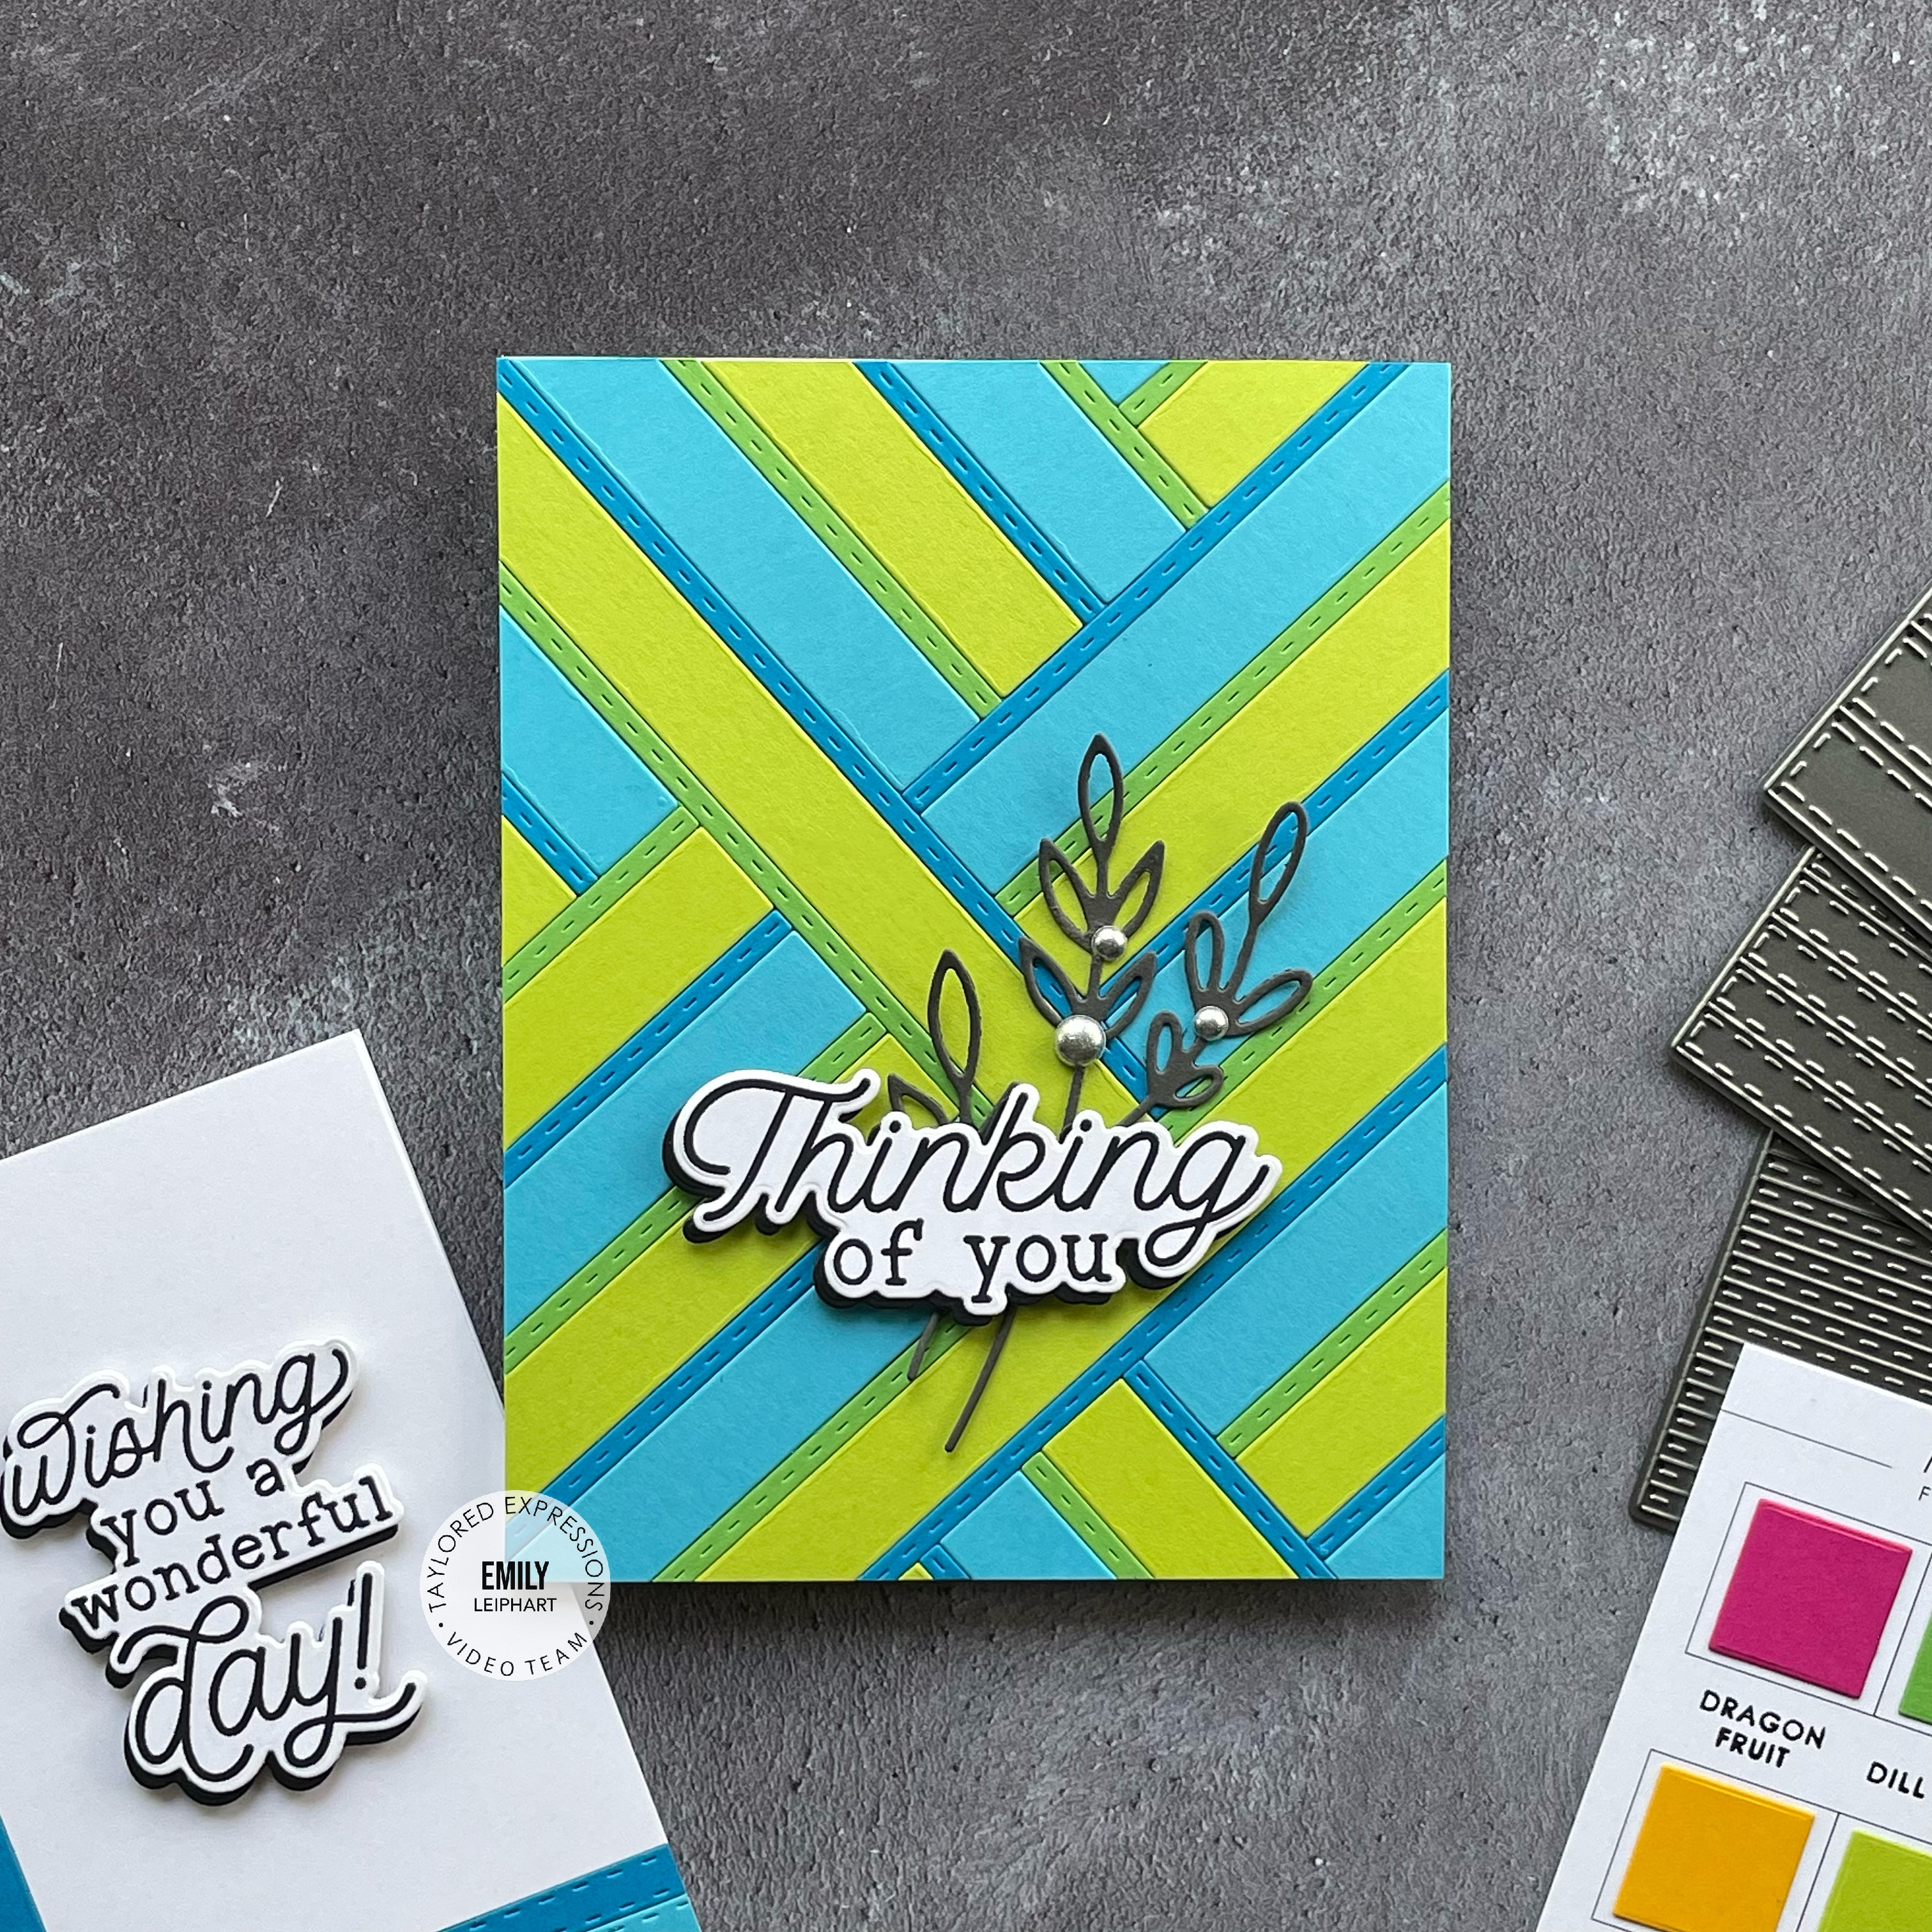
My third and final card uses one of the more complex maps. This time, I wanted to use the two new greens and two new blues -- Kiwi (my favourite of the seven new colours), Dill PickleCotton Candy and Snow Cone. This time, I used the original 1/2" Easy Strips and cut those from Kiwi and Cotton Candy. Then I used the new Stitched 1/8" Easy Strips and cut those from Dill Pickle and Snow Cone cardstock.


This background took some time to assemble but the results were definitely worth it! I love the combination of colours, as well as the detail on the Stitched 1/8" Easy Strips! As with the other two cards, this sentiment from Hello Lovely is really striking. I added one of the Subtle Sprigs cut from Poppy Seed cardstock and embellished it with Silver Matte Metallic Enamel Dots.

I appreciate you stopping by and, if you're inspired, please shop my affiliate links below. Thanks so much for your continued support!

Supplies