

My son turned 13 this week and I'm finding it hard to believe that he's a teenager! While he's growing up fast, there are still some things about him that remind me that he's still my little boy and I'll be holding on to that for a little longer.

When I asked him what kind of card he wanted for his birthday - and I never do that - he said he wanted 'Widgie' on it. If you have kids (or even if you don't) and you've been collecting Squishmallows, then you know that the mallard duck Avery is a cult favourite and very hard to get nowadays. If you're not familiar with the story behind this so-called widgeon, you can read all about it in last year's birthday post.

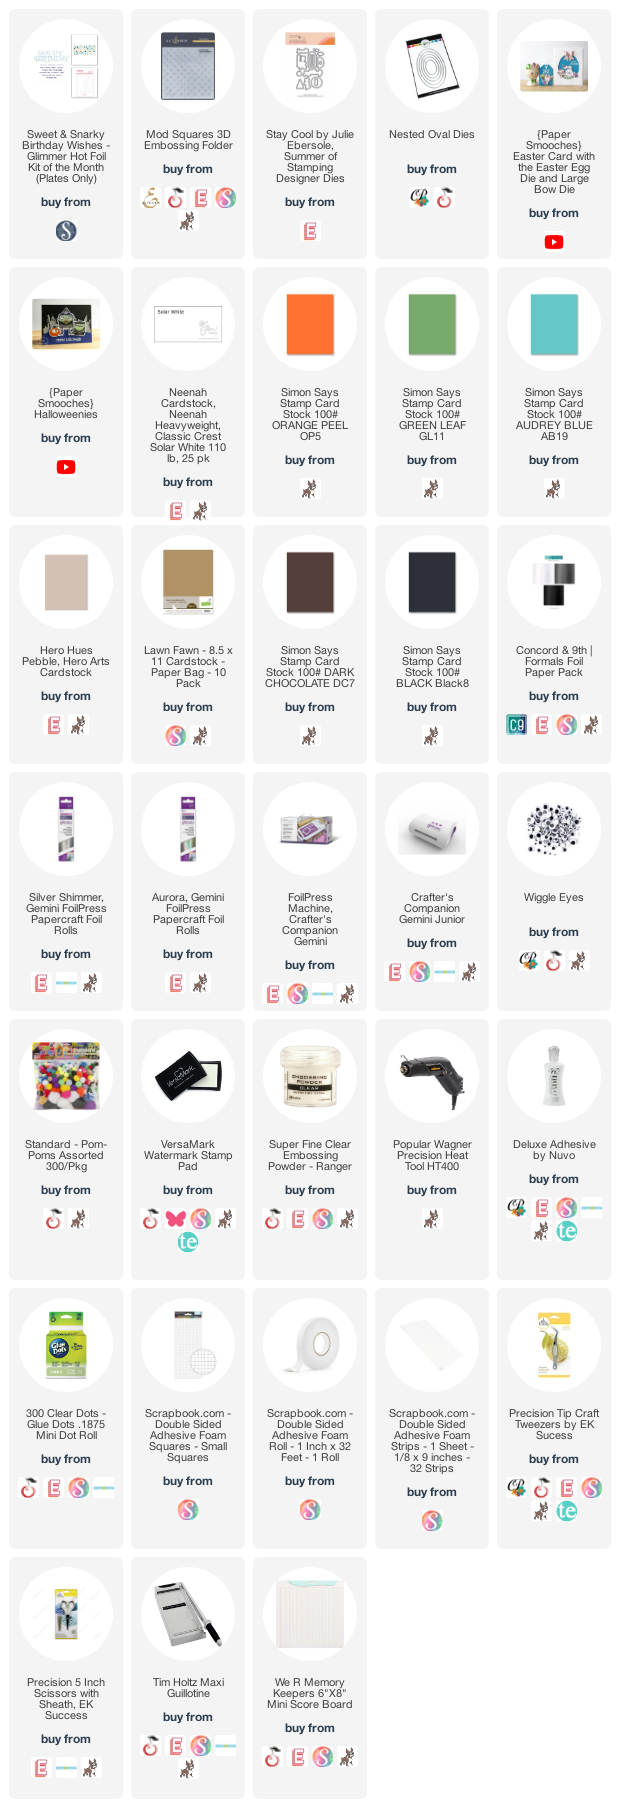
Off I went to think about how to create Widgie with my craft supplies. My thoughts immediately went to the Paper Smooches Easter Egg Die. It's wider than an oval at the bottom so it was the perfect shape for Widgie.

I cut the body shape from green leaf (head and tag), white foil (collar), dark chocolate (body) and pebble (belly). To die cut the collar, I used a slightly curved die from the Paper Smooches Quotables die set, which was also used in the same video as the Easter Egg Die. It was definitely a versatile favourite so many years ago. The belly was made using one of Catherine Pooler's Nested Oval Dies.

The shapes from Ellen Hutson's Stay Cool Dies turned out to be absolute perfection for the tag, eyes and beak. I clear embossed the tag to mimic satin ribbon just like on the real Widgie and that was the end of the popsicle stick. The eyes were die cut from black cardstock using the small circle die that I used for eyes on THESE cards. The beak was die cut twice from orange peel cardstock and layered for height.

As I've mentioned a few times now, I'm completely obsessed with heat foiling so I wanted to use one of my current favourites, Sweet & Snarky Birthday Wishes from Spellbinders. For the large Happy Birthday die cut, I used silver shimmer foil on white cardstock. I love that the shimmer shows up as a straight silver on some angles and a full rainbow on other angles. The secondary sentiment was heat foiled using aurora foil on dark chocolate cardstock.

I created a 5" x 5" kraft card base and trimmed a piece of 4.75" x 4.75" panel of audrey blue cardstock, which I dry embossed using Altenew's Mod Squares embossing folder. I chose this colour because it's one of my favourites but also to represent water since widgeons live most of their lives on the water. The dimension and details are really incredible and I love that it's a little Minecraft-y because my son is still very much into that.

To finish, I popped up Widgie and the sentiments with foam tape, then secured black pom poms for wings. I love that I was able to combine so many favourites from different brands to create the perfect card for my son!
Thanks so much for stopping by!
Supplies:


1 comment:
so super cute
Post a Comment