Showing posts with label Altenew. Show all posts

Sunday, August 15, 2021

Custom Birthday Card

My son turned 13 this week and I'm finding it hard to believe that he's a teenager! While he's growing up fast, there are still some things about him that remind me that he's still my little boy and I'll be holding on to that for a little longer.

When I asked him what kind of card he wanted for his birthday - and I never do that - he said he wanted 'Widgie' on it. If you have kids (or even if you don't) and you've been collecting Squishmallows, then you know that the mallard duck Avery is a cult favourite and very hard to get nowadays. If you're not familiar with the story behind this so-called widgeon, you can read all about it in last year's birthday post.

Off I went to think about how to create Widgie with my craft supplies. My thoughts immediately went to the Paper Smooches Easter Egg Die. It's wider than an oval at the bottom so it was the perfect shape for Widgie.

I cut the body shape from green leaf (head and tag), white foil (collar), dark chocolate (body) and pebble (belly). To die cut the collar, I used a slightly curved die from the Paper Smooches Quotables die set, which was also used in the same video as the Easter Egg Die. It was definitely a versatile favourite so many years ago. The belly was made using one of Catherine Pooler's Nested Oval Dies.


The shapes from Ellen Hutson's Stay Cool Dies turned out to be absolute perfection for the tag, eyes and beak. I clear embossed the tag to mimic satin ribbon just like on the real Widgie and that was the end of the popsicle stick. The eyes were die cut from black cardstock using the small circle die that I used for eyes on THESE cards. The beak was die cut twice from orange peel cardstock and layered for height.


As I've mentioned a few times now, I'm completely obsessed with heat foiling so I wanted to use one of my current favourites, Sweet & Snarky Birthday Wishes from Spellbinders. For the large Happy Birthday die cut, I used silver shimmer foil on white cardstock. I love that the shimmer shows up as a straight silver on some angles and a full rainbow on other angles. The secondary sentiment was heat foiled using aurora foil on dark chocolate cardstock.

I created a 5" x 5" kraft card base and trimmed a piece of 4.75" x 4.75" panel of audrey blue cardstock, which I dry embossed using Altenew's Mod Squares embossing folder. I chose this colour because it's one of my favourites but also to represent water since widgeons live most of their lives on the water. The dimension and details are really incredible and I love that it's a little Minecraft-y because my son is still very much into that.

To finish, I popped up Widgie and the sentiments with foam tape, then secured black pom poms for wings. I love that I was able to combine so many favourites from different brands to create the perfect card for my son!

Thanks so much for stopping by!

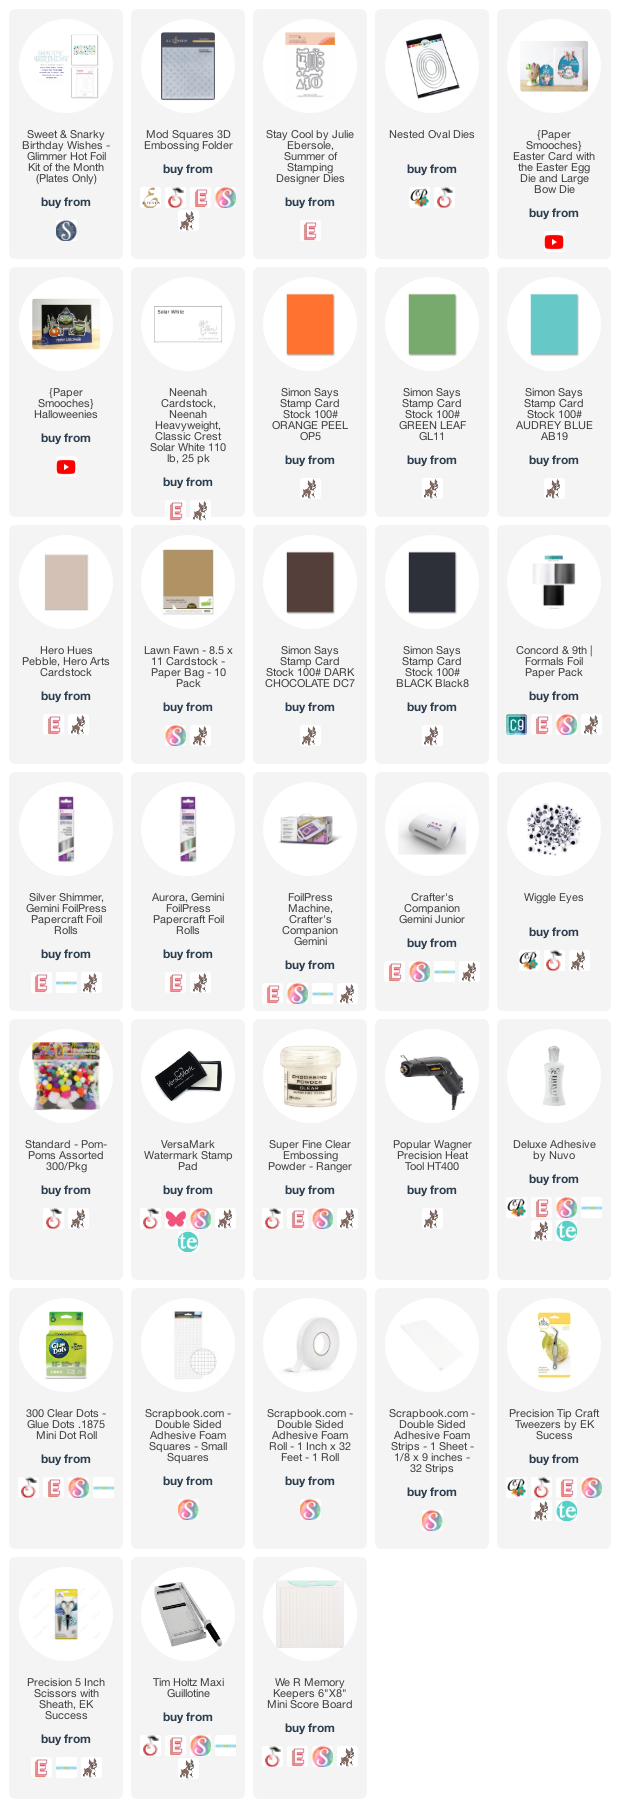
Supplies: 
Sunday, January 24, 2021

Minecraft Birthday Card by Damian


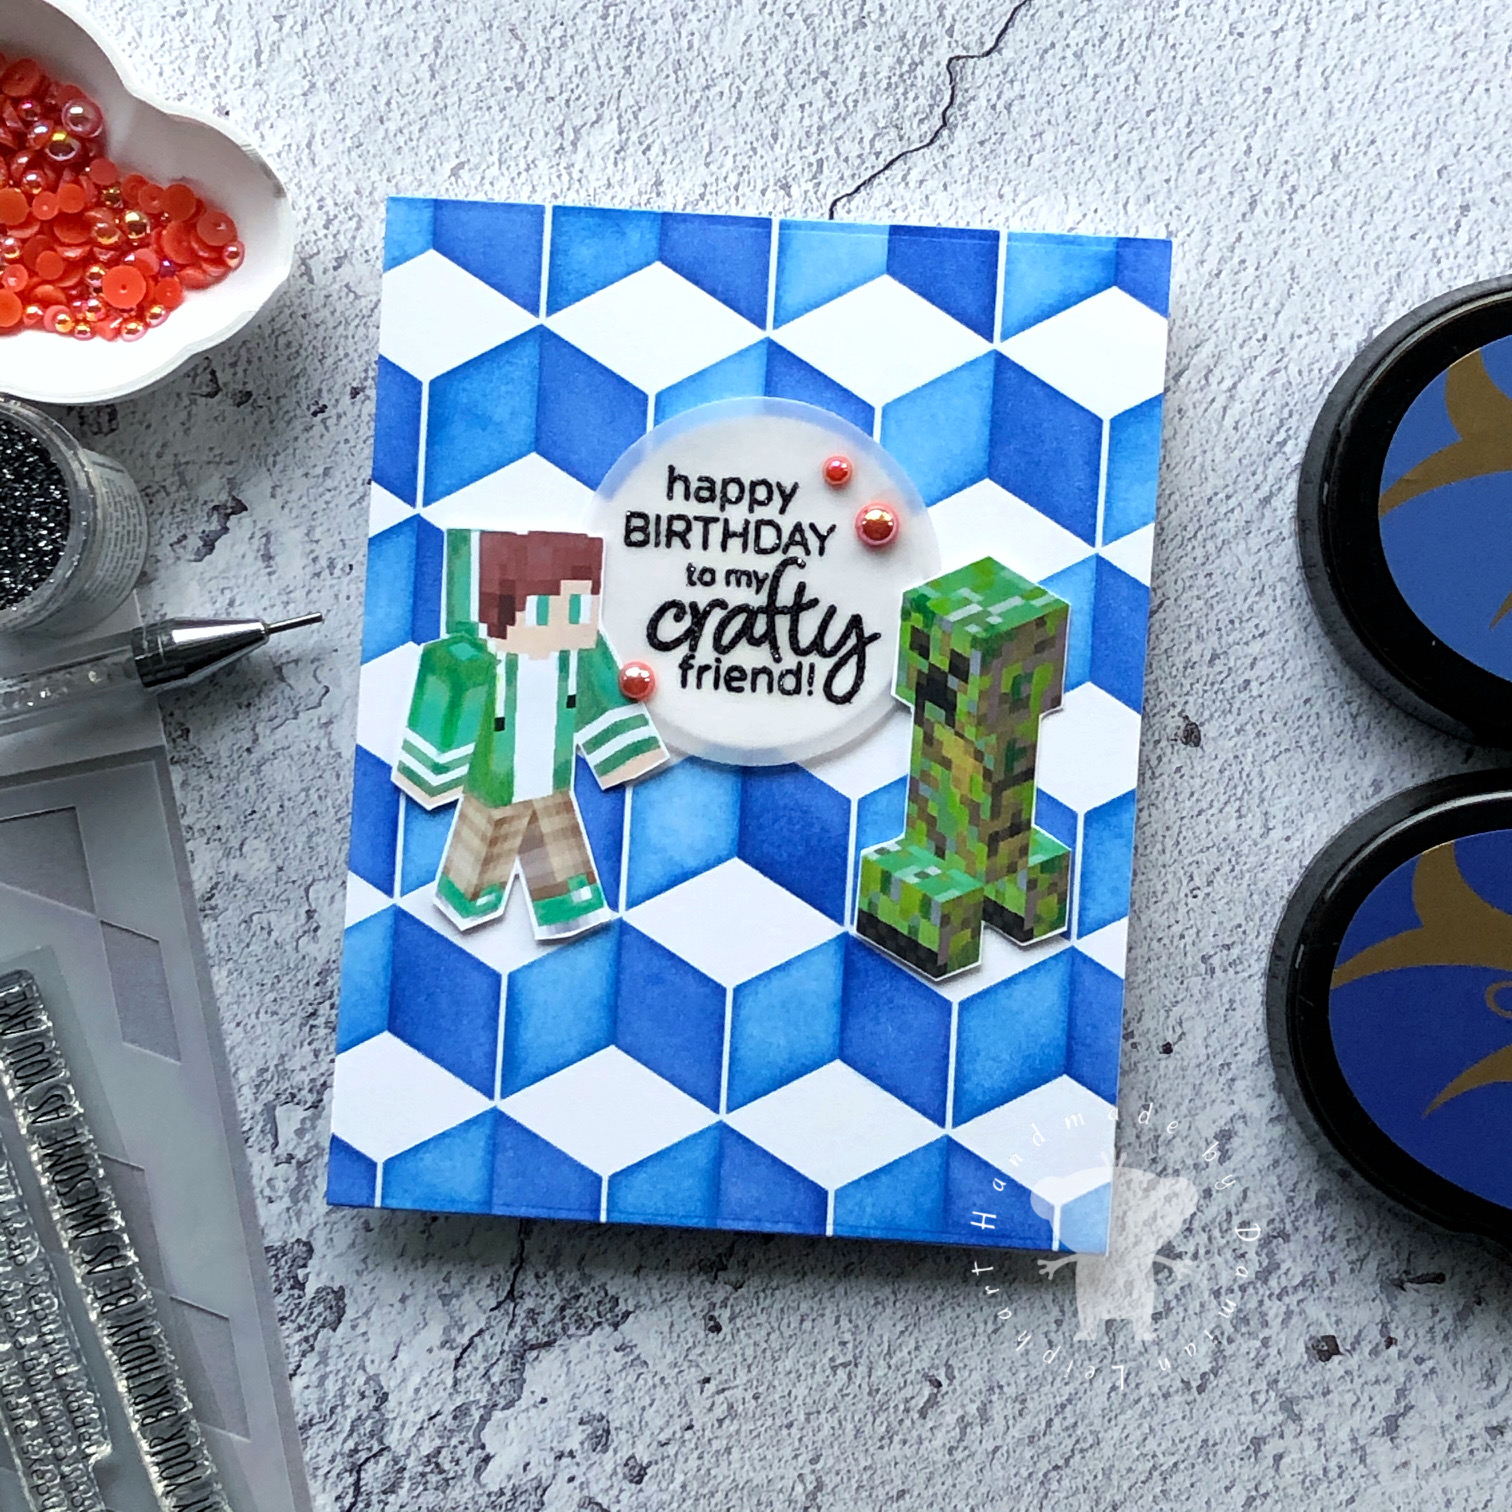
For the first time in a long time, my son voluntarily walked into my craft room and asked to make a card. It was for one of his best friends who also enjoys playing Minecraft. Damian knew exactly what he wanted to do and his exact words were, "You have a stencil that makes Minecraft blocks." LOL You can find another sample of mine using this Cube Builder Stencil [also available at SBC | SSS] in a previous post here. 


Damian used blender brushes with Ultramarine and Azurite inks on a silicone mat and full sheet of Neenah heavyweight cardstock so we could cut it down with the pattern centred.


Damian used the NameMC website to access images of the characters he and his friend use while playing Minecraft. He printed these images on Neenah heavyweight cardstock, then Damian used Prismacolor Pencils to add detail to the images before fussy cutting them.


We were trying to create a custom Minecraft sentiment and then I remembered the perfect sentiment from Studio Katia's Birthday Greetings that works really well for this Minecraft-themed card. I heat embossed the sentiment on vellum with WOW Black Twinkle embossing powder, then die cut it along with a Neenah heavyweight backer using A2 Circle STAX dies.


Damian assembled the card with large glue dots for a slight bit of dimension, then added Studio Katia Ripe Persimmon Pearls to symbolize birthday cake potion à la Minecraft.

I think Damian's friend will love his card. What do you think?

Thanks so much for stopping by!

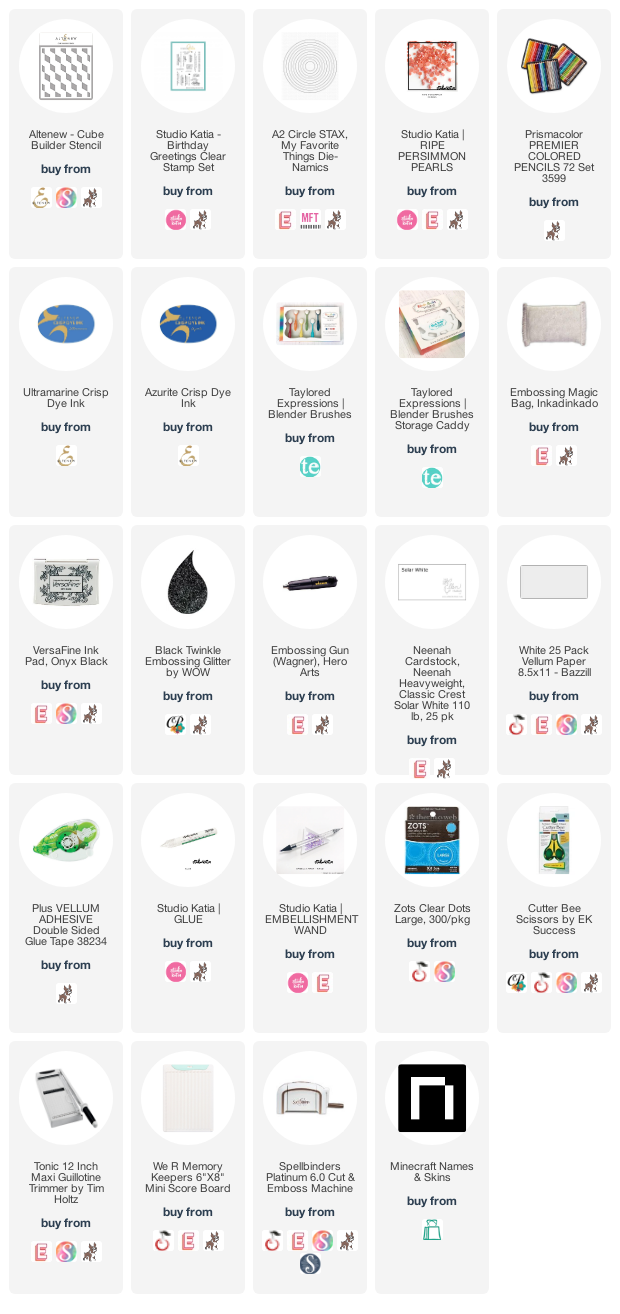
Supplies: 

Saturday, August 15, 2020

Altenew Mini Delight: Cactus Release Instagram Hop + Giveaway


Hey, crafty friends! I’m joining a fun Instagram Hop with Altenew today to celebrate the release of Altenew’s Mini Delight: Cactus Stamp & Die Set! Feel free to start the hop over at @altenewllc!

To celebrate this release, Altenew is giving away a $15 gift certificate to 15 lucky winners! For a chance to win, please follow @altenewllc and @emily.leiphart and leave a comment by 8/20/2020. 

Altenew will draw 15 winners from the comments left on each stop on this Instagram Hop and announce the winners on Altenew’s Mini Delight: Cactus Instagram Hop post on 8/22/2020 @altenewllc  What are you waiting for? Gorgeous project inspiration and fun prizes await you!

@altenewllc

I stamped and die cut Altenew’s Mini Delight: Cactus Stamp & Die Set with the Tranquility, Sugarplums and Warm Gray dye ink sets. I used all four shades of ink on each cactus. I also stamped the sentiment with one ink from each colour group to repeat the word 'strong' three times for emphasis.


I dry embossed the background panel with the Sketched Lines Stencil and used one shade of ink from the Tranquility, Sugarplums and Warm Gray dye ink sets to ink blend the bottom lefthand corner of the panel. I added a strip of glitter black cardstock on the left side before attaching the dry embossed panel, cacti, sentiment strips and enamel dots.


Altenew is running a promotion today and tomorrow. You get a free roll of Floral Flurries Washi Tape with every purchase of $69 or more.


Thanks so much for hopping along with us!

Supplies:

Friday, August 7, 2020

Altenew Craft-A-Flower: Daisy Release Blog Hop + Giveaway


Hello and welcome to the Altenew Craft-A-Flower: Daisy Release Blog Hop! I have the honour of joining the Altenew design team and guest designers to showcase the latest in their Craft-A-Flower Monthly Subscription Plan. The August layering die set is a daisy and I couldn't be more thrilled about it since my favourite flower is the gerbera daisy!


I made a slimline card to show off these gorgeous dies. The Altenew Craft-A-Flower: Daisy layering die set comes with two daisies and two styles of leaves. I started by die cutting several of them all at once so I could mass-produce. Before adhering all the pieces together, I decided on ink colours for ink blending.


I ink blended the top layer of the daisy petals with Orange Cream and the bottom layer with Autumn Blaze. The centres of the flowers were ink blended with Amethyst and Grape Agate. The leaves and card panel were ink blended with Misty Morning and Cloudy Sky. I splattered the daisies with Cloudy Sky and the ink panel with Sunkissed and Nimbus before adhering all the layered die cuts to the panel and trimming the excess off the edges of the card base.


The sentiment is from the Halftone Hello stamp set and coordinating dies. I stamped the hello in Amethyst before die cutting it and popping it on to fun foam for dimension. The sentiment strip was stamped in Nimbus and adhered with foam tape.


GIVEAWAY
To celebrate this release, Altenew is giving away a $30 gift certificate to 5 lucky winners! Please leave a comment on the Altenew Card Blog for a chance to win. One winner will also be drawn from the comments left on each designer’s blog on the blog hop list below and receive a $15 gift certificate. All winners will be announced on the Altenew Winners Page on August 14, 2020.
I'm the last stop on this hop. If you started here, please head to the Altenew Card Blog to begin your hop. Good luck and thanks for hopping along with us!

Supplies:

Sunday, June 21, 2020

Crafty Together | Father's Day Card by Damian


Happy Dad's Day to all of you who are celebrating at home or virtually! Damian and I had very different ideas on the perfect card for Chris but his idea won. Damian chose the Beau & Beatrice Beaver stamp set and coordinating dies from Technique Tuesday.  We needed something for the Father's Day part so Altenew's Inline Alpha Die Set came to the rescue. The glitter green cardstock tied in nicely with the leaves in the images and ink blended grass.


Damian stamped and watercoloured all the images with distress inks. Then he ink blended the background and scored the white linen panel on all four sides. It's hard to see the vertical scoring in the photos but those lines are there! To finish, I adhered the die cut letters and gold enamel hearts.


Thanks so much for stopping by!

Supplies:

Monday, March 16, 2020

Concord & 9th | Pandas are the Best + Sale!


There are many obscure occasions I want to make cards for but I either run out of time or I'm not motivated enough. Today is National Panda Day and I couldn't let it pass without making a panda card! I own two Concord & 9th stamp sets with pandas and the Furry Friends Bundle hadn't seen ink yet so I knew I had to use it. Plus, I bought several new sets that I also used here. Yay, me!  (BTW, all of the products I used here are on sale!!!) 😉


I initially had a completely different layout in mind so I started by stamping three shades of pandas using the Altenew's Rock Collection . The version you see on my card was stamped with Pure Graphite and Industrial Diamond. All of the blues are from the Cool Summer Night set. You can find all the individual colours in the supply links below.


The glasses from the Winter Wear Bundle were stamped with Jet Black. The scarf, also from the  Winter Wear Bundle, was stamped with Ocean Waves. The book is from the Daily Wear Bundle and it was stamped with Pure Graphite. I masked and decorated the book with leaves from the Furry Friends Bundle. The leaves were stamped with Ocean Waves and Dusk.


I curated a custom sentiment using phrases from the Daily Wear Bundle and Perfectly Penned. The sentiment was stamped with Industrial Diamond and Ocean Waves. To finish, I masked off a border at the top and bottom of the panel and stamped the Gingham Background in Sea Glass, Ocean Waves and Desert Night.


Thanks so much for stopping by!

Supplies:

Sunday, February 23, 2020

VIDEO | Aurora Borealis Masculine Birthday Card


I made this card for a parent at my son's school to surprise her husband with a trip to Iceland to see the northern lights for his 60th birthday. It was nice to be able to mix and match various brands just for fun! I should do it more often - you know, in my spare time. LOL


I used HoneyBee Stamps' incredible set of Winter Wonder Scene Builder stencils to create the different layers of mountains, terrain and even the northern lights. In my video, I state exactly which colours I use for the different layers but you can always find all of the distress ink colours listed in my supply list below.


I used Altenew's Bold Numerals die set and fun foam to pop up the number 60 at the centre of the card. I tend to reach for these numbers dies when I have to customize a card. They make a big impact and they're also large enough to accommodate small sentiments inside the numbers.


The Paper Smooches scripted Happy Birthday Words were die cut from olive green and black glitter cardstock, then layered to create a shadow effect and coordinate with the northern lights.


Thanks so much for watching!

Supplies:

Wednesday, February 12, 2020

Let Hope Anchor Your Soul feat. Gina K. Designs


I had the pleasure of playing with one of the stamp sets from new release at Gina K. Designs. You Anchor Me (also available at EH | SSS) was designed by Lisa Hetrick and it's beautiful and so versatile. I love the big anchor and encouragement sentiments.


I love that the anchor is big enough to be the focal point on an A2-sized card. I wanted the anchor to look realistic so I stamped it with grey pigment ink and heat embossed it with silver embossing powder. Visit my corresponding Instagram post to see the shine in action!


I stamped multiple images with various shades of Altenew ink (see below for all six colours), used the backside of the stamps to 'colour' the leaves and top layer of the main flower, then fussy cut the images to create a dimensional cluster. Once I determined the layout of the flowers and foliage I added the 'berries' to the background, using the rock-and-roll technique and two shades of green ink.


Before adhering the cluster to the card base, I again used the rock-and-roll technique and two shades of pink and two shades of green to stamp the sentiment. Once that was done, I adhered the cluster with glue dots and rounded the bottom right hand corner of the card with a corner chomper. To finish, I added a large sequin and clear drop in the centre of the main flower.


Thanks so much for stopping by!

Supplies: