Showing posts with label Waffle Flower. Show all posts

Sunday, September 1, 2024

Lunar New Year Challenge + Giveaways | September 2024


The Lunar New Year Challenge is back and we've partnered up with your favourite craft companies all year long so that means there are giveaways every month! This month, we're giving away ONE $25 gift certificate to Simon Says Stamp, ONE $25 gift certificate to Lawn Fawn, ONE $25 gift certificate to RAM Stamps, and ONE $25 gift certificate to Waffle Flower. That's a total of $100 in giveaways in September!


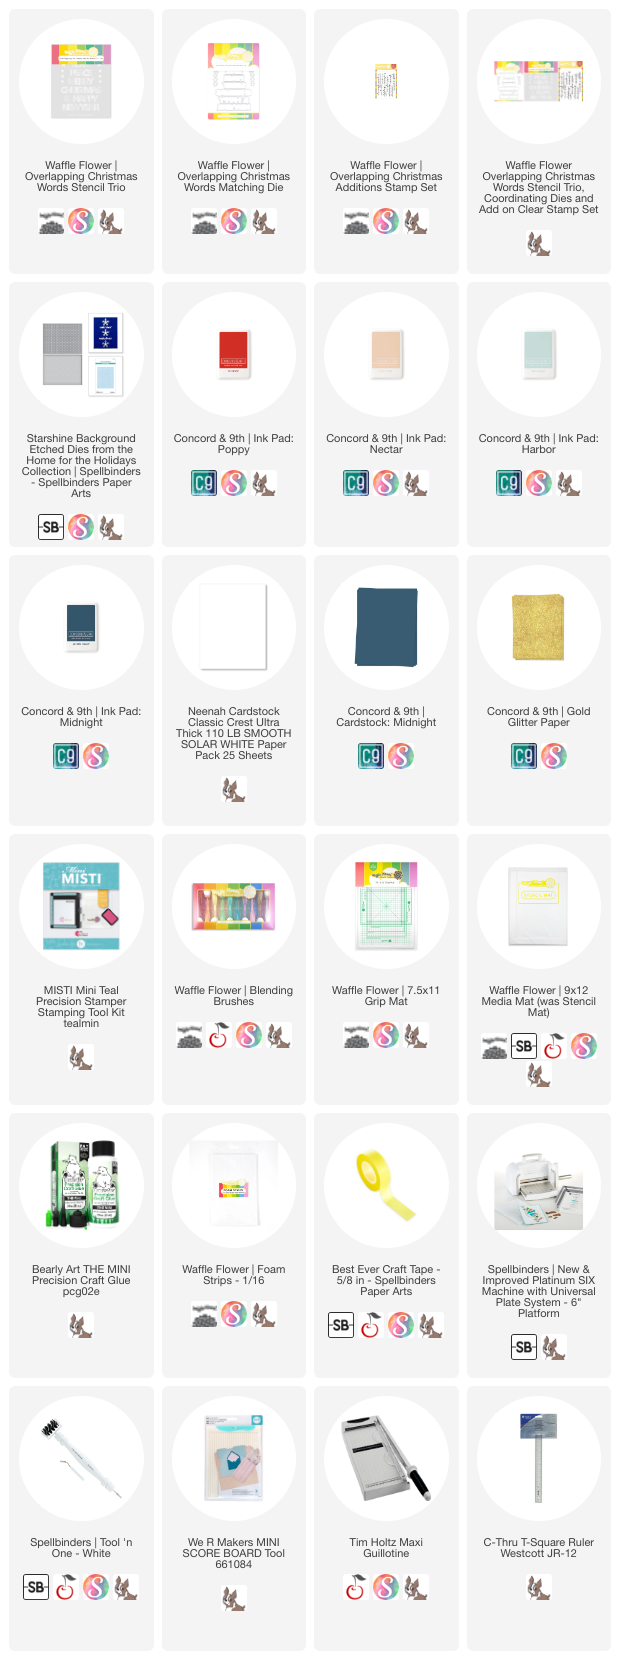
My first card for this month features some new favourites from our September sponsor, Waffle Flower. These include the Overlapping Christmas Words Stencil Trio, Overlapping Christmas Words Matching Die and Overlapping Christmas Additions Stamp Set.


I've only used two of the sentiments from this incredible bundle so you can imagine all the possibilities with the other holiday words in this set. Since we're talking about Lunar New Year and Chinese New Year cards here, of course I'm using a repeating Happy New Year sentiment!


I chose a delightful colour palette that was inspired by a Mid-Autumn Festival illustration by the artist littleWhale. All of the ink colours used to stencil the letters and stamp the scripted 'happy' are from Concord & 9thPoppy, Nectar, Harbor and Midnight.


To allow the die cut phrases to stand out, I chose a Midnight base panel, which I added texture to using Spellbinders' Starshine Background.


After glueing the Midnight base panel to the card base, I arranged the sentiments on an angle, using a T-square ruler to make sure they were all lined up nicely. Once I was happy with the layout, I used foam strips to give them a bit of dimension. To finish, I die cut stars from Gold Glitter paper and added those to the card.


The rules are simple. You must create a new Lunar New Year, Chinese New Year or a 2024 Dragon Birthday card and add the link to your post in the link-up party. For September, we're also inviting you to create Mid-Autumn Festival cards. Please see THIS post for more inspiration! Multiple entries are allowed. Backlinking to an older project is strictly prohibited.

Our September Lunar New Year Challenge will run from 12:00am EST on September 1, 2024 through 12:00pm EST on September 30, 2024. We would love to see you using products from our four generous sponsors! The four lucky winners will be randomly selected from all eligible entries and announced at the start of the October Challenge. 

(save and share with your project)

Visit the September Link-Up Party post HERE to see all of the design team projects and be inspired to create your own! When sharing your challenge entries on social media, feel free to save this badge and post it along with your project. Please tag us @lunarnewyearchallenge on Instagram and use the hashtag #lunarnewyearchallenge so everyone can find and be inspired by all your amazing projects.

Thanks so much for stopping by and I'll see you again soon!

Supplies

Friday, June 28, 2024

Waffle Flower | Stencilled Butterflies Mini Slimline + NEW Grip Mat Review


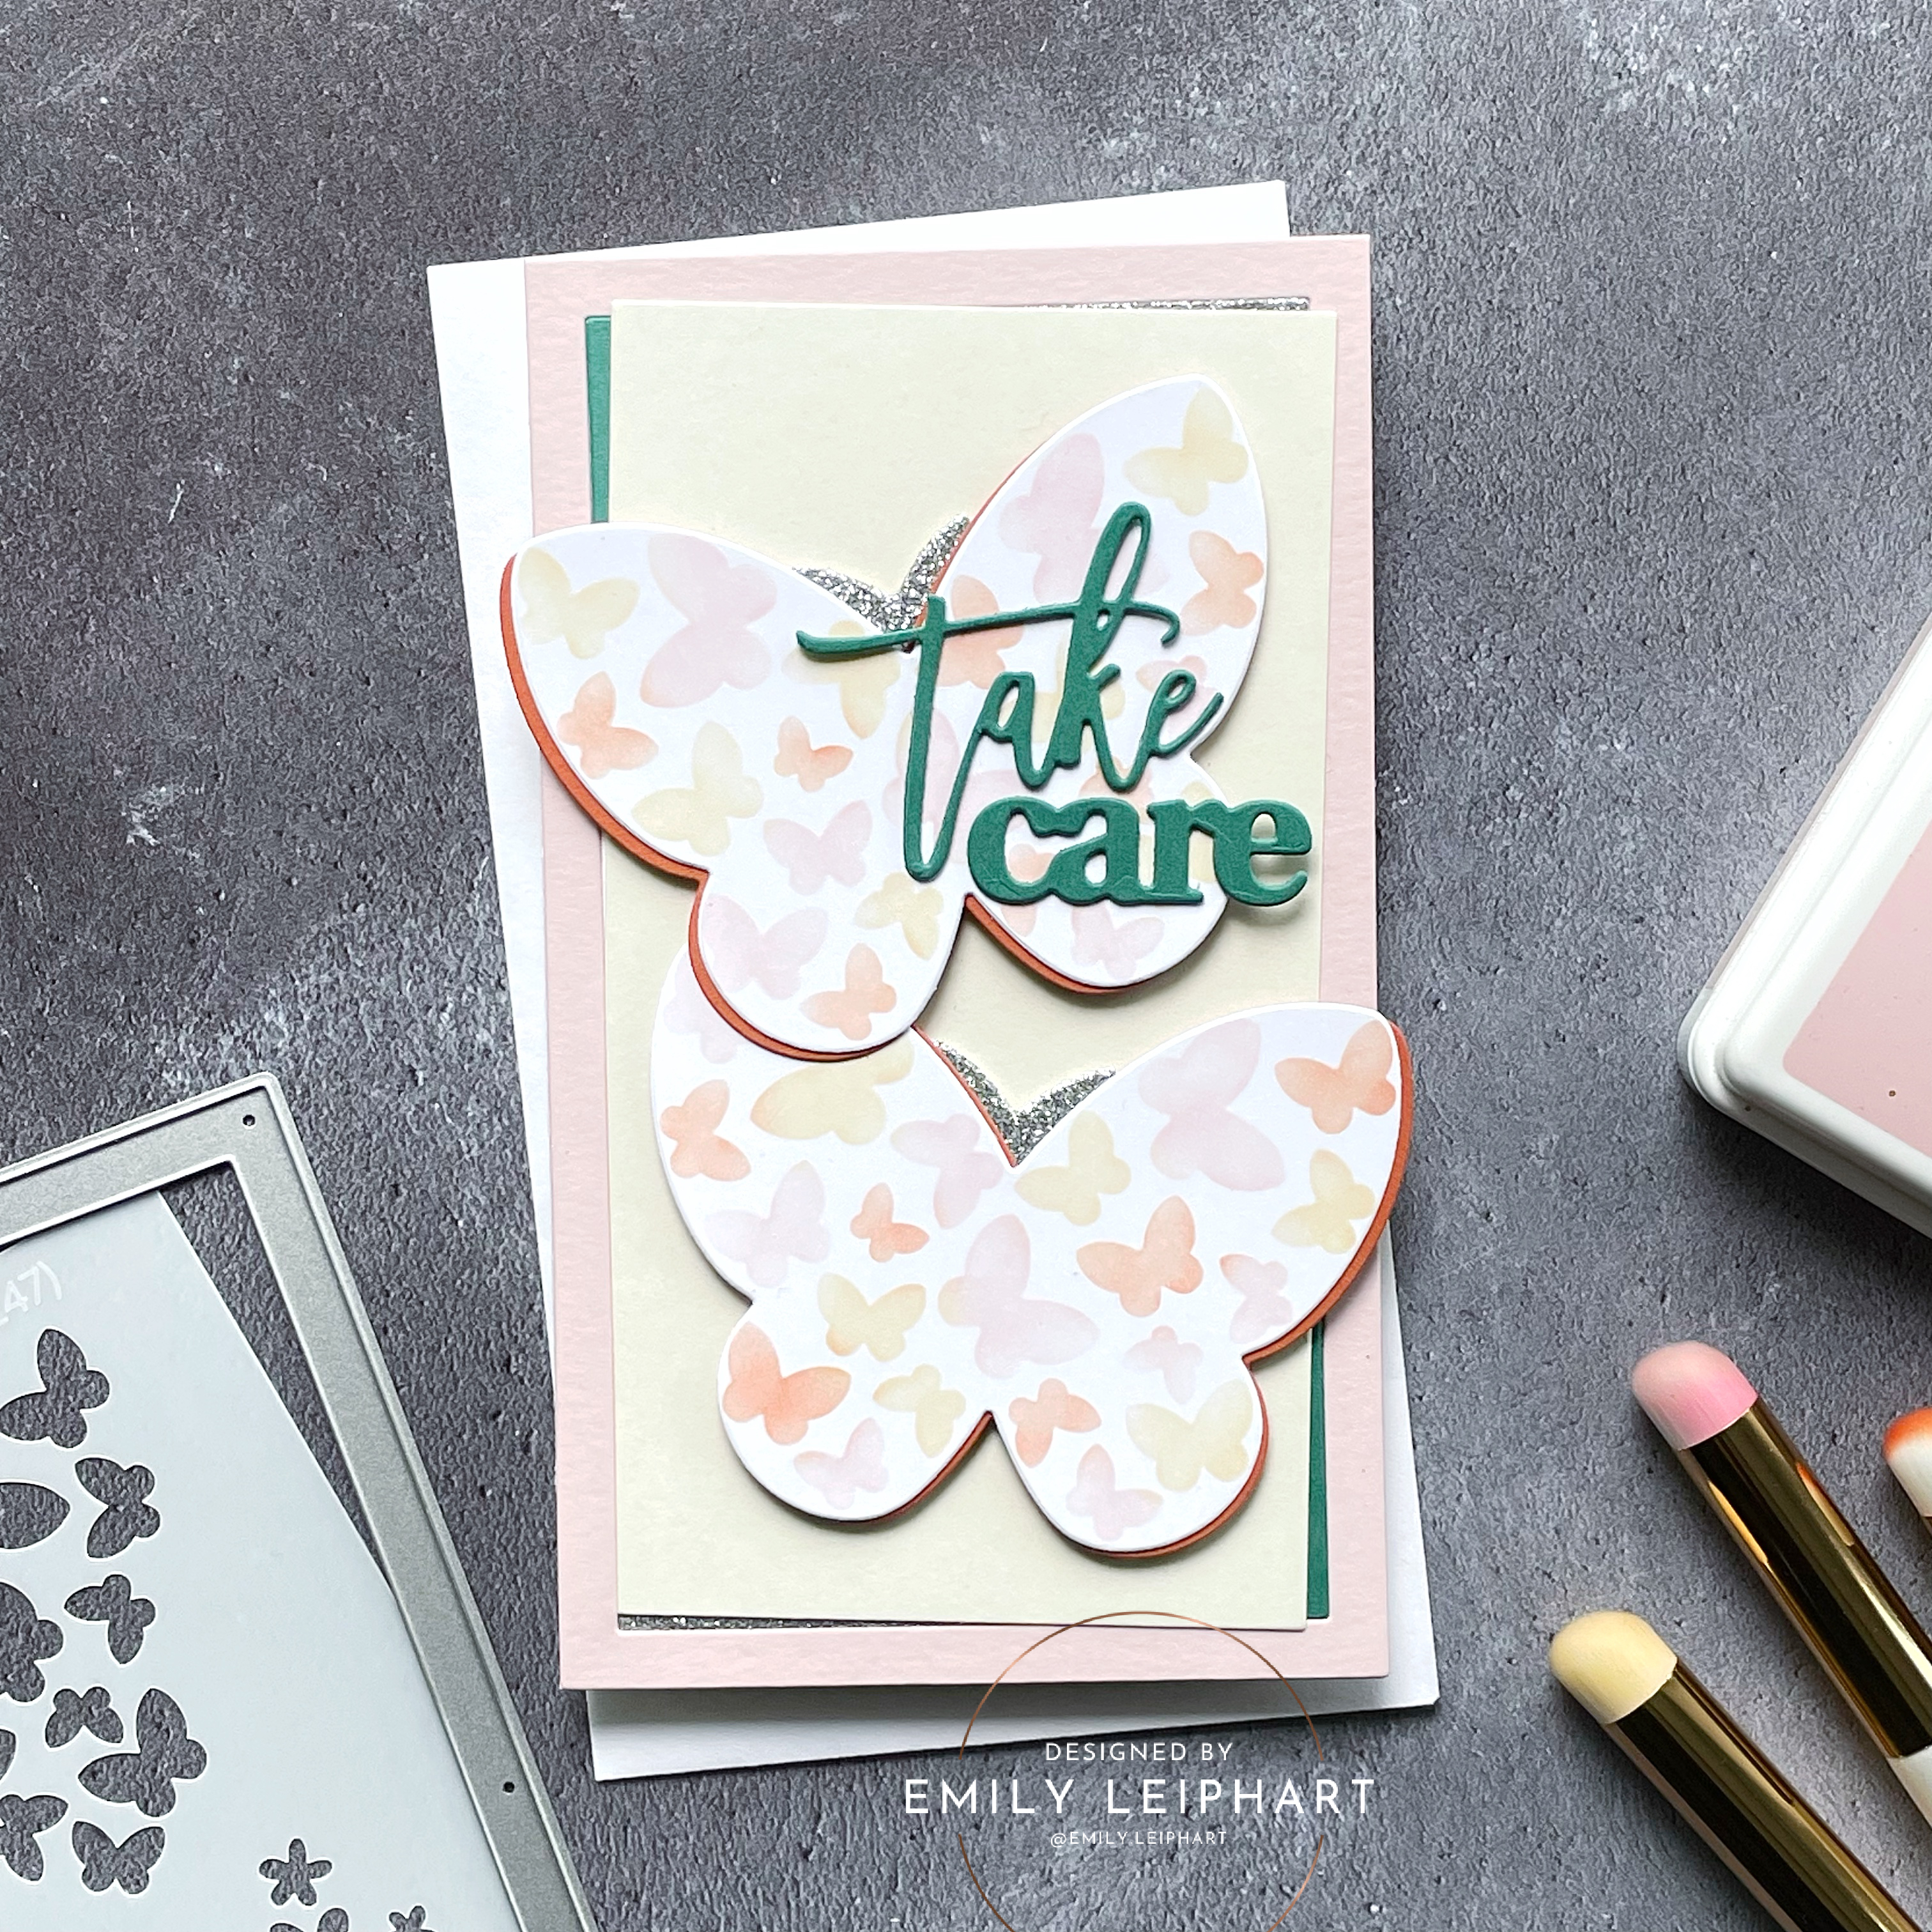
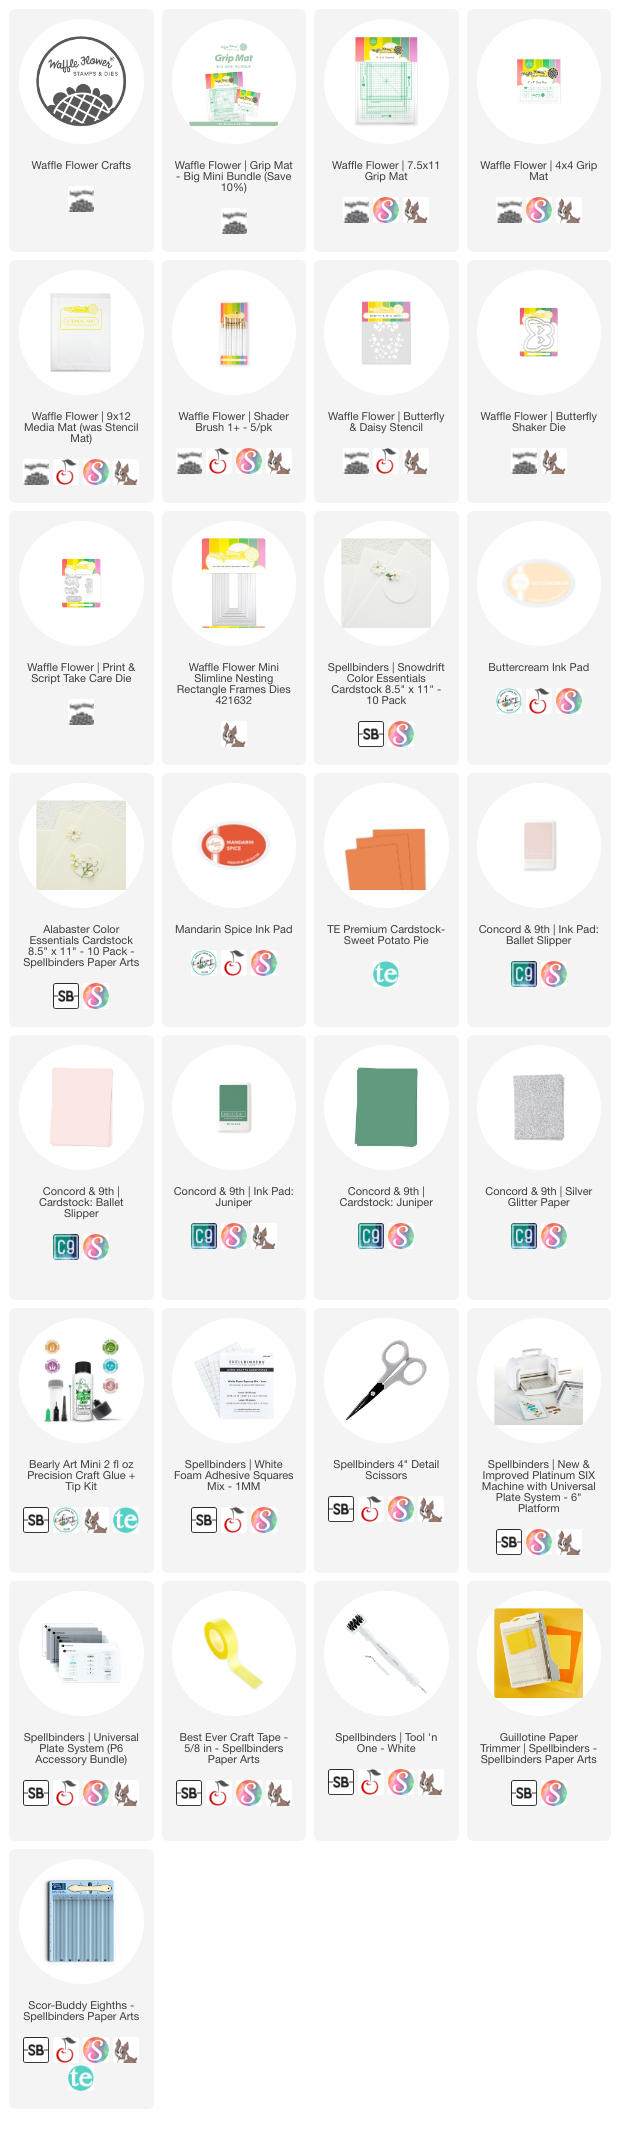
My awesome friends at Waffle Flower sent me their *NEW* Grip Mat - Big Mini Bundle to review and I love them so much! I already own and love the grip mats that fit inside both original and mini MISTIs so I was more than excited to try the two newest sizes - the 7.5x11" Grip Mat and 4x4" Grip Mat - which are now the largest and smallest sizes available.


Waffle Flower also sent me a few products to play with, perfect for pairing the 1+ Shader Brushes I already have and love. Featured here are the Butterfly Shaker Die and coordinating Butterfly & Daisy Stencil.


After die cutting the butterflies from Snowdrift and Sweet Potato Pie cardstock, plus antennae from Silver Glitter cardstock, I used Buttercream, Mandarin Spice and Ballet Slipper to ink blend the small butterflies on the die cut.


To frame the mini slimline, I cut the largest of the Mini Slimline Nesting Rectangle Frames from both Alabaster and Ballet Slipper cardstock. After cutting small corners from Juniper and Silver Glitter cardstock, I assembled the background and popped on the butterflies. To finish, I added a sentiment from the Print & Script Take Care Die, stacked two layers in Juniper, and glued it in place.


The 7.5x11" Grip Mat is a great size for the 9x12" Media Mat (was Stencil Mat) and the 4x4" Grip Mat is the perfect compact size to leave on your craft desk for stencilling small die cuts. I hope you'll check out all of these products in the Waffle Flower Shop.

Thanks so much for stopping by and I hope to see you again soon!

Supplies

Thursday, November 23, 2023

Stencilled Holiday Cards | Waffle Flower + Giveaway!


Please comment on my Instagram Post
to participate in this GIVEAWAY!


Hello, crafty friends! I've partnered with Waffle Flower Crafts to give one lucky winner a Waffle Flower Shade Brush PLUS Sampler Pack! These brushes are the cutest, so ergonomic and wonderful to use on stencils with small spaces. I really didn't know what was missing until I was gifted these to try and now I must buy a lot more for all my inks!


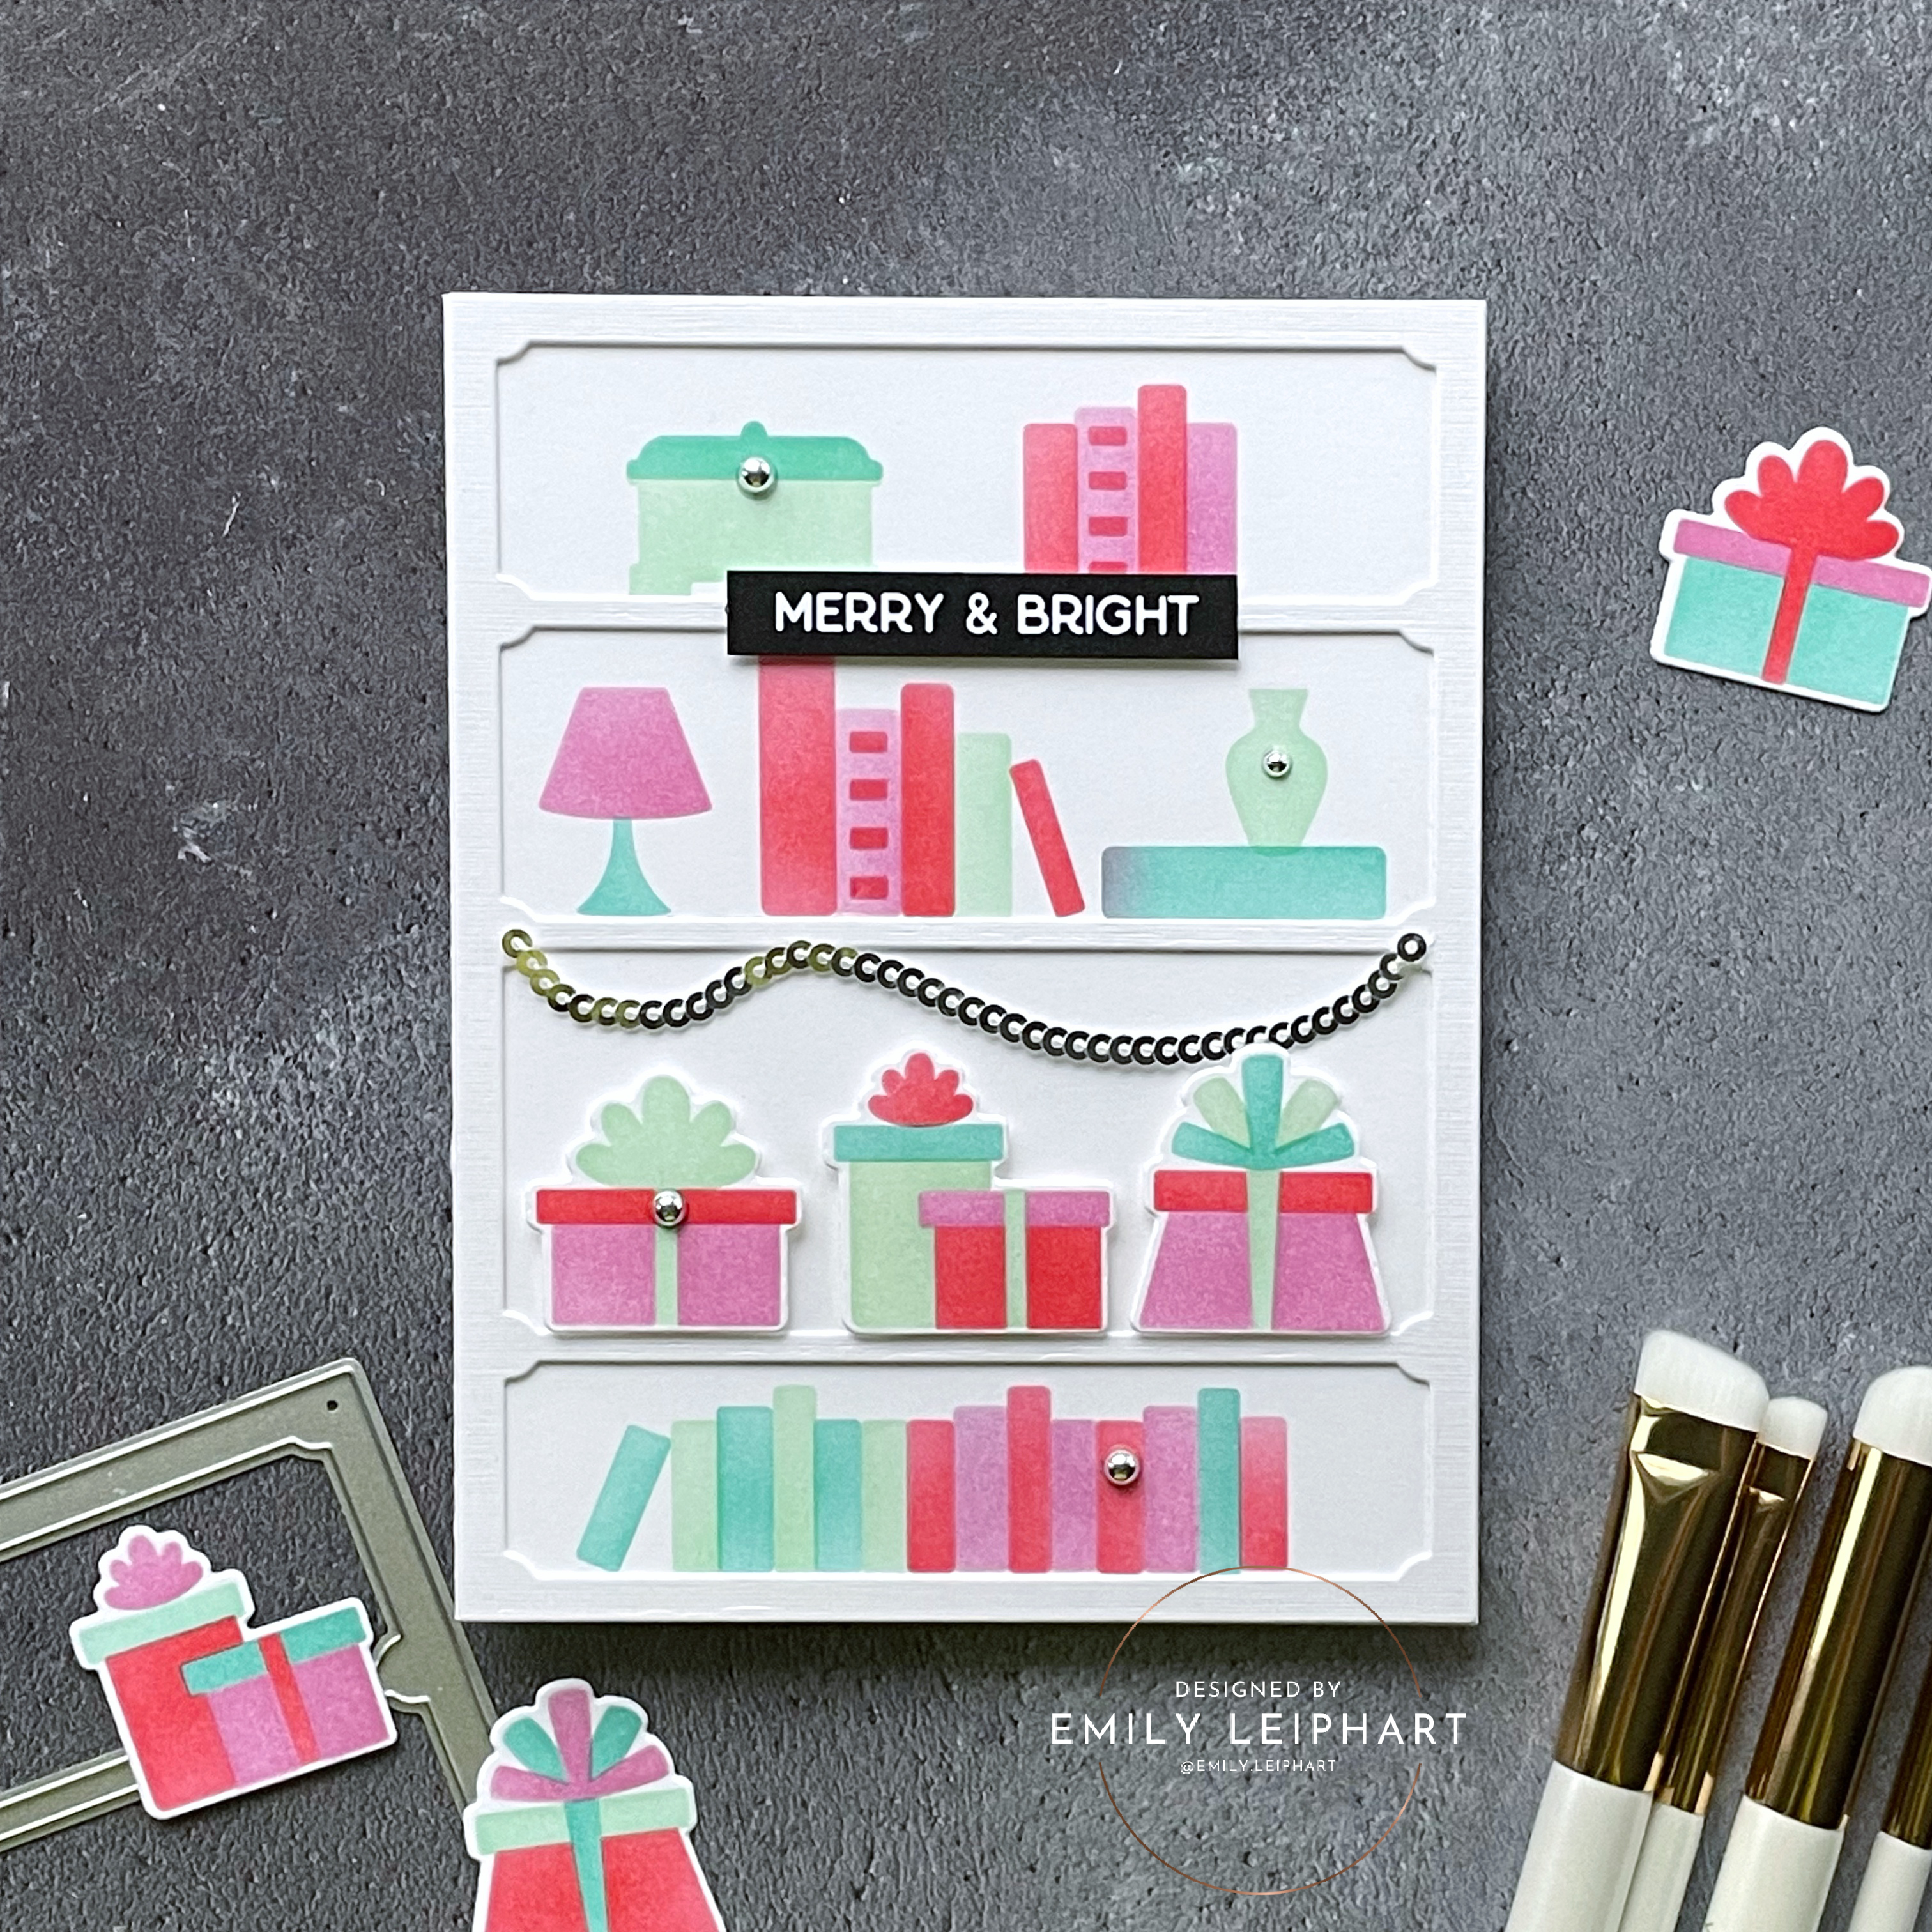
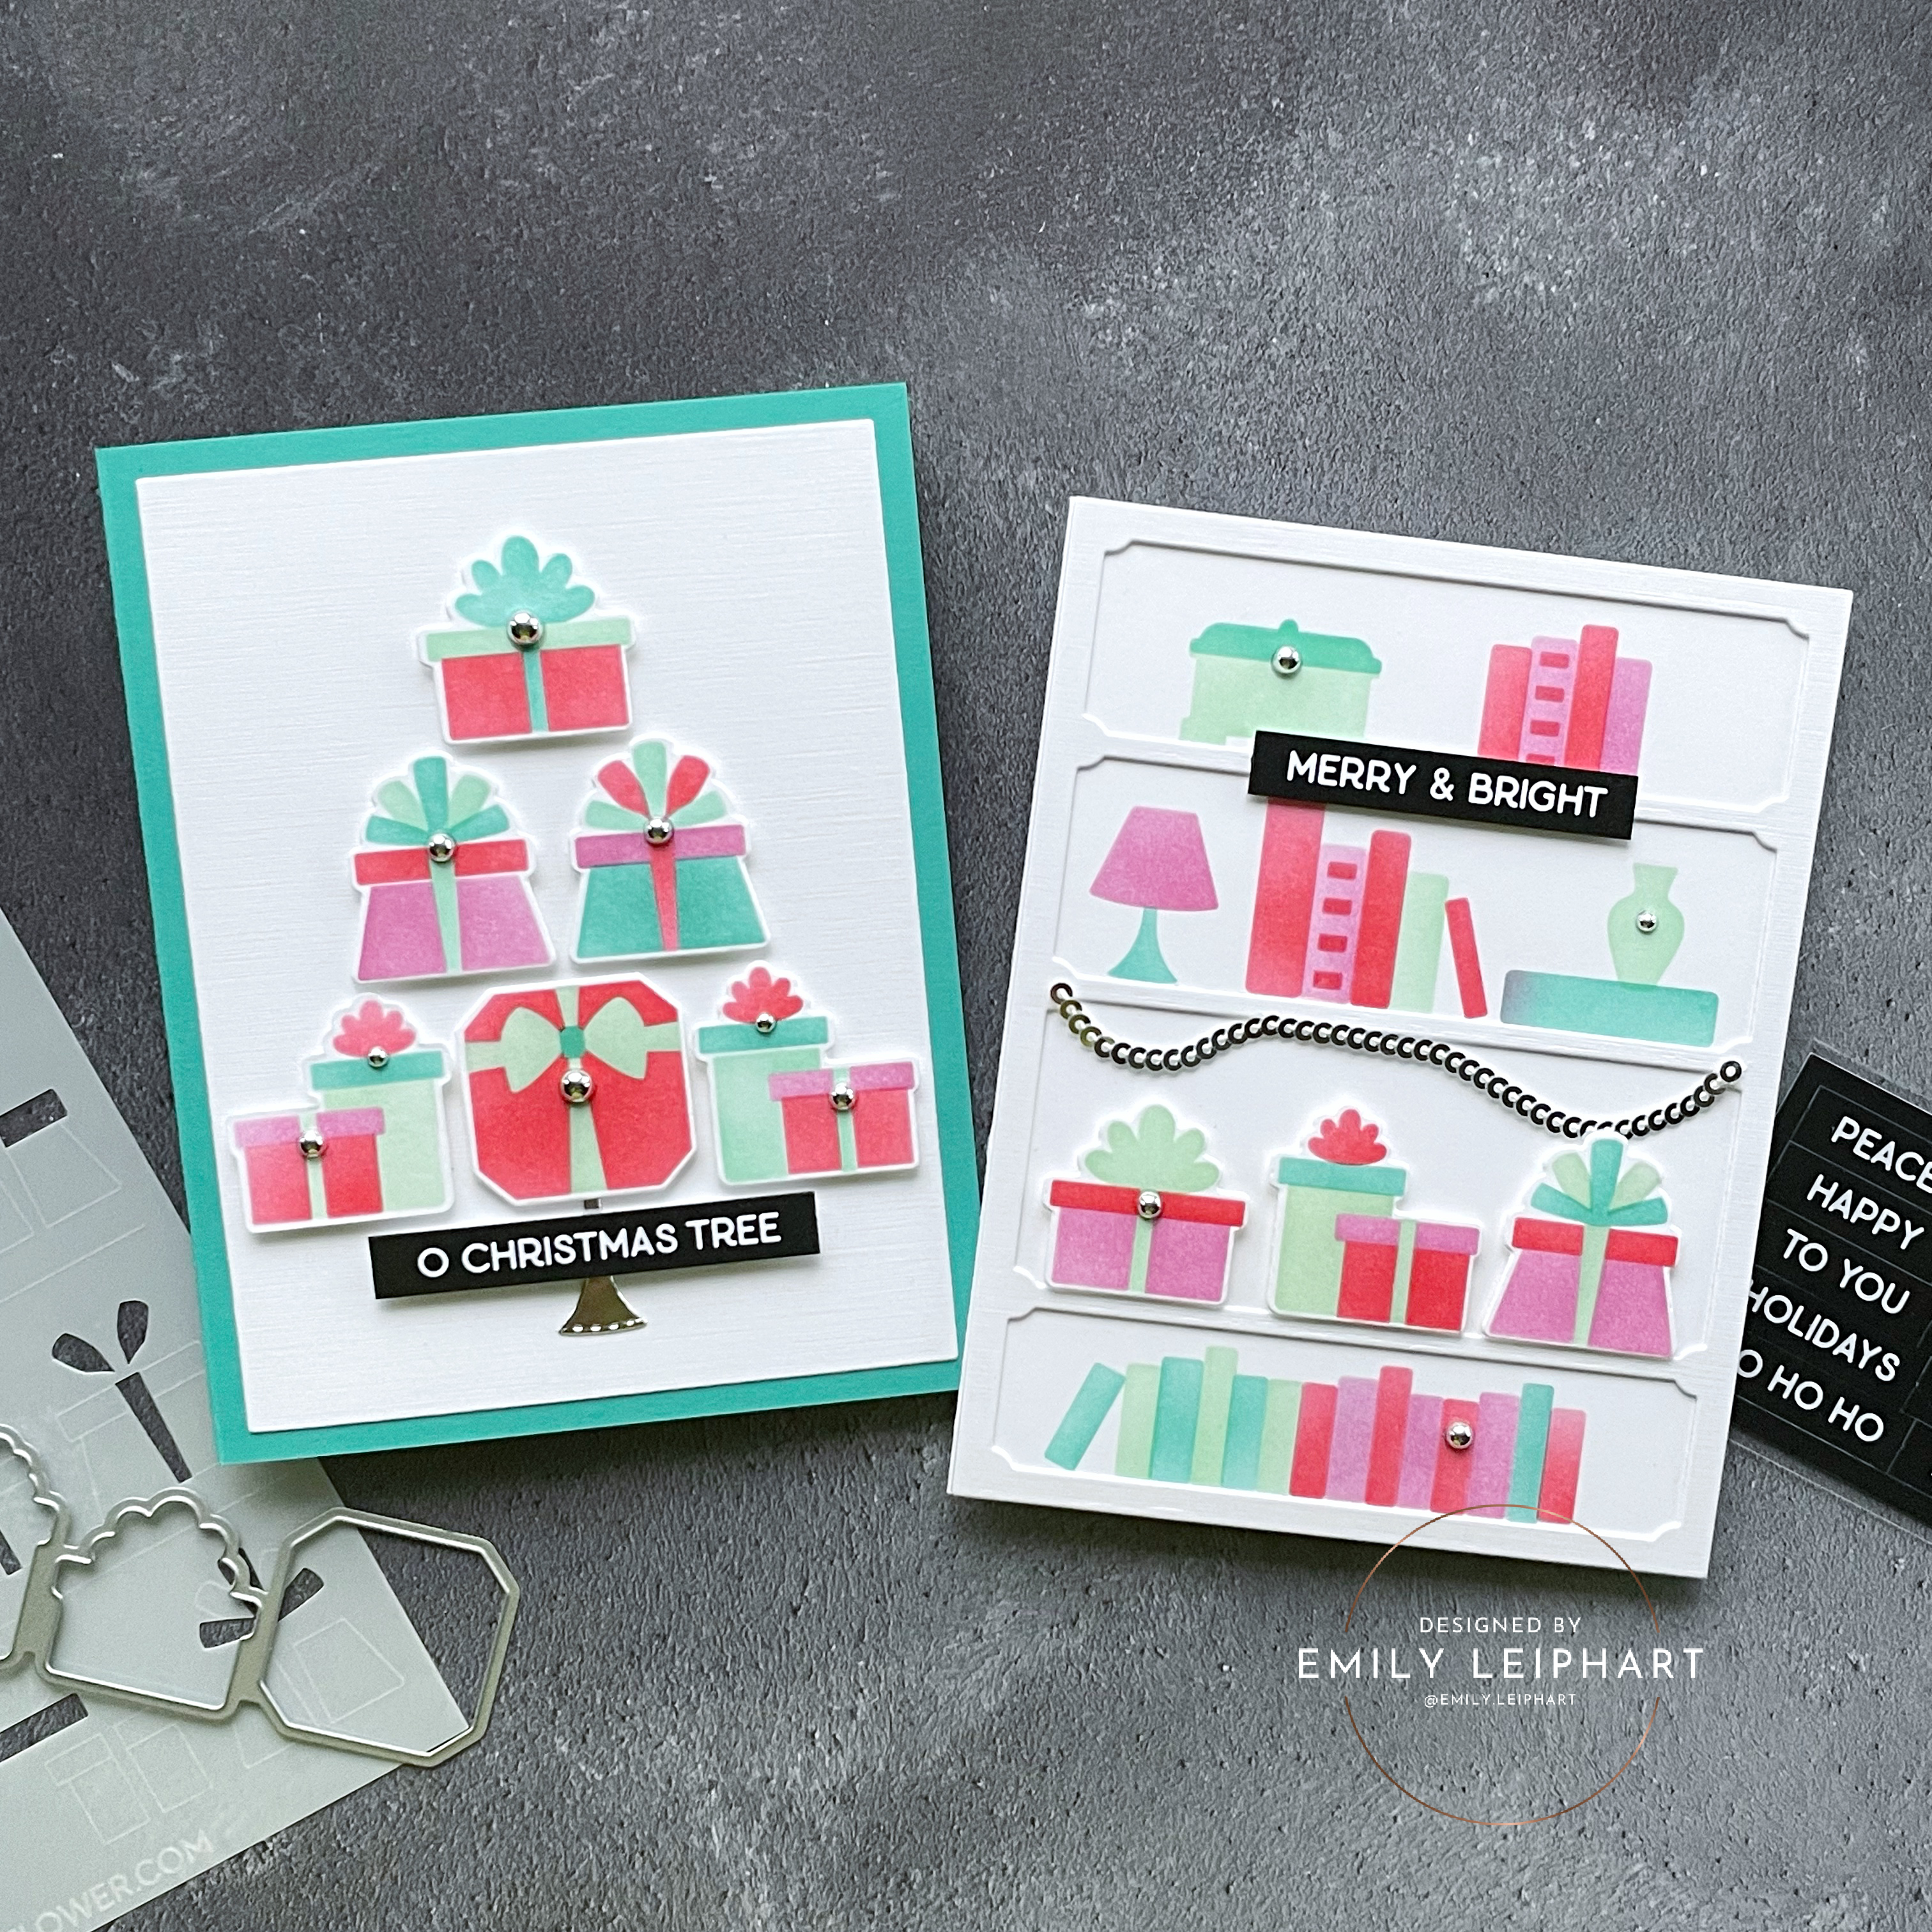
The five products featured in this post were gifted to me and I'm excited to share them on these two cards. It's no joke that Waffle Flower was feeding my book addiction when they sent me the Simple Shelves Die and Simple Shelves Stencil Duo


I love that the shelf fills an A2 card front and you can pretty much put anything on it. Imagine my delight when I discovered that the gifts from the Multiple Presents Die-n-stencil fit perfectly on the third and largest shelf!


I used Catherine Pooler inks to do all my stencilling for these two cards and the colours featured are Sparkling Berry, Samba, Minted and Aquatini.


I cut two layers of the Simple Shelves Die from Neenah linen white cardstock for a bit of dimension and texture. Then I popped the gifts on with foam tape since they're the highlight of this bookshelf.


Since this card is indeed Merry & Bright, I used one the perfect sentiment from the Subsentiments Christmas Tree Diecut Sheet. Using a trick I learned from Michelle Short, I used a black Copic marker to blacken the edges of the die cut so it looks bolder and cleaner.


To finish, I embellished the shelf with some silver sequin ribbon and silver metallic pearls.


For my second card, I decided to use the gifts from Multiple Presents Die-n-stencil to create a Christmas tree and I'm thrilled with the results. It's so cute and since I stencilled four sets of these gifts by rotating the four colours, I have a lot of extras to mass-produce this design.


On the bottom row, left side, I had to make a reverse set of gifts to make the tree symmetrical. I created a mirror image of the gifts on the right side by flipping the stencil 180 degrees and recreating it. To use the same die on this mirror image, I simply held up the die on the back of the stencilled image in front of a lamp and place vellum over the image so the lines on my cutting plate wouldn't impress on the front of the image. Then I used a bone folder to round off the edges of the die cut since the sharp edge was showing and I wanted it to match the other die cuts.


For the base of the tree, I discovered that the lap from the Shelf Add-Ons Die worked perfectly (see more inspiration using this set HERE). However, it was too short so I cut two of them from Spellbinders silver foil cardstock and used another perfect sentiment from the Subsentiments Christmas Tree Diecut Sheet to cover the break in the middle.


I assembled the tree on a panel of Neenah linen white cardstock cut from Spellbinders Precision Layering A2 B Dies and glued that on a card base cut from Teal Topaz cardstock.


To tie in the silver from the base of the tree and the previous card, I embellished the gifts with and assortment of silver metallic pearls.


I hope you enjoyed these cards using some really delightful products from Waffle Flower Crafts. Which card is your favourite? My son likes the book shelf! Don't forget to comment on my Instagram Post for a chance to win a Waffle Flower Shade Brush PLUS Sampler Pack.

Don't forget to check out Waffle Flower's amazing Black Friday and Grab Bag Deals, on now through November 27th and November 30th, respectively.

I hope you enjoyed today's projects. I appreciate you stopping by and, if you're inspired, please shop my affiliate links below. Thanks so much for your continued support!

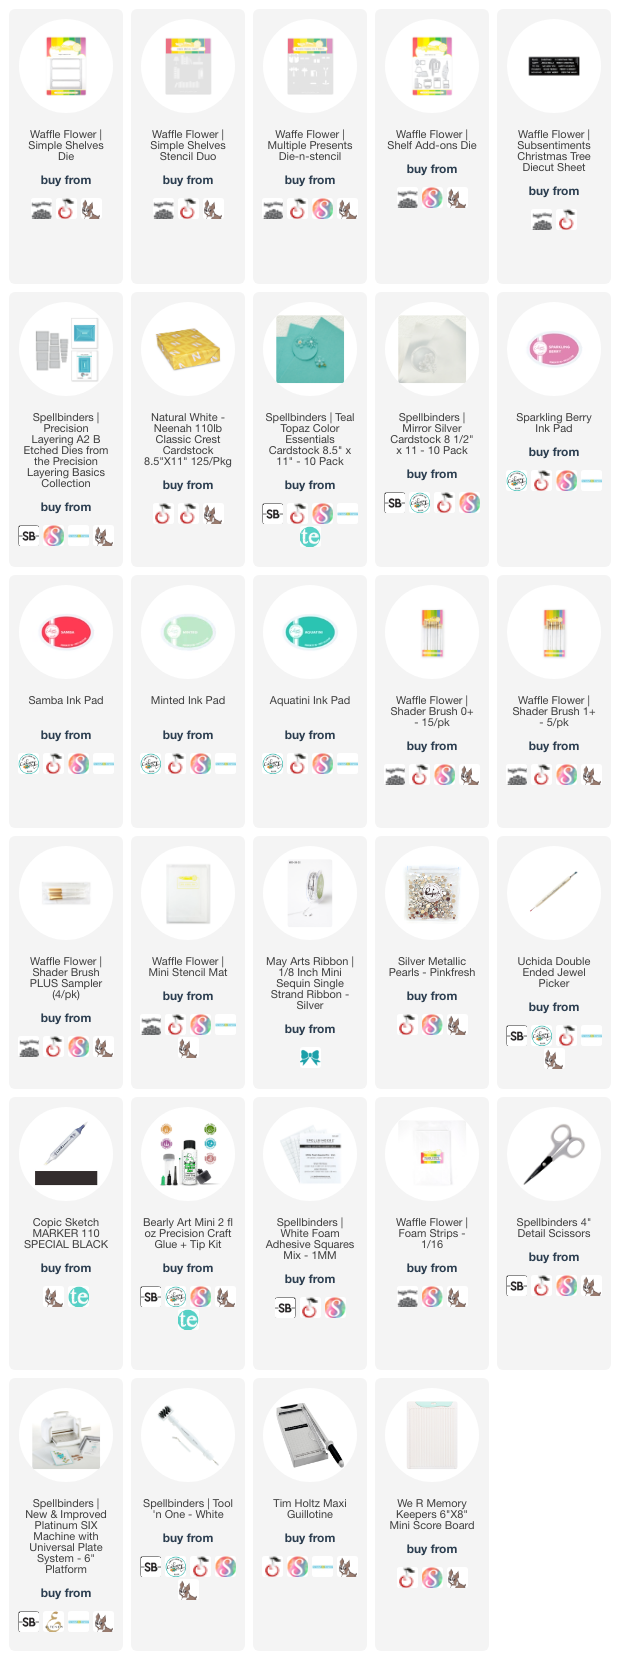
Supplies

Tuesday, November 7, 2023

Treat Yo' Shelf | Waffle Flower November 2023 Release


Hello, crafty friends! I have more book-themed cards to share with you today and they're from Waffle Flower's November 2023 release. It's full of books and cats and it's truly amazing! It makes me miss my friend Lindsey even more because she would've loved these products so much. I actually had to stop looking at everything because I can't afford to buy it all. Am I right?!
 

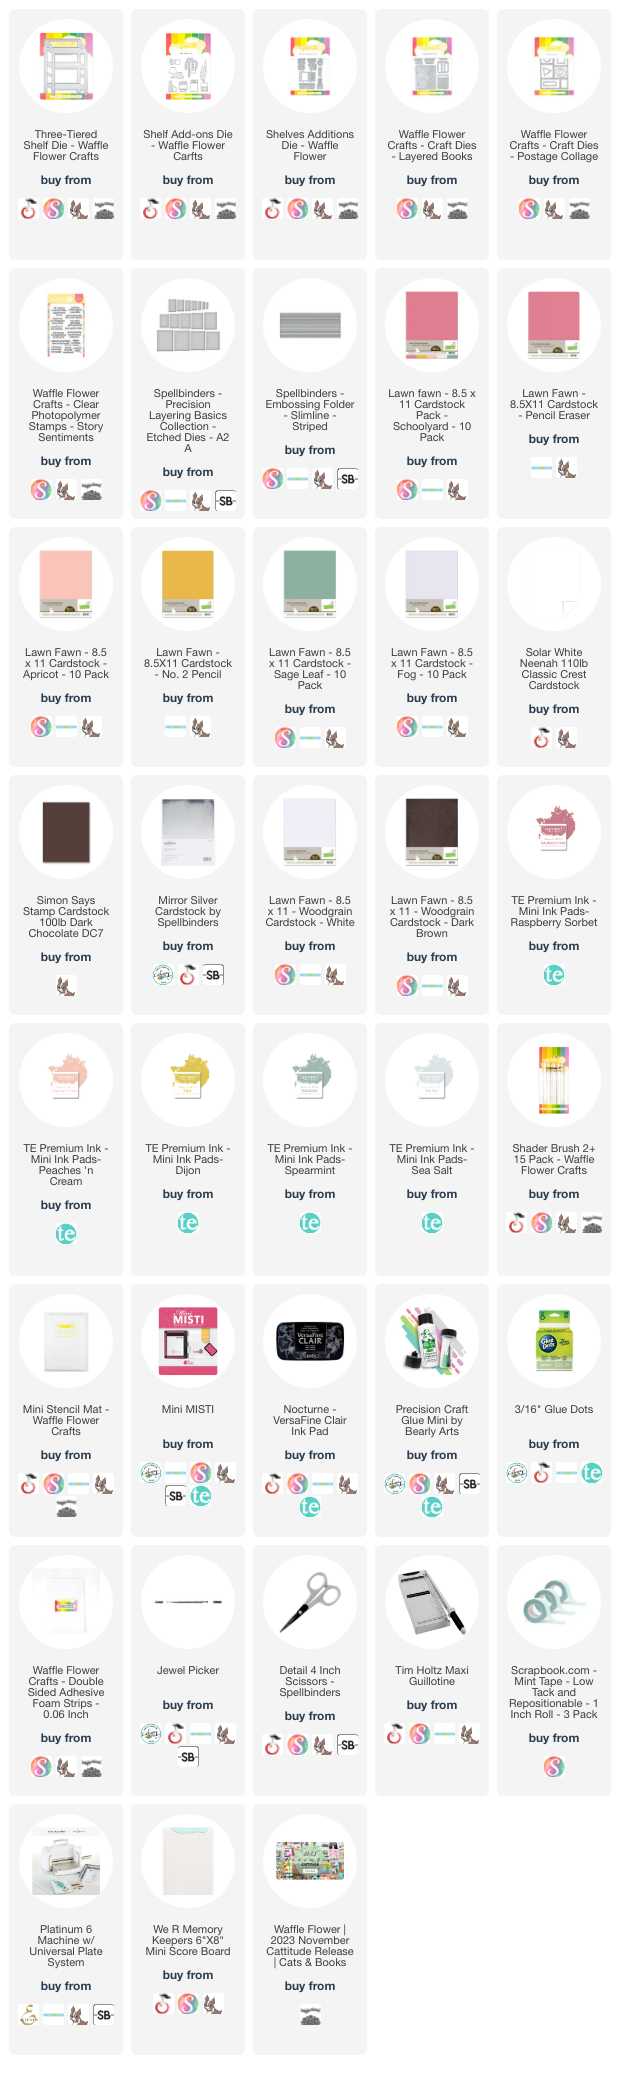
Of the newly-released products, I'm featuring the Three-Tiered Shelf Die, Shelf Add-Ons and the 2+ Shader Brushes All of these new products go so well with their previously released book products, some of which I added here, and you can see more inspiration in this post.


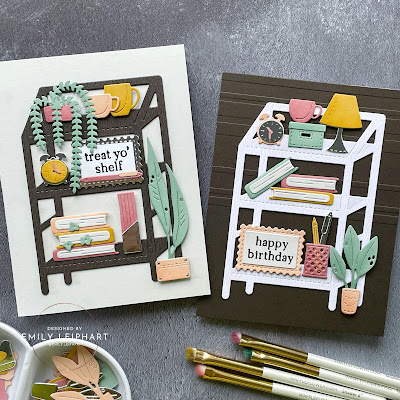
The colours for these two cards were inspired by Lawn Fawn's Schoolyard Cardstock Pack and the colours included are Pencil Eraser, Apricot, No. 2 Pencil, Sage Leaf and Fog. Also featured are heavyweight white, dark chocolate, silver mirror, white woodgrain and dark brown woodgrain cardstock.

(click on any photo to enlarge)

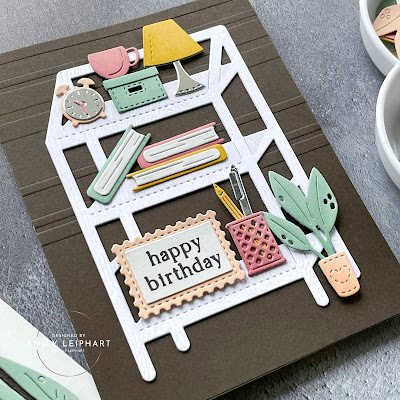
For my first card, I used a Fog card base and dark brown woodgrain Three-Tiered Shelf. The woodgrain paper adds to much detail to the shelf but the die itself has amazing details. I die cut different elements from the new Shelf Add-Ons and added a few items from the previously-released Layered Books and Shelves Additions die sets.


The new plants are so awesome and you could use all four types of plants on the shelf for a gardener! This unique shelf die is perfect for so many things and I would love to see some kitchen-related additions. I'm getting excited thinking about the possibilities. LOL


I used the new 2+ Shader Brushes with coordinating ink colours from Taylored Expressions to shade all of the edges of each die cut, giving them an extra bit of detail and dimension. The colours I used coordinate perfectly with the cardstock colours.


My second card uses a dark chocolate card base, which I created wainscotting for using Spellbinders Striped Slimline Embossing Folder. Since the background was dark, I wanted it to have substance instead of being flat.


On this card, the Three-Tiered Shelf was cut from white woodgrain cardstock. I should mention that both shelves were double-layered for extra dimension.


For this card, I varied the Shelf Add-Ons and Shelves Additions dies. Can you tell that little classic alarm clock is my favourite from the new release? It's just so cute!


The sentiments for both cards are from the Story Sentiments stamp set and they were stamped with VersaFine Clair Nocturne ink. I didn't have other appropriately-proportioned Waffle Flower sentiments so I created little whiteboards or frames using the Postage Collage Die.


Which of these two cards do you like better? Please let me know what your favourites are from the November 2023 Cattitude Release! If you made a purchase, what did you buy? If you created a wish list, what's on it? I'd love to know! 


I hope you enjoyed today's projects. I appreciate you stopping by and, if you're inspired, please shop my affiliate links below. Thanks so much for your continued support!

Supplies

Saturday, November 4, 2023

Sending Hugs feat. Waffle Flower


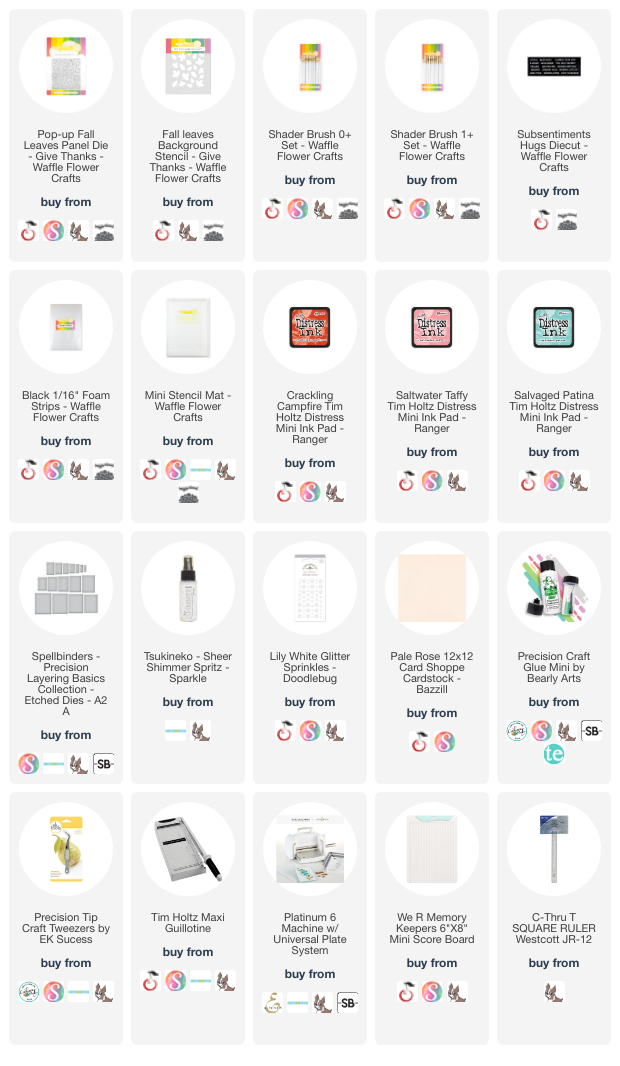
Waffle Flower sent me the Pop-up Leaves Panel Die and Fall Leaves Background Stencil to play with and they were every bit as satisfying to play with as I imagined! Plus, the card came together so quickly and it's absolutely stunning with that big of texture and all those details.


I love all the different leaves on this die and you can use as few or as many colours as you want. I hadn't used my distress inks in a while so I chose Crackling Campfire, Saltwater Taffy and Salvaged Patina.


I didn't own any of the Waffle Flower shader brushes until recently and, boy, was I missing out! They are so cute and I just love how they feel in my hands. There are several sizes and they're made for small areas such as this. My favourites are the new Shader Brush 0+ Set and Shader Brush 1+ Set. I will definitely be buying more!


After die cutting the background and stencilling it on white linen cardstock, I splattered it with a shimmer spray and soaked it up with a paper towel. When it was dry, I lifted up the edges of the leaves, being careful not to put creases in the cardstock. 


Next, I glued the stencilled panel to sheet of Pale Rose cardstock of the same size for a bit of extra dimension before attaching it to a Pale Rose card base. I trimmed a Subsentiments Hugs Diecut and popped it on to the panel with a foam strip. To finish, I added several white glitter enamel dots.


I hope you enjoyed today's project. I appreciate you stopping by and, if you're inspired, please shop my affiliate links below. Thanks so much for your continued support!

Supplies