


This first card uses both the cardstock and ink colours Rose Water and Raspberry Sorbet from Taylored Expressions. I created a card base from Rose Water cardstock and used the Precision Layering A2 A Dies to cut a panel from Raspberry Sorbet cardstock.

I sprayed water on the Raspberry Sorbet panel and spread it evenly with my hand before running it through the Platinum 6 using the Adaptor Plate from the Universal Plate System. The water softens the cardstock and keeps it from cracking.

Next, I stamped the floral ornament with Raspberry Sorbet ink and used the filler stamps to stamp the flowers with Rose Water ink. While I was blogging, I could only think of a spin top so I asked my husband what he would call this shape and he said, "An onion? Radish?" LOL Thank goodness my friend Thanh came to the rescue. ;)

Using the coordinating die set, I cut both the stamped image and a second piece from mirror gold cardstock, which I cut in half horizontally and glued to the back. Then I stamped the birthday sentiment with Sugar Cube ink and heat set it with white embossing powder on Raspberry Sorbet cardstock. To finish, I added Bella Pearl Dots to the centres of all the flowers.

The second card was made in the exact same way, using cardstock and ink colours in Mint Julep and Spearmint from Taylored Expressions. I created a card base from Mint Julep cardstock and used the Precision Layering A2 A Dies to cut a panel from Spearmint cardstock.

I sprayed water on the Raspberry Sorbet panel and spread it evenly with my hand before running it through the Platinum 6 using the Adaptor Plate from the Universal Plate System. After the panel dried, I glued it to the card base.


Here's a list of monthly club kits I share, as well as some of the value kits offered by Spellbinders:
Thanks so much for stopping by!
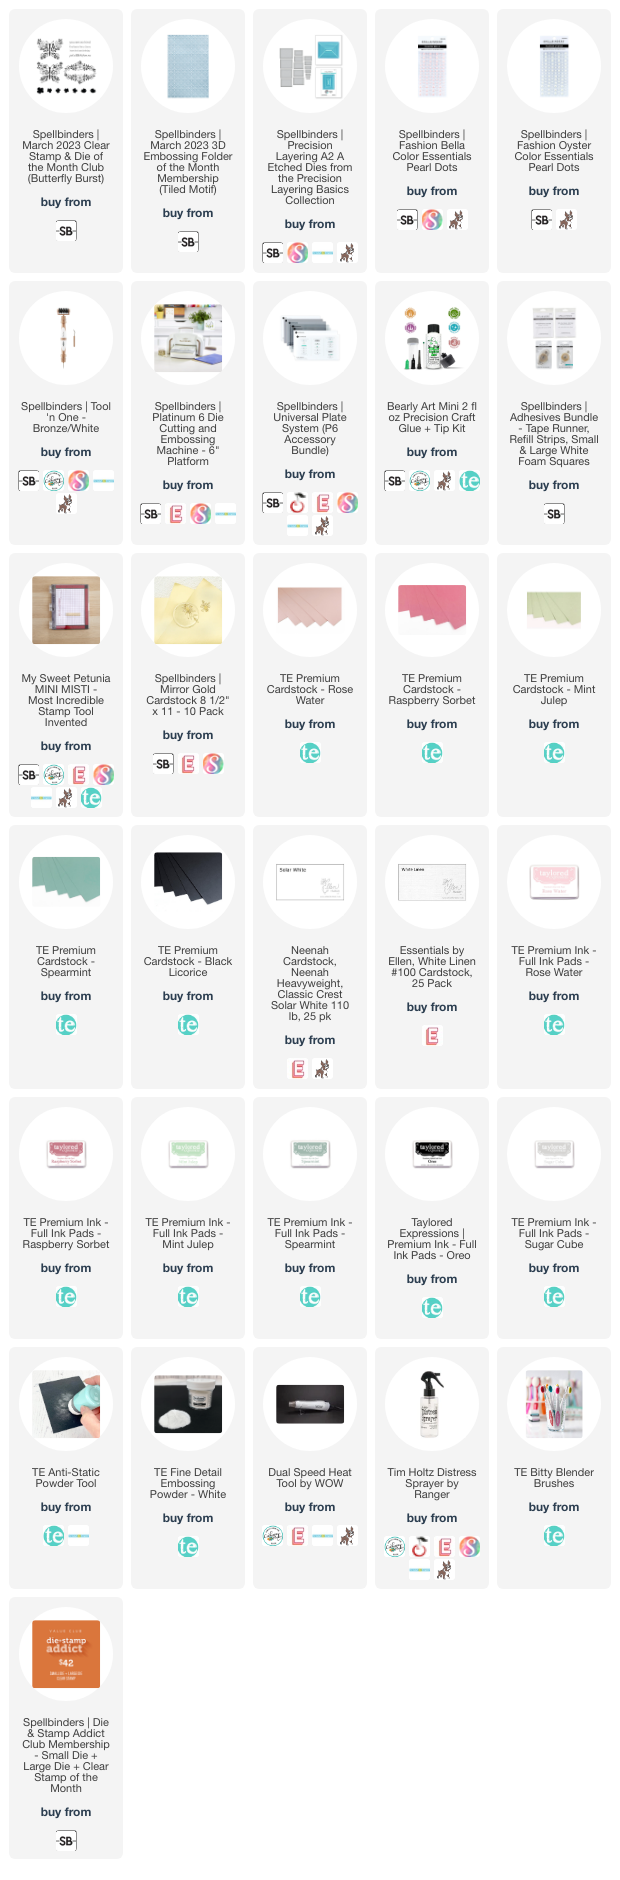
Supplies:


No comments:
Post a Comment