

I finally did it! I caved and got a Spellbinders BetterPress Letterpress System!! I held off for as long as I could and now I wish I hadn't waited but you know how these things go. It's definitely hard to spend the money up front but it's actually quite affordable compared to most machines nowadays. Plus, I feel it's really worth the results and one set of plates can go very far!
Since the texture is the best feature of these products, I tried hard to make sure that my photos showed off the letterpress dimension because that is what is the main selling point. Otherwise, the press plates just look like an ordinary stamp and that isn't enough to make me want to buy it!

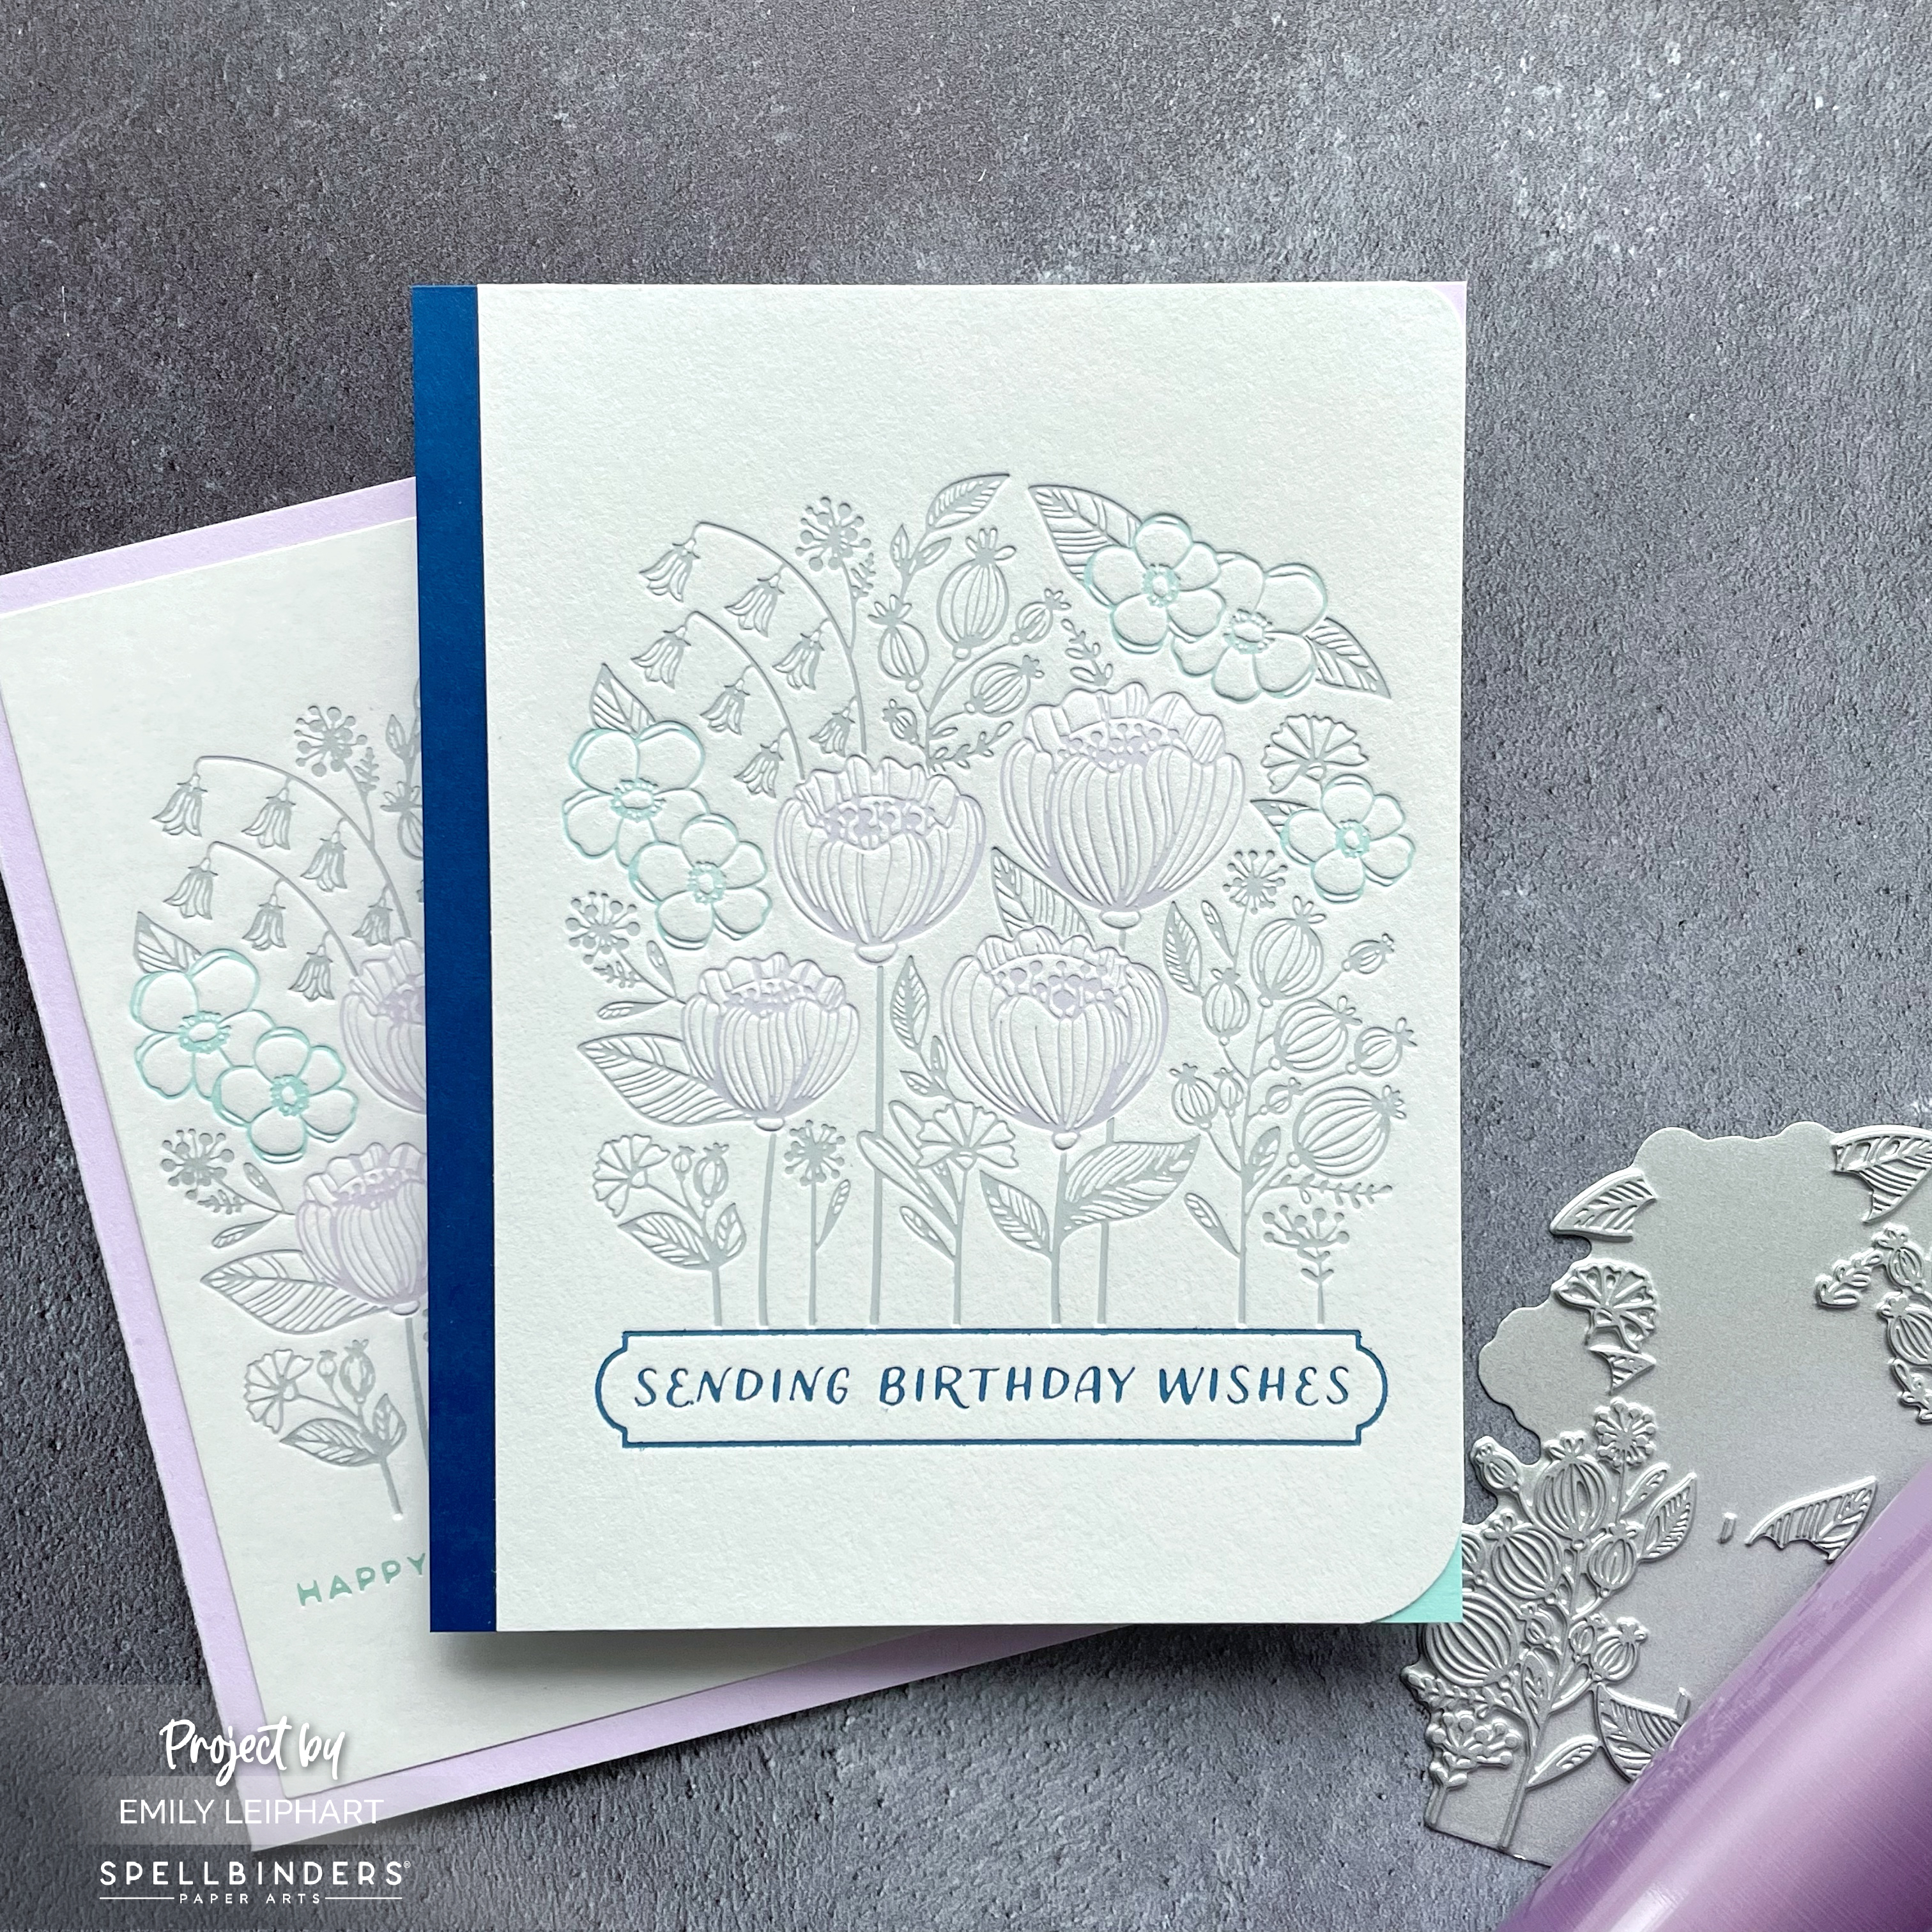
This first card features the Blooming Garden Press Plates from the BetterPress Place & Press Registration Collection. This is the first of its kind in the BetterPress line because what it does is allow you to use different ink colours with different pieces that fit together like a puzzle.

You can use up to four different colours for the stem/leaves, large flowers, small flowers and sentiment, which is exactly what I did. The BetterPress requires inks with a firm pad so you can use any ink pads with this feature. You can, of course, buy from the BetterPress Ink Collection but it's not necessary.


I trimmed both sides of the cotton panel down to create a 4" x 5.5" panel. Then I used a Corner Chomper to round the top with the 1/4" side and the bottom with the 1/2" side. I added pieces of coloured cardstock in Blueberry, Lavender Glaze and Confetti Cake to coordinate with the inks.

I love the muted look of these softer tones on light grey cardstock. The sentiment was pressed in the darkest colour and I almost wish I had used one of the other three colours to keep it very soft. The Blooming Garden Press Plates come with two other sentiments so I may have to try a new combination of soft colours and make a gift set.

Seriously though, I can't stop oohing and aahing over the texture and look of the press plates both on the cotton panels and, yup, regular cardstock which is exactly what I used for the second card. I used Lawn Fawn Fog cardstock, which I cut down with the Precision Layering A2 B Dies.

Next, I heat foiled one of the Inside Card Glimmer Sentiments with Pastel Mint Hot Foil, which is a perfect match for the Confetti Cake ink.

In order to achieve the letterpress look with this particular cardstock, I used temporary adhesive and attached it to a second panel of cardstock, then removed two of the shims from underneath the chase. The impression here was far greater than on the cotton panel so I could've used a thinner piece of cardstock or removed all three shims.

Again, I used the Taylored Expressions mini ink cubes in the same orders as on the first card: Oyster (stems/leaves), Lavender Glaze (big flowers) and Confetti Cake (small flowers).

To finish, I simply glued this panel on to an A2 card base cut from Lavender Glaze cardstock. It was so tempting to add some embellishments to both these cards but I wanted to keep them simple and show off the gorgeous letterpress texture!

I hope you enjoyed today's projects! I appreciate you stopping by and, if you're inspired, please shop my affiliate links below.


Thanks so much for your continued support!
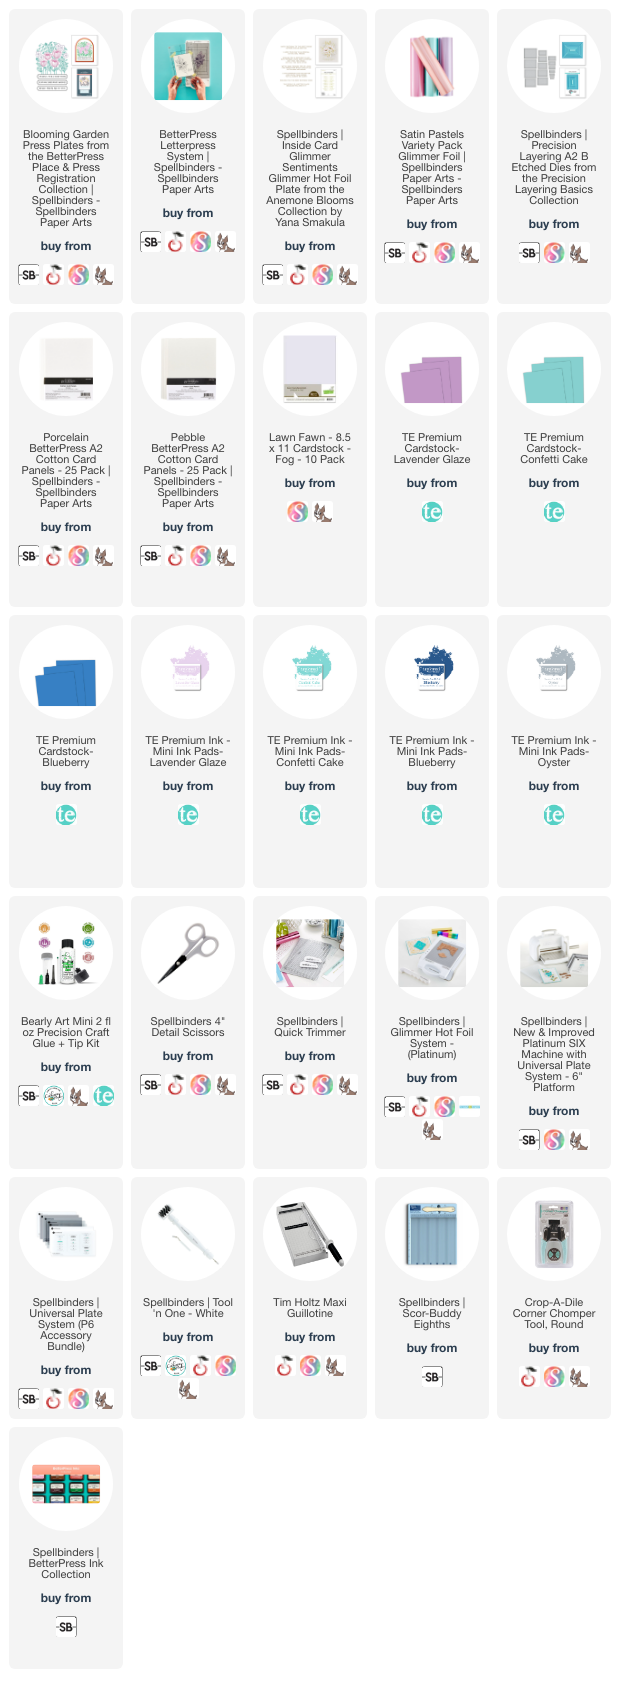
Supplies:


No comments:
Post a Comment