Saturday, March 9, 2024

Spellbinders | More BetterPress feat. Thank You Blooms


My love affair with the Spellbinders BetterPress Letterpress System continues with this duo of cards using the Thank You Blooms Registration Press Plates from the BetterPress Place & Press Registration Collection. If you missed my last post featuring the Blooming Garden Press Plates, you can find that HERE.


This pair features two very different looks using the same colour palette. The inks and coloured cardstock are from Taylored Expressions. This first card features Pink Champagne, Mint Julep, Gumball and Macaron mini ink pads. 


I experimented with using full size ink pads and, while it's easier and faster to use larger ink pads, the ink can get all over the surrounding areas and into the flatter areas of the BetterPress dies which is not ideal. 


I pressed these inks and the Thank You Blooms on to a Porcelain BetterPress A2 Cotton Card Panel and trimmed 1/4" off the top and bottom so it measures 4.25x5". I also cut a strip of Silver Glitter Cardstock, which I adhered to the back of the panel before attaching it to an A2 card base cut from Gumball Cardstock.


I was torn between leaving this as it to show off the beauty of the BetterPress Letterpress look and adding a few embellishments but decided to leave it as is and I'm glad I did! This is one of those cards that is hard to resist running your fingers across. LOL


This second design is much more bold and not only features the same Taylored Expressions inks in Pink Champagne, Mint Julep, Gumball and Macaron but also the coordinating cardstock colours.


This time, I started by taping pieces of Pink Champagne, Mint Julep, Gumball and Macaron cardstock to form an A2 panel. As I inked up the different quarters, I pressed the coordinating ink colour into its coordinating colour of cardstock. It's such a cool look, wouldn't you agree?! I wasn't sure it would work and I did go through at least three trials to get this result.


I fussy cut the pressed image, taped it to a panel of Silver Glitter Cardstock and fussy cut it again so the image would have a beautiful sparkly border around it. I wasn't sure that would work either but I knew want I wanted in my head and I'm really happy with the way it turned out!


Finally, I heat foiled a sentiment from (retired) Mini Sincere Sentiments using Speckled Prism Hot Foil on Taylored Expressions Poppy Seed Cardstock. I cut a panel of patterned paper from my stash and, luckily, Spellbinders has just stocked Doodlebug's Swiss Dot Rainbow Petite Prints 12x12" Cardstock Paper Pack, which includes some great polka dotted options. I finished the card by adding a few Silver Pearls.


I hope you enjoyed today's projects! I appreciate you stopping by and, if you're inspired, please shop my affiliate links below. Spellbinders would love to know that you were inspired by me. :)


Be sure to check out the Lucky You Sale, as well as the Cardmaking Super Star Contest!


Thanks so much for your continued support!

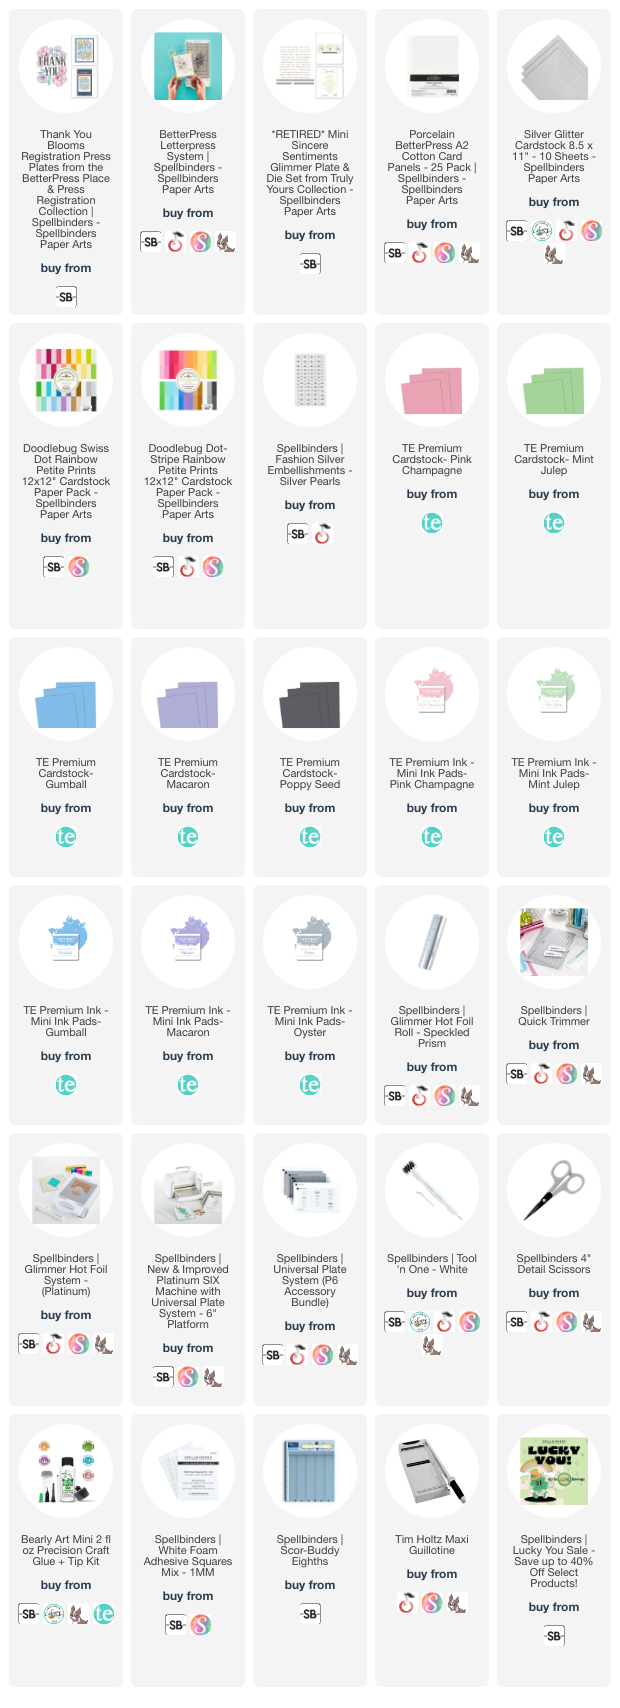
Supplies: 
Sunday, March 3, 2024

Spellbinders | My FIRST BetterPress Experience feat. the Blooming Garden Press Plates!


I finally did it! I caved and got a Spellbinders BetterPress Letterpress System!! I held off for as long as I could and now I wish I hadn't waited but you know how these things go. It's definitely hard to spend the money up front but it's actually quite affordable compared to most machines nowadays. Plus, I feel it's really worth the results and one set of plates can go very far!


Since the texture is the best feature of these products, I tried hard to make sure that my photos showed off the letterpress dimension because that is what is the main selling point. Otherwise, the press plates just look like an ordinary stamp and that isn't enough to make me want to buy it!


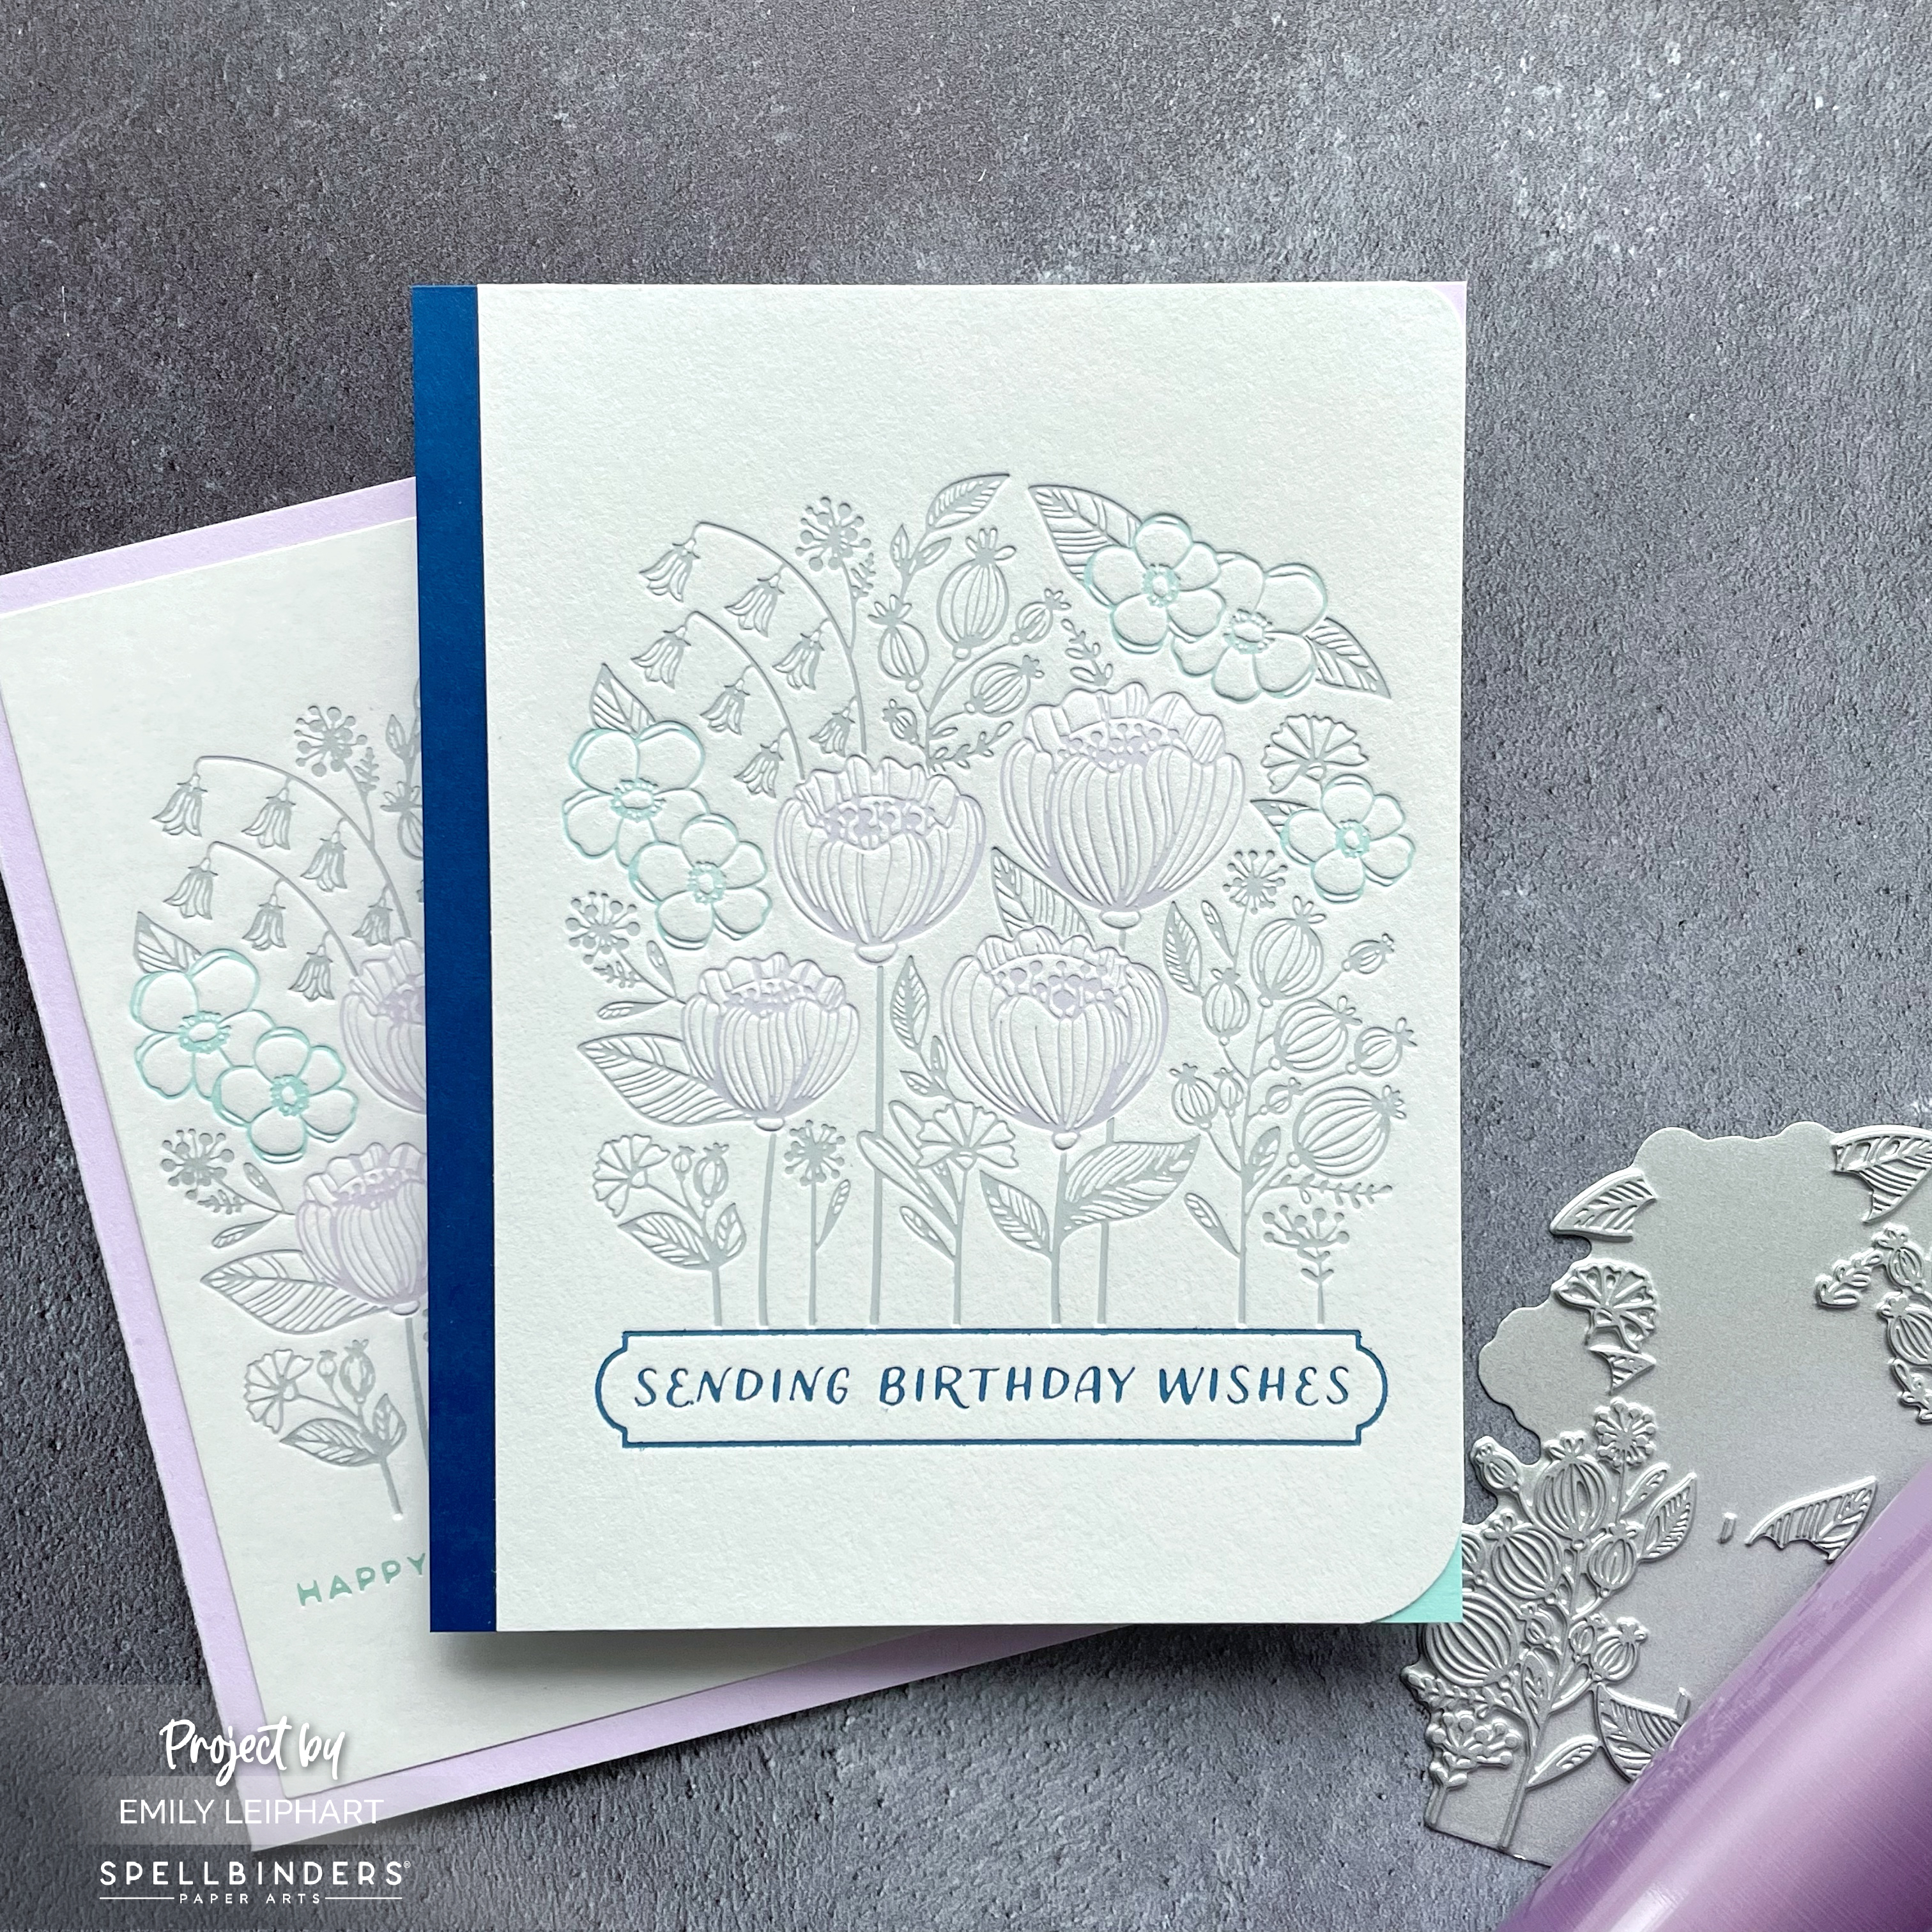
This first card features the Blooming Garden Press Plates from the BetterPress Place & Press Registration Collection. This is the first of its kind in the BetterPress line because what it does is allow you to use different ink colours with different pieces that fit together like a puzzle.


You can use up to four different colours for the stem/leaves, large flowers, small flowers and sentiment, which is exactly what I did. The BetterPress requires inks with a firm pad so you can use any ink pads with this feature. You can, of course, buy from the BetterPress Ink Collection but it's not necessary.


I used Taylored Expressions mini ink cubes in Oyster (stems/leaves), Lavender Glaze (big flowers), Confetti Cake (small flowers) and Blueberry (sentiment) on a Pebble A2 Cotton Card Panel. Due to the large surface area for the grey and lavender pieces, I actually switched to the full size ink pads in order to get good coverage fast.


I trimmed both sides of the cotton panel down to create a 4" x 5.5" panel. Then I used a Corner Chomper to round the top with the 1/4" side and the bottom with the 1/2" side. I added pieces of coloured cardstock in Blueberry, Lavender Glaze and Confetti Cake to coordinate with the inks.


I love the muted look of these softer tones on light grey cardstock. The sentiment was pressed in the darkest colour and I almost wish I had used one of the other three colours to keep it very soft. The Blooming Garden Press Plates come with two other sentiments so I may have to try a new combination of soft colours and make a gift set.


Seriously though, I can't stop oohing and aahing over the texture and look of the press plates both on the cotton panels and, yup, regular cardstock which is exactly what I used for the second card. I used Lawn Fawn Fog cardstock, which I cut down with the Precision Layering A2 B Dies.


Next, I heat foiled one of the Inside Card Glimmer Sentiments with Pastel Mint Hot Foil, which is a perfect match for the Confetti Cake ink.


In order to achieve the letterpress look with this particular cardstock, I used temporary adhesive and attached it to a second panel of cardstock, then removed two of the shims from underneath the chase. The impression here was far greater than on the cotton panel so I could've used a thinner piece of cardstock or removed all three shims.


Again, I used the Taylored Expressions mini ink cubes in the same orders as on the first card:  Oyster (stems/leaves), Lavender Glaze (big flowers) and Confetti Cake (small flowers).


To finish, I simply glued this panel on to an A2 card base cut from Lavender Glaze cardstock. It was so tempting to add some embellishments to both these cards but I wanted to keep them simple and show off the gorgeous letterpress texture!


I hope you enjoyed today's projects! I appreciate you stopping by and, if you're inspired, please shop my affiliate links below.


Be sure to check out the Super Surprise Box offer, as well as the Cardmaking Super Star Contest!


Thanks so much for your continued support!

Supplies: 

Friday, March 1, 2024

Lunar New Year Challenge + Giveaways | March 2024


The Lunar New Year Challenge is back for its third month and since we've partnered up with your favourite craft companies all year long, that means there are giveaways every month! This month, we're giving away ONE $25 gift certificate to Simon Says Stamp, ONE $25 gift certificate to Lawn Fawn, ONE $25 gift certificate to My Favorite Things, and ONE $25 gift certificate to Trinity Stamps. That's a total of $100 in giveaways in March! 


Several of our design team members received product from Trinity Stamps to create their inspiration projects for February. I was immediately drawn to the beautiful Dragon Dance stamp set and Paper Pyrotechnics layering stencil set.


I knew I wanted to use vivid, highly saturated Gansai Tambi watercolours to colour these images so I stamped them with Nocturne VersaFine Clair ink and heat embossed them with clear embossing powder on Canson watercolour cardstock. After the images dried, I die cut them using the coordinating dies and, after gauging the position of the lion, heat embossed the sentiment on a Nectar cardstock panel cut to 4" x 5.5".


On the Nectar cardstock panel, I used Party Dress, Samba, Orange Twist and On the Lake inks with the Paper Pyrotechnics layering stencil set to create the fireworks in the background. I love those stencils so much that I'm going to have to make a card with just the fireworks alone to showcase how fun and beautiful they look! To finish the card, I adhered the smaller panel on an A2 panel of Coral cardstock, added a strip of striped patterned paper and a few Transparent Sparkle Enamel Dots.


The rules are simple. You must create a new Lunar New Year, Chinese New Year or a 2024 Dragon Birthday card and add the link to your post below. For March, you are also invited to use your lucky St. Patty's Day sentiments with your Japanese Maneki-Neko "lucky cat" or Easter bunny images to create cards for friends and family to wish them luck, good health and prosperity. Multiple entries are allowed. Backlinking to an older project is strictly prohibited.

Our March Lunar New Year Challenge will run from 12:00am EST on March 1, 2024 through 12:00pm EST on March 31, 2024. We would love to see you using products from our four generous sponsors! The four lucky winners will be randomly selected from all eligible entries and announced at the start of the April Challenge. 

(save and share with your project)

Visit the March Link-Up Party post HERE to see all of the design team projects and be inspired to create your own! When sharing your challenge entries on social media, feel free to save this badge and post it along with your project. Please tag us @lunarnewyearchallenge on Instagram and use the hashtag #lunarnewyearchallenge so everyone can find and be inspired by all your amazing projects.

Thanks so much for stopping by and I'll see you again soon!

Supplies: