

It's an exciting week with a new Essentials by Ellen Release available this Friday, June 10th! Today is Day 1 of Reveal Week and we're sneak peeking three new sets - Beehive Die Set, Honeycomb Background Builder Die Set and One in a Buzz-illion Stamp Set with coordinating dies.

I'm sharing a pair of cards using these new sets and this first card features the Honeycomb Background Builder Die Set. It's absolutely stunning, so versatile and creates amazing focal points.

To create the background for this card, I cut a 3.25" x 3.75" panel of Ballet Slipper cardstock and a 1.75" x 3.75" panel of light grey cardstock. I taped them together and added texture using the A2 Piercing Plate 2, glueing it on to a white linen card base.

First, I die cut the frame for the Honeycomb Background Builder from gold glitter cardstock and glued that directly onto the pierced panel. Then I cut all the small hexagons from Grapefruit, Sorbet, Candy Hearts and Gold Coins cardstock, and popped them on with foam tape.

To finish, I heat foiled the Way With Words Hot Foil Stamp with Polished Brass hot foil on white linen cardstock and die cut it using the Sentiment Strips Die. You'll see more of these products over the next few days since they're two of my new favourites!

My second card features the adorable One in a Buzz-illion Stamp Set with coordinating dies. The cute bee is a mirror image to the original bee from Love Notes.

I created the card base from light grey cardstock and trimmed a 3.75" x 5" panel from heavyweight white cardstock, stamping the sentiment in VersaFine Clair Nocturne ink.

I white heat embossed the flower from One in a Buzz-illion on Ballet Slipper, Grapefruit, Papaya, Candy Corn, Candy Hearts and Gold Coins cardstock. I stamped both bees from One in a Buzz-illion and Love Notes using VersaFine Clair Nocturne ink, then die cut them with their coordinating dies.

I arranged all the flowers on the sentiment panel, popping them up with foam tape and trimming off the overhanging pieces. After attaching the bees, I adhered the panel to the card base.

Thanks so much for stopping by! I'll see you again tomorrow for more sneak peeks!
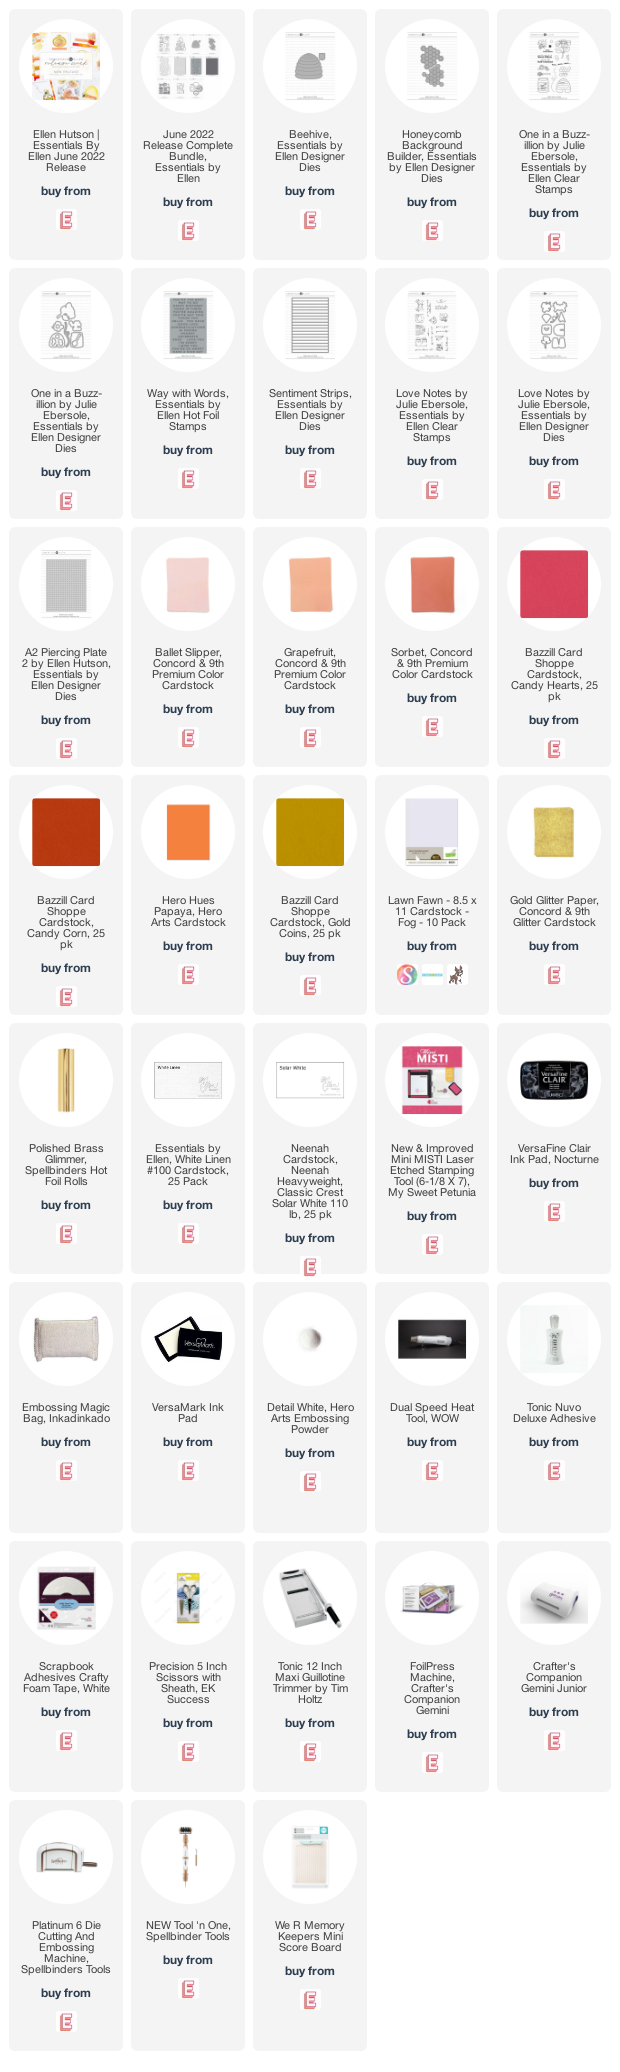
Sources:


2 comments:
These are both adorable Emily
so gorgeous
Post a Comment