Thursday, November 30, 2023

Daisy Dreams Birthday Card | Taylored Expressions


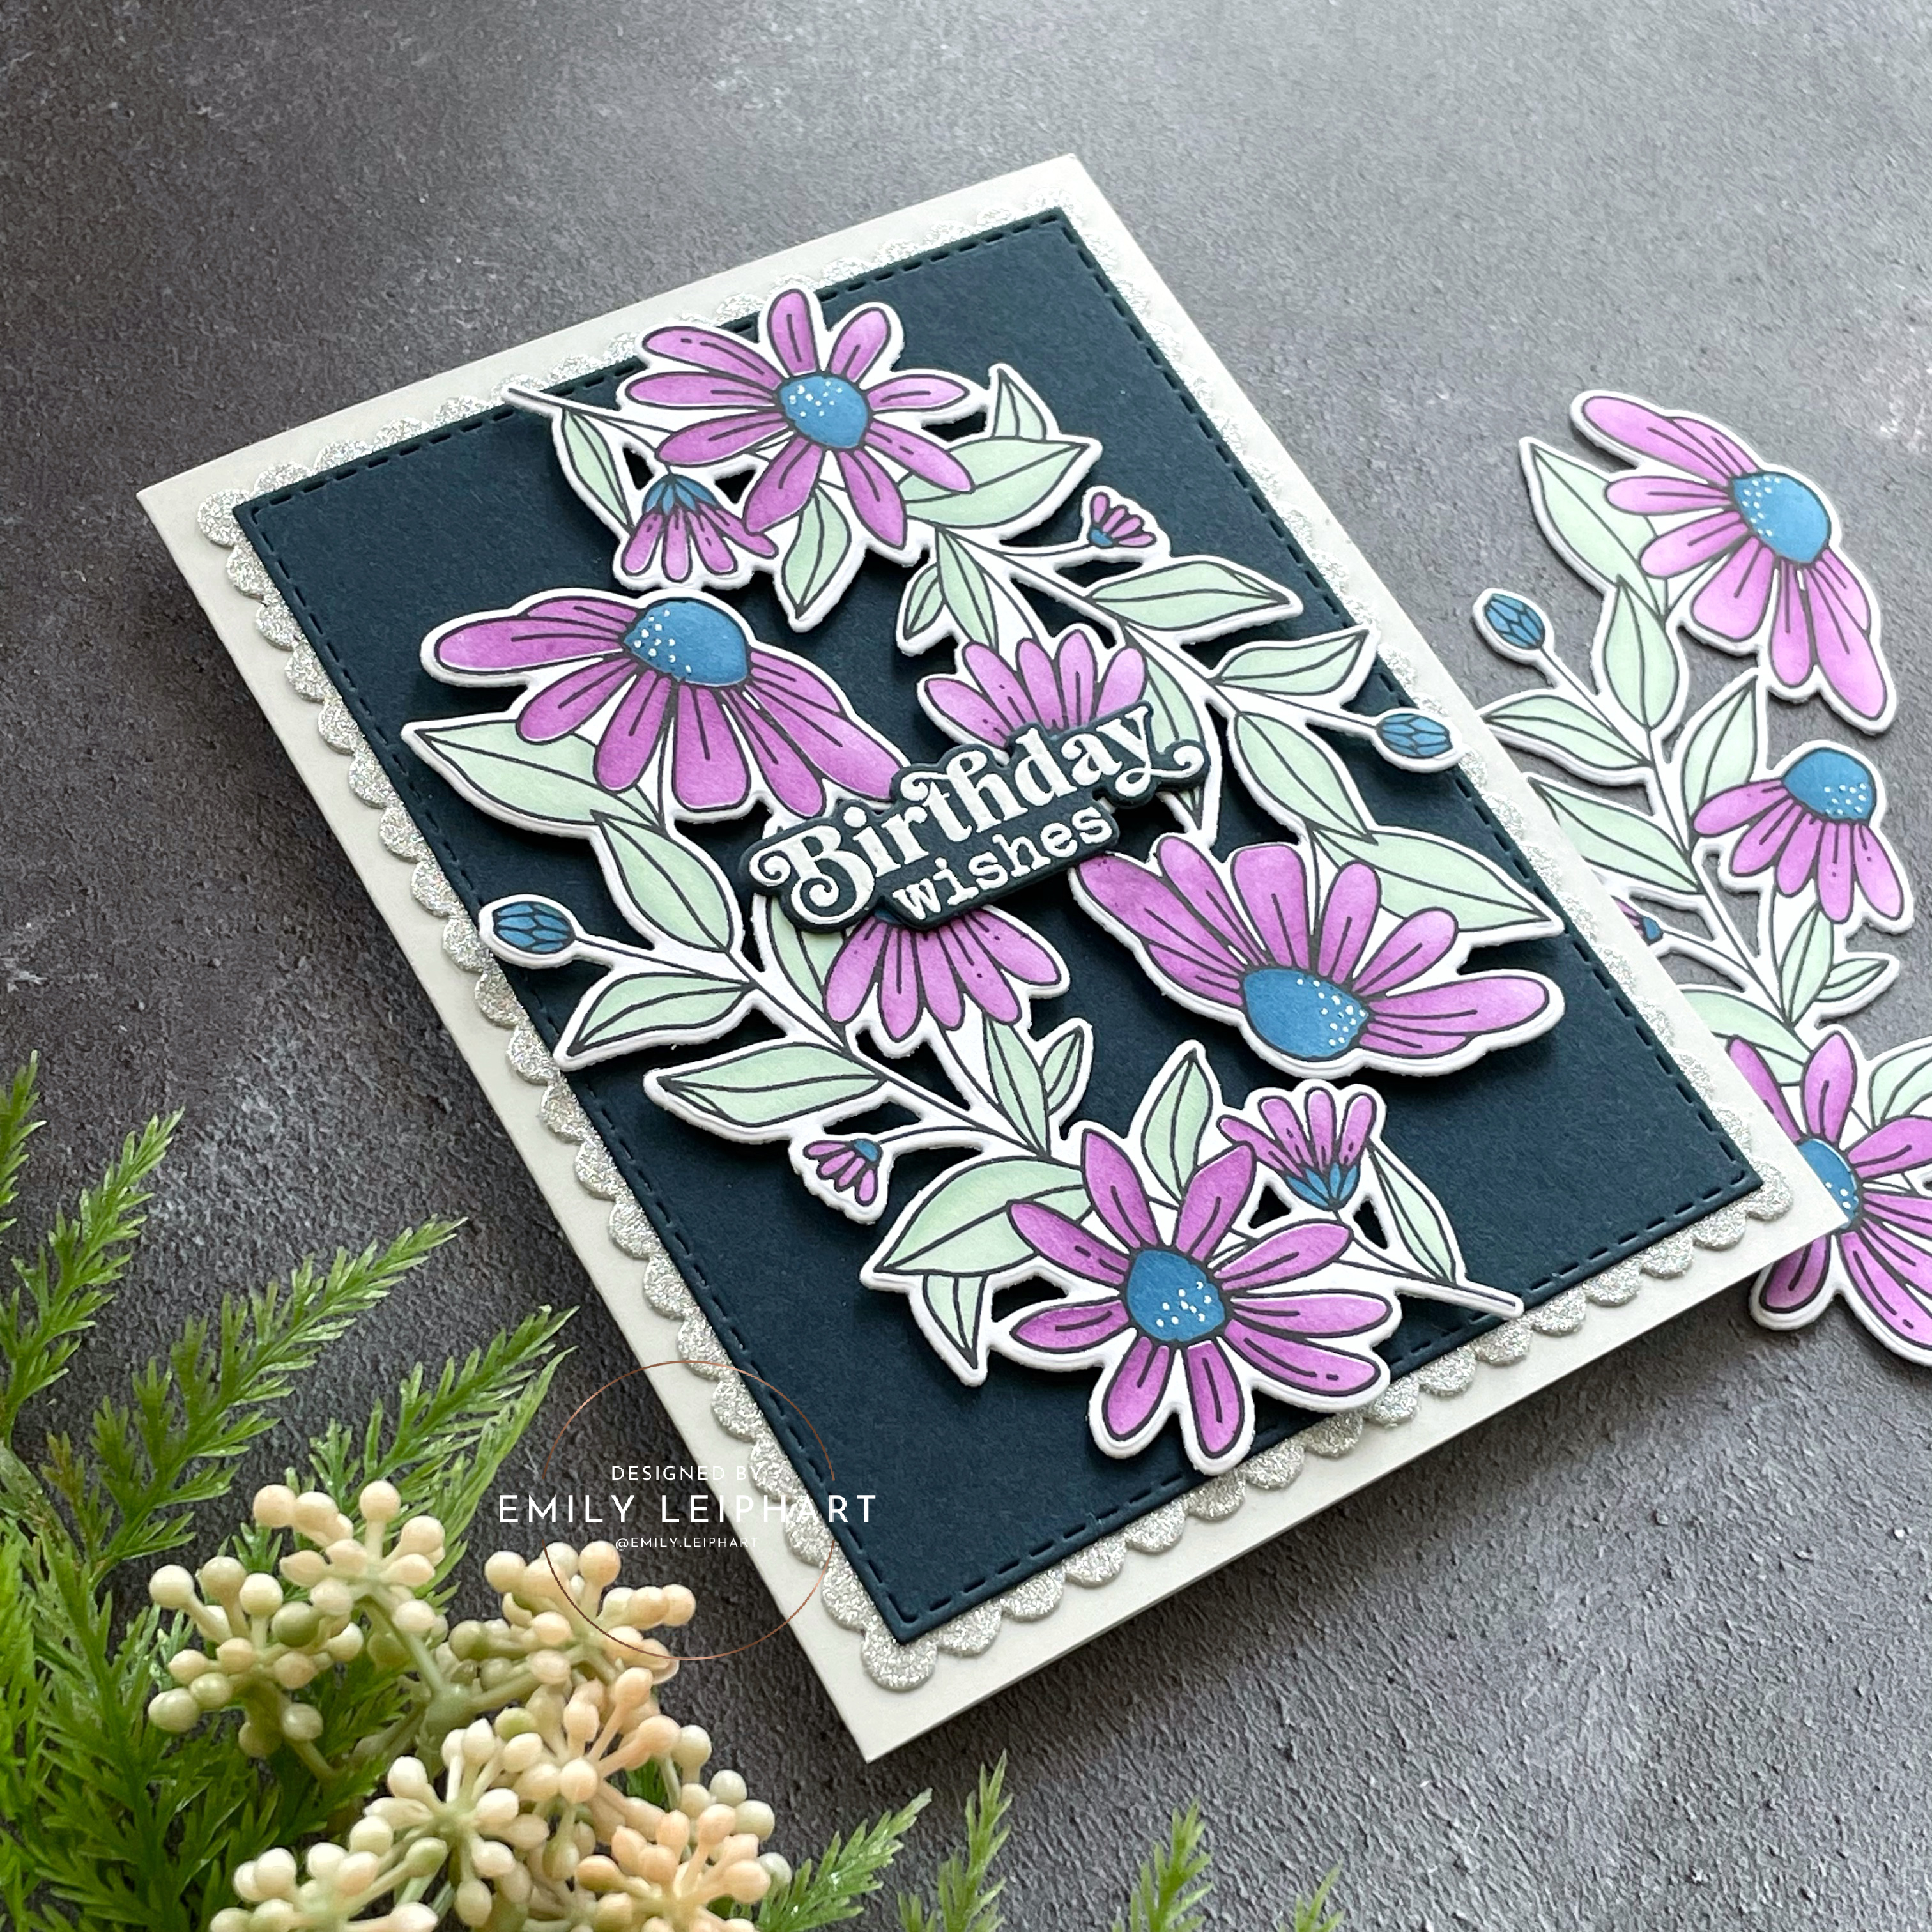
While looking through my stash for birthday cards, I discovered that I didn't have any that were more suited to the winter months so I'll be trying to create a few darker ones and adding them to my stash. This one features Daisy Dreams from Taylored Expressions. I previously used the sentiments in my Bouquet Trio post HERE.

(click on any photo to enlarge)

This set comes with the most beautiful images that are so fun and easy to colour but if you'd rather use layering stencils, you can buy the Daisy Dreams Layering Stencil which I've used here. The colours I've used for the three layers are Plum Punch, Blueberry and Mint Julep.


After stencilling two of the large daisy images, I used the coordinating Daisy Dreams Dies to cut them out. The three-step process was so quick and easy, which also makes mass-producing this card a crafter's dream!


Based on the four colours I chose for this card design, I knew I wanted the background to be cut from Corn Blue cardstock using the Stitched Rectangle Stacklets


I also created a silver glitter frame, using the Petite Scallop Rectangle Stacklets. This gives the card the right amount of sparkle and is a nice contrast to the dark background!


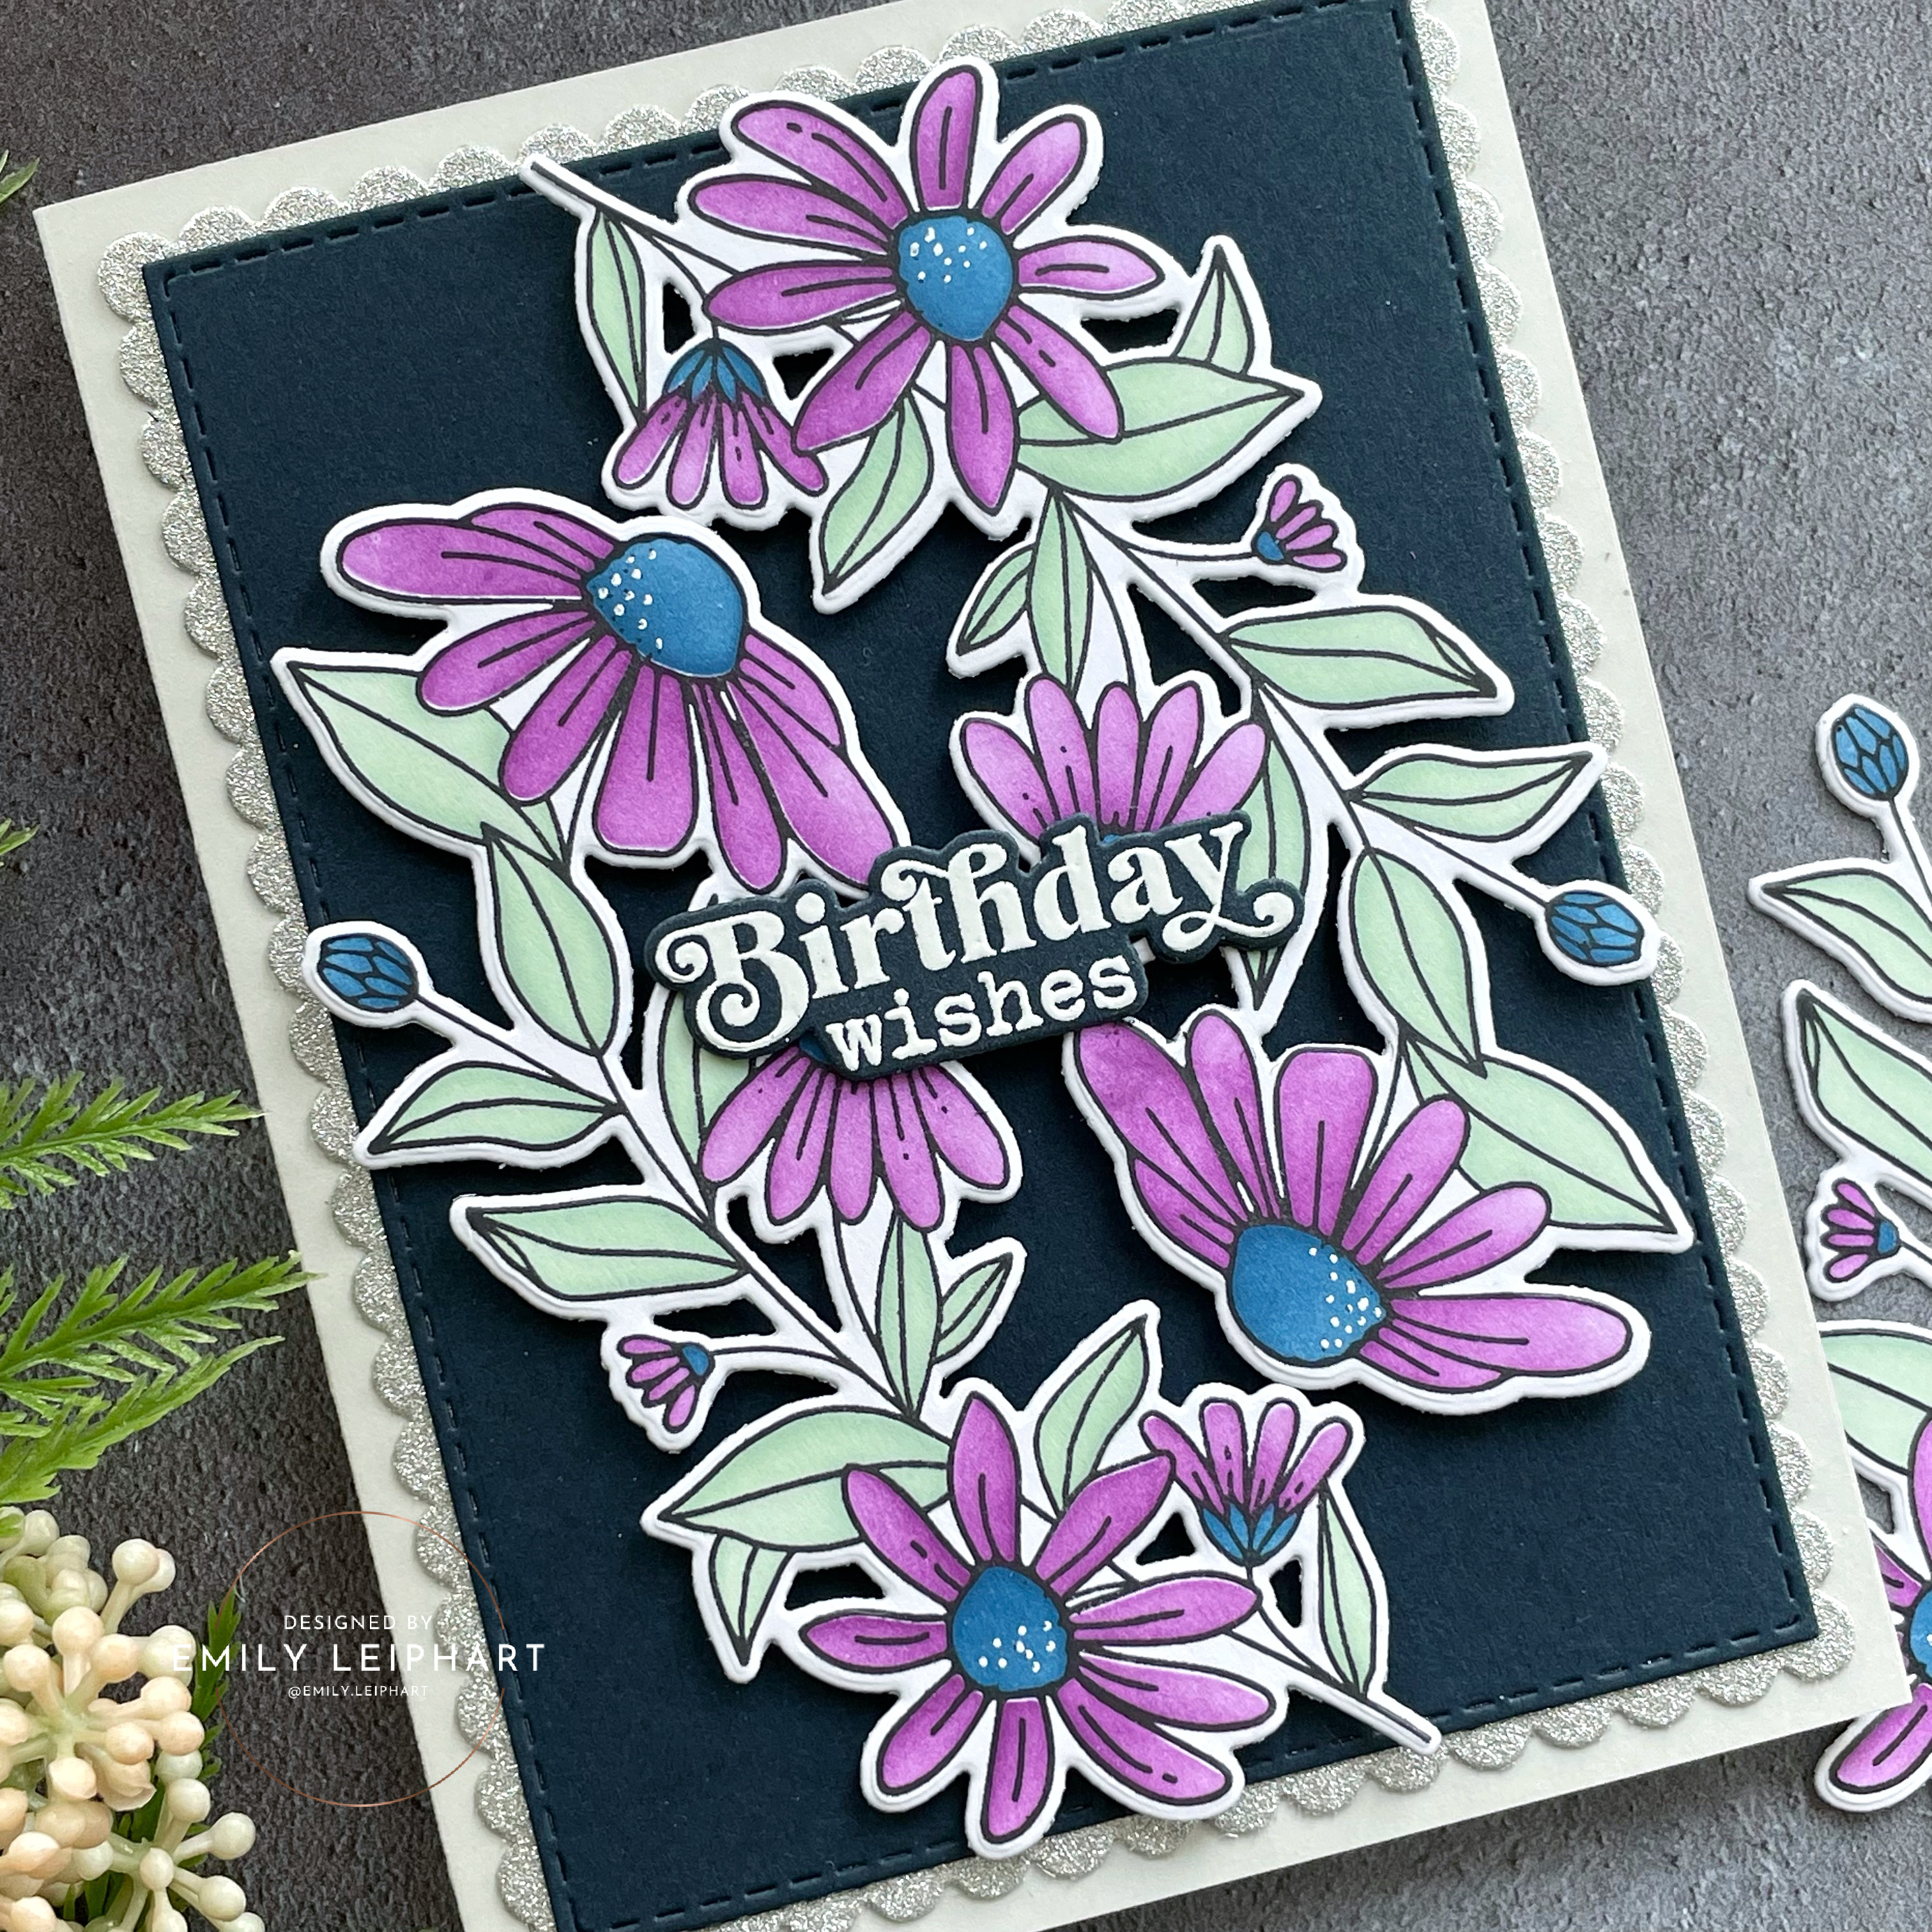
I attached the two layers on to a Sea Salt card base before popping the flowers on to the Corn Blue panel with foam tape. To finish, I heat embossed the sentiment in white on Corn Blue cardstock and added some highlights to the discs with a white gel pen.
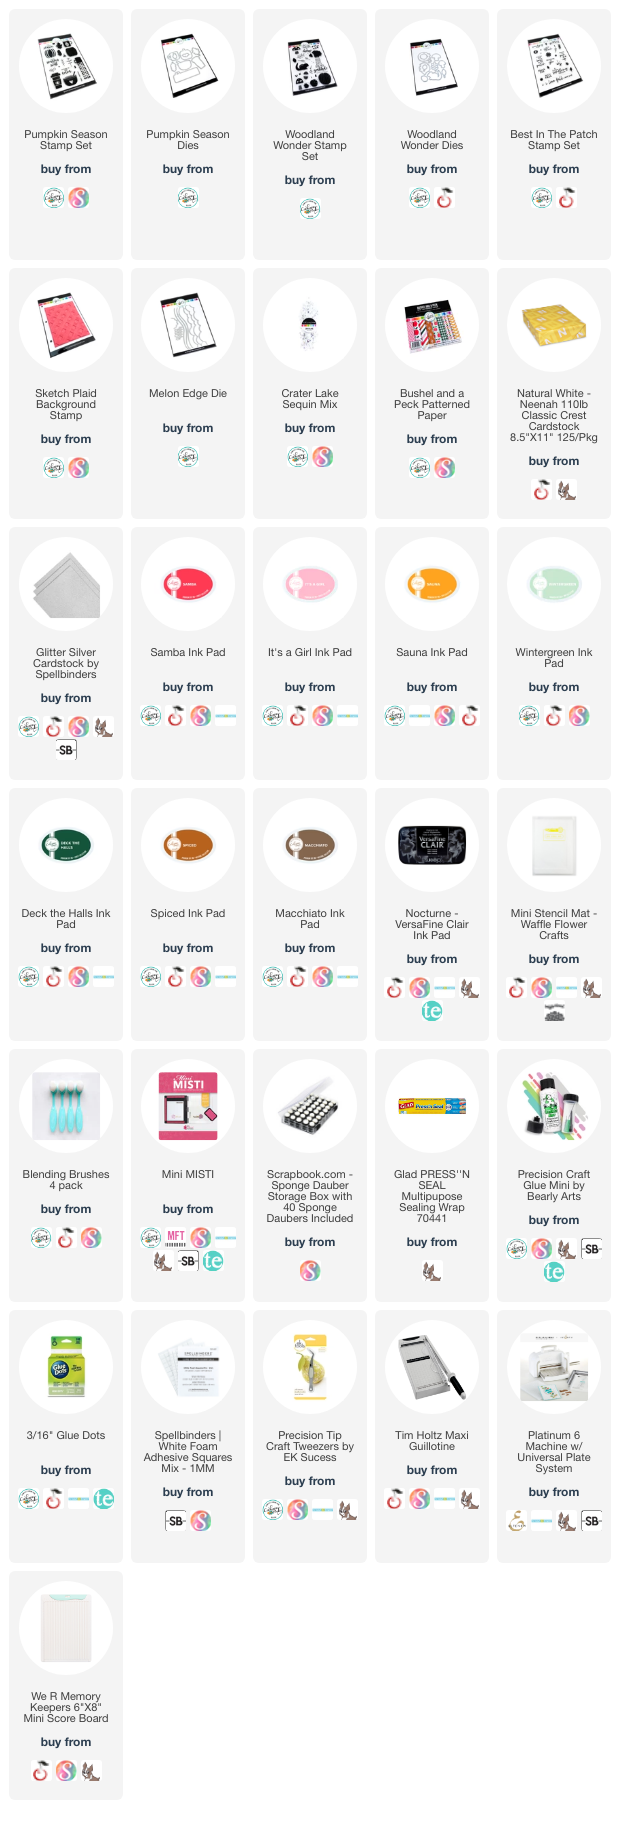

I hope you enjoyed today's project. I appreciate you stopping by and, if you're inspired, please shop my affiliate links below. Thanks so much for your continued support!

Supplies

Thursday, November 23, 2023

Stencilled Holiday Cards | Waffle Flower + Giveaway!


Please comment on my Instagram Post
to participate in this GIVEAWAY!


Hello, crafty friends! I've partnered with Waffle Flower Crafts to give one lucky winner a Waffle Flower Shade Brush PLUS Sampler Pack! These brushes are the cutest, so ergonomic and wonderful to use on stencils with small spaces. I really didn't know what was missing until I was gifted these to try and now I must buy a lot more for all my inks!


The five products featured in this post were gifted to me and I'm excited to share them on these two cards. It's no joke that Waffle Flower was feeding my book addiction when they sent me the Simple Shelves Die and Simple Shelves Stencil Duo


I love that the shelf fills an A2 card front and you can pretty much put anything on it. Imagine my delight when I discovered that the gifts from the Multiple Presents Die-n-stencil fit perfectly on the third and largest shelf!


I used Catherine Pooler inks to do all my stencilling for these two cards and the colours featured are Sparkling Berry, Samba, Minted and Aquatini.


I cut two layers of the Simple Shelves Die from Neenah linen white cardstock for a bit of dimension and texture. Then I popped the gifts on with foam tape since they're the highlight of this bookshelf.


Since this card is indeed Merry & Bright, I used one the perfect sentiment from the Subsentiments Christmas Tree Diecut Sheet. Using a trick I learned from Michelle Short, I used a black Copic marker to blacken the edges of the die cut so it looks bolder and cleaner.


To finish, I embellished the shelf with some silver sequin ribbon and silver metallic pearls.


For my second card, I decided to use the gifts from Multiple Presents Die-n-stencil to create a Christmas tree and I'm thrilled with the results. It's so cute and since I stencilled four sets of these gifts by rotating the four colours, I have a lot of extras to mass-produce this design.


On the bottom row, left side, I had to make a reverse set of gifts to make the tree symmetrical. I created a mirror image of the gifts on the right side by flipping the stencil 180 degrees and recreating it. To use the same die on this mirror image, I simply held up the die on the back of the stencilled image in front of a lamp and place vellum over the image so the lines on my cutting plate wouldn't impress on the front of the image. Then I used a bone folder to round off the edges of the die cut since the sharp edge was showing and I wanted it to match the other die cuts.


For the base of the tree, I discovered that the lap from the Shelf Add-Ons Die worked perfectly (see more inspiration using this set HERE). However, it was too short so I cut two of them from Spellbinders silver foil cardstock and used another perfect sentiment from the Subsentiments Christmas Tree Diecut Sheet to cover the break in the middle.


I assembled the tree on a panel of Neenah linen white cardstock cut from Spellbinders Precision Layering A2 B Dies and glued that on a card base cut from Teal Topaz cardstock.


To tie in the silver from the base of the tree and the previous card, I embellished the gifts with and assortment of silver metallic pearls.


I hope you enjoyed these cards using some really delightful products from Waffle Flower Crafts. Which card is your favourite? My son likes the book shelf! Don't forget to comment on my Instagram Post for a chance to win a Waffle Flower Shade Brush PLUS Sampler Pack.

Don't forget to check out Waffle Flower's amazing Black Friday and Grab Bag Deals, on now through November 27th and November 30th, respectively.

I hope you enjoyed today's projects. I appreciate you stopping by and, if you're inspired, please shop my affiliate links below. Thanks so much for your continued support!

Supplies

Monday, November 20, 2023

Spellbinders | November 2023 Monthly Club Kits

(click on any photo to enlarge)

Today, I'm sharing all of the cards I made for the Spellbinders November 2023 Club Kits and they are really amazing! There's a floral theme this month and I've combined the "Grand Stitched Blooms" Stitching Die of the Month, "All You Need Sentiments" Glimmer Hot Foil Kit of the Month and "Criss Cross Motif" 3D Embossing Folder of the Month.


The first thing I did was pick a colour palette and the four main colours are Doll Pink, PomegranateLavender Glaze and Mulled Wine. Other neutrals and accent colours included in these cards are plain white, white woodgrain, Poppy Seed, glitter gold and mirror gold.


This first card features the "Grand Stitched Blooms" Stitching Die of the Month with all of the layers and dies shown. The flower also includes leaves leaning to the left which you'll see in the third card for other design options. 


I used coordinating embroidery floss from the DMC Color Essentials Floss Bundle Warm 10-Pack and DMC Color Essentials Floss Bundle Cool 13-Pack, plus an unknown maroon colour from my stash for the leaves.


For this card, there is only one layer of each die cut. I used 1/4" tape to secure the ends of the floss to the back of the dies and to stack all of the layers together. I split the back panel diagonally between Doll Pink and Pomegranate, then used the Precision Layering A2 B Dies to cut the white woodgrain panel. I used foam squares under the petals and liquid glue under the leaves and stem to adhere the flower.

For the sentiments, I heat foiled the "All You Need Sentiments" Glimmer Hot Foil Kit of the Month with Speckled Aura Hot Foil on heavyweight white cardstock and die cut them using the coordinating dies that come with the kit. My favourite part of this kit is that it comes with 14 different sentiments that work for all occasions throughout the year!


My second card is a tribute to the "Criss Cross Motif" 3D Embossing Folder of the Month which could be considered floral but also fireworks for New Year cards. I've actually used the back side of it here because I felt this was better suited for the "Grand Stitched Blooms" Stitching Die of the Month without stitching.


The Poppy Seed panel was die cut using the Precision Layering A2 A Dies before I misted it with water and dry embossing it with the Universal Plate System in my Platinum Six.


Since this flower does not include embroidery floss, I stacked two layers of the individual flower petals in Doll Pink and two layers of the stem and leaves in Lavender Glaze. This time, I also offset the flower off the base of the stem and left the stitching leaves off the base. I love the look of the plain leaves since the rest of the elements are so detailed.


To add more gold to this design, I added several gold pearls in two sizes on the flower.


This time, I added a single Speckled Aura heat foiled sentiment from "All You Need Sentiments" Glimmer Hot Foil Kit of the Month. I die cut a shadow from mirror gold cardstock that matches the stamen of the flower and popped it up with foam strips.


For my third card, I used the leaves from the "Grand Stitched Blooms" Stitching Die of the Month in both directions but only used the smaller part of the flower to create an entirely different look. I also only stitched the top part of the flower using DMC Light Gold Diamant Metallic Thread.


To increase the wow factor, I decided to feature the fourth colour as the background panel so I used both glitter gold and mirror gold to layer the leaves and stem. The individual glitter gold leaves were slightly offset from the mirror gold layer.


To create the background panel, I heat foiled the sentiment from Inside Card Glimmer Sentiments using Gold Hot Foil on Mulled Wine cardstock. Then I misted the bottom portion and partially embossed it with the "Criss Cross Motif" 3D Embossing Folder of the Month.


This version features the top side of the 3D embossing folder. After gluing the panel to the card base, leaving a strip of white exposed at the top, I attached the flowers to the card using foam squares under the flowers and liquid glue under the leaves and stems.


It's definitely hard for me to choose a favourite but it's a tie between the first card and the third card. I have extra pieces from die cutting the flowers from all four colours and could easily make more cards with this came colour palette! Which one is your favourite?


Be sure to check out all of the amazing deals during Spellbinders Black Friday Deals, now through November 27, 2023.


Thanks so much for stopping by!

Supplies

Friday, November 10, 2023

Best in the Patch | Catherine Pooler


Hooray, it's finally Friday! I hope you're all looking forward to a beautiful fall weekend! I've been going through my stash and finding tons of products that I've never used and there are a few here from Catherine Pooler Designs! I'm also linking up to the 2023 Fall | Winter Coffee Lovers Blog Hop, which ends today.


The pumpkin, thermos, acorn, takeout cup and the top leaf are from Pumpkin Season; the chipmunk and other leaves are from Woodland Wonder; and the sentiment is from Best in the Patch. I previously used the apple and leaves from Woodland Wonder in this POST but other than that, the rest of the set remains untouched. 


All of the colours were inspired by the Bushel and Peck Patterned Paper, including Samba, It's a Girl, Sauna, Wintergreen, Deck the Halls, Spiced and Macchiato. Some of the images are created with stamp layering in mind but I used some washi tape and creative masking to create the colourful thermos, takeout cup and multi-coloured sentiment.

(click on any image to enlarge)

The hill created at the bottom was stamped with Deck the Halls ink using the Sketch Plaid Background, also a previously-unused stamp. It's so awesome and artistic! I cut out the hill portion from the stamped background, plus a second layer from silver glitter cardstock, using two of the Melon Edge Dies.


I hope you enjoyed today's project. I appreciate you stopping by and, if you're inspired, please shop my affiliate links below. Thanks so much for your continued support!

Supplies