
Hello, crafty friends! This is a small catch-up post since my father passed away in April and I haven't felt very creative, nor have I had the time or desire to craft much. I needed a few birthday cards so I wanted to give these products from the Spellbinders April Club Kits and Warehouse Sale a proper feature.
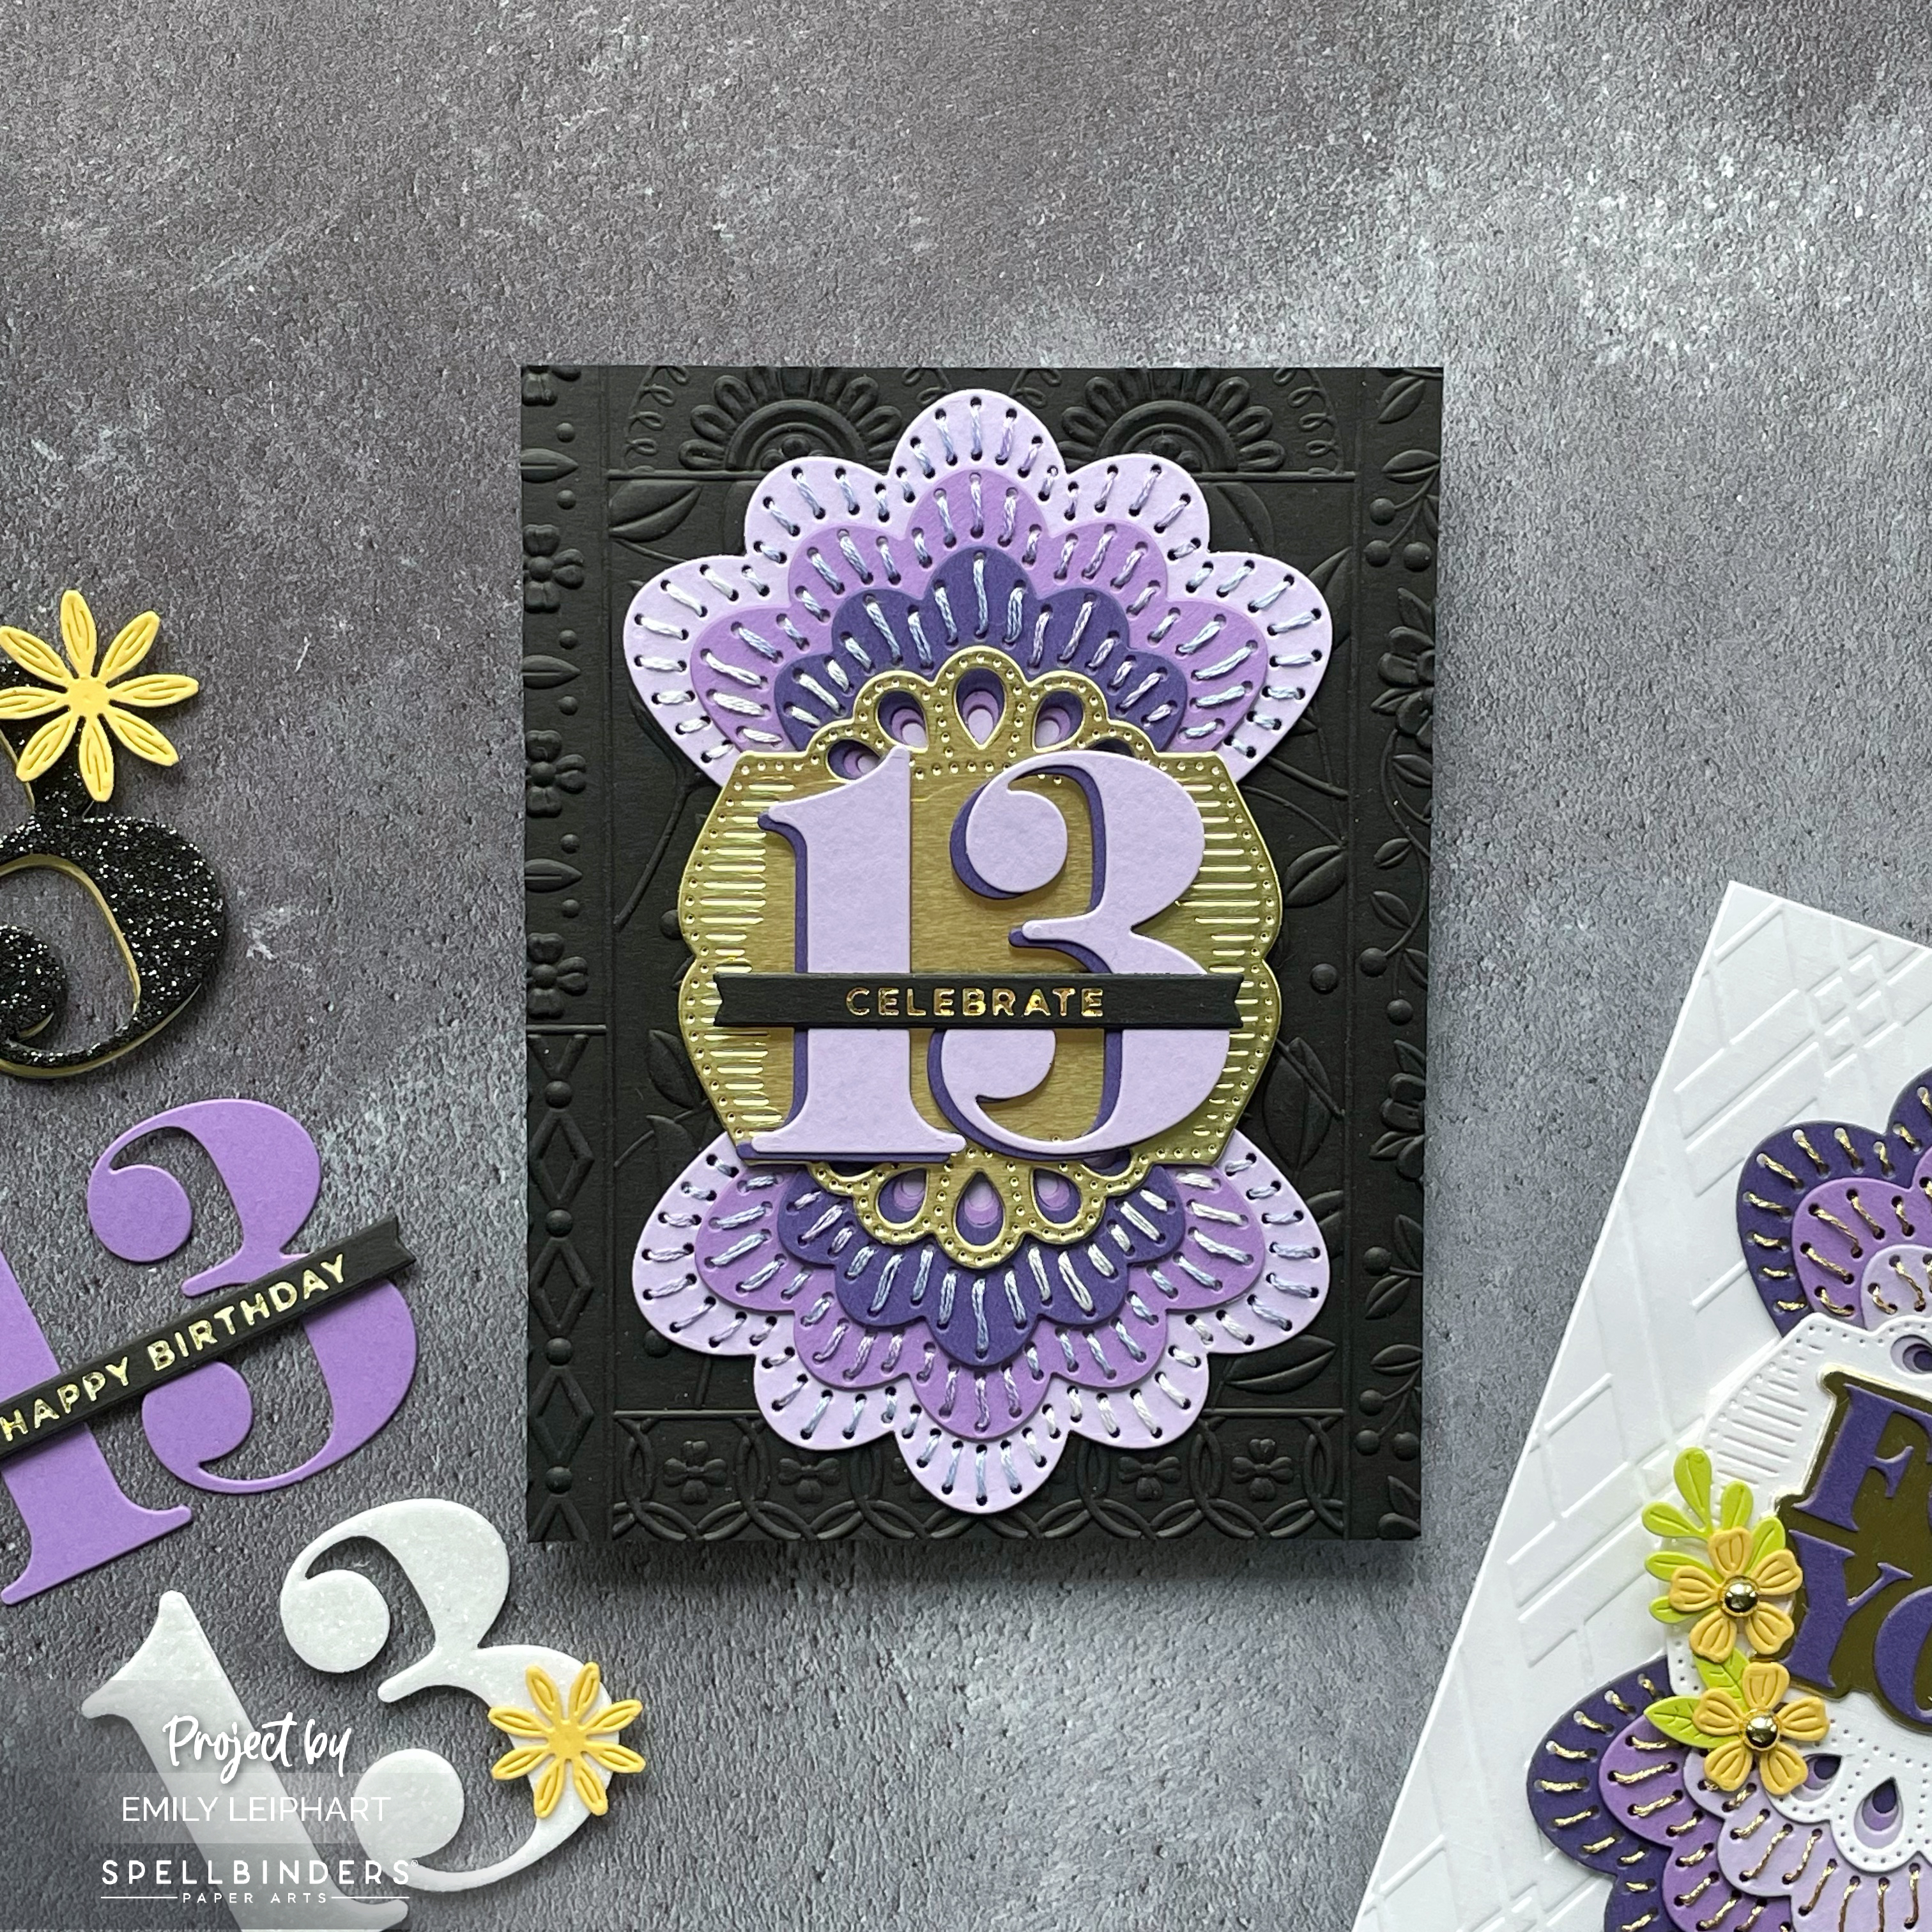
I needed a birthday card for my cousin's daughter and her favourite colours are black and purple. I've never liked the colour purple and I would never wear it but my love for purple in cardmaking has grown immensely in the last couple of years.

This card base features the April 2023 3D Embossing Folder of the Month "3D Patchwork" which may still become available in a few months [edited] is now available. The April 2023 Stitching Die of the Month "Stitched Fanfare" uses DMC Floss 52 Variegated Violet from the Variegated Floss Bundle on Lavender, Lilac Blossom and Eggplant cardstock.

The centre panel was cut from Mirror Gold cardstock. The numbers from a retired set called Birthday Wishes for Everyone were cut from Lavender and Eggplant cardstock. I suggest the new Stitched Numbers Dies if you're looking for an alternative.

The sentiment from Mini Everyday Sentiments was heat foiled with Speckled Aura Hot Foil on Pitch Black cardstock. I used a combination of liquid glue, double-sided tape and black foam squares to attach all the pieces to the card base.

Since I cut all three Stitched Fanfare pieces from all three shades of purple cardstock, I wanted to use them and also create a lighter card. This time, I used the Argyle Socks Embossing Folder on white linen cardstock for the base panel.

This time, I used DMC 3821 Light Gold, sold individually and in the Essential Metallics Thread Bundle, on the stitching dies. For the sentiment that comes with the Stitched Fanfare set, I cut the background for the letters from Mirror Gold cardstock and the letters from Eggplant cardstock.

I wanted to add some brighter colours so I cut Mini Blooms and Sprigs from Beeswax and Peridot, then added gold metallic pearls in the centres. I ended up gifting this card to my cousin with a bottle of wine as their house-warming gift.

I loved making dark and light versions of this card. They look so different and yet they're both equally dramatic. This stitching die was one of the easiest to use so I loved how quickly they came together.

I ended up gifting this version of the birthday card to my cousin's daughter after playing with the Sweet & Savory Dies, which I never used 'til now. I cut three sets of donuts from Lavender, Lilac Blossom and Eggplant cardstock, then layered them in various combinations.

I "drew" the sprinkles with liquid glue, then topped it with sparkle glitter and set them aside to dry completely. I created the background using the Optical Arches Embossing Folder on Pitch Black cardstock.

Next, I adhered all of the donuts to the embossed panel using black foam squares. Both sentiment strips were created using the Mini Everyday Sentiments, which were heat foiled using Matte Silver Hot Foil on Eggplant cardstock.

To finish, I embellished the donuts with three shades of purple enamel hearts. If you had a choice between the two black and purple birthday cards, which would you have chosen? It was a very tough choice for me, even as the giver. ;)

I appreciate you stopping by and, if you're inspired, please shop my affiliate links below. Thanks so much for your continued support!
Supplies: