Do you ever buy stuff and let it sit in your craft room, sometimes for years until it retires? I hate to admit but that happens to me a little too often. Over the years, I've been getting better at avoiding impulse buying but I still have a long way to go. LOL
If you've been following me for a while, you'll know that I have an obsession with any stamp or die set that includes hands. Chances are, if there's a set with hands, I'll want it. Heck, chances are high that I'll own it! There are still a few sets out there that I still have my eye on but that's another story. Shhh!
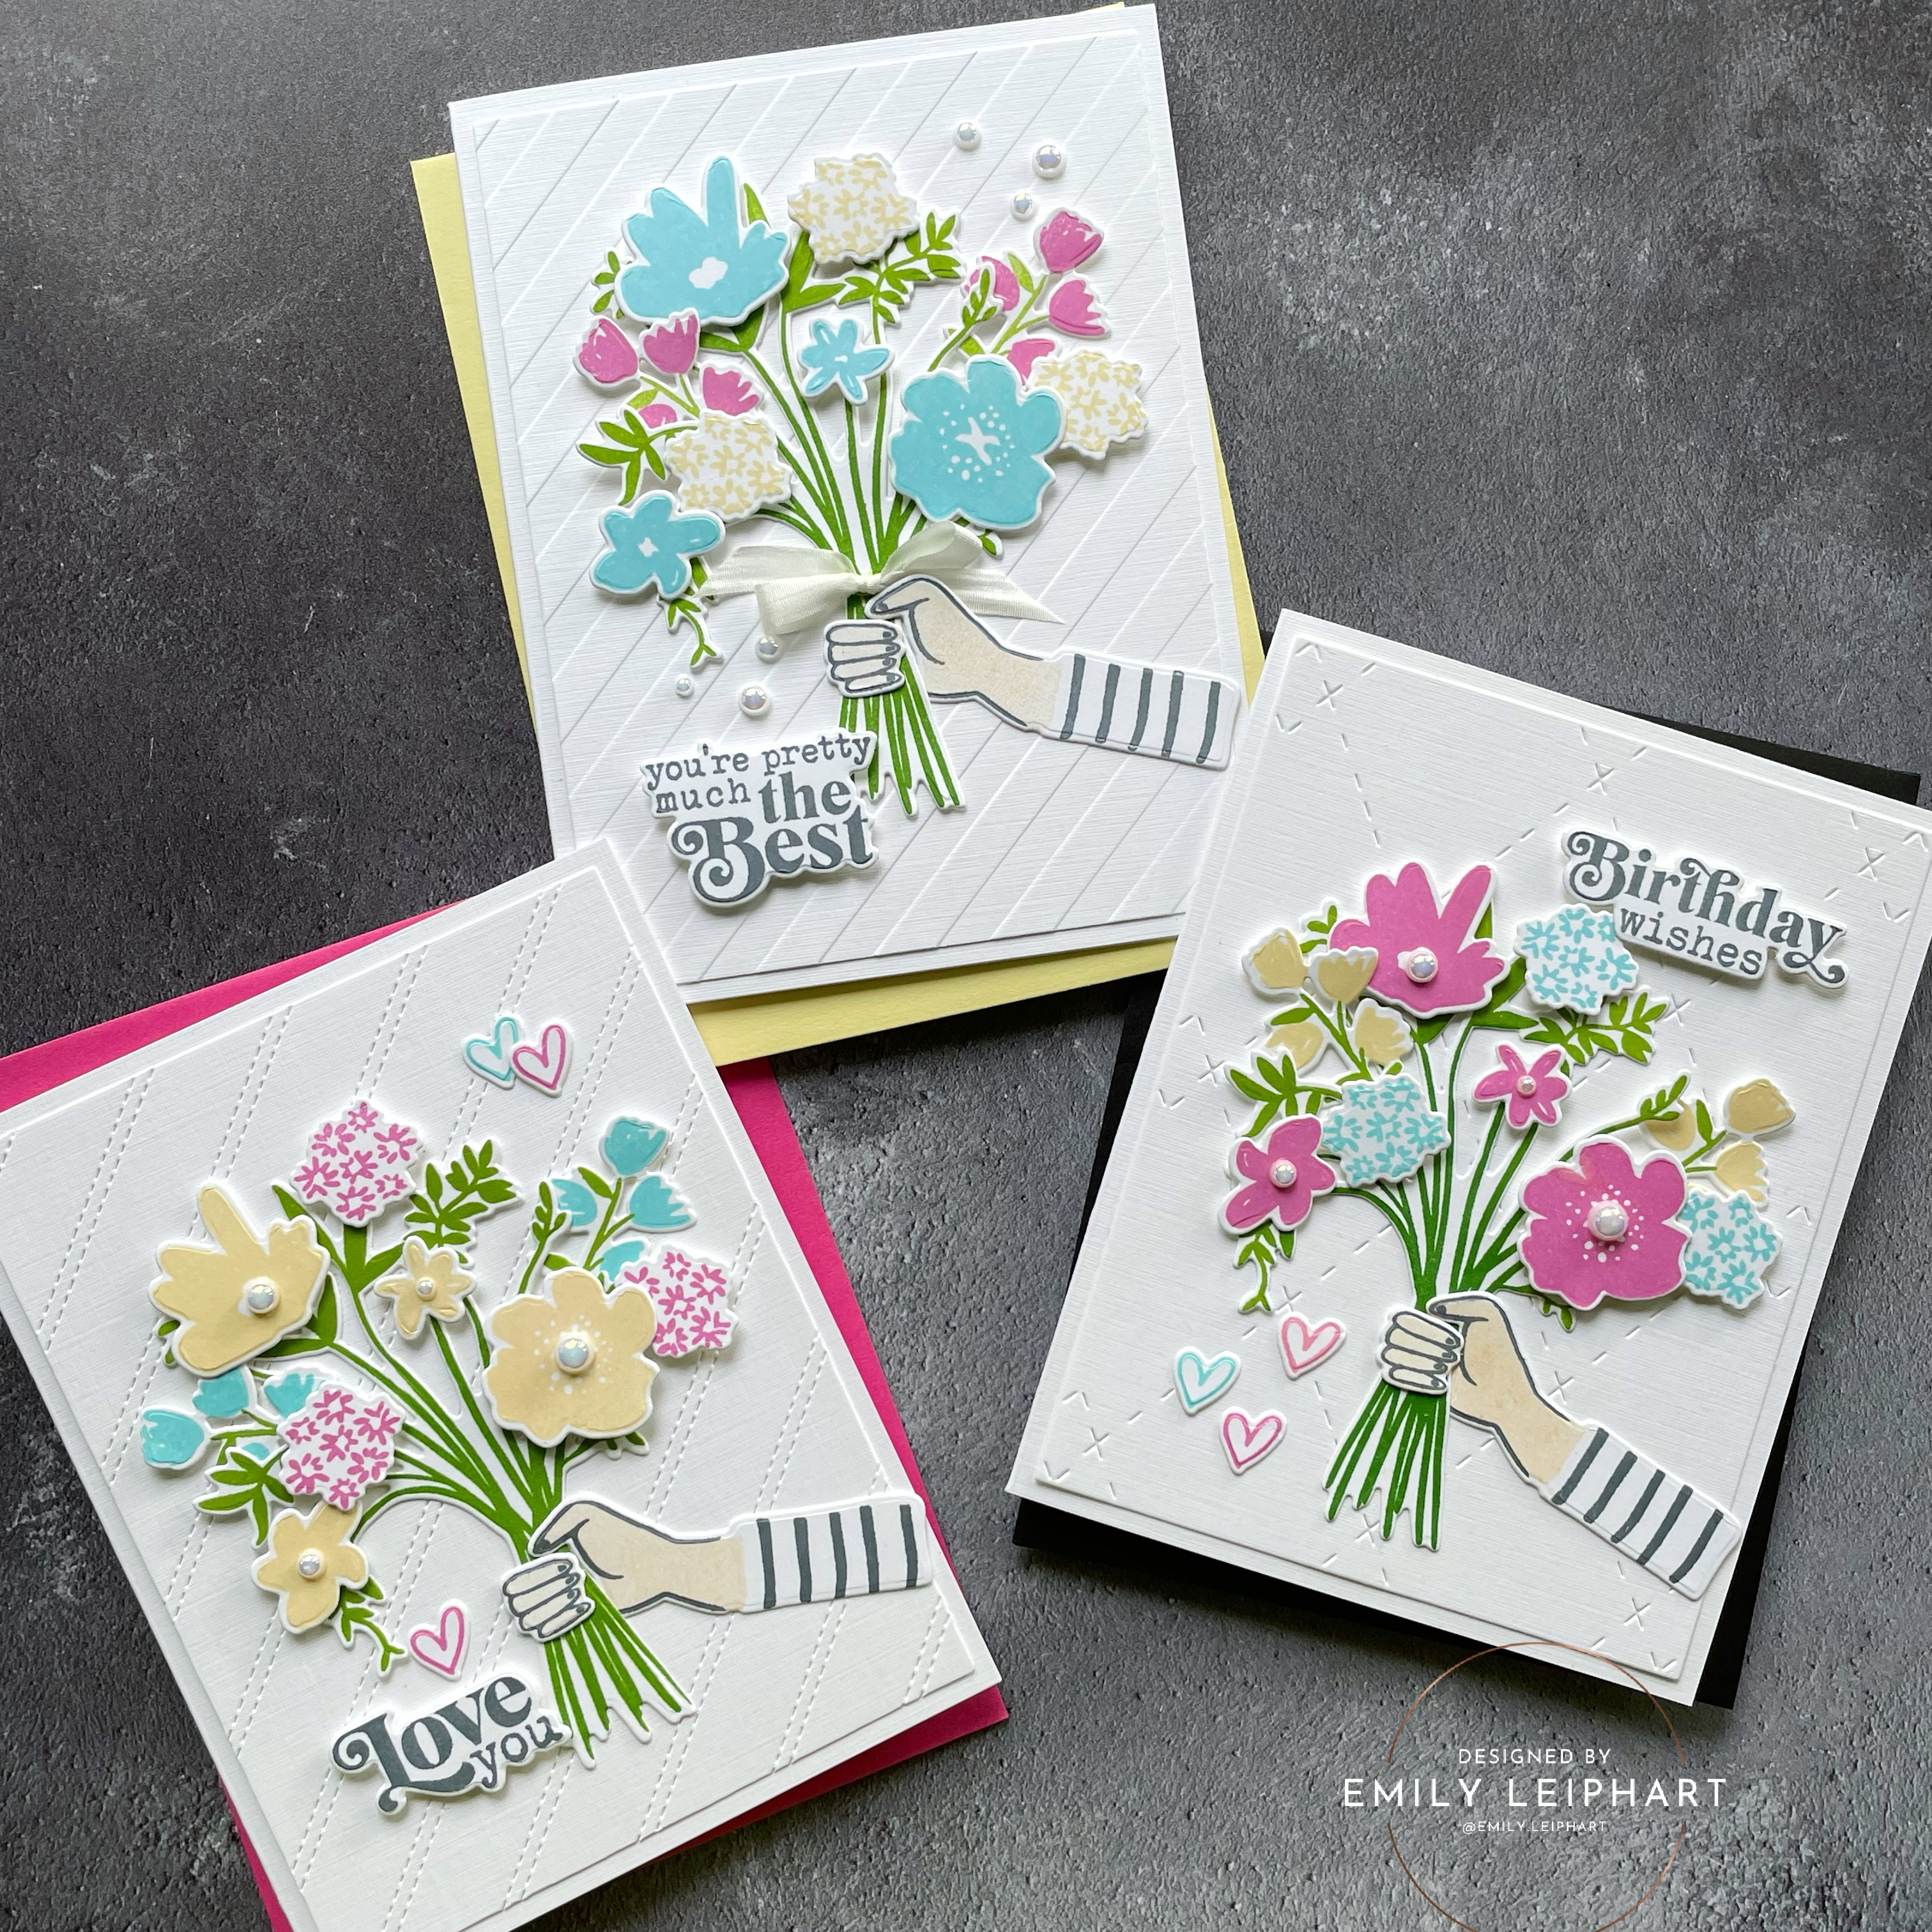
Anyway, that's what happened with this beautiful set from The Stamp Market called Oh So Lovely, which is just as good as having someone hand you a gorgeous bouquet of flowers! Seriously though, when I finally used it this week, I was asking myself why I never used it 'til now. Why, why, why?
Before I started stamping, I choose a colour palette from my Catherine Pooler ink swatches and they were loosely based on my friend Nat's favourite colours since one of them is her birthday card. I colours I used in rotation for all three cards are It's a Girl, Be Mine, Apricot, Whipped Honey, Lime Rickey, Grass Skirt, Cummerbund and Slate.
The background for this first card uses a
Concord & 9th die called
Stitched Stripe Card Front. It's so versatile and works with pretty much everything! Each card features all three cards but with the colours rotated between the three types of flowers.
All of the cards also feature
Pretty Pink Posh's
Marshmallow Pearls which are probably my most-used embellishment ever. They have the prettiest shine and are so easy to use. This particular card features the pearls outside of the bouquet but the other two cards feature them in the centres of the biggest flowers.
This one is the only bouquet to feature a ribbon tying the stems together because it was an afterthought and I really wish I had thought of it before I attached the hand to the other cards. I would love to try a looser and thinner metallic thread but this
white silk ribbon looks so cute!
This particular background features the
Spellbinders Love Stripes embossing folder. However, this one is now retired so I've linked to one of the newest ones,
Peppermint Stripes, which is currently in my shopping cart. It's a classic and will be well-loved!
When I stamped the stems, I created an ombre effect using
Lime Rickey and
Grass Skirt. Then I glued those stamps directly on to the textured mats. The hands were second generation stamped with
Apricot ink for skintone as close to mine as I could get. I suppose I could've second generation stamped it twice but I didn't want it to get too complicated.
Both the pink (
Be Mine) and blue (
Cummerbund) flowers were stamped a single time but the yellow flowers were stamped twice. All grey parts, including the outline of the hand, striped sleeves and sentiments were stamped a single time. The only time light pink (
It's a Girl) was used was on one of the hearts on the birthday card.
I'm sure it's very obvious that there are many different dimensional layers on these cards. Obviously the stems are glued flat but the hands hearts and some of the tulips were attached using glue dots. The rest of the flowers were attached using foam squares and the sentiments were adhered with foam strips.
The
Pigment Craft die featured on this last card is the
Dashed Diamonds II Cover Plate and I love that it doesn't compete with the bouquet as much as a few of the other plates I tried. There were quite a few mishaps so I wasted quite a few bouquets because I was foolish enough to glue them on before making sure it wasn't too busy. Sigh.
Do you like this idea of making a whole set of cards using one colour palette? It's definitely convenient and easy if you don't waste a lot of stamped pieces like I did! Let me know if you (still) own this set and whether or not I've inspired you to get it out and use it (again). LOL I've definitely enjoyed mixing and matching so many different brands on this trio and hope to do it again soon.
I hope you enjoyed today's projects! I appreciate you stopping by and, if you're inspired, please shop my affiliate links below. Thanks so much for your continued support!
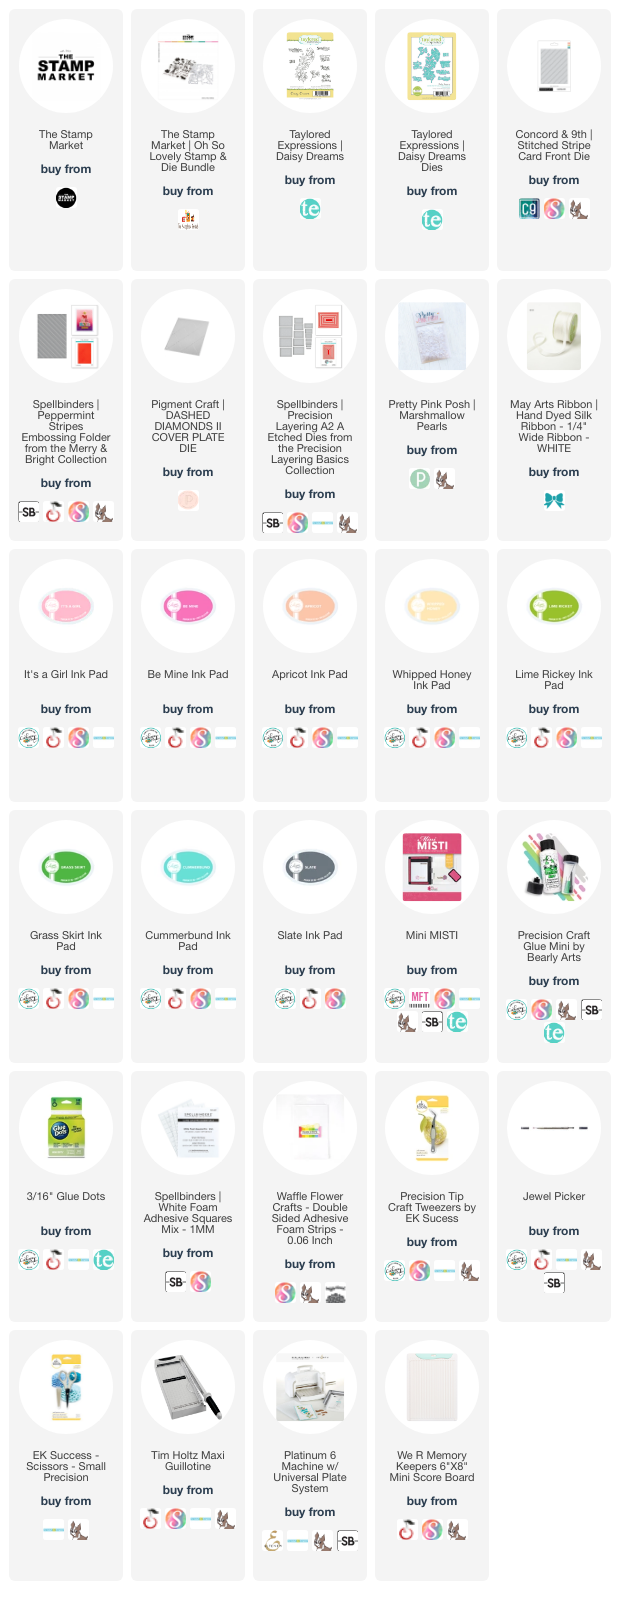
Supplies: