Showing posts with label Pretty Pink Posh. Show all posts

Friday, September 10, 2021

Ellen Hutson | Essentials by Ellen Fall + Halloween Release IG Hop

Ellen Hutson's Fall + Halloween Essentials by Ellen Release is available NOW and the Brand Ambassadors are celebrating with an Instagram Hop to bring you inspiration using these fabulous new products! While appreciated, comments left here are not eligible for one of three $25 gift certificates. Please head to Instagram for all the details! 


For this release hop, I combined several of the new products as I love to do. I created a custom sentiment and ended up with a Halloween thank you card. How's that for something different? ;)


I started by stamping all of my images from both Pumpkin Season and Halloween Boo-quet with Gina K Obsidian Amalgam ink. I used Copic markers to lightly shade the kitty and broom handle. 


Instead of ink blending a base or anchor for my scene, I decided to use an infinity shaker and mix two different sequin packs to make it extra fun! For the top panel, I used the A2 Piercing Panel 2. Just like the original piercing panel, this one will be used often.


Pumpkin Season can either be coloured with your favourite medium or it can be stamped with smooth inks. I used a combination of colours from Concord & 9th (Ballet Slipper and Grapefruit) and Catherine Pooler (It's a Girl, Coral CabanaPink Champagne and Rose Petals). The sentiment was ombre stamped with It's a Girl and Pink Champagne.


To create the secondary sentiment, I heat embossed two phrases from Tag It-Halloween on vellum. Then I used one of the Farmhouse Tags and used the fishtail end to partially die cut it twice so the fishtail appears on both ends, creating a small banner.


Most of the elements were adhered flat to the card with glue dots but a few were popped up on foam tape for added dimension and visual interest.

Be sure to click HERE or on the image below to head to Instagram and begin the hop for your chance to win a $25 gift certificate to EllenHutson.com!

Thanks so much for hopping along with us!

Supplies

Monday, August 2, 2021

Ellen Hutson | Summer of Stamping: Week 4 | Essentials by Ellen Release IG Hop

Ellen Hutson's Summer of Stamping continues with a brand new Essentials by Ellen release available  NOW and the Brand Ambassadors are celebrating with an Instagram Hop to bring you inspiration using these fabulous new products! While appreciated, comments left here are not eligible for the $25 gift certificate. Please head to Instagram for all the details! 


For this release hop, I had the joy of playing with the Stay Cool stamp set and coordinating Stay Cool Dies. The set is full of abstract shapes and patterns, perfect for stretching your creative muscles! The first pieces I noticed were that there were three parts to make a popsicle but that was too obvious so I got out an acrylic block and started stamping the shapes in different colours.


After creating a flower with the half-circle and almond shapes, I came up with the idea of using them to create cute little jellyfish. Even better, the small circle was perfect for eyes and there was also a highlighting curve that turned out to be perfect for a smile! The googly eyes completed the adorable sea creatures!


The heads were stamped with Coral Cabana, the eyes and stars were stamped with Melon Ice, the tentacles were stamped with Bellini, the mouths were stamped with Samba, and the waves in the background were stamped with Mint To Be.


The sentiment was ombre-stamped with Twilight and Black Jack, and the dots in the corners of the card base were stamped with Black Jack.


I purposely did not align the tentacles perfectly because I wanted them to look more quirky and also give the illusion of added movement. Between the waves, the stars creating sparkle in the water, the tentacles and the googly eyes, all of these elements make this a super fun card!


After making the jellyfish, I decided to stretch my creative muscles even further and see what other sea creatures I could come up with and... looking at the All the Feels Die, I managed to design a little crab! I was giggling the entire time I was putting it together.


Again, the head/body was stamped with Coral Cabana, the eyes were stamped with Black Jack, the mouth was stamped with Samba, the claws were stamped with Bellini, the legs were stamped with Black Jack, and the water droplets were stamped with Mint To Be and Melon Ice.


This was the first time I made an infinity shaker card! Not only was it fun, it was so easy and I will definitely be making more. First, I cut the front panel using the Melon Edge Dies and then I die cut the All the Feels Die from the top portion of the panel.


For the base, I cut a separate A2 panel and used Mint To Be and Melon Ice to ink blend the panel, allowing the beautiful seascape to show through the die and the shaker pocket to show completely at the very bottom.


After ink blending, I secured the shaker pocket to the panel and filled it with Iridescent Mini Star Confetti. After closing the pocket, I used 1/8" and 1/4" Scor-Tape to secure it to the front of the shaker panel and popped up the crap and water droplets with foam tape. When the entire panel was completed, I secured it to the white linen card base with 2" Scor-Tape.

Be sure to click HERE or on the image below to head to Instagram and begin the hop for your chance to win a $25 gift certificate to EllenHutson.com!

Thanks so much for hopping along with us!

Supplies

Monday, July 19, 2021

Ellen Hutson | Summer of Stamping: Week 2 -- Essentials by Ellen Release IG Hop

Ellen Hutson's Summer of Stamping continues with a brand new Essentials by Ellen release available  NOW and the Brand Ambassadors are celebrating with an Instagram Hop to bring you inspiration using these fabulous new products! While appreciated, comments left here are not eligible for the $25 gift certificate. Please head to Instagram for all the details! 


For this release hop, I had the joy of playing with the It's a Jungle stamp set and coordinating dies. The set is so fun and has a great combination of Tiki-inspired images. I love the Polynesian masks so I used all three and, when I put together my scene, I realized I needed a slimline card to fit in all the amazing images.

The large tropical plants on either side of the masks are from the Aloha stamp set and coordinating dies, which is another super fun set designed to be used with the new Tilt 'n Rock interactive die. You'll definitely want to check that out!

I wanted my watercolours to be bold and vibrant so I got out my set of Gansai Tambi watercolour paints. I own the 36 colour palette but Ellen Hutson also sells 13 of the 15 colours I used in individual pans and you can find all those colours listed in the supply links below.


I created the background by using a wide, flat paint brush and blending five colours seamlessly across the length of the slimline watercolour panel. I set that aside to dry while I stamped and heat embossed the images, and watercolored them with the remaining colours.


I loved colouring all the foliage in different shades of green and purple! The masks have so many little details and it was fun making them so colourful. I love the different shapes and expressions which gives them so much versatility, even the option of colouring them all one colour (plain wood carvings).


Before stamping the sentiment, I arranged the images on the card to make sure the sentiment would fit without being covered by part of the foliage. Then I also heat embossed the sentiment to match the images. I popped all of the images, except the two smaller masks, on to the panel with foam tape and adhered the remaining masks with glue dots.

To finish the card, I added a few sparkling clear sequins in four different sizes - 3mm, 4mm, 6mm and 8mm. If you haven't already hopped along, be sure to click HERE or on the image below to head to Instagram and begin the hop for your chance to win a $25 gift certificate to EllenHutson.com!


Also, today is the LAST DAY to take advantage of the Gift With Purchase! If you missed my inspiration card using the Trippin' stamp set, you can see it HERE. There's no better time to shop!

Thanks so much for hopping along with us!

Supplies

Thursday, June 24, 2021

Reverse Confetti | June 2021 Stock Your Stash Challenge: Hello or Just Because

Hello, crafty friends! This month's theme for the Stock Your Stash Challenge at Reverse Confetti is Hello and Just Because. Just Because, Encouragement and General Friendship cards are my favourite types of cards to make because I can send them any day for any reason! I chose to make a Just Because card, which is also an encouragement card for a friend. I'm literally covering all my bases. LOL I invite you all to play along for a chance to win. All you have to do is make a hello- or just because-themed card using Reverse Confetti and link up HERE. The winner will be chosen randomly from all entries to win a $20 gift certificate to shop at Reverse Confetti!


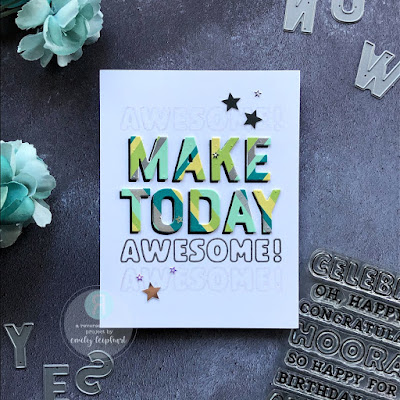
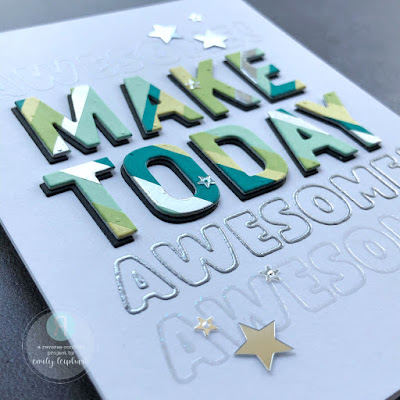
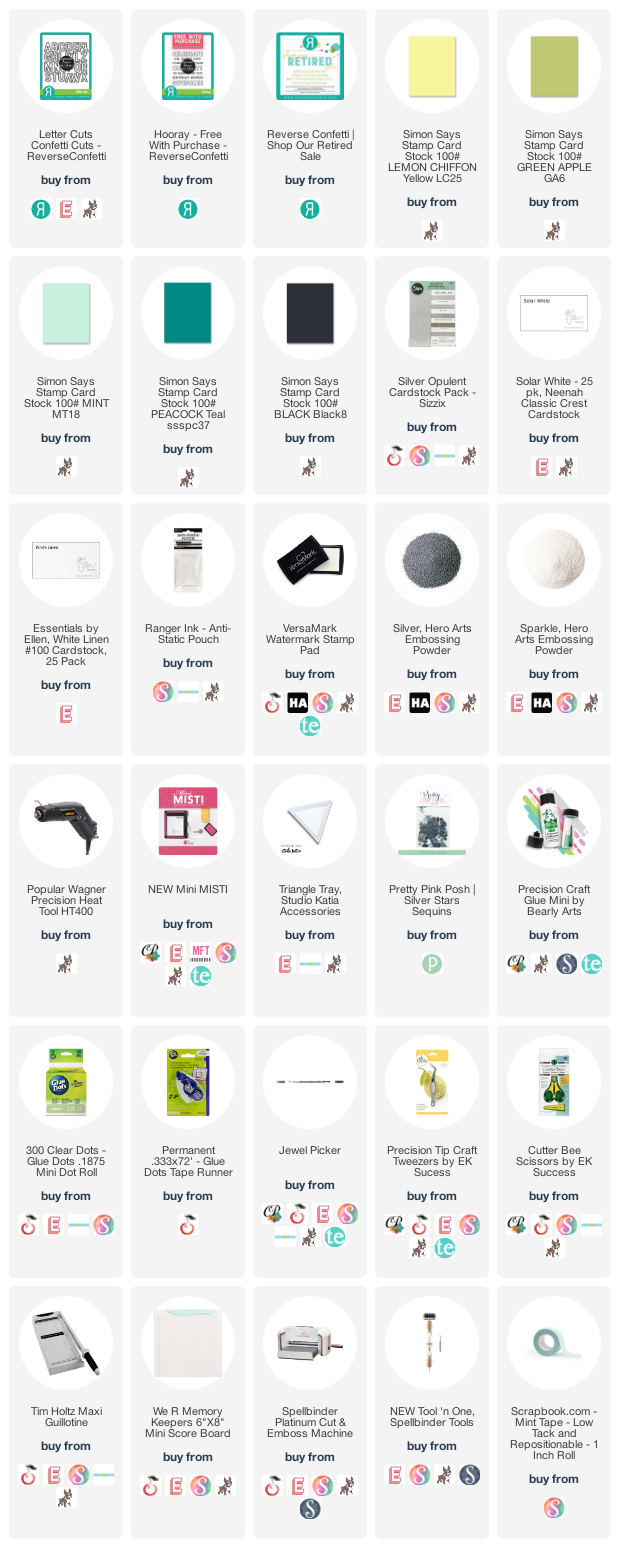
Lately, I've been obsessed with creating my own striped patterned paper and using it with the Letter Cuts. It's so easy to make your own colour combos with your favourite coloured cardstock and these ones are Lemon ChiffonGreen AppleMint and 
Peacock Teal by Simon Says Stamp. I also used strips of silver brushed metal cardstock by Sizzix.

First, I lined up the Letter Cuts and measured the size of the patterned paper I would need to cut these letters. Then I trimmed a piece of printer paper for the base. I covered it with adhesive and you can use anything you want, like a tape runner, liquid glue, Scor-Tape or adhesive sheets. I used a tape runner here since it was easiest for me.


Then I cut 1/8", 1/4" and 1/2" strips of Lemon ChiffonGreen AppleMintPeacock Teal cardstock and 1/8" and 1/4" strips of silver brushed metal cardstock. I decided on a colour order and but increased the width of the next colour, throwing in a strip of silver cardstock after every four strips. The stripes on the first word were angled up to the right and the stripes on the second word were angled down to the right to create an overall chevron effect. I added black die cut letters behind the striped letters to make them pop against the white background.


I used a word from the Hooray gift with purchase and silver heat embossed the middle one that completes the main sentiment. I sparkle heat embossed the other two to keep the cheer going along the length of the card and to add visual interest. To finish, I added silver star sequins in two sizes.

Thanks so much for stopping by and don't forget to play along HERE!

Supplies

Sunday, June 20, 2021

Taylored Expressions | Mini Slim Father's Day Cards

I'm so excited to share the Father's Day card that I made for my dad and the Father's Day card that Damian made for his dad. I had several new products from Taylored Expressions that hadn't seen ink yet and Damian was also convinced that we had to use them. ;)

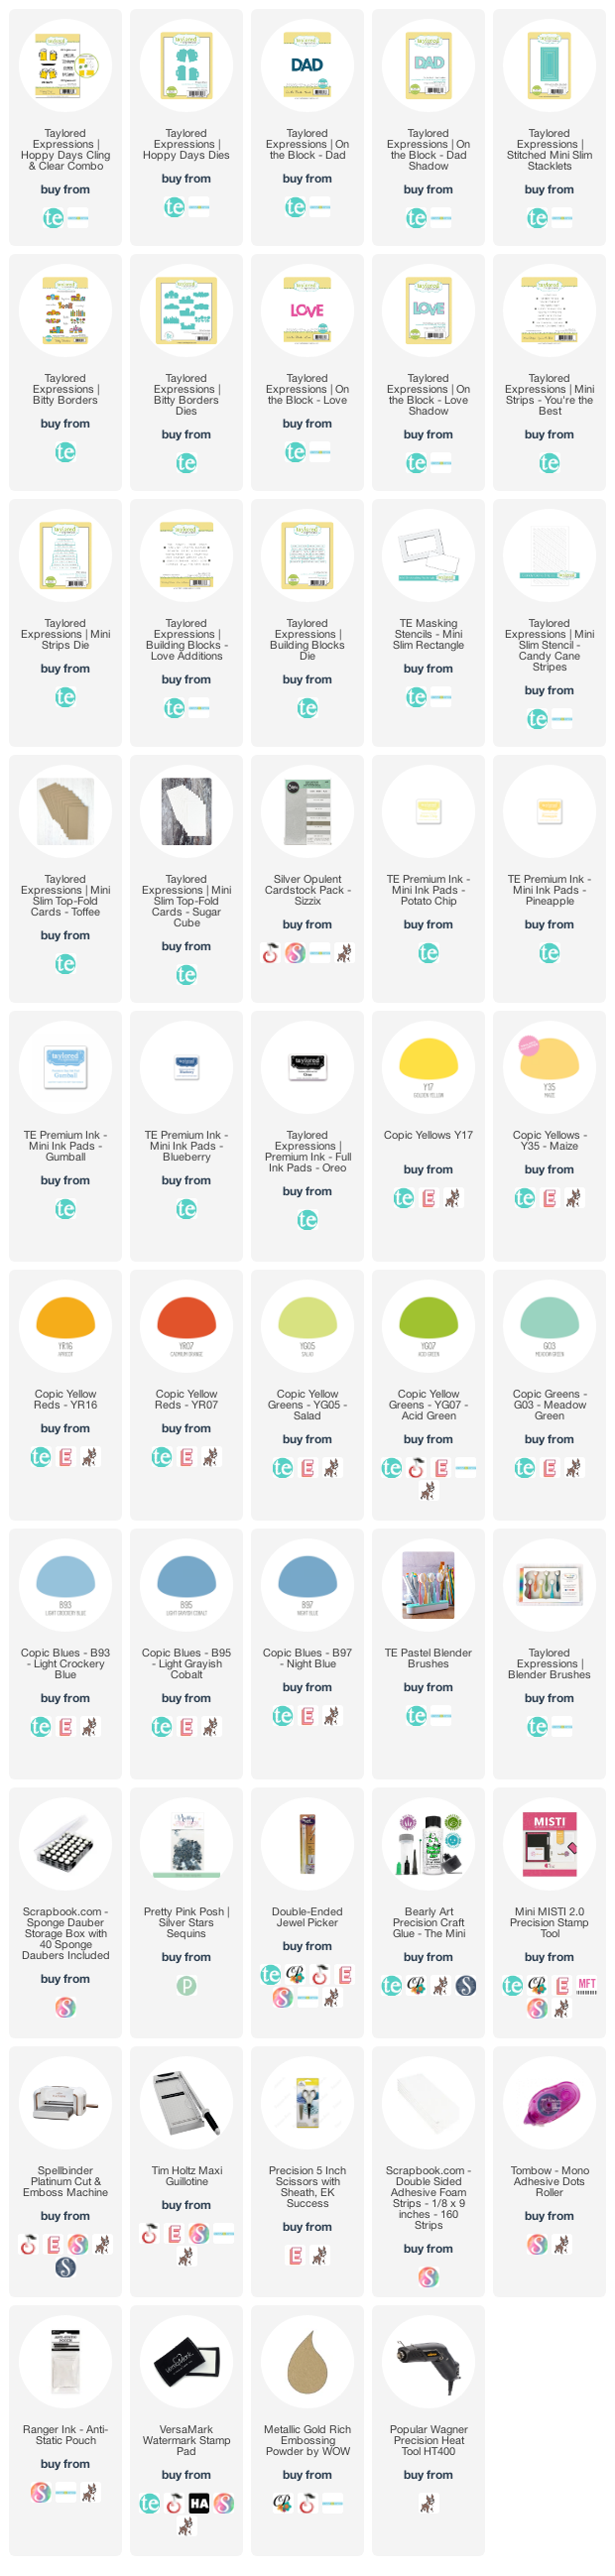
Based on the products we selected from my stash, we decided that the mini slim size was the way to go. I selected the Mini Slim Top-Fold Card in Sugar Cube and I used a pastel blue blender brush and Gumball ink with the Mini Slim Rectangle Masking Stencil to create a soft frame. Then I used a dark blue blender brush and Blueberry ink with the Mini Slim Candy Cane Stripes Stencil to create strips on opposite corners of the card base.

Next, I ombre stamped On the Block - Love and On the Block - Dad using Gumball ink on the top half of the word and Blueberry ink on the bottom half of the word. I used a sponge dauber to soften the transition between the two colours. I gold embossed sentiments from Mini Strips - You're the Best and Building Blocks - Love Additions and die cut them using the coordinating dies. Then I set aside all the pieces to work on the images. 

As I've mentioned many times before, it's rare for me to give my dad that doesn't feature flowers since he's been an avid gardener his entire life. I decided to use the adorable row of flowers from Bitty Borders, which I stamped in Oreo ink and coloured with Copic markers. I die cut a second set of the flowers and used Bearly Art liquid glue to stack them for a bit of dimension. I assembled my finished card by using foam tape on the block words and the centre building block, a tape runner to adhere the other two mini strips, and liquid glue to attach the flowers. I just love the different levels of dimension and the visual interest provided by the stencilling in the background!

Damian watched me do the ombre stamping on my card and was super excited to try it on his card. He selected the Mini Slim Top-Fold Card in Toffee and started by stamping On the Block - Dad using Gumball and Blueberry inks to mimic what I did on my card. Using Hoppy Days was a must for my husband because he loves beer. I love beer, too, and we both love most alcoholic drinks. LOL Damian was so excited to re-create the ombre effect on these mugs of beer and had so much fun doing it. He used Potato Chip ink on the top half of the clear filler stamp and Pineapple ink on the bottom half. He used a sponge dauber to soften the transition lines and stamped each beer twice in the mini MISTI stamping tool to perfect the ombre effect.

To make this special card pop, Damian created a frame by trimming a 3.5" x 7" piece of silver glitter cardstock and cutting out the centre using the largest of the Stitched Mini Slim Stacklets. He used Bearly Art liquid glue to attach this frame to the card base.

Before assembling the rest of the card, Damian placed the secondary sentiments in the MISTI stamping tool and stamped them using Oreo ink. Then he used foam tape to pop up On the Block - Dad and the beers. Using a jewel picker, I added a few mini star sequins to provide a bit more balance to the card and also because bling is good. ;)

Thanks so much for stopping by!

Supplies