Showing posts with label card set. Show all posts

Tuesday, February 28, 2023

VIDEO | Taylored Expressions | In the Abstract 2 Cardmaking Kit

How pretty is this new kit from Taylored Expressions?! If you loved the original In the Abstract Cardmaking Kit, you're sure to love the In the Abstract 2 Cardmaking Kit even more because... wait for it... there's a set of Create-in-Quad stencils included in this amazing kit!

I love layering abstract shapes but, let's be honest, sometimes it's hard to come up with a pattern and this kit does all the thinking for you! I'm in love with all of the backgrounds/scenes and the Create-in-Quads - Abstract stencils do all the work. By work, I mean physical labour. LOL


The colour palette I chose for my cards includes Lavender Glaze, Macaron, Mint Julep and Cookie Monster. I used both the inks and coordinating cardstock, as well as Sugar Cube, Black Licorice, Gold Foil and Gold Glitter cardstock.


This first card using the results of the first quadrant resembles a sunset with moon and water. I tried to pick a favourite but it's difficult because there's something special about each scene. I stamped the wheat grass from the Simple Silhouettes stamp set using Versafine Clair Nocturne ink and I love the drama of the black against the pastel background.


I added stars of different sizes from the Gathered Stars Die cut from Gold Glitter cardstock and attached the panel to a Black Licorice card base.
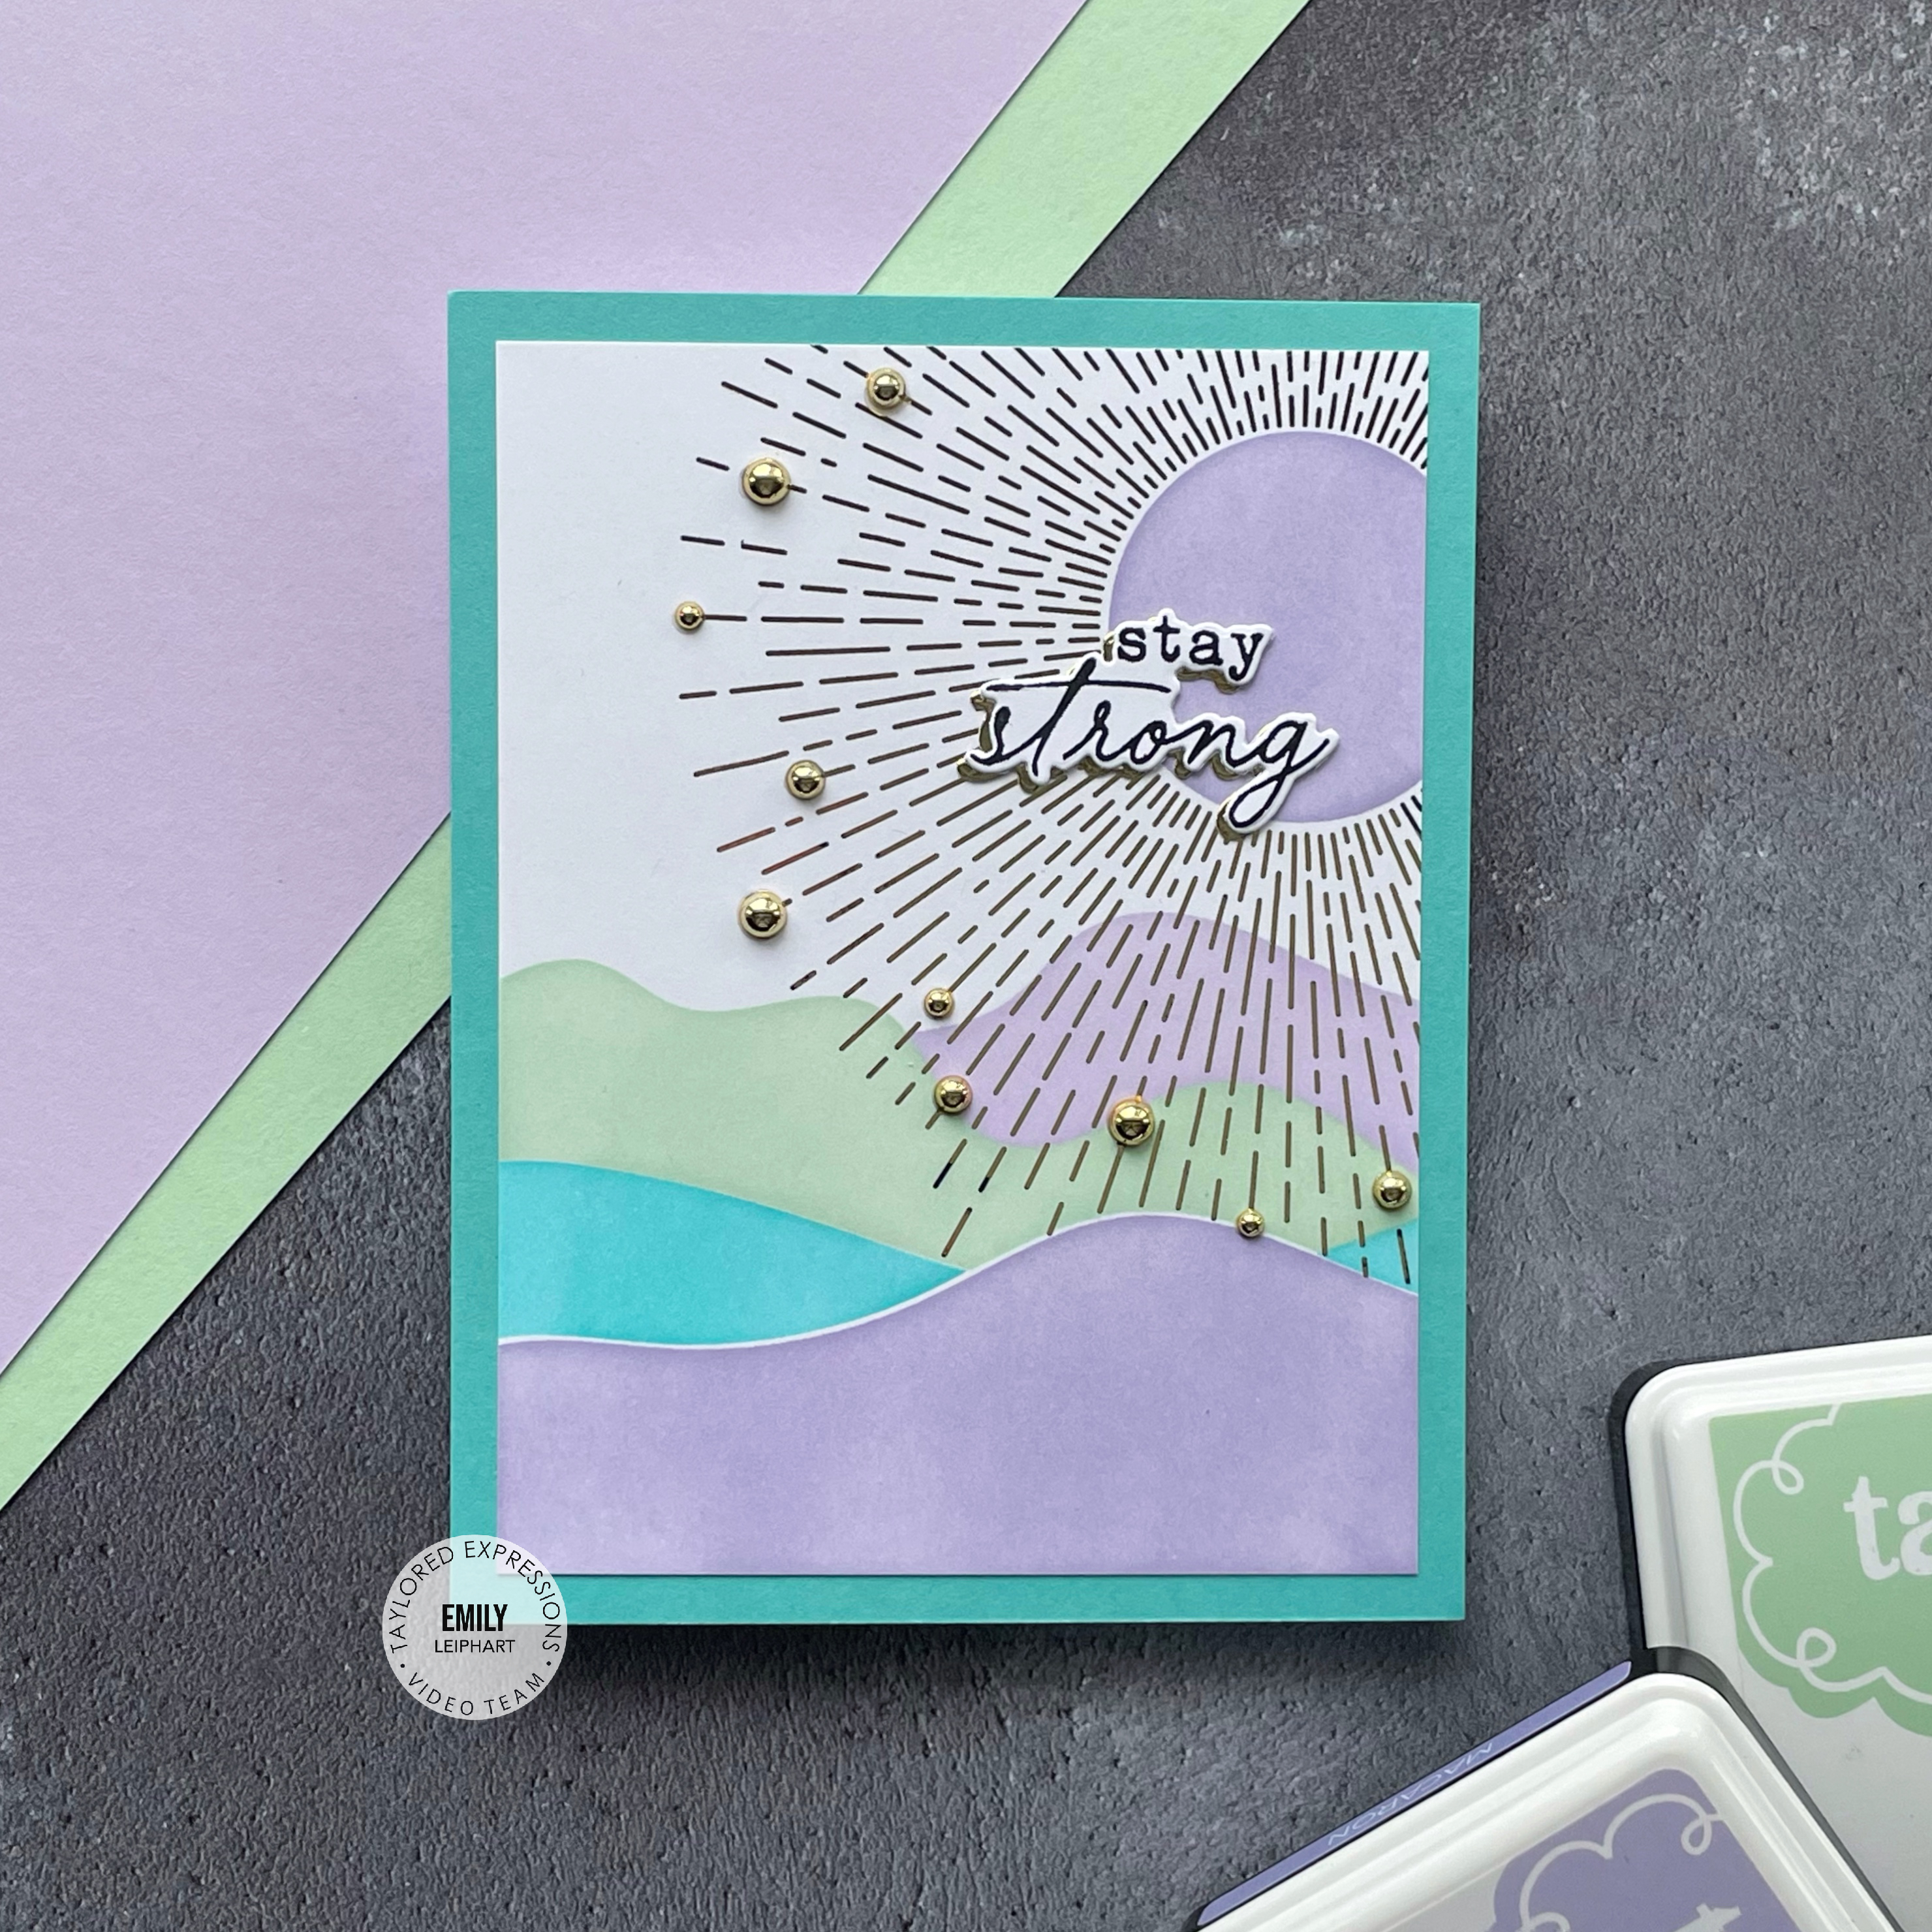

All of the sentiments are from the add-on More Signature Sentiments with coordinating dies. I die cut Gold Foil shadows for each of the sentiments and glued the layers together. Some of the cards have flat sentiments and others are popped up on foam tape for dimension.


I used one of the add-on Foil It - Abstract panels for this second quadrant, which resembles a sunrise over mountains and I adore the beautiful rays! I used Gold Deco Foil with my Mini Minc Foil Applicator to create this effect.


To elevate the brilliance of this panel and put the spotlight on those sun rays, I added Gold Drip Drops in various sizes. This panel was trimmed right down to the stencilled edge and placed on a Cookie Monster card base.


This third quadrant is definitely one of my top favourites because the Boho Bowls are so adorable! They can be used not just as vases but also random shapes on your cards, not just for this kit but any card. 


I pulled the Branch Out and Subtle Sprigs Dies, originally sold with the original In the Abstract Cardmaking Kit but now available separately, and die cut them from Gold Foil and Black Licorice cardstock.


What I also love about this card is the subtle white-on-white border on the Sugar Cube card base, as well as the fully-stencilled panel. To finish, I embellished the card with a few Gold Drip Drops


I'm sure you can understand when I say that this next card is also a favourite because who doesn't love rainbows and leaves? Pair them together and you have the most beautiful card! 


I love the drama of this curved branch from Simple Silhouettes, especially when layered with the detailed Branch Out leaves cut from Gold Foil cardstock. This fourth and final panel was placed on a Macaron card base.


Coinciding with this kit release is a brand new Gift with Purchase! Through March 2023, with every $100+ purchase, you'll receive the Blooming Botanical Layering Stencils.

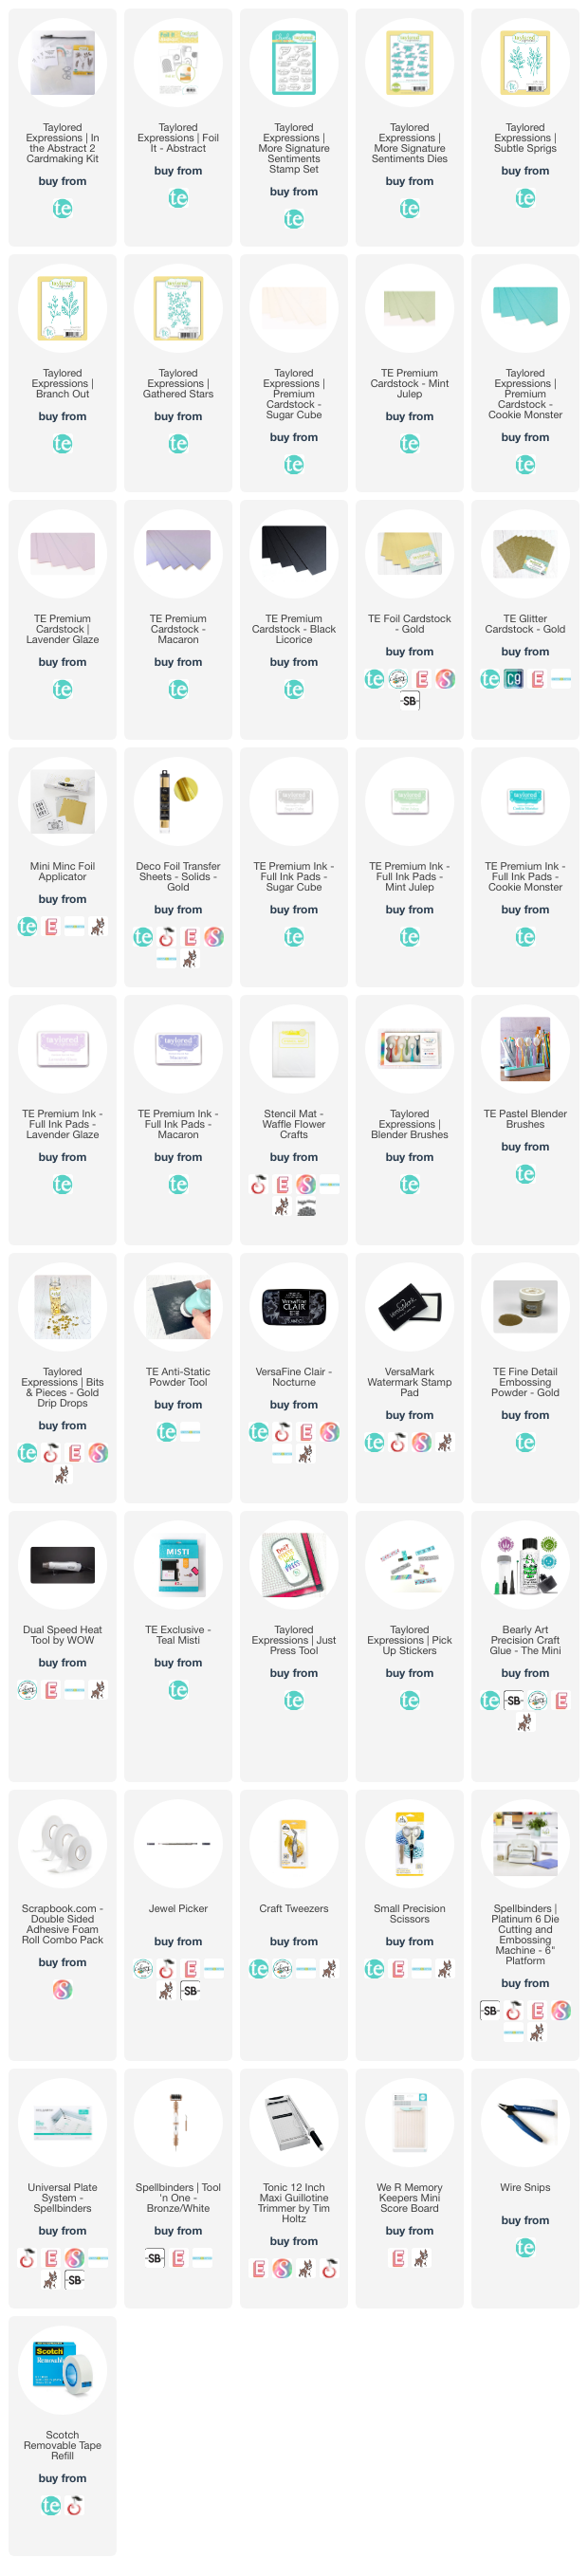
Thanks so much for watching and for shopping my affiliate links below!

Supplies

Tuesday, October 25, 2022

VIDEO | Taylored Expressions | Introducing the Friendly Filigree Cardmaking Kit + Add-Ons

Taylored Expressions has a new cardmaking kit which makes gift-giving so quick and easy! The holidays will soon be here and everyone loves customizable cards. The new Friendly Filigree Cardmaking Kit makes absolutely stunning cards in a pinch, which is just what we all need!


This kit includes an incredible Friendly Filigree Background Stamp which looks just as beautiful stamped or heat embossed, as it does using the Foil It - Friendly Filigree panels in Tropical Punch, Blue Corn and Mulled Wine, as I've shown here.


I created a set of gold foiled panels with choose-your-own Foil It - All Together Occasions sentiments on Toffee card bases. After foiling the sentiment panels and die cutting them with the coordinating All Together - Occasions Coordinating Die from the kit, I used liquid glue to attach them to gold mirror shadows for an extra pop of gold.


I also removed the centres from the foiled panels using the Friendly Filigree Frame Die, also included in the kit. This exposes the Toffee card base behind each sentiment, which backed with double-sided tape so the giver can choose and attach the desired sentiment.


I also created a set of silver foiled cards on Sugar Cube card bases. The choice of gold and silver is such a personal choice so I thought a gift set that included both would be idea. I originally thought I'd like the gold set better but the silver really won me over!


With both the gold and silver foiled cards combined, there are six cards with a choice of 12 sentiments in two different styles. For the second set of sentiments, I once again used the Friendly Filigree Frame Die to cut them out and used liquid glue to stiffen them with a second layer of cardstock, which adds a touch  of dimension and quality.


To create the box, I used the Clear Card Box included in the kit (additional boxes are available for purchase) and die cut the Gift It Belly Band (sold separately) from Toffee cardstock. I wrapped the band with burlap twine and attached one of the extra gold foiled sentiments from Foil It - All Together Occasions using foam tape.

Thanks so much for watching!

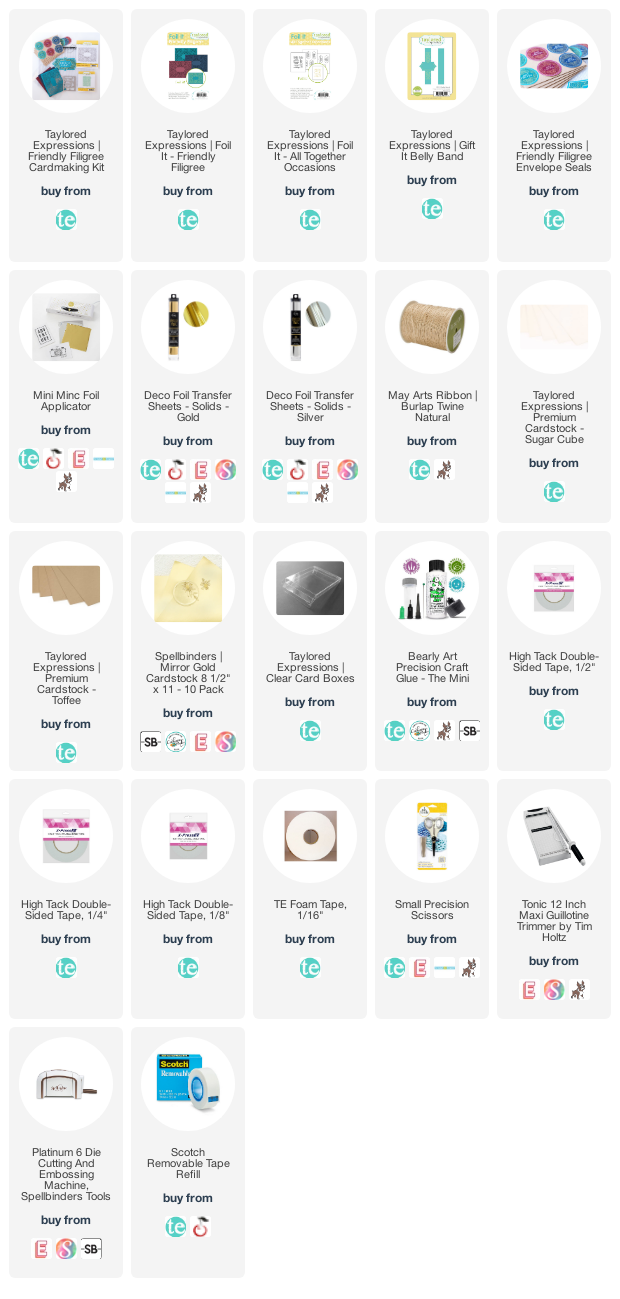
Supplies

Thursday, October 20, 2022

VIDEO | Taylored Expressions | Woodland Reindeer Deco Foil Adhesive Transfers collaboration with Thermoweb

Taylored Expressions has a new collaboration with Thermoweb and I'm thrilled to be introducing Deco Foil Adhesive Transfers for the Woodland Reindeer Silhouettes and Woodland Reindeer Dies.


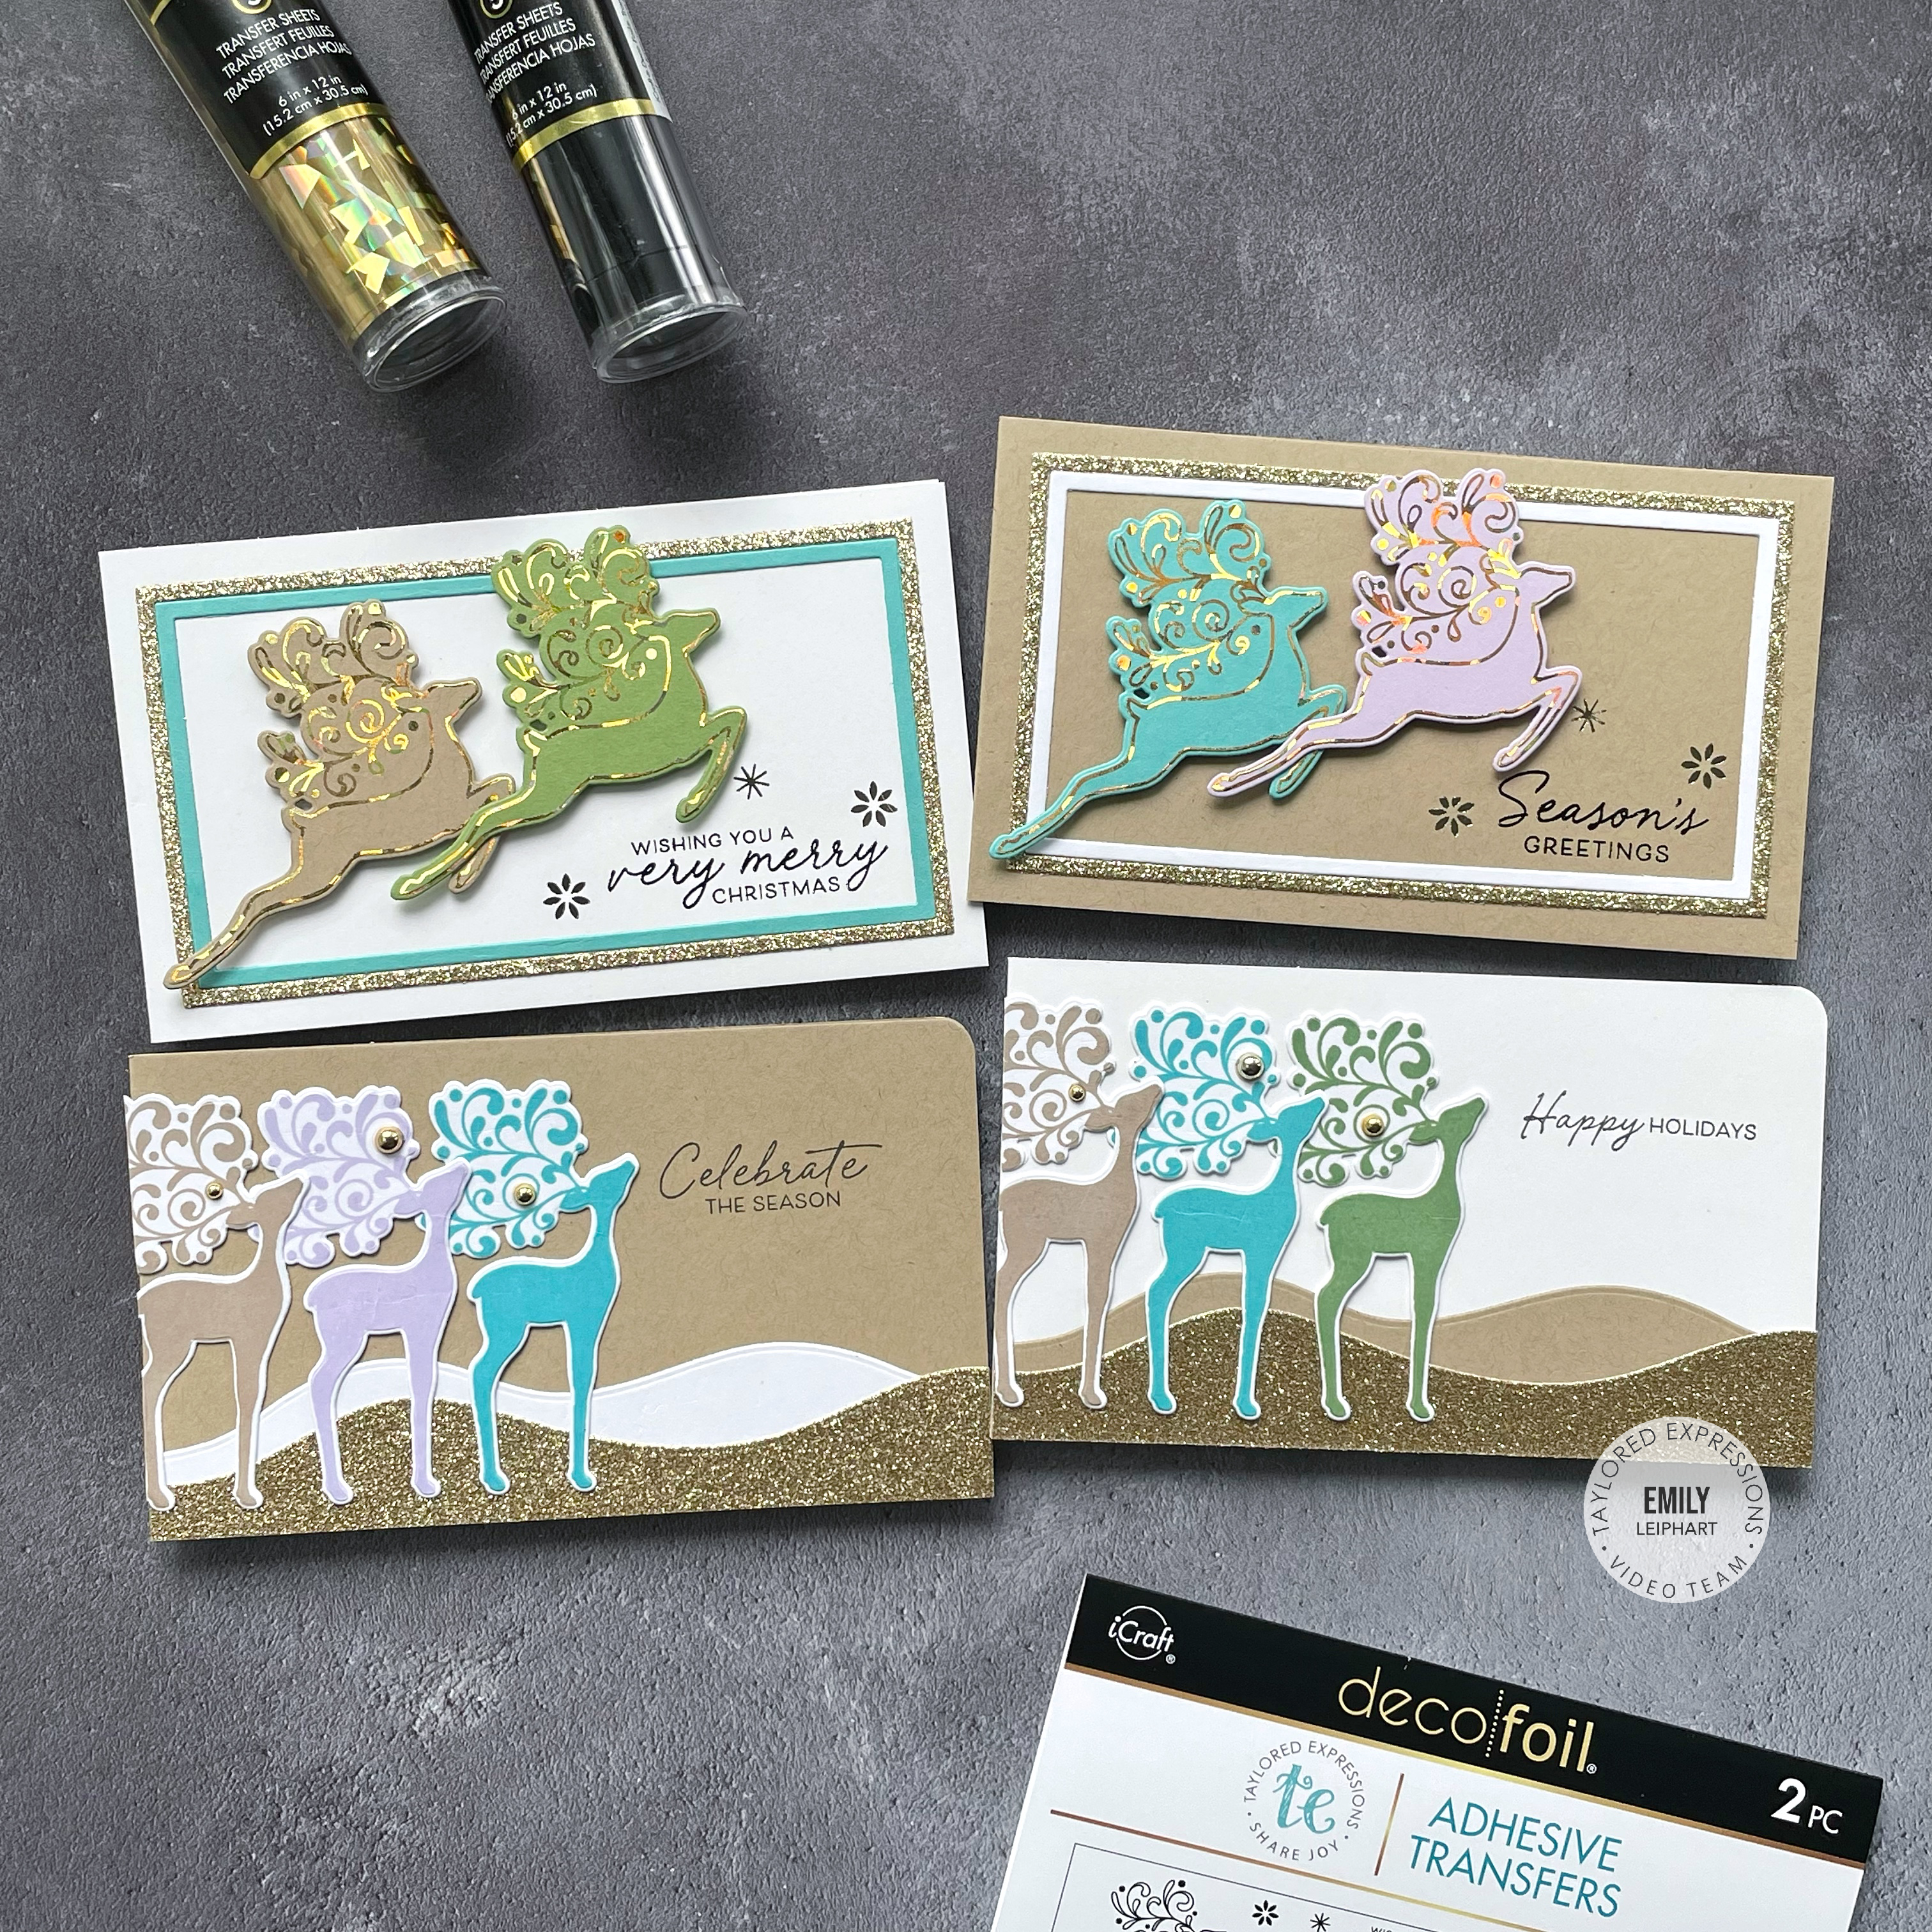
I'm sharing four mini slim cards in my video. Two of them feature the Woodland Reindeer Deco Foil Adhesive Transfers and Woodland Reindeer Dies. The other two feature the Woodland Reindeer Silhouettes and Woodland Reindeer Dies. All of the cards feature a landscape design.


My colour palette features Lavender GlazePeapodCookie MonsterToffeeSugar Cube and gold glitter cardstock. I love this pretty, non-traditional colour combo for holiday cards!


I love all the sparkle on these cards created with the combination of foiling the Woodland Reindeer Deco Foil Adhesive Transfers with Gold Shattered Glass. The sentiments were foiled with Black and the snowflakes were foiled with Champagne for variation and visual interest. 


The addition of the contrasting borders cut with the Mini Slim Thin Frame Cutting Plate adds to the festive design. I popped these flying reindeer on to the Mini Slim Top-Fold card bases with foam tape for dimension.


The next two cards were also created on pre-made Mini Slim Top-Fold card bases. I stamped the Woodland Reindeer Silhouettes using Lavender Glaze, Peapod, Cookie Monster and Toffee inks, then cut them with the coordinating Woodland Reindeer Dies.


I created hills using two of the dies from the Build a Scene - Rolling Hills Dies, then adhered them to the card bases before attaching the reindeer with glue dots. The sentiments were stamped with Oreo ink. To finish, I added gold pearls to the antlers and rounded the top right-hand corner with the 1/4" side of my corner chomper.

Thanks so much for watching!

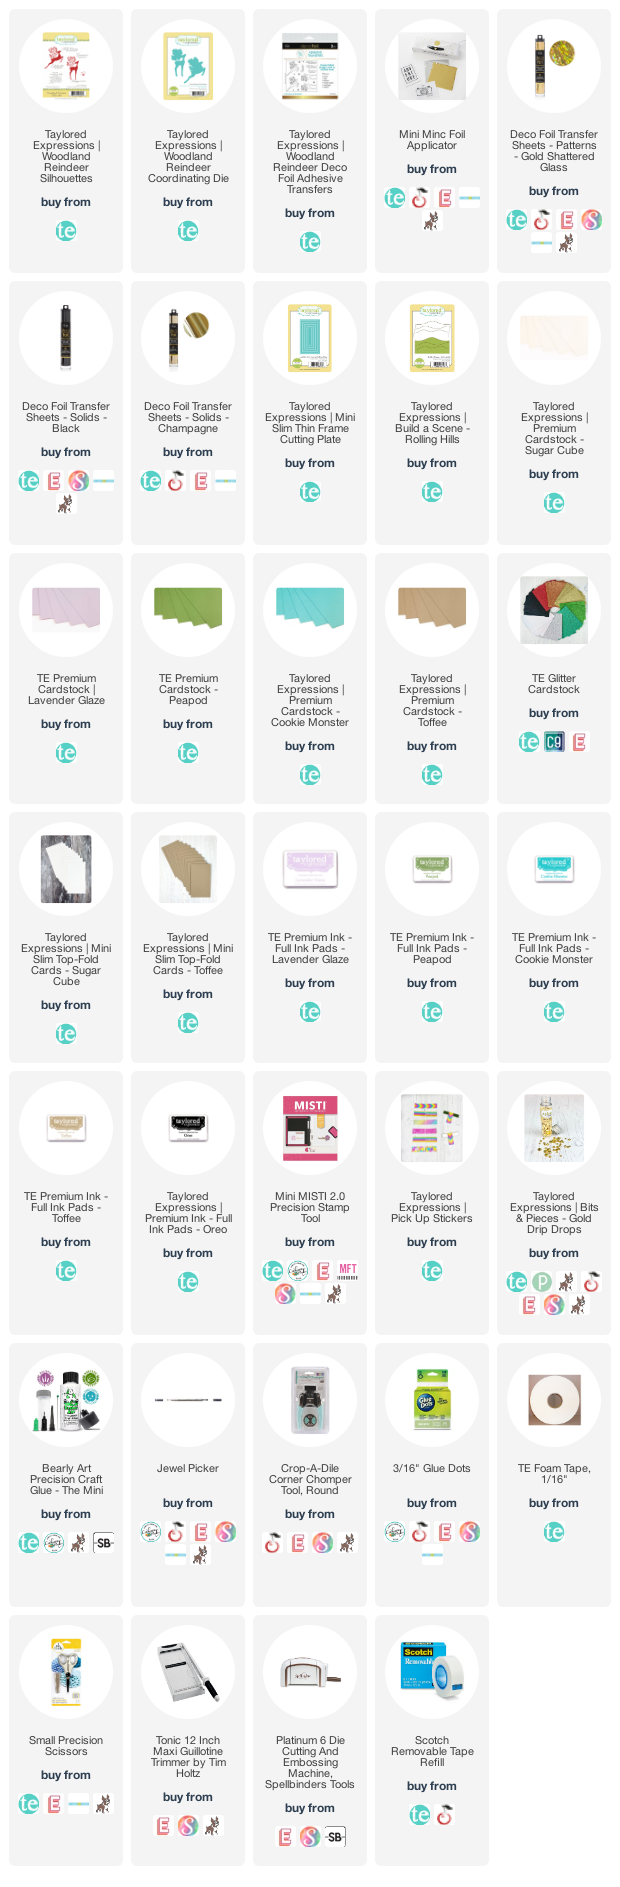
Supplies

Tuesday, September 13, 2022

VIDEO | Taylored Expressions | 4 Cards feat. Triple Slim Celebrate Layering Stencils + Happy Hooray Sentiments

Taylored Expressions has released the next in the Triple Slim Layering Stencil Series and you're going to love it! If you're already a fan of the Create-in-Quads Layering Stencils, then you're sure to fall in love with this new addition. I'm thrilled to be introducing Triple Slim Celebrate Layering Stencil, the third of the Triple Slim series. These work exactly like the Create-in-Quads but result in three mini slim cards, as opposed to four A2 cards.


I'm sharing four cards in my video. They all feature the Triple Slim Celebrate Layering Stencil and coordinating Triple Slim Celebrate Candle Dies. Two of the cards feature a vertical design and two have a horizontal design. Also featured is new Happy Hooray stamp set with coordinating Happy Hooray Dies. I selected Cupcake, Cherry Pop, Candy Corn and Passion Fruit inks for my stencilling. The colours are perfect for fall birthday cards!


The Triple Slim Celebrate Layering Stencil features three designs -- confetti, balloons and candles. The first card features the paler of the two confetti panels shown in my video and I added details to both ends of the panel using the smallest of the Diagonal Stitch Rectangle Stacklets.


I heat embossed the sentiment using gold tinsel embossing powder on Passion Fruit cardstock and layered it on a Cupcake shadow to coordinate with the mini slim card base.


My second card, also in the vertical format, features the falling balloons and I absolutely love the way the inks overlap. I framed this panel using the second-largest of the Mini Slim Thin Frame Cutting Plate, cut from gold glitter cardstock.


To create the sentiment, I stamped it first with Passion Fruit ink on Sugar Cube cardstock, then stamped it a second time using watermark ink and heat embossing it with sparkle embossing powder. I added a second layer of the die cut sentiment for a bit of dimension and attached everything to a Passion Fruit card base.


I love all the design possibilities using these three stencils. The coordinating Triple Slim Celebrate Candle Dies and Triple Slim Celebrate Balloons Dies can also be used to add varying amounts of dimension, whether it's by using liquid glue to stack layers of cardstock or by using glue dots and foam tape.


These next two cards feature two of the stencilled panels with a horizontal design. The different heights and patterns on these candles carries the eye across the whole length of this mini slim card and I love that you can use the coordinating Triple Slim Celebrate Candle Dies for even more options.


I kept this card simple and white heat embossed the sentiment on Cupcake cardstock and added gold pearls to some of the flames. The panel was added to a Candy Corn card base.


This final card features the darker of the two confetti panels and the second of the candle panel, die cut with the coordinating Triple Slim Celebrate Candle Dies. I layered the candles two stacks high, then glued them directly on to the panel.


As with my second card, I stamped this sentiment first with Passion Fruit ink on Sugar Cube cardstock, then a second time using watermark ink and heat embossing it with sparkle embossing powder. I added a gold glitter shadow, then attached the panel to a Cherry Pop card base.

I hope you enjoyed all of these ideas for the Triple Slim Celebrate Layering Stencil, coordinating Triple Slim Celebrate Candle DiesHappy Hooray sentiments and coordinating Happy Hooray Dies.

Thanks so much for watching!

Supplies

Wednesday, January 5, 2022

VIDEO | Taylored Expressions | Valentine Trio feat. Gus & Gertie--Best Buds + Stitched With Love


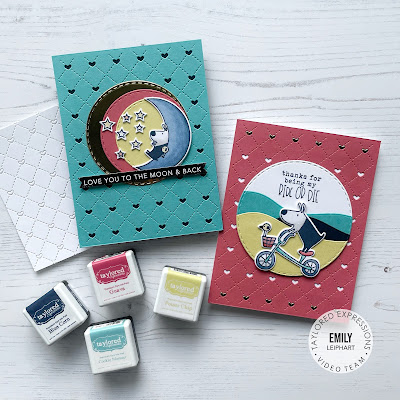
The new Valentine's Day Release from Taylored Expressions is so adorable! If you haven't already seen it, be sure to check out all of the new products. There are quite a few things I have my eyes on, including the donuts and latest create-in-quads heart stencils. In today's video, I had the pleasure of featuring the fourth installment in the Gus & Gertie Collection called Gus & Gertie--Best Buds. I wanted to make one card for each of the three adorable images in this set.

All of the cards also feature the beautiful and versatile Stitched With Love Cutting Plate. This cover plate does not have a border around it so you can extend the pattern vertically or horizontally to pretty much any size, as big as your die cutting machine platform will allow!


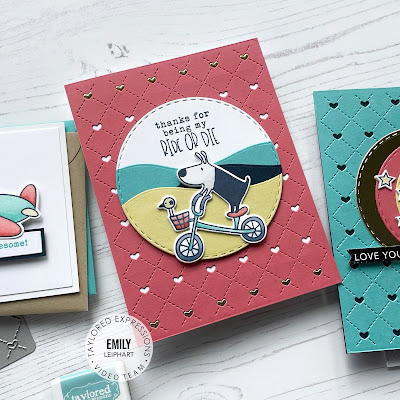
My first card sees Gus riding a bike with Gertie perched on the basket. The background of the little scene was created using the Stitched Circle Stacklets and Build a Scene--Rolling Hills dies. The Stitched With Love Cutting Plate was cut from Guava cardstock and partly filled with gold foil hearts.


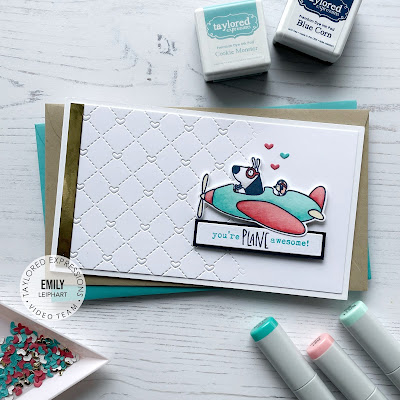
My second card uses one of the Mini Slim Top-Fold Cards and features a partially die cut with fadeaway. I also added a gold foil element in the form of a quarter-inch strip down the left side of the panel, adding tiny hearts from the cover plates of the other two cards.


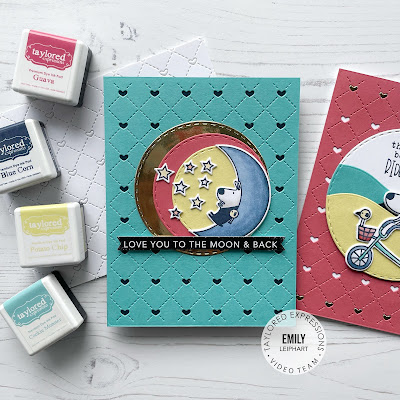
My last card once again uses the Stitched Circle Stacklets in Potato ChipGuava and gold foil cardstock to mimic the radiating light of the moon. I used a vellum die cut of the image to ensure exact placement of the stars. The Stitched With Love Cutting Plate was cut from Cookie Monster cardstock and adhered to a Blue Corn card base. The sentiment was die cut from the new Simple Strips in Reverse--Love using the original Simple Strips Die.

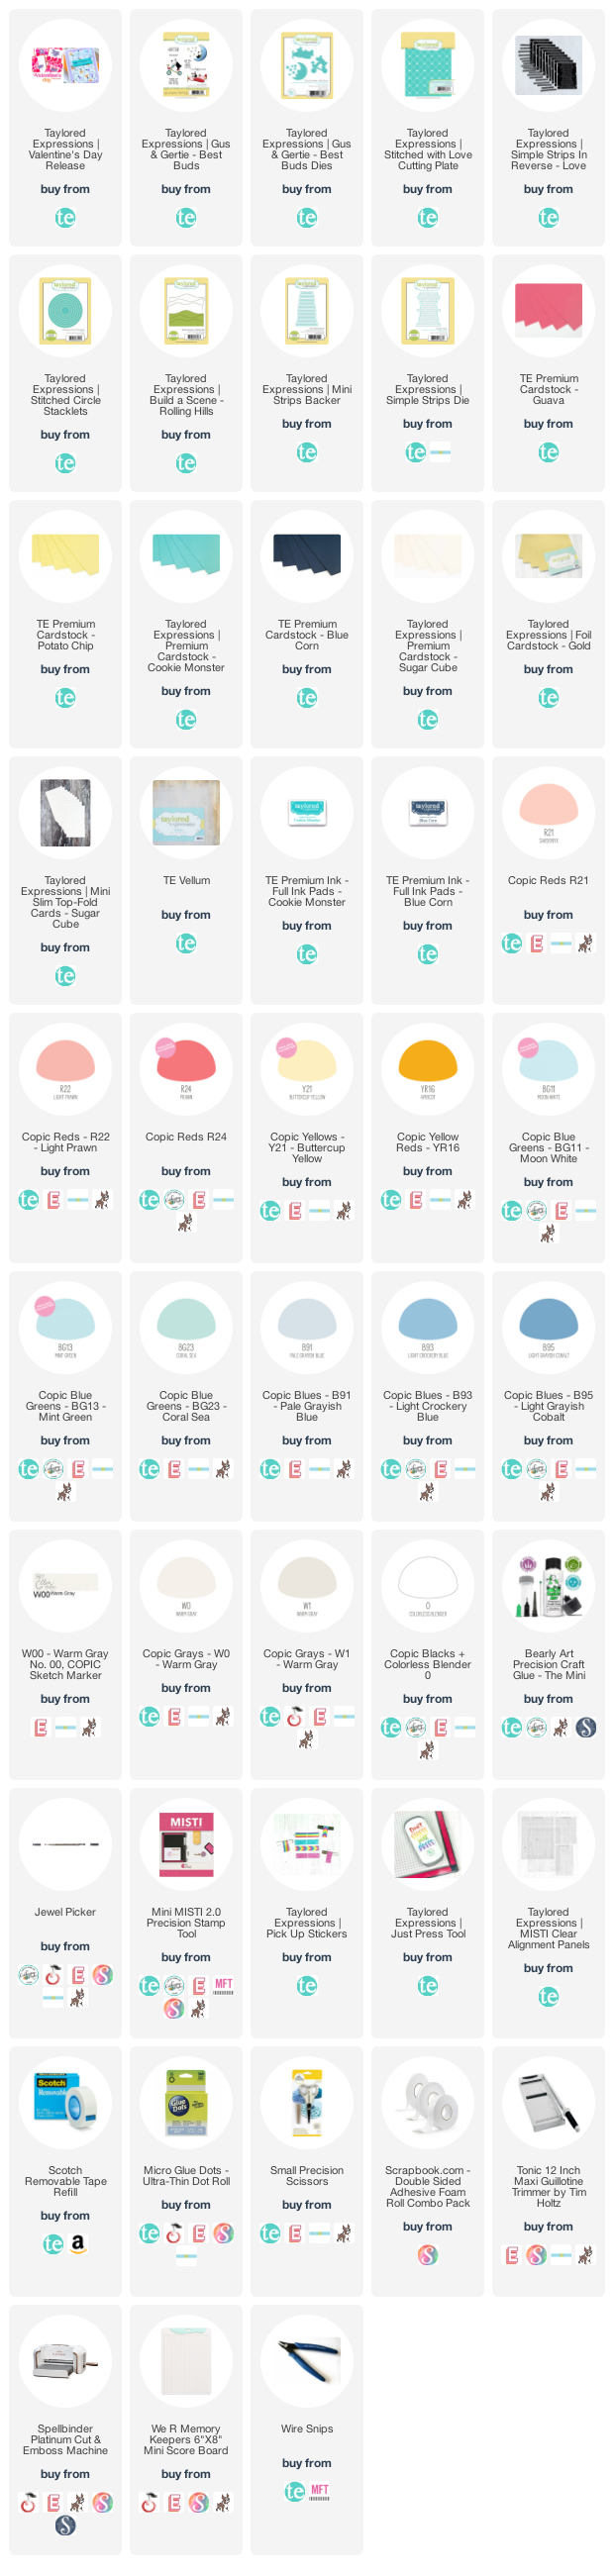
As indicated in today's video, all of the images were stamped with Blue Corn ink and coloured with Copic markers, all of the colours of which are listed below. I hope you enjoyed my ideas for using Gus & Gertie--Best Buds, the Stitched With Love Cutting Plate and Simple Strips in Reverse--Love.

Thanks so much for watching!

Supplies

Wednesday, March 31, 2021

VIDEO | Taylored Expressions | Happy Hex Monogram Kit Exclusives Available Now

Hello, friends! I hope you're all having a wonderful week so far. I'm personally looking forward to the Easter long weekend. Taylored Expressions has just released exclusives from their Happy Hex Monogram Kit, previously released in January 2021 and shared HERE. If you missed out on the original kit, the individual items are now available for purchase.


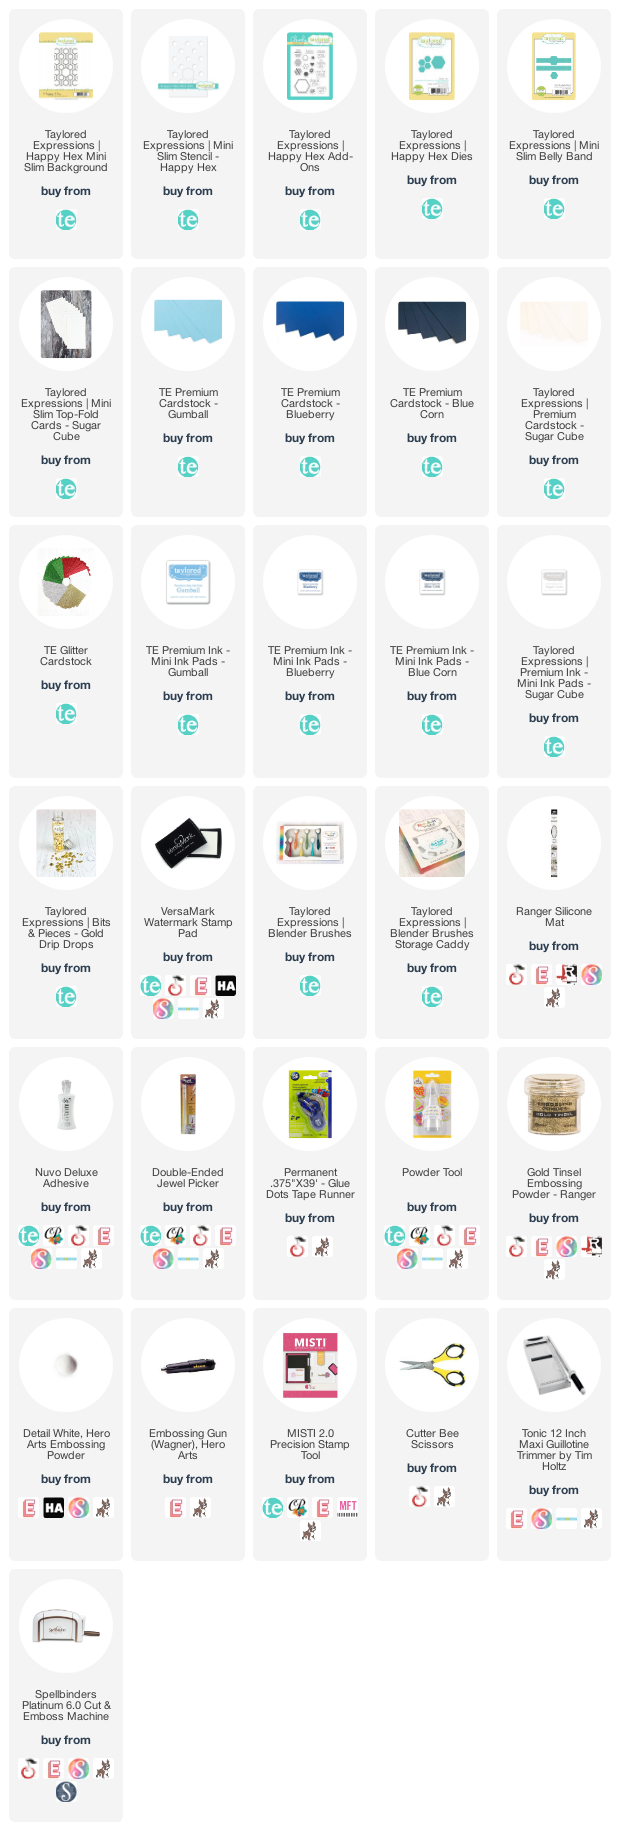
I've created a trio of cards using the same four products, including the Happy Hex Mini Slim Background, Happy Hex Mini Slim Stencil, Happy Hex Add-Ons Stamp Set and Happy Hex Dies.


My first card uses the Happy Hex Mini Slim BackgroundHappy Hex Mini Slim Stencil and Happy Hex Add-Ons Stamp Set in a straight forward way. I stamped the Happy Hex Mini Slim Background with Versamark watermark ink and heat embossed it with gold tinsel embossing powder


Then I used blender brushes and GumballBlueberry and Blue Corn mini ink pads to blend ombre hexagons over the the Happy Hex Mini Slim Stencil. I stamped hearts and a sentiment using the Happy Hex Add-Ons Stamp Set in coordinating colours.


My second card uses the same heat embossed background cut from a top-folding mini slim card base in Sugar Cube. This time, I used my blender brushes and GumballBlueberry and Blue Corn inks to add ink over the entire card base. 


To finish this card, I used liquid glue to adhere Happy Hex Dies cut from Sugar Cube cardstock and used the coordinating inks to stamp striped patterns and a sentiment from the Happy Hex Add-Ons Stamp Set.


My final card uses the same colours as the two previous cards but in the form of cardstock instead of ink. The card base is cut from Blue Corn cardstock and I used the Happy Hex Dies, as well as the Mini Slim Belly Band, to create the clusters of hexagons from Gumball, Blueberrygold glitter and Sugar Cube cardstock. I heat embossed the sentiment from the Happy Hex Add-Ons Stamp Set using Sugar Cube pigment ink directly on to the card base and finished with gold drip drops embellishments.


I hope you're inspired to create with this kit, whether you have the original kit or you plan to purchase some of the individual items. For more inspiration, you can find my original video below:


Please let me know in the comments below, which card is your favourite. Don't forget to take advantage of the exclusive gift with purchase of $100+ every month in the Taylored Expressions webstore.


Happy shopping and thanks so much for watching!

Supplies