Tuesday, August 28, 2018

{Technique Tuesday} Scholarly Goats


What can I say? I'm a book lover and I love goats! LOL It was only natural to combine Gertie and Garth with Planner Bookworm. I love that the little planner set includes three types of books. While I love books in their traditional format, I'm now an eReader convert. My first eReader was a Kobo Aura and I recently bought a second eReader, in the form of a Kobo Clara, because my son was hogging my Kobo Aura. I do love that he is addicted to reading so it's all good! ;)


Naturally, I had to feature all three types of books from Planner Bookworm on these two cards. I actually made the more clean and simple card first but I'm going to show the busier one first. I started by stamping multiples of the books and Gertie and Garth.


Since Planner Bookworm doesn't have coordinating dies and I had to fussy cut them anyway, I decided to do the same with Gertie and Garth, just like in this other card I made previously. Sometimes the images look better without the white border that result when using dies.


I used a generic border die to create my hill but it's very similar to Cars on the Border, which I did not own until after I finished my card. I will use that next time I need to create hills! I sponged all of the backgrounds with distress inks (colours linked below) and splattered with shimmer mist. I also added some chunky confetti glitter to anchor the two goats in the foreground.


It seems like I don't make clean and simple cards very often but they were my original style when I first started crafting and it always feels very satisfying to create one that I love. That was the case for this simpler card.


I swapped out the word BACK and used one of the other sentiments 'Here's LOOKing at you kid' with some selective masking to stamp the word BOOK. On the first card, I did the same thing but inserted the word BOOK between GOATS' and CLUB to modify that original sentiment.


I had so much fun creating these two cards and I can't wait to send them to my bookish friends! I hope I've inspired you to mix and match your stamp sets. You never know what you'll discover.


Thanks so much for stopping by!

Supplies:
Monday, August 27, 2018

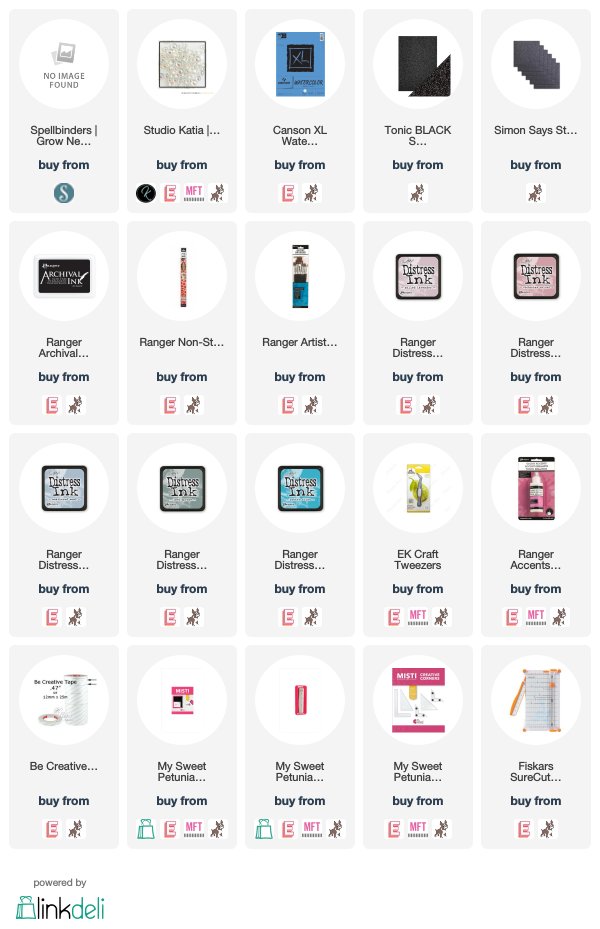
{Spellbinders} Grow Newer With Me by Stephanie Low


I'm back with another project using Spellbinders' new Inked Messages Collection by Stephanie Low. This time, I'm playing with a stamp and die bundle called Grow Newer With Me and it's so pretty!


There are only two red rubber stamps and two dies included in this set but I had quite a number of ideas in my head after stamping a bunch of the images. Like most of this collection, the images have so many beautiful details and they're fun to colour!


I used my MISTI stamping tool to help me repeat-stamp the flower image across the panel. Then I used distress inks to colour everything, including the background.


I trimmed the sentiment, backing it with black glitter cardstock cut with a single angle for visual interest. I finished by adhering some iridescent bubbles for an added element of pretty.


Thanks so much for stopping by!

Supplies:
Sunday, August 26, 2018

{Altenew} August 2018 Inspiration Challenge


I had to make birthday cards for my neighbour's twins, one girl and one boy, and the boy is really into ninjas so I decided to play along with Altenew's August 2018 Inspiration Challenge. This made it easy for me to choose colours and use their great products to make one feminine card and one masculine card.


It goes without saying that Altenew is known for their layered floral sets and I ended up using three sets for the flowers, including Floral Arrangement, Frosted Garden and Vintage Flowers. The sentiment is from Celebrations, which was ombre stamped using Caribbean Sky and Persian Blue inks.


I used the Sketched Lines Stencil to create the background for the florals. The Frosted Garden florals were heated embossed on vellum with gold tinsel embossing powder. All other stamping was done on white cardstock.


The 12 ink colours featured on both cards are from the Warm & Cozy, Tropical Forest and Glacier Caves oval sets.


I used Ninja Invasion and Engineers Rule on the second card and ombre stamped the swords using all 12 ink colours. The background was sponged using the Watercolor Stripes Stencil and the sentiment is from the Beautiful Lady stamp set. I added star sequins from a retired sequin mix but I've linked below to other gold star options.


Thanks so much for stopping by!

Supplies:

Monday, August 20, 2018

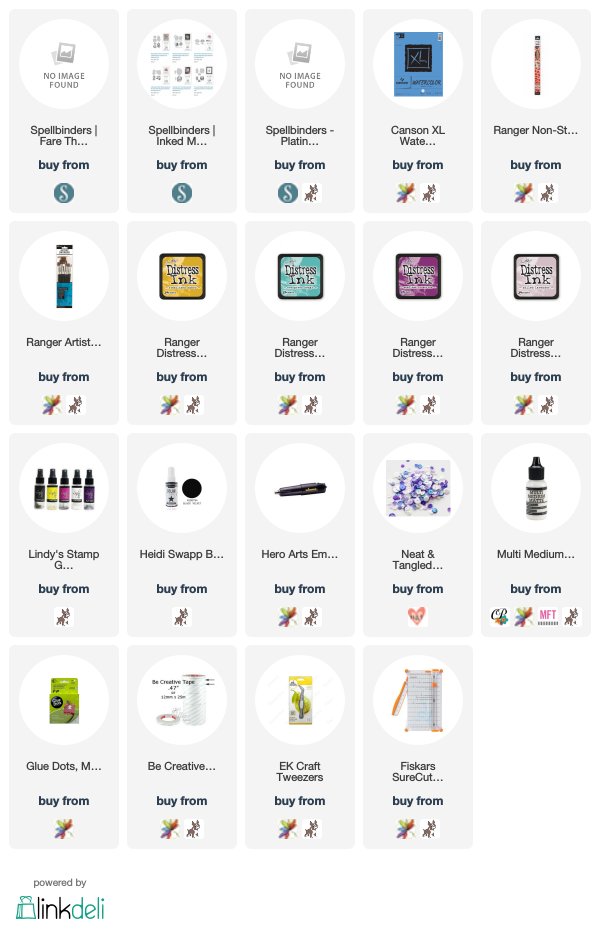
{Spellbinders} Fare Thee Well by Stephanie Low


Have you seen Spellbinders' new Inked Messages Collection by Stephanie Low? I had the chance to play with a stamp and die bundle called Fare Thee Well and it's absolutely gorgeous!


There are only two red rubber stamps and two dies included in this set but I had quite a number of ideas in my head after stamping a bunch of the images. They seem simple at first but the details are really beautiful and they are so fun to colour!


I picked four distress colours (see supplies below) to colour a bunch of the feathers and mirrored those colours in the horseshoe image with the sentiment. When I was arranging the feathers, I wanted to create a wreath but ended up with this windmill-like shape and I loved it!


To finish, I used the same two shades of purple distress inks to paint a background. After it dried, I used white and black mist to splatter the background and dried it with my heat tool. To finish, I adhered the coloured images and added sugar plum sequins.


Thanks so much for stopping by!

Supplies:

Saturday, August 18, 2018

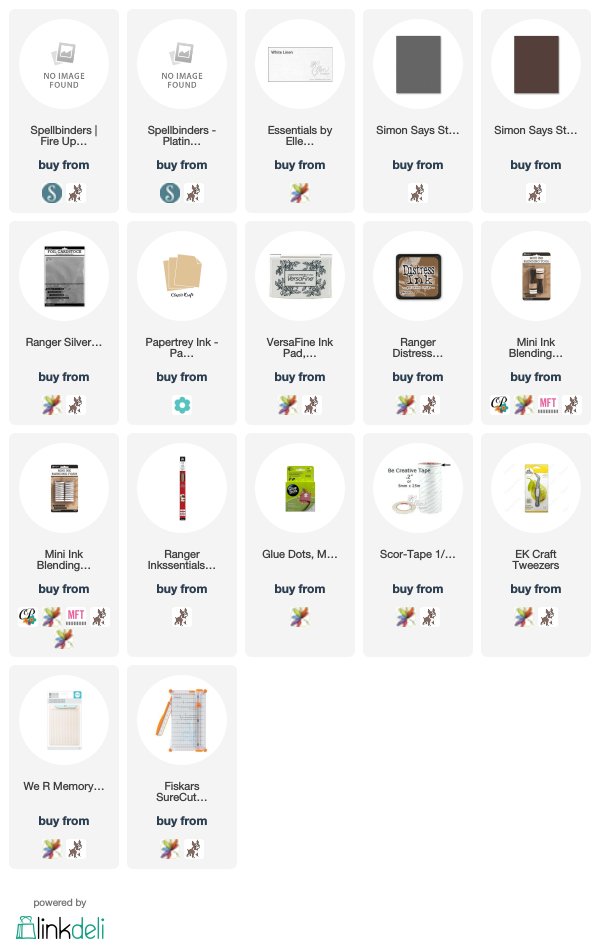
{Spellbinders} Fire Up the Grill by Debi Adams


I had the pleasure of playing with Spellbinders' Fire Up the Grill stamp and die set designed by Debi Adams and this is what I came up with! To be honest, I'm not a huge fan of assembled s'mores and, much like peanut butter and jam, I'd rather eat the parts separately. LOL Almost everyone else I know loves them though, especially with dark chocolate so that's what I used here.


The details on these dies are the cutest and I used Spellbinders Platinum 6 die cutting and embossing machine for the rest results. I adore the graham crackers and chocolate bars. Look at the little details, like the dimples and score lines in the crackers, as well as the tiny pieces in the chocolate bars!


I die cut the marshmallows from linen cardstock for added interest. The marshmallows, crackers and card base were sponged with Gathered Twigs distress ink.


The grill was die cut from slate gray cardstock and the forks were die cut from silver foil cardstock, which I always love using! I actually modified the length of the forks by partially die cutting each end separately. They were too long for the design of my card and interfered with the sentiment.


Thanks so much for stopping by!

Supplies:

Friday, August 17, 2018

{Two Many Cards Video Series} Winning Trifecta


Hey there! Thanks so much for tuning into my latest videos for Two Many Cards along with Kalyn Kepner! We enjoyed showcasing Avery Elle's Peek-a-Boo Pals for you all and loved reading every single one of your comments on our blogs and YouTube channels. In case you missed them, we would love it if you stopped by and joined in on the fun!


The winner of the Peek-a-Boo Pals Stamp Set and Peek-a-Boo Pals Elle-ments Dies is Lori ElderCongratulations, Lori! Please check your inbox for information on how to receive your prize.

* * * * *


Hey there! Thanks so much for tuning into our latest videos for Two Many Cards along with Kalyn Kepner! We enjoyed showcasing Essentials by Ellen's Totally Random Sayings Vol. 2, Plaid Maker and Block Words for you all and loved reading every single one of your comments on our blogs and YouTube channels. In case you missed them, we would love it if you stopped by and joined in on the fun!


The winner of the $25 gift certificate to the Ellen Hutson Store is Lisa TilsonCongratulations, Lisa! Please check your inbox for information on how to receive your prize.

* * * * *


We enjoyed showcasing Waffle Flower's Always stamp set and coordinating dies for you all and loved reading every single one of your comments on our blogs and YouTube channels. In case you missed them, we would love it if you stopped by and joined in on the fun!


The winner of the $25 Gift Card to the Waffle Flower Store is Shelly PCongratulations, Shelly! Please check your inbox for information on how to receive your prize.

* * * * *

Thanks so much for joining us. We are taking a break at the end of August for Kalyn's wedding!! We will be back with the next installment in our video series on September 15th!

SaveSave

Wednesday, August 15, 2018

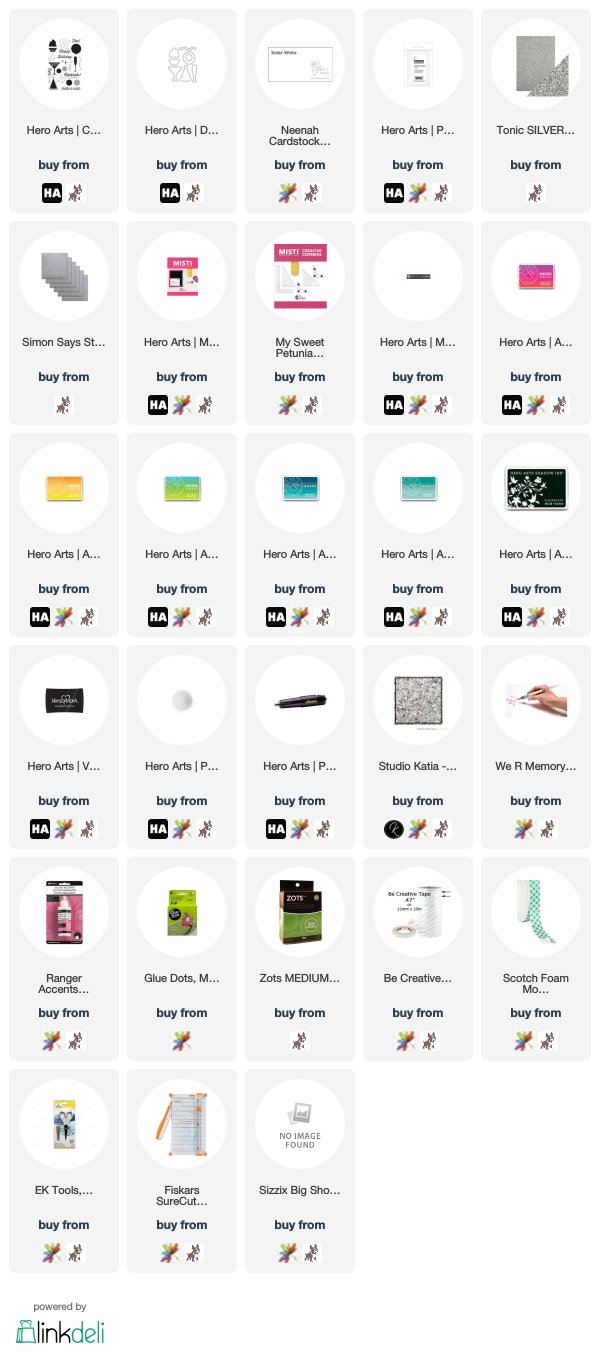
{Two Many Cards Video Series} featuring Hero Arts: Birthday Celebration + Giveaway!


Hi, everyone! Kalyn and I are back with our video series, Two Many Cards. If you missed our other videos in this series, check out the original post HERE, which explains how and why we're sharing our own unique take on the same products. 


Today, we're featuring Birthday Celebration by Hero Arts! This fabulous set is perfect for birthdays and other celebrations. I love the solid images and coordinating dies, which make it perfect for stamping when you don't want to colour. The dies make it easy to create pop-ups and recessed images perfect for making shaped shakers.


I used several different techniques on this card and I go into detail about that in my video. I used five of Hero Arts' fabulous ombre inks, including three ombre neon inks, which are my favourite ink colours of all time. They're so vibrant and pretty!


I used Ombre Neon Chartreuse to Blue for the martini, Ombre Neon Red to Purple for the party hat and bottom half of the sentiment, Ombre Neon Yellow to Orange for the cupcake, Ombre Tide Pool to Navy and Ombre Mint Julep to Emerald Green for the balloon string.


I combined Ombre Neon Chartreuse to Blue and Ombre Mint Julep to Emerald Green to stamp the fizz above the martini. The word 'Celebrate!' was stamped with Blackboard Mid-Tone ink. I double-stamped it, first on the panel and again on the cupcake so I could place the cupcake perfectly on the panel.


I used Hero Arts Sparkle Embossing Powder on the cupcake for added visual interest and created a shaker from the balloon to give this card a fun element.


I added a strip of silver glitter cardstock to the left side of the card before adhering the panel to the card base. The silver complements and highlights the crystal star sequins.


GIVEAWAY
We’re giving away a $25 Hero Arts Store gift certificate to one lucky winner chosen randomly from Kalyn’s video or Emily’s video. You must be a subscriber to both our channels!

Be sure to leave some love for both of us to increase your chances of winning! Comments will close at 11:59pm EST on August 21, 2018. The winner will be announced on both our blogs and YouTube channels on August 23, 2018. Be sure to check back then.

Please head over to Kalyn’s blog and YouTube channel to see her take on Birthday CelebrationThanks so much for watching!

Supplies:

{Spellbinders} August 2018 Card Kit of the Month Inspiration


Hi, friends! I'm delighted to be sharing projects using the Spellbinders August 2018 Card Kit of the Month. It's so pretty!! I love everything about this kit, from the exclusive limited edition dies to the colours and ephemera. It's my favourite kit from all of the Spellbinders Club Kits!


As soon as I saw that sloth eating watermelon die cut from the ephemera, I knew I had to feature him on a card. He's super sweet and makes me smile! I used four of the seven dies included in this kit to die cut the scalloped panel, layered rose and leaves.


Then I added the yellow flower, also from the ephemera, and adhered all the pieces together with glue dots. I picked the perfect sentiment from the sticker sheet to go with the adorable sloth. All of the elements are on an ombre panel from the patterned paper included in the kit.


I rarely use ribbon and I really wanted to feature the ribbon included in this kit because the colours are so pretty! Then I had a lightbulb moment and decided to feature the ribbon as strips of paper instead of the traditional bow. I cut them at different angles and layered them with patterned paper strips for variation and visual interest. I used two layers of ribbon at the top and bottom since they were on top of the patterned paper strips and you could see the edges through the ribbon.


I use two more of the dies to create a tiny gold sun to go with the sentiment, also from the sticker sheet. I love that these kits include so many sentiment options so stamping is not required. The gold confetti was created using the hole from the tag die included in this kit.


I used a tried-and-true layout on this last card to showcase more of the patterned paper and the gorgeous leaves included in the ephemera. This card, like the others, were so easy to throw together. You really can't go wrong with this kit! It's that amazing. I can't say enough good things about it.


I added a die cut flower using the last of the dies included in this kit and layered it with the same stamen die I used for the little "sun" in the previous card. I love that this versatile die could be used as a star, sun, its own flower or the centre of the petunia.


I hope you enjoyed today's inspiration featuring Spellbinders August 2018 Card Kit of the Month. You can shop all the Spellbinders Club Kits HERE or using the links below. There is also a special going on right now so it's the perfect time to take advantage of the freebie!


Thanks so much for stopping by!

Supplies: