Showing posts with label graduation. Show all posts

Thursday, April 21, 2022

VIDEO | Taylored Expressions | Grad, Congrats & Retirement Card Ideas


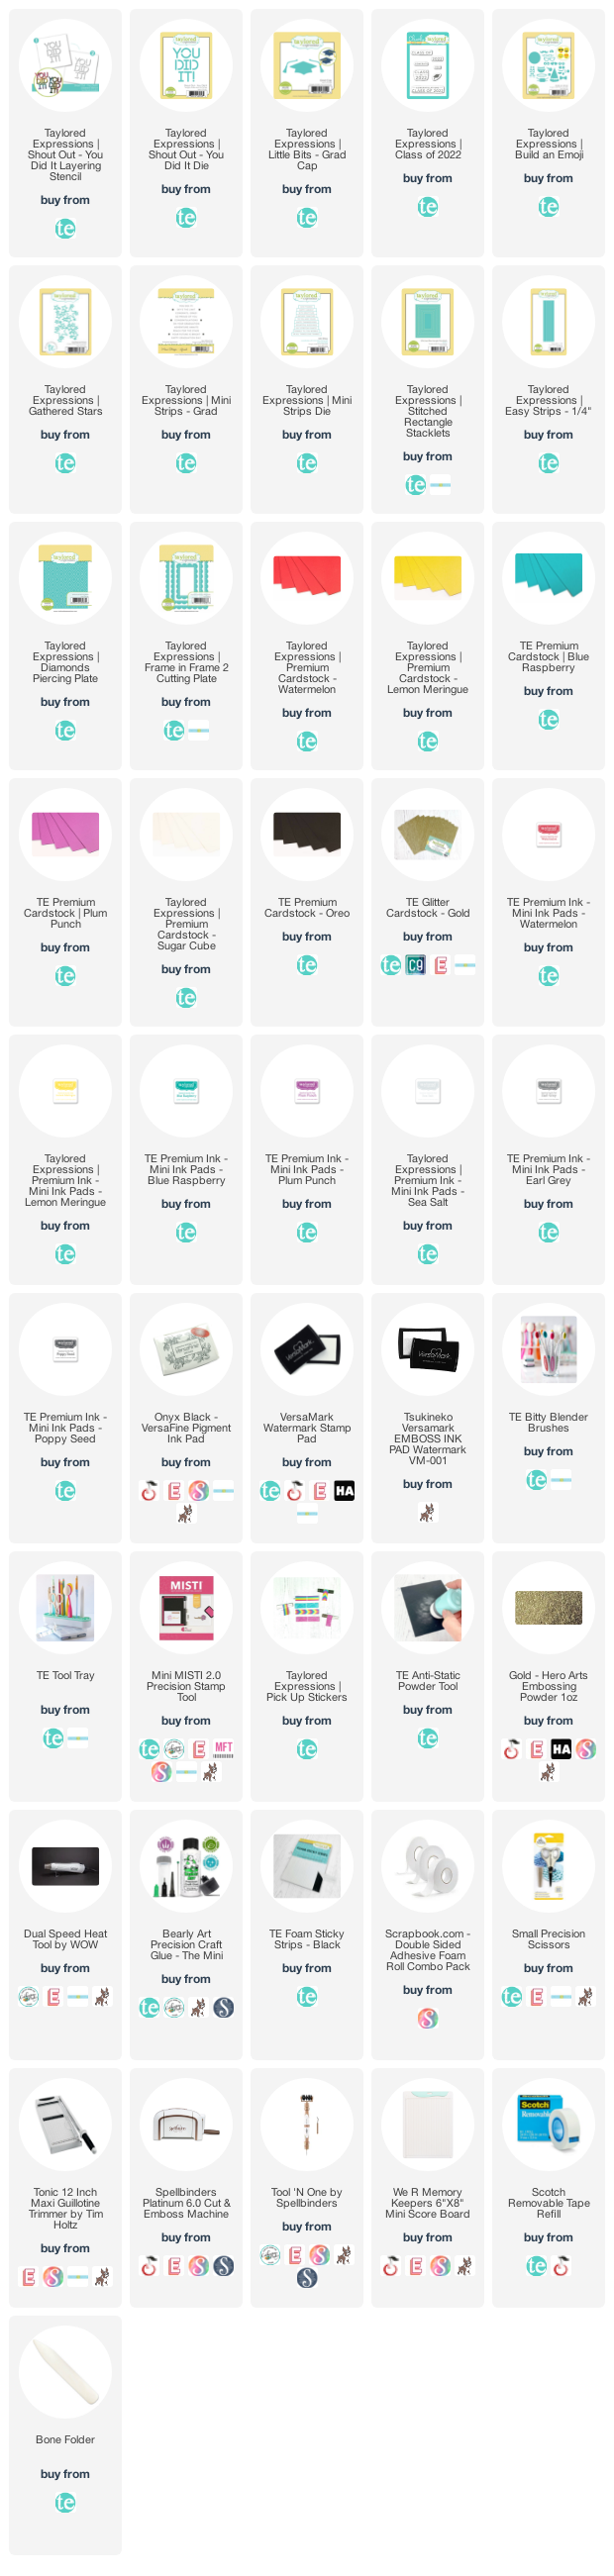
The Grad Release from Taylored Expressions is filled with fabulous products perfect for graduation, congratulations and retirement style cards. My newest video features three cards highlighting the Shout Out-You Did It Layering Stencil and Shout Out-You Did It Die.

I created three different looks for a large sentiment that is the primarily focus of the card. Two of the cards use the Shout Out-You Did It Die with two very different designs and the third card features the Shout Out-You Did It Layering Stencil.


Before creating the first two cards, I used the new Little Bits-Grad Cap Die, Gathered Stars Die and the recently retired Build an Emoji Dies to create the two emoji faces. For my first card, I cut the Shout Out-You Did It Die straight on the panel, placed the emoji over the letter O to gauge the framing of the Stitched Rectangle


I used the Easy Strips 1/4" Die to cut strips from Watermelon, Lemon Meringue, Blue Raspberry and Plum Punch cardstock. I glued the strips across the card base, leaving two corners white for visual interest. 


Then I popped up the die cut panel and emoji with foam tape. To finish, I embellished the panel with three additional stars die cut from the Gathered Stars Die.


My second card features a Blue Raspberry card base, texturized with the Diamonds Piercing Plate. I cut the Shout Out-You Did It Die on a 5.5" x 8.5" sheet of Sugar Cube cardstock, using the placement of the emoji before gauging the position of the Stitched Rectangle.


On a second panel cut from the same Stitched Rectangle, I used a bitty blender brush to ink blend ombre sections behind each word using Sea Salt, Earl Grey and Poppy Seed inks. Then I double-stamped the sentiment from Class of 2022 on both layers.


After assembling the card, I added Gathered Stars die cut from from WatermelonLemon MeringueBlue Raspberry and Plum Punch cardstock. The two clusters of stars create a trifecta that balances with the emoji.


My third and final card uses the Shout Out-You Did It Layering Stencil. I ink blended the letters on the first layer using bitty blender brushes and Watermelon, Lemon Meringue, Blue Raspberry and Plum Punch inks. Then I used the Poppy Seed ink to create the shadow with the second layer.


I created the frame using the Frame in Frame 2 Die cut from both gold glitter and Oreo cardstock to create a shadow that mimics the stencilled sentiment. The additional sentiments were gold embossed on Oreo cardstock using the Mini Strips - Grad stamp set and cut with the Mini Strips Die.


Be sure to check out the Grad Release and take advantage of both the FREE Congrats Script with any purchase of $75+, as well as April's FREE Squeeze the Day Stencil & Clear Combo with any purchase of $100+. Click HERE or on the image below to head to the shop.

Thanks so much for watching!

Supplies

Sunday, June 27, 2021

Ellen Hutson | Catherine Pooler Graduate Cards + Brand Sale!

Have you shopped the Catherine Pooler Brand Sale at Ellen Hutson? It ends 11:59pm PST on June 27, 2021 so you have a few hours left to take advantage of this huge savings on ALL Catherine Pooler branded products (yes, including ink and refills) using code CP2021 at checkout!! 


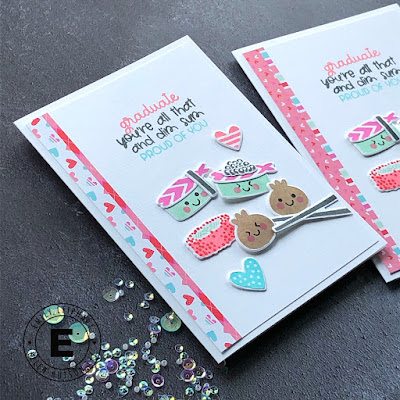
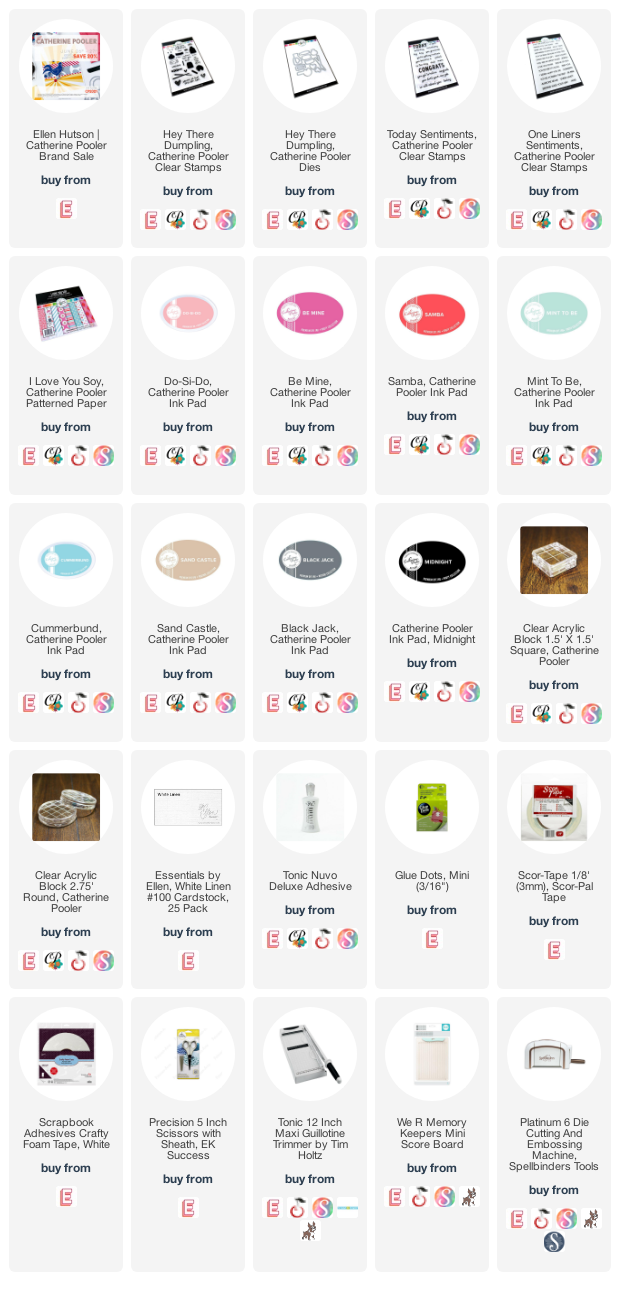
I had to whip up a couple more grad cards and thought it would be fun to use my favourite Hey There Dumpling and combine it with additional words and phrases from Today Sentiments and One Liners Sentiments to create a unique card.


I added patterned paper strips using pretty papers from I Love You Soy to the left side of the 4-bar card panels before creating my layout using images stamped with the following ink pads that coordinate with the papers - Do-Si-Do, Be Mine, Samba, Mint To Be, Cummerbund, Sand Castle, Black Jack and Midnight.


I used a combination of liquid adhesive, glue dots, Scor-Tape and foam tape to assemble the images and attach them to the panel, giving them various levels of dimension.

Thanks so much for stopping by and happy shopping!

Supplies

Monday, May 31, 2021

Ellen Hutson | Two Graduation Cards + Memorial Day Sale!

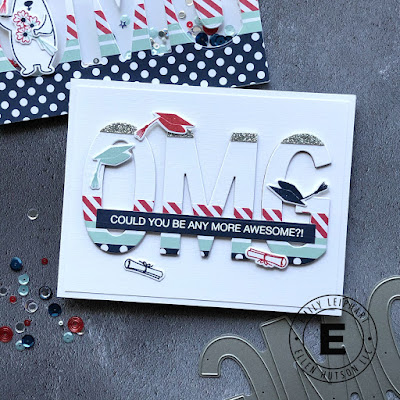
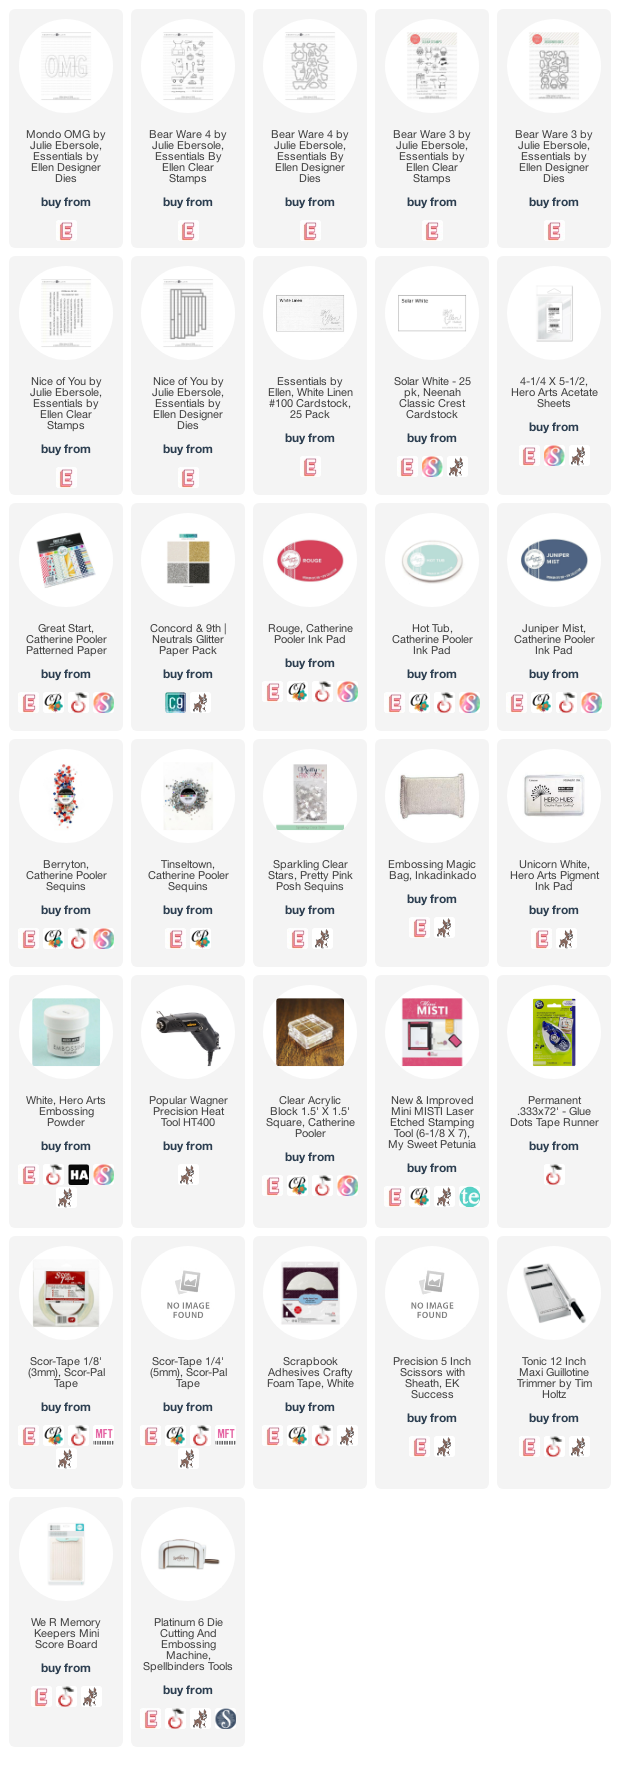
Hello, crafty friends! Today, I'm sharing a couple of graduation cards using a suuuper fun die called Mondo OMG that is new to my stash. Since this die cuts out the jumbo letters, resulting in both negative and positive pieces, I thought I'd go the 2-for-1 route which I almost never do. This die definitely made it easy to design two quick and easy cards.

You know I'm a huge fan of shaker cards so it was a given that I'd use the negative space to create a shaker, which I filled with Catherine Pooler's Berryton, Tinseltown and Pretty Pink Posh's Sparkling Clear Stars sequins.

Both my card bases and front panels were cut from white linen cardstock. First, I cut strips of silver glitter cardstock and patterned paper from Catherine Pooler's Great Start 6x6 paper pack and adhered them to the front of the panel with a tape runner.

Also featured are the little bear from Bear Ware 4 and his graduation cap, diploma, flowers and secondary sentiment are from Bear Ware 3. I love this little bear that holds things and he fit perfectly into the big letter O. I used Catherine Pooler's Rouge, Hot Tub and Juniper Mist inks to stamp the images and secondary sentiment. Using an acrylic block, I rock 'n rolled the bouquet to get all three ink colours on the image.

On the second card, I also used a sentiment from the Nice of You stamp set. To get the strip to match the patterned papers, I used the direct-to-paper technique and swiped the Juniper Mist ink pad on Neenah solar white cardstock and allowed it to dry before heat embossing the sentiment in white. I stamped the graduation hats and diplomas to match and adhered everything with micro glue dots and foam tape.

I also die cut the Mondo OMG three more times from white linen cardstock, and red and navy cardstock from my stash to give the letters more dimension. You can see how much it adds in terms of visual interest in the close-up photo.

Today ONLY, take advantage of the Flash Sale at EllenHutson.com! Save $20 off purchases of $100 or more using code MEMORIAL2021.

Thanks so much for stopping by and happy shopping!

Supplies

Friday, May 7, 2021

Reverse Confetti | May 8th Release | Countdown to Confetti Day 3


Hello, friends! I'm so excited to be joining the Countdown to Confetti with Reverse Confetti for their newest release. It's a big one because it's Reverse Confetti's 8th Birthday! There are 6 new stamp sets and 9 new die sets, plus there's the free stamp set with every qualifying purchase. There will be sneak peek posts every day until the release on May 8th. The full hop list and complete giveaway details are below so let's take a look at my projects!


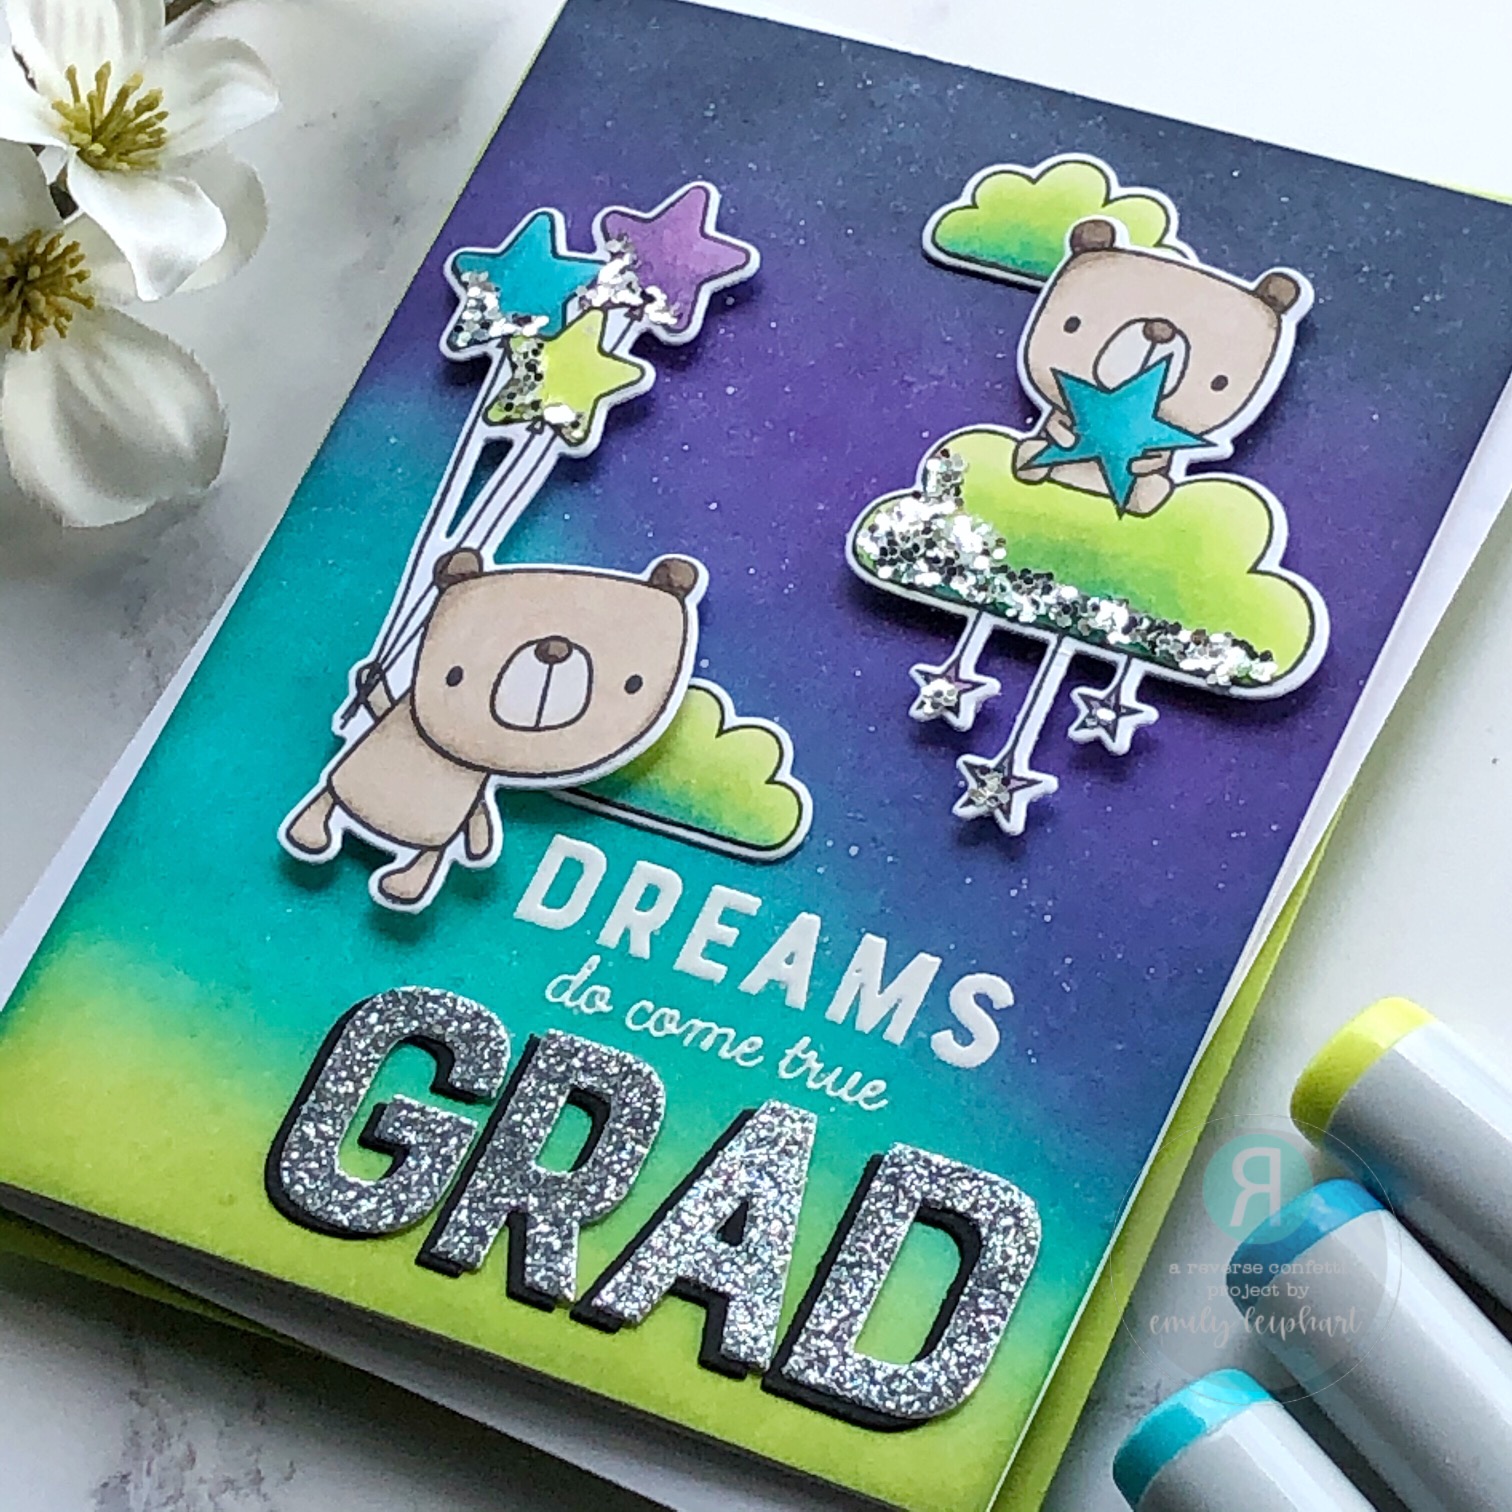
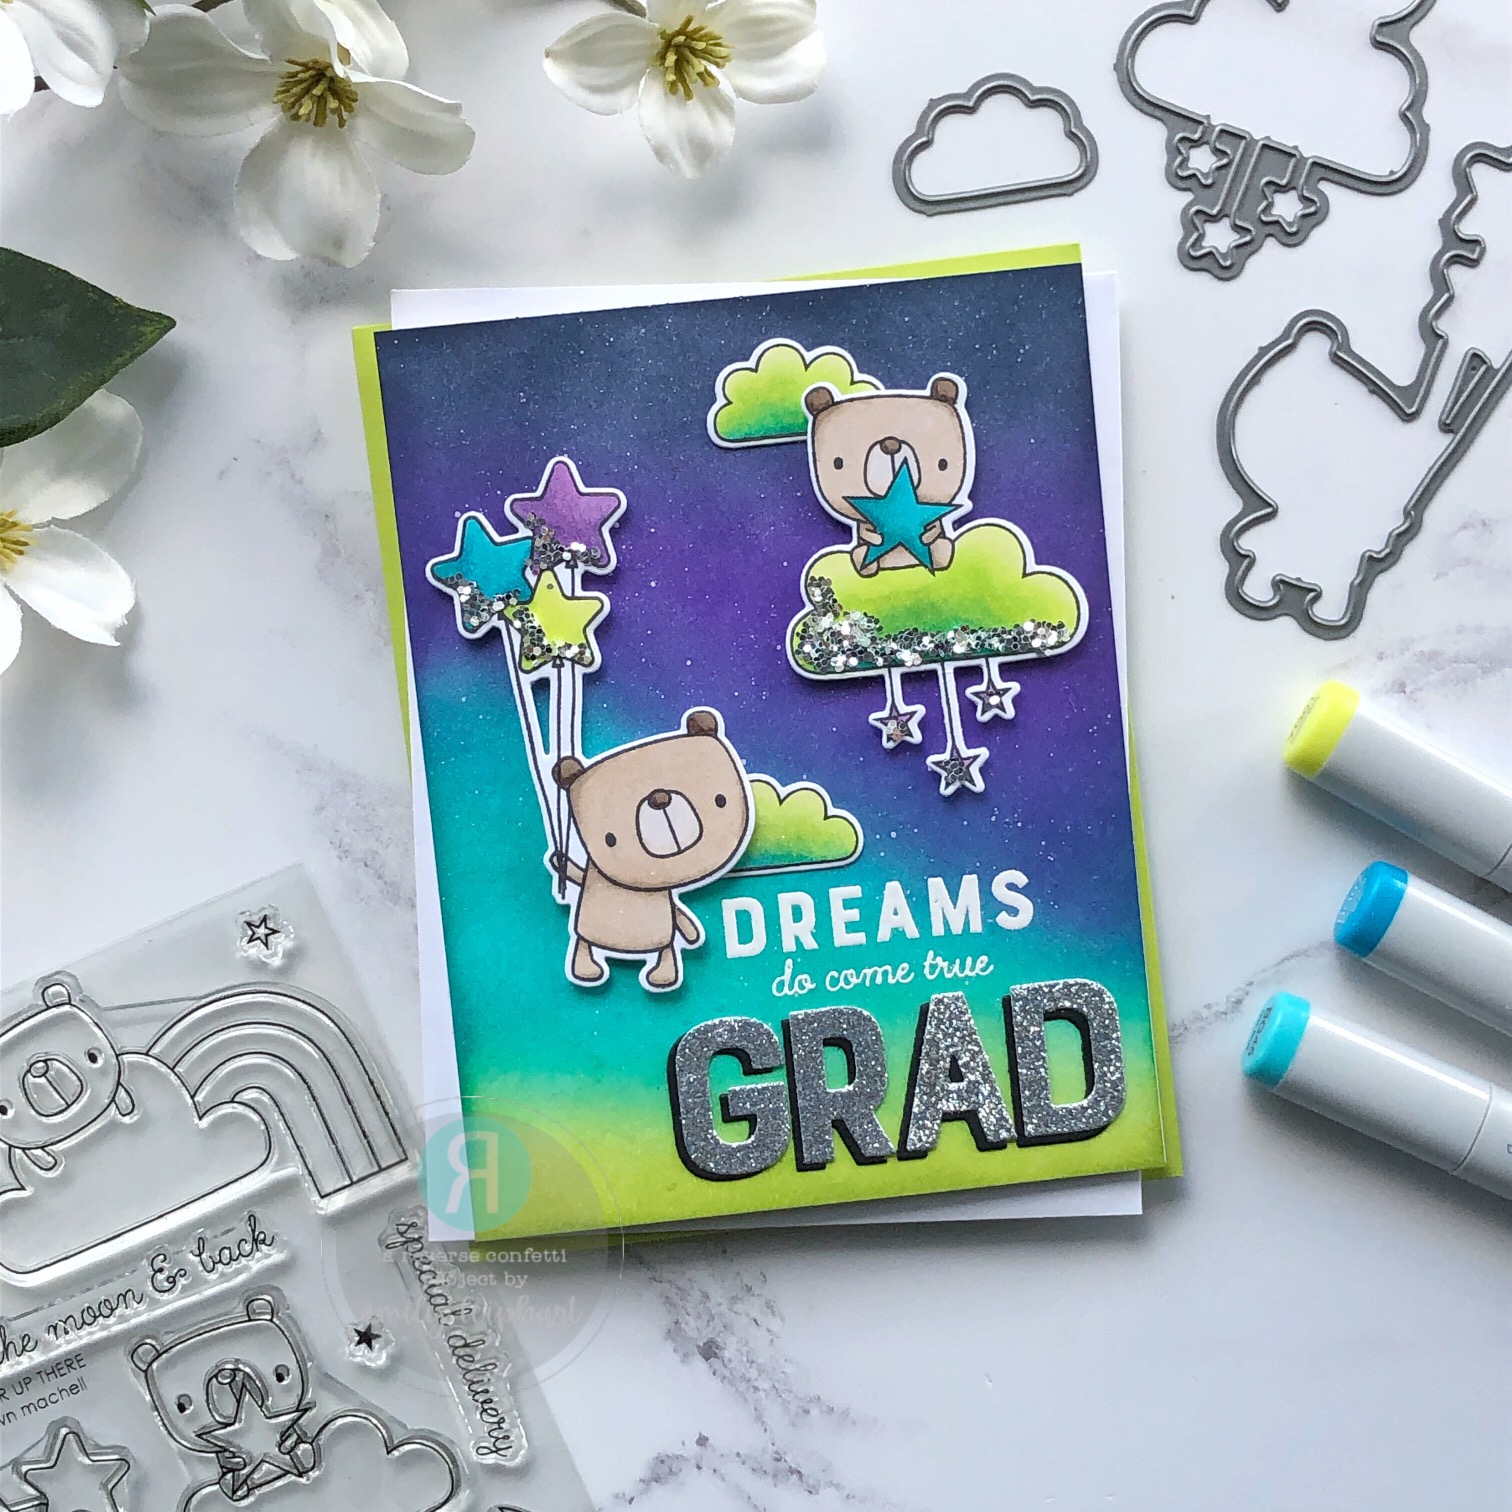
My first card features The Bear Up There stamp set and coordinating dies. This stamp set is so adorable and works well for birthdays, congratulations and encouragement cards, as well as new baby cards. I love that the images can be used individually, paired up the way I used them or used all together.

As always, I started by choosing my colours for the card and ink blended the background panel with Blue Corn, Jelly Donut, Blue Raspberry and Granny Smith inks. Then I used Copic markers to colour the bears, using the same colours as the ink colours and you can find all the markers I used in the supply links below.


I added majestic glitter using liquid glue to portions of the images and set them aside to dry. I die cut the Letter Cuts from both silver glitter and black cardstock, securing them together with liquid glue  Then I arranged all of the elements inside my mini MISTI stamping tool to determine where to stamp the sentiment. I stamped the sentiment with Sugar Cube ink and heat embossed it with white embossing powder.

I secured the small clouds and Letter Cuts directly on the panel and popped up the two images with foam tape. I added the ink blended panel to a white linen card base to finish.

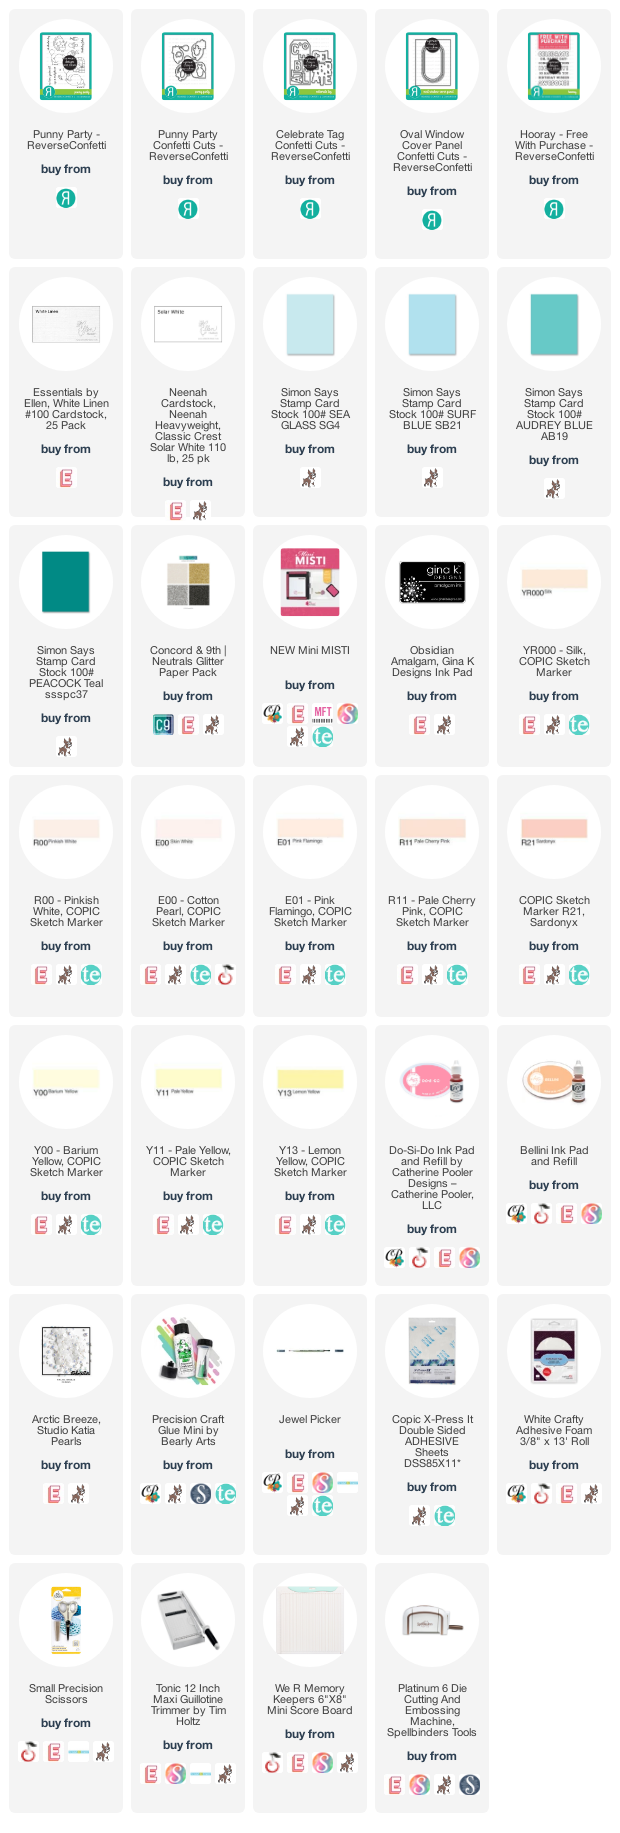
My second card features the Punny Party stamp set and coordinating dies, the Celebrate Tag dies and the Oval Window Cover Panel. I started by die cutting the big celebrate base die from Peacock Teal cardstock, then die cut all the individual letters three times from Audrey Blue, Surf Blue and Sea Glass cardstock. I secured all the teal pieces together with liquid glue die cut the base again in silver glitter cardstock and secured the two pieces together with adhesive sheets.

I stamped the sherbet kitty from Punny Party and coloured it with Copic markers. You can find all of the colours in the supply links below. In the supply links below, I did not include the W0 to W7 Copic markers that I used on the kitty, nor did I include the N0 to N5 Copic markers that I used on the bowl and straw. I wanted to reduce the number of image in the links below since this post is long enough!

I die cut the kitty and set it aside. I just love the way it cuts around the tail, especially on the inside! Little details like this make me so happy! I cut a 4" x 5.25" panel from white linen cardstock and arranged the kitty and big Celebrate Tag die to determine where to stamp the sentiments. I added the Punny Party sentiment first, which I didn't even get until I was making the card (LOL), and added a couple of words from the Hooray stamp set, which is the freebie with every qualifying purchase. I stamped the two words in Do-Si-Do and Bellini to coordinate with the sherbet. If I were to redo this card design, I would stamp the punny sentiment in Do-Si-Do as well. To finish, I used the Oval Window Cover Panel to dry emboss the white linen panel before securing all the pieces to the card base. I added some arctic breeze pearls to embellish the card.


PRIZES
We're giving away a $15 gift certificate to one blog commenter and a $15 gift certificate to one Facebook commenter. The more you comment, the higher your chances of winning, so be sure to leave some love at every stop and be sure to head over to Reverse Confetti's Facebook Page following each countdown day's blog hop. Comments close at noon CST on May 7, 2021 and the winner will be announced at 5:00pm on May 7, 2021 on the Reverse Confetti Blog and Facebook Page.

Thanks so much for hopping along!

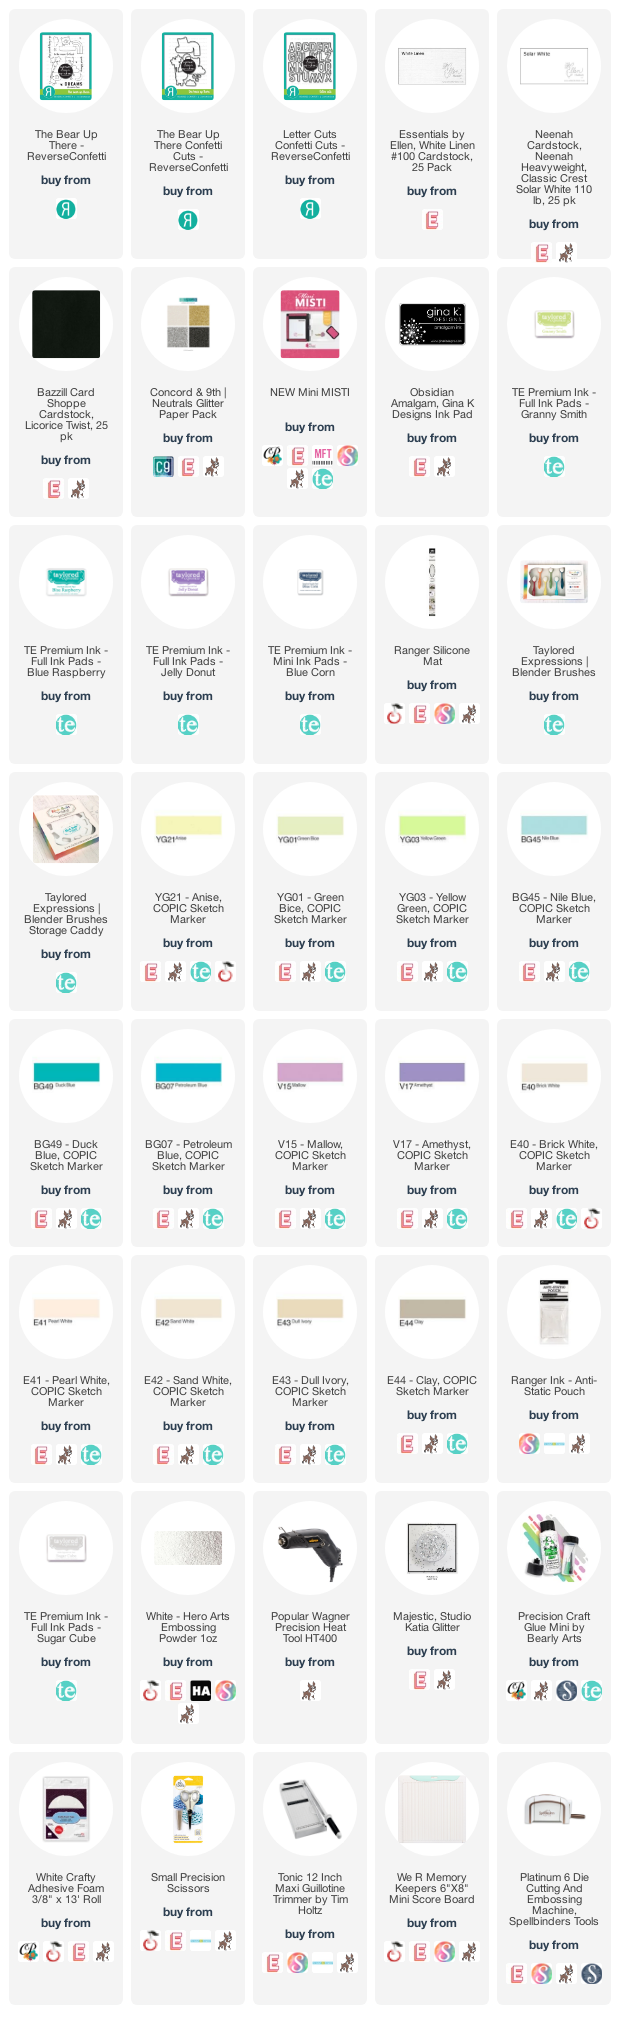
Sources for Dreams Do Come True, Grad

Sources for Celebrate, It's Sherbet Day

Thursday, April 29, 2021

VIDEO | Taylored Expressions | Teacher/Grad Cards + Simple Storage for Building Blocks

Hello, crafty friends! I'm always excited to bring you another Taylored Expressions video and this time, it's all about teachers and grads! Be sure to check out all of the amazing products in the new Teacher/Grad Release. Most of us have teachers and grads in our life and it's that time of year to start cranking out those cards and gifts!


I used the same colour scheme to make one teacher card and one grad card. In the video, I also give you a close-up look at the new must-have Simple Storage for Building Blocks so be sure to check that out! 


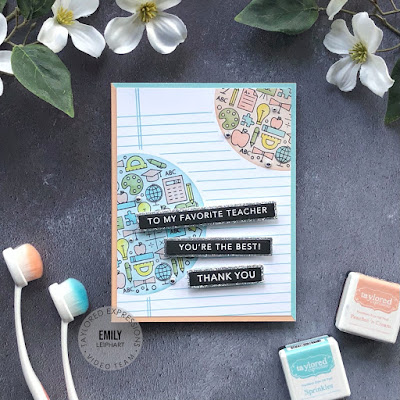
My first card uses the new Full Circle - School stamp set with the Notepaper Background. I stamped the doodle image twice on a 4" x 5.25" panel, then used the Stitched Circle Stacklets to create masks before stamping the Notepaper Background on an angle with Sprinkles ink.

After removing the masks, I colour the images with Copic markers (colours listed in the supply links below), then use Sprinkles and Peaches 'n Cream inks and a Circle Masking Stencil to blending the backgrounds.


I cut two A2 panels, one from Sprinkles cardstock and another from Peaches 'n Cream cardstock. I cut them both diagonally down the centre and used one half of each on a Toffee card base. Then I heat embossed the sentiments on Oreo cardstock and die cut them using the Mini Strips Die and added silver glitter frames using the Mini Strips Backer.


I added the sentiment strips to the card with foam tape and toggled them at different angles for visual interest. To finish, I added silver drip drops to some of the circles on the images. This card, with its neutral colours, would be suitable for any teacher and covers so many subjects from art and science to geography and math!


My second card features the On the Block - Grad and Building Blocks - Well Done. I'm a huge fan of the On the Block series and literally freak out every time a new one is released! 


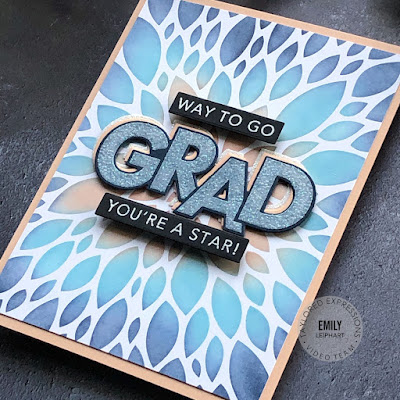
As I mentioned in my previous video, you can use the Dahlia Stencil as flower, confetti or fireworks and I've used them here as fireworks to celebrate the grad. I used the new Bitty Blender Brushes to add Peaches 'n Cream, Sprinkles and Blue Corn inks to this stencil and I have total heart eyes for the effect!


I heat embossed On the Block - Grad on Blue Corn cardstock using Sugar Cube ink and set it with halo embossing powder for maximum effect. I die cut the heat embossed word and two additional layers using the On the Block - Grad Shadow, in Peaches 'n Cream and white glitter cardstock. To finish, I added sentiment strips from Building Blocks - Well Done and popped everything on a Peaches 'n Cream card base.


Thanks so much for watching!

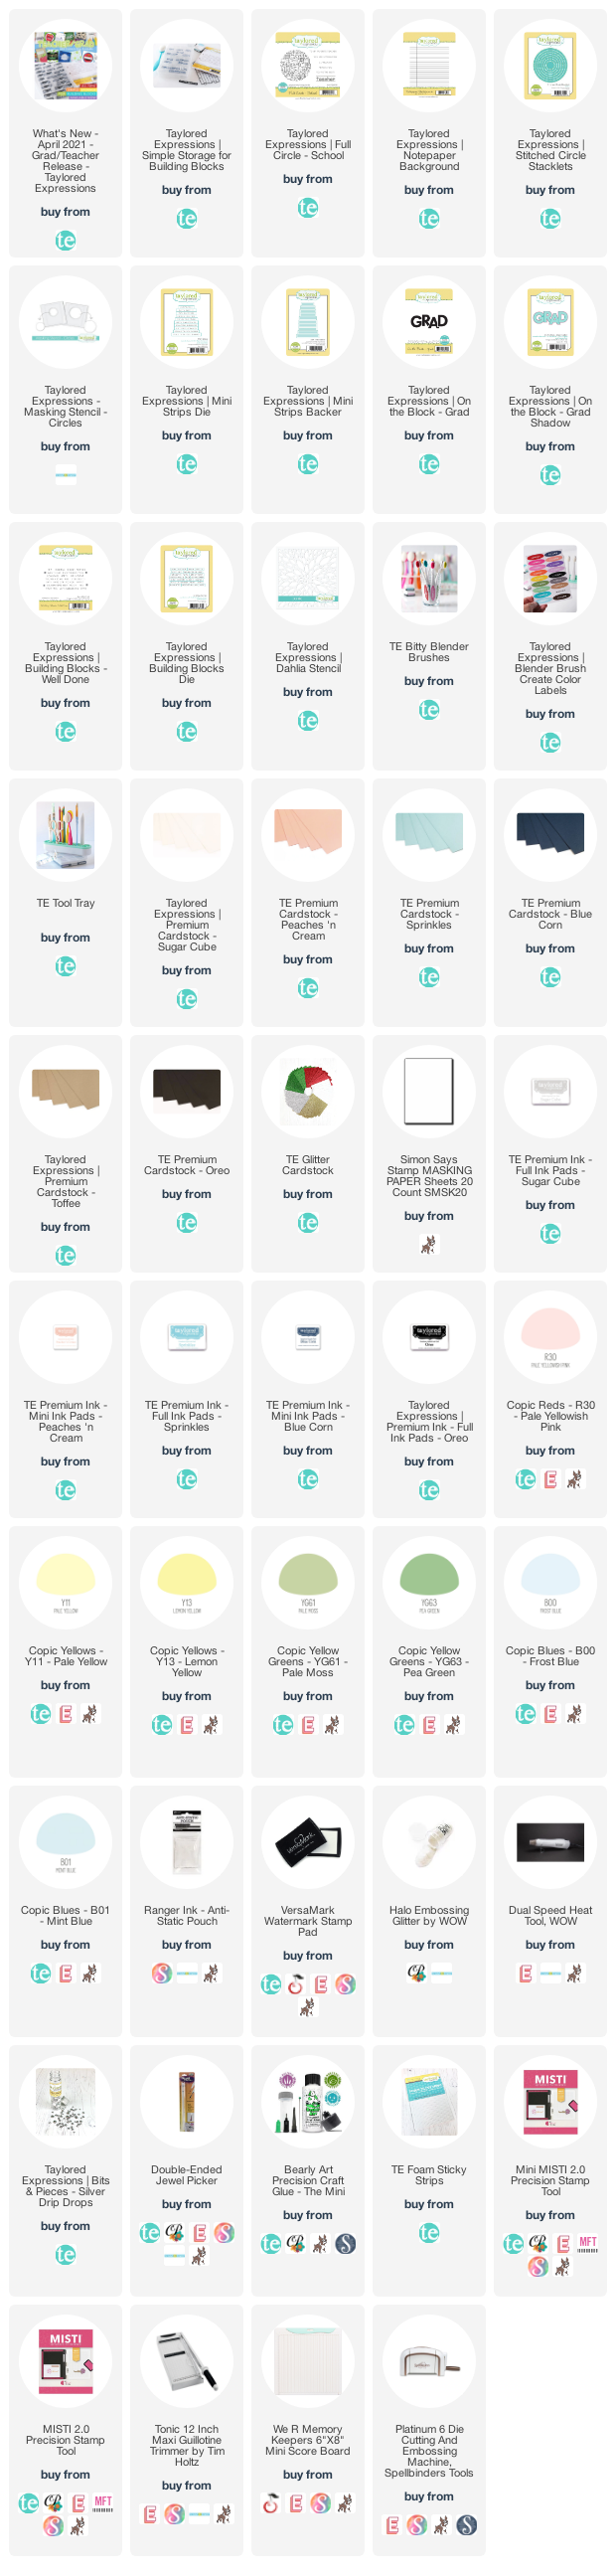
Supplies

Sunday, April 11, 2021

Catherine Pooler Designs | April Showers Bring...Collection | Shine Bright, Grad


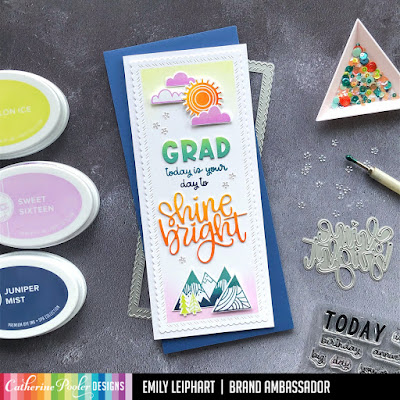
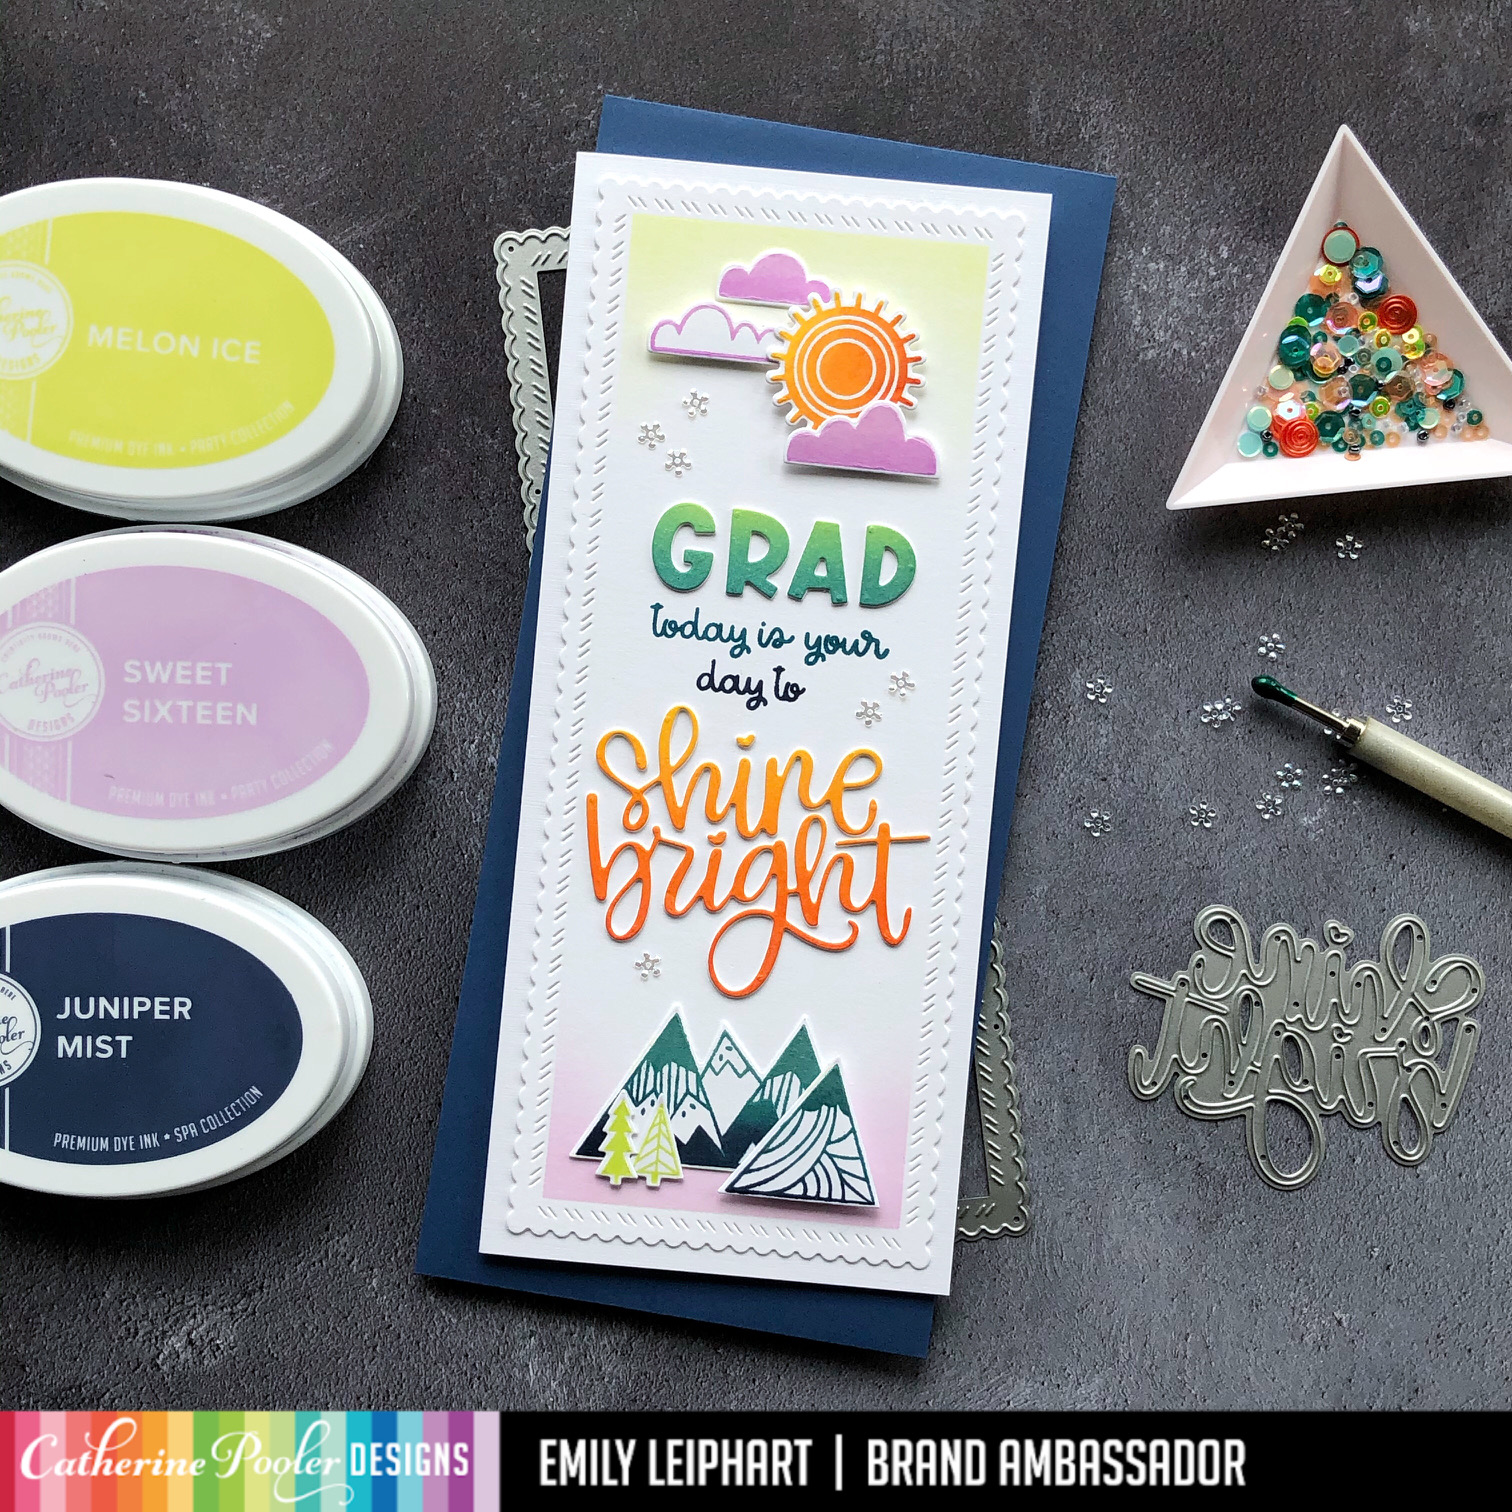
Hello, beautiful friends! I have a lot of graduation cards to make this year and the new Shine Bright Word Die (available on Tuesday if you're a StampNation member or Wednesday for General Ordering) is perfect for such a card, as well as so much more. If you love making congratulatory and encouragement cards, you'll definitely need this die. The script is so beautiful and one of the best I've seen!


As you can see, I combined the Shine Bright Word Die with several other stamp and die sets (five to be exact). You've seen me use Mountain of Thanks and Summer Lovin' several times, only because I love them so much and the sun goes so well with the awesome abstract mountains and sweet clouds.


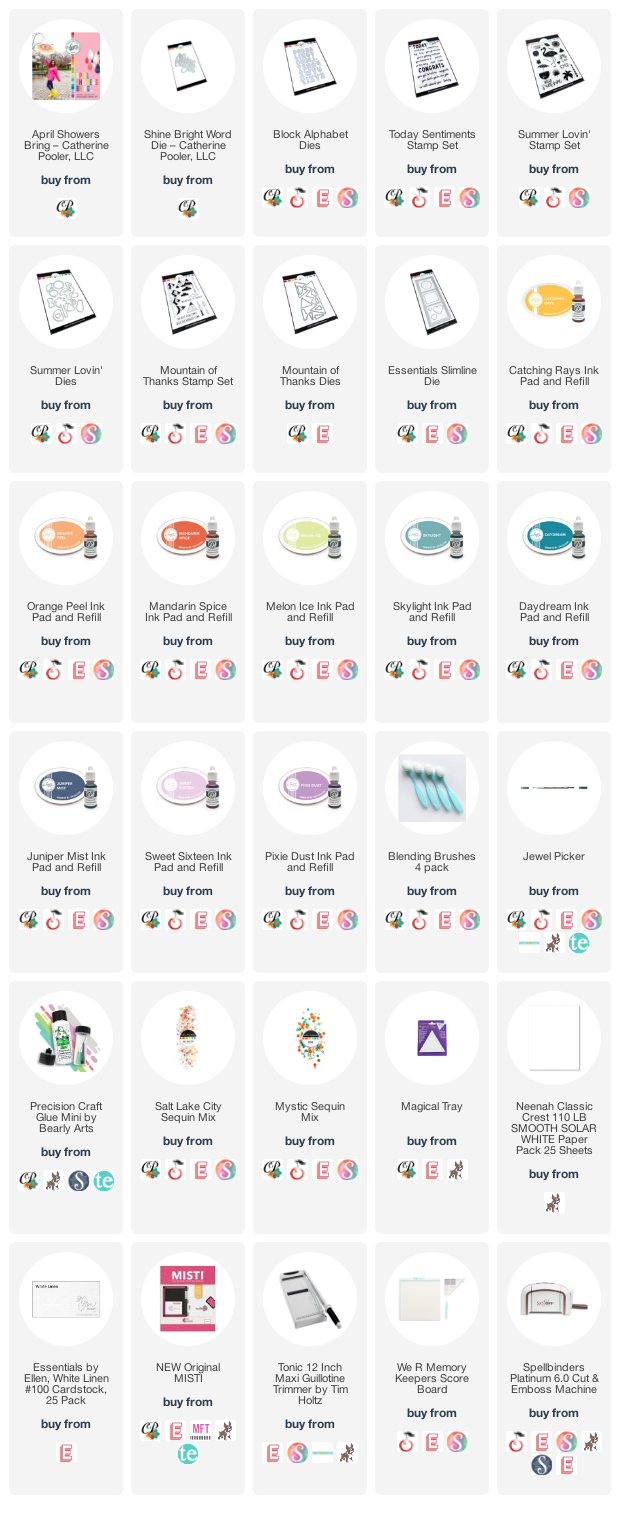
I originally started with four ink colours but I couldn't resist using lots of ombre stamping and ink blending so that required additional shades of those colours. I used Skylight, Daydream and Juniper Mist on the mountains, Sweet Sixteen and Pixie Dust on the clouds, and Catching Rays, Orange Peel and Mandarin Spice on the sun.

To create the gradient colour on the die cut G-R-A-D using the recently-released Block Alphabet Dies, I used blending brushes and Melon Ice and Daydream next to each other and die cut the letters from that ink blended piece of cardstock. The smaller scripted words are from the Today Sentiments Stamp Set and I stamped my custom sentiment using Daydream and Juniper Mist.


To create the ombre Shine Bright Word Die, I used blending brushes with Catching RaysOrange Peel and Mandarin Spice on a piece of white cardstock and die cut the words from that. I used two layers of G-R-A-D letters and the Shine Bright Word Die to make them pop off the card base which was die cut from the Essentials Slimline Dies. To add some sparkle to the card, I used flower sequins from the Salt Lake City Sequin Mix.


Thanks so much for stopping by! I'll see you again tomorrow for the next April Showers Bring bundle reveal! All new release products will be available to StampNation members on Tuesday, April 13, 2021 at 12:00 p.m. and General Ordering starts Wednesday, April 14, 2021 at 9:00 a.m.

Supplies

/>